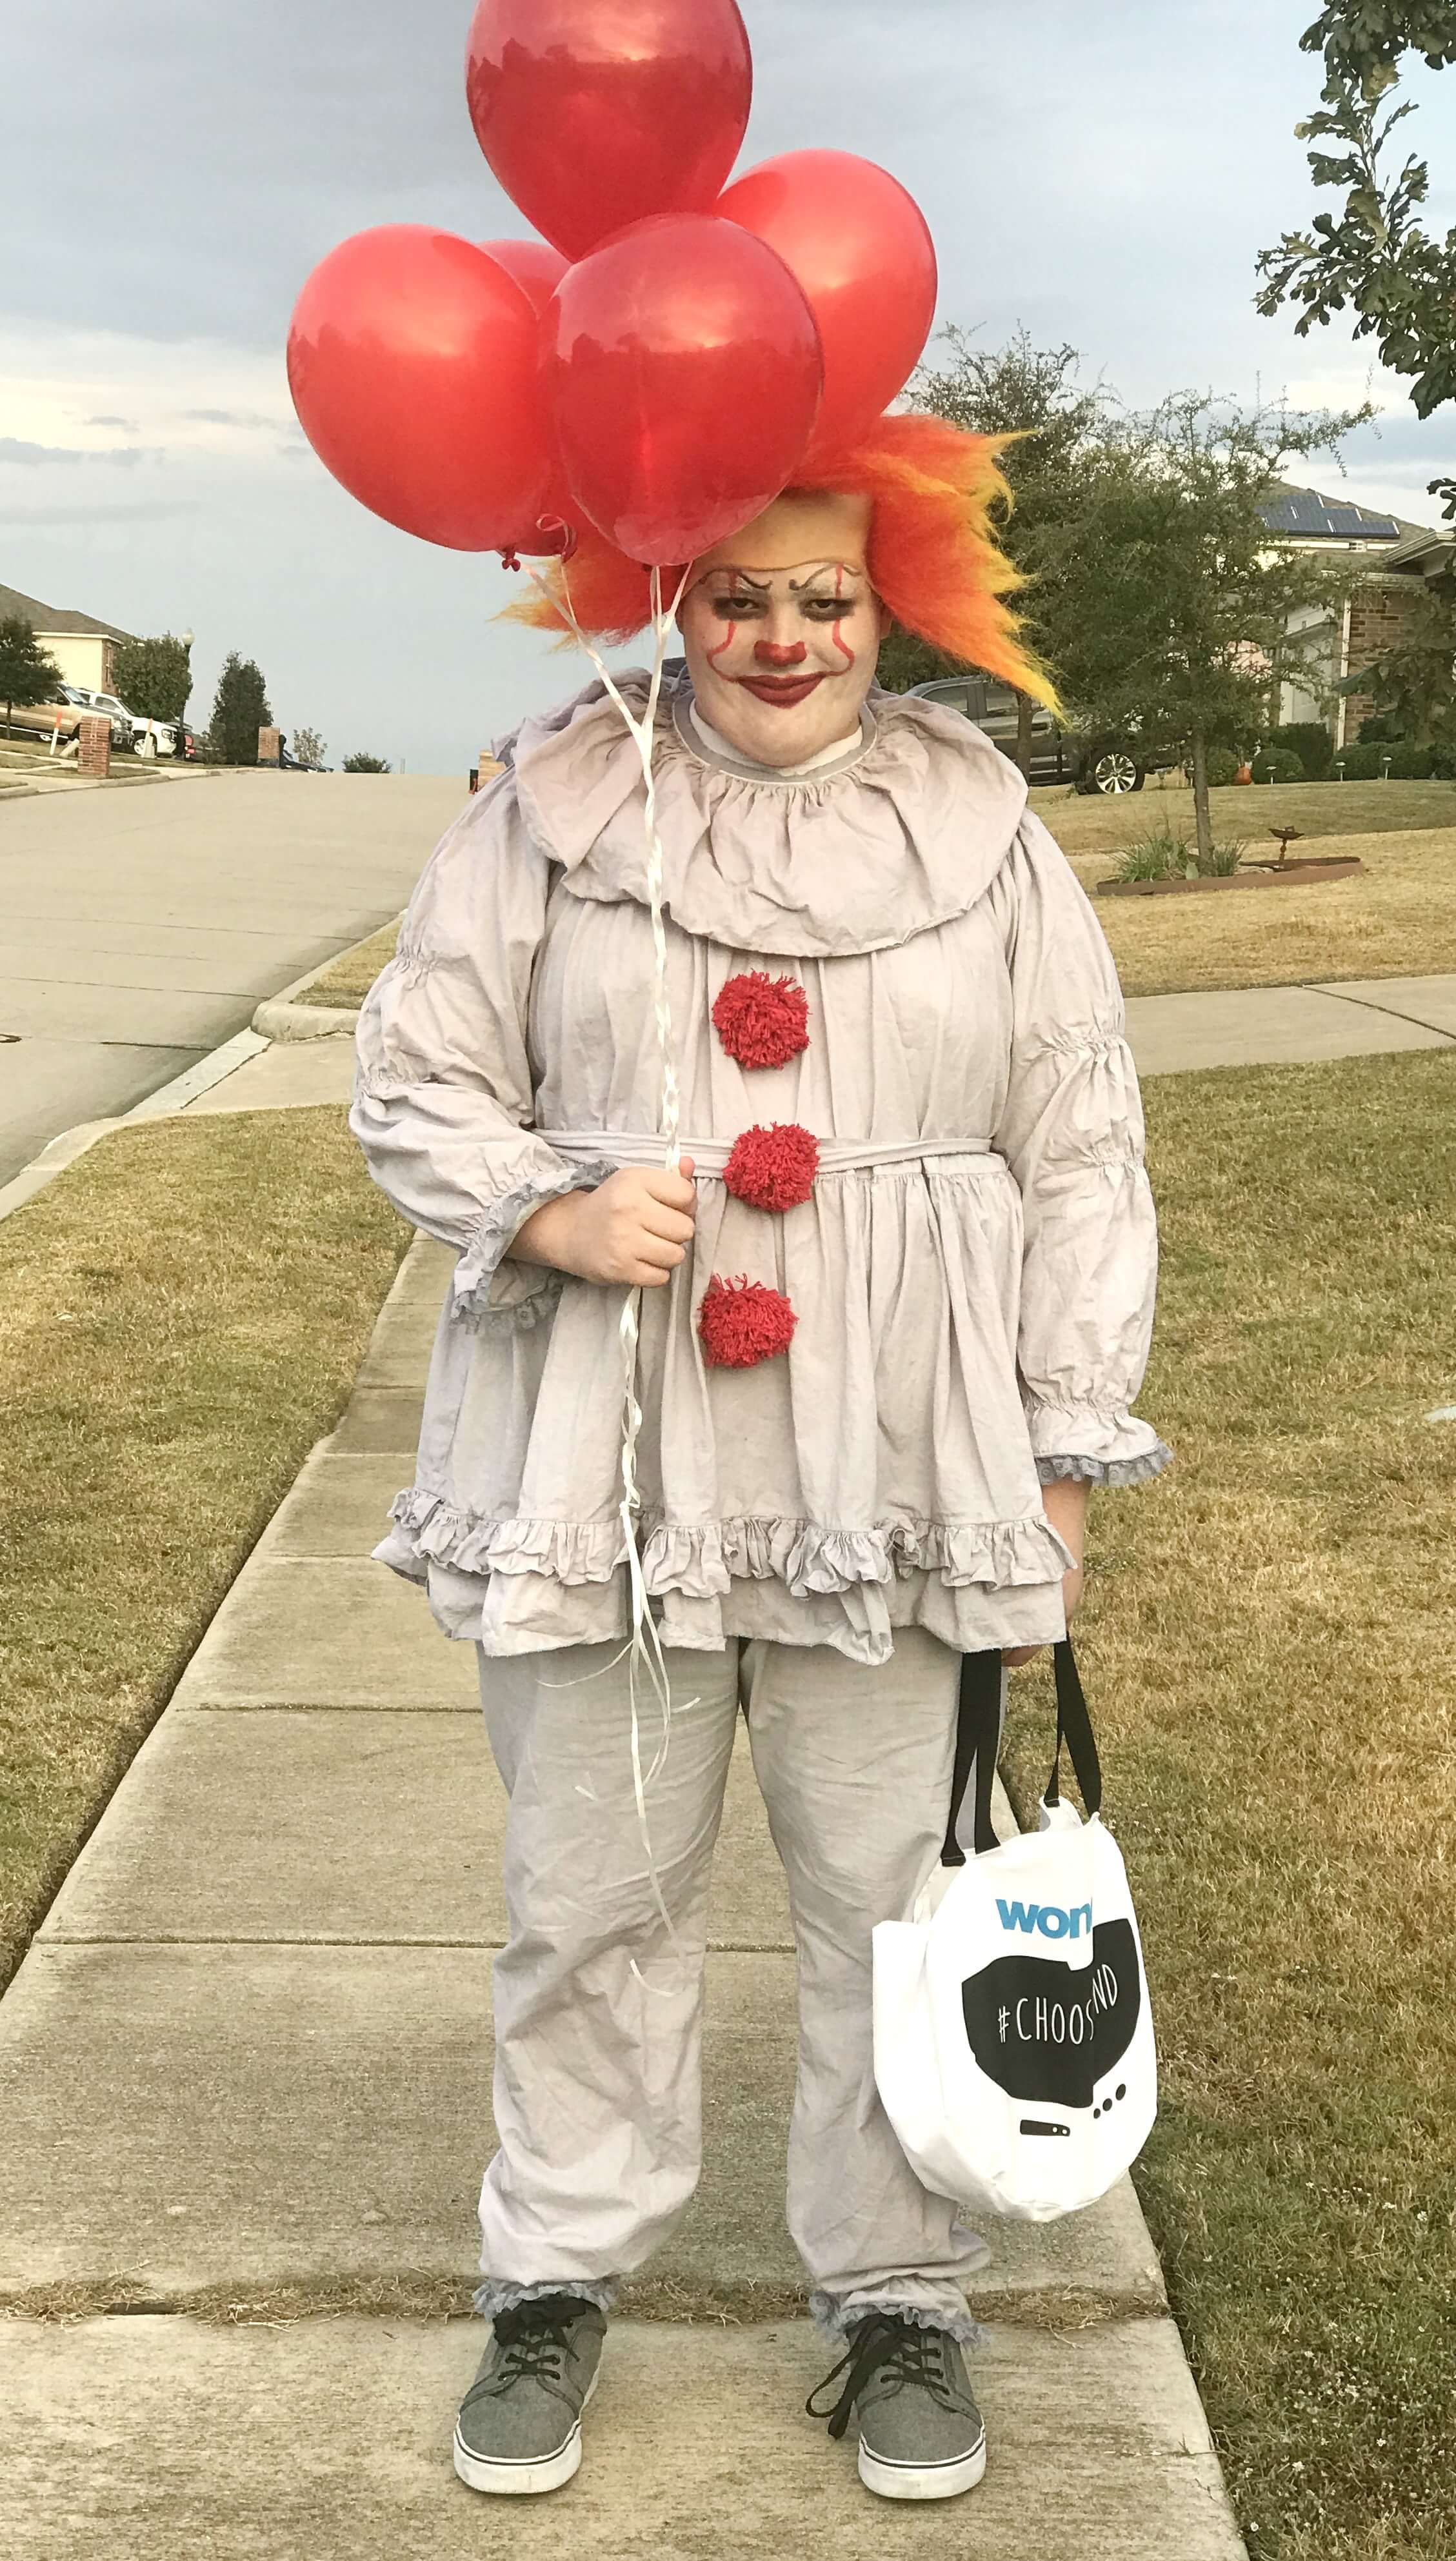
My son loves for me to make him an original Halloween costume each year. Through the years, he’s been a zombie, Gandalf the White, a monkey, a spider, and so many more. Last year, we decided on Pennywise close to the time the new Stephen King It movie came out. It came out so near Halloween, there were not a lot of costumes for me to research. This post contains affiliate links.
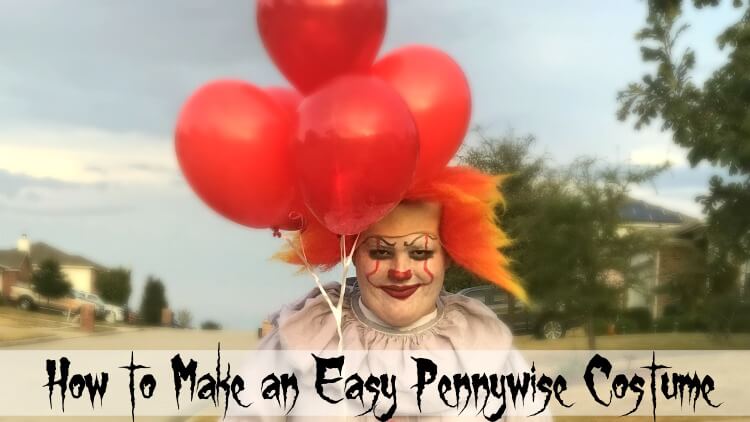
I watched clip after clip of the movie to try to get a feel for the costume and realized it was hugely intricate with pleated pants and whatnot. I had a 3-month old baby and 3 other kids and did not have time for that. We decided to make it loosely on Pennywise and ended up with a very cool and creepy clown.
It definitely had an effect. Small children were afraid to walk down the sidewalk near him. When we were finished trick or treating and were sitting outside in our yard handing out candy, he decided to stand on our street corner and freak people out. The next day at school kids were talking about the creepy clown and no one knew it was him! It was totally fun!
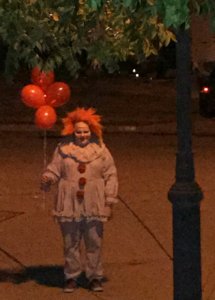
To make our Easy Pennywise Clown Costume, I went with a peasant style swing top with a double ruffle for the hem with basic pajama style pants with elastic ankles. Then, I added an adjustable waistband that fastened in the back with velcro. I made a gathered collar with a rolled hem that tied on the back. Lastly, I handmade large red pompoms for the front of the shirt.
Table of Contents
Supplies:
- 5-6 yards white muslin
- Gray/blue dye
- 3 yds of coordinating gray/blue lace
- red yarn for pom poms
- velcro
- 1/8-inch elastic
- 1-inch non roll elastic
- 1/4 inch elastic
- foldover elastic
Fabric for Pennywise Easy Costume
I went with a 100% cotton muslin fabric. I wanted it to be cool and lightweight since it would have a lot of ruffles to it. My son wears XL in mens, so I started with 5 1/2 yards. I also wanted as much fabric as possible, so I went with the 60-inch wide fabric.
Pennywise Costume Top
I dyed the fabric before making the costume, as well as the foldover elastic. I used pearl gray Rit dye.
If you’ve followed any of my sewing tutorials previously, you know my intense dislike for sewing patterns. So, for the peasant top, I drafted my own based on my son’s t-shirt. I made an A line style bodice to make it more of a swing-type top, and I also chose to make long sleeves with elastic wrists. If you unfamiliar with peasant style tops, here are some tutorials:
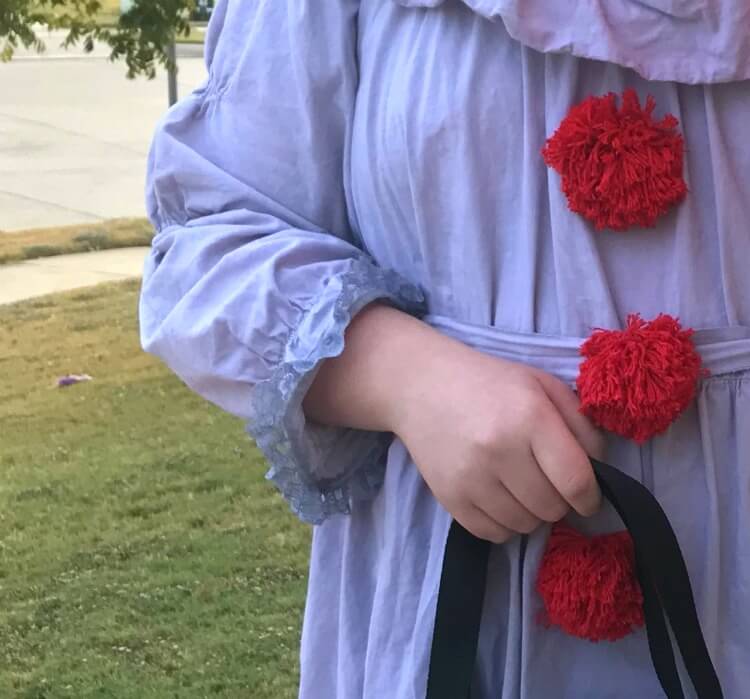
To finish off the long sleeves of the top, I did a few things.
- First, I added some elastic up inside the sleeves to give each sleeve some puffiness. I used 1/8-inch elastic and just stretched as I sewed it on.
- Next, I finished the raw edges of the sleeves with a rolled hem and then attached gray lace just just above the edge inside.
- Then, lastly, I used 1/8 inch elastic about 2 inches above the finished hem and stretched and sewed all around the wrist.
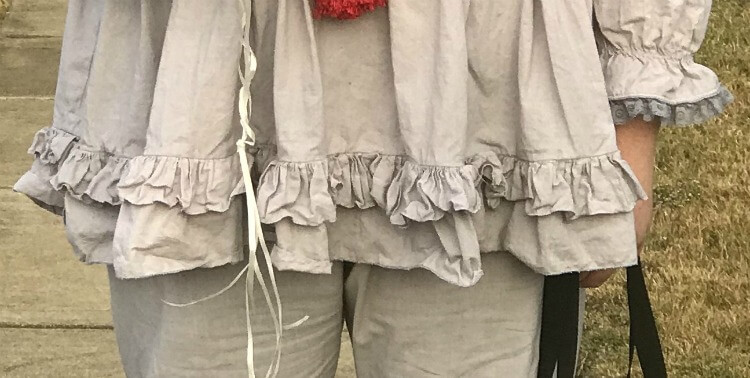
To finish the hem of the body of the peasant top, I cut 2 ruffles.
Ruffle #1 – I cut two pieces 6 inches x 60 inches. I sewed them end to end and folded it in half lengthwise.
Ruffle #2 – I cut a four pieces each 3 inches x 60 inches. I sewed each end to end and folded it in half lengthwise.
I used a ruffler foot to sew Ruffle #2 on top of Ruffle #1. I prefer a ruffler foot over just hand gathering because it does such a nice job.
I attached to the double ruffle to the hem of the peasant shirt by starting at one of the side seams. There was some extra leftover, and I just sewed it behind the first part of the ruffle for about 2 inches and then cut the excess off.
Pennywise Costume Pants
I used my son’s sweatpants to cut a basic pant. Since the muslin did not stretch and his sweatpants did, I added a couple of inches for ease into the pants. Here is an easy tutorial to make a pants pattern from your own pants:
I folded over the waistband, sewed a casing and added the 1-inch non-roll elastic for the waistband.
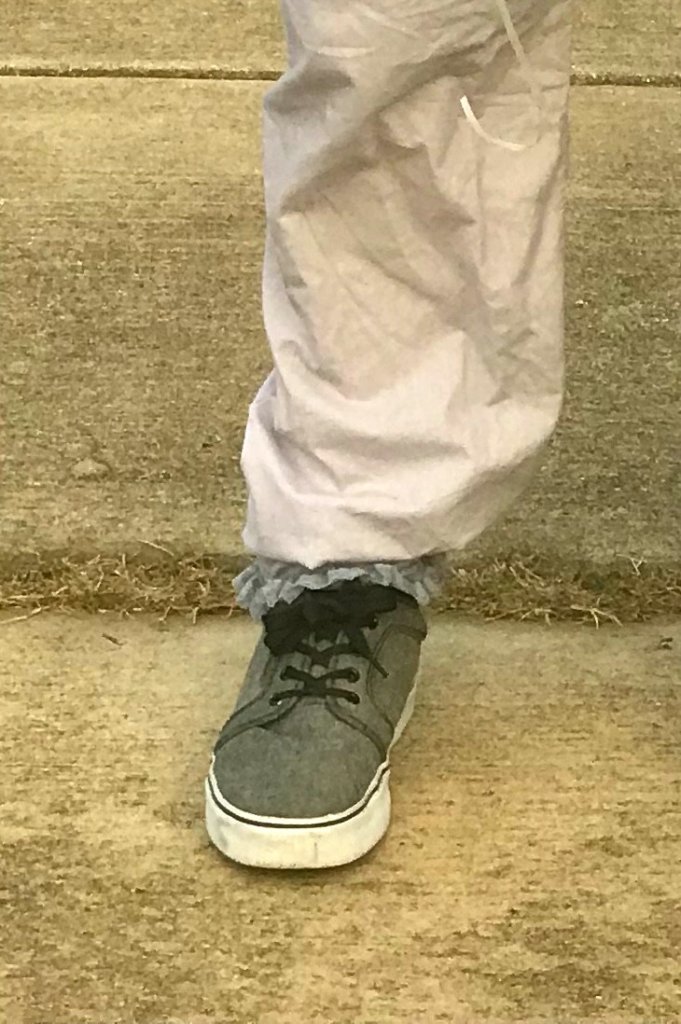
To finish off the hem of each pant leg, I did the exact same technique as the shirt sleeves.
- I finished the raw edges of the pant hems with a rolled hem and then attached gray lace just just above the edge inside.
- Next, I used 1/8 inch elastic about 1 inch above the finished hem and stretched and sewed all around the pant hem.
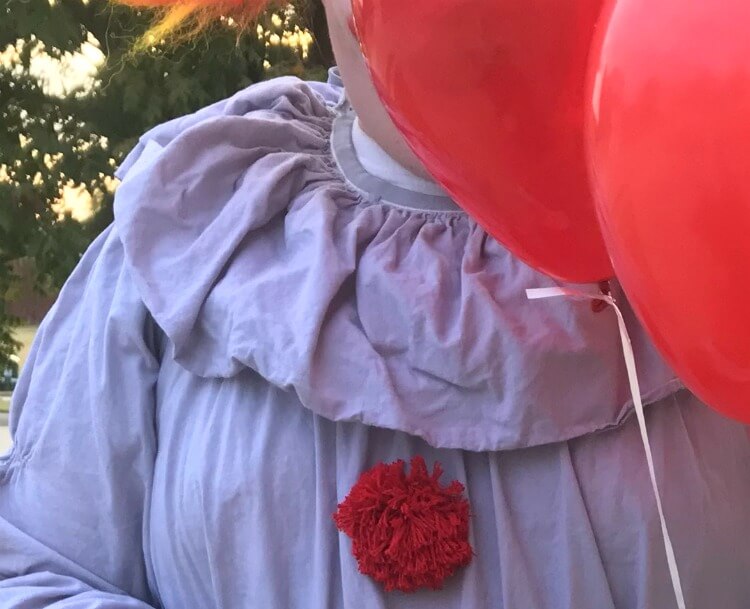
Neck Ruff
For the neck ruff, I cut a piece of fabric 8 inches x 60 inches wide and gathered it by sewing loose threads and pulling tightly. Then, I took a yard of foldover elastic and pinned the gathered fabric to it, completely hiding the gathering threads. Make sure you do this in the middle of the elastic so that there are ends to tie it closed on the neck. Then I sewed it closed from end to end so that the ends of the foldover elastic were sewn shut, so I could tie it on the back of my son’
s neck.
PomPoms
I made 3 pompoms about 3 inches in diameter using this Easy PomPom method. I set them aside until after I had made the waistband.
Waistband
For the waistband, I cut a piece of fabric 4.5 inches x 60 inches wide. Then, I folded it wrong sides together and sewed it into a tube. Next, I flipped the tube right sides out and pressed it. Then, I fit it to my son and pinned where to add the velcro in the back to overlap it about 3 inches.
After sewing the velcro, I put it back on him and found the center in the front to attach one of the red pompoms, which I hand sewed onto it.
Next, I placed the 2 other pompoms equal distances apart on the peasant top and hand sewed them as well. The costume was done, and it was time to move onto hair and makeup.
Pennywise Wig
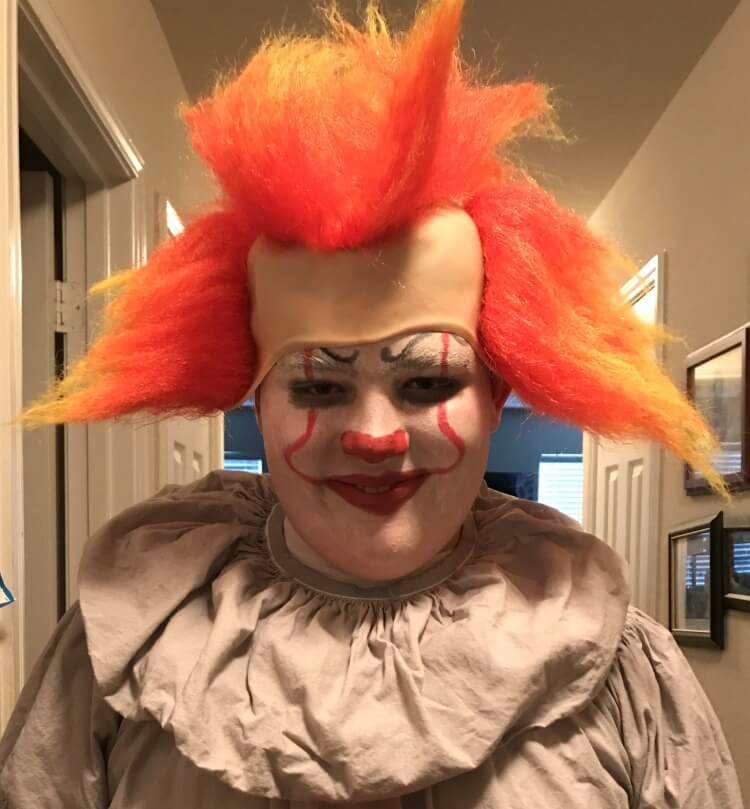
Last year there were no clown hair wigs for the new Pennywise clown with the more orange colored hair. We could only find wigs for the older version, Tim Curry’s Pennywise. There were a few options we found. Some were MadHatter wigs from Alice in Wonderland. But, we settled on this evil clown wig. I gave it a little haircut and brushed it out as Pennywise is a bit unkempt.
Pennywise Makeup
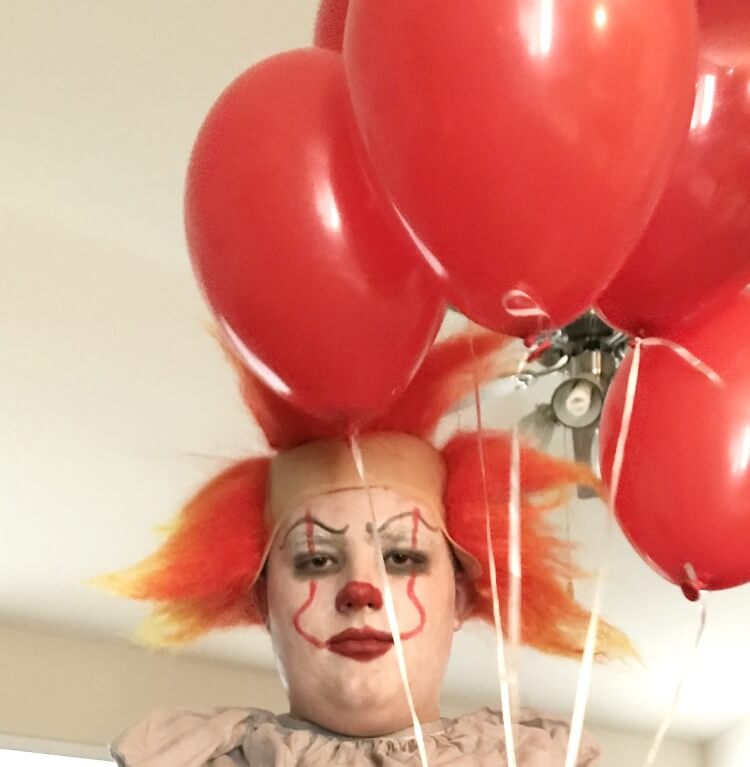
I watched a few YouTube tutorials and clips of the movie to make the Pennywise makeup. We took used a few of those examples to place the red lines up his face and to figure out the nose.
Supplies:
- red long lasting lipstick
- red face paint crayon
- white clown makeup
- light foundation
- black eyeliner crayon
- glue stick
- powder
- Since his wig had a flesh-colored top, we didn’t want his makeup to be too white. So, I combined some white clown makeup with some very light foundation.
- First, we used glue stick (like the drag queens) to matte down his eyebrows. Then, once that dried, we powdered over them.
- We covered his face in a combination of white clown makeup and very light foundation.
- Then, we used black eyeliner crayon to ring around his eyes to look somewhat like raccoon eyes and to smear it out. We also added the crazy curly eyebrows with the eyeliner.
- We used the face paint crayon to color his nose and his lips.
- Next, we carefully added the red lines up his face. This was the hardest part to get even. I actually found going faster made it more even.
- Lastly, I added a slightly darker long lasting lipstick to his lips.
To added some creepiness to our easy Pennywise clown costume, I got a helium tank and make him 1/2 a dozen red balloons to carry with him.
I know it seems like there are a lot of steps, but once you get started it comes together easily. Now if you want to skip all this, you can get an accurate Pennywise Costume HERE!
More Halloween Costume Fun
- How to Make a Halloween Escape Room at Home
- How to Make a DIY Mad Scientist Brain Halloween Costume
- DIY Halloween Costume: The Three-Headed Ghost
Halloween Treats & Eats
- Monster Mash Halloween Cheesecake Bars
- How to Make Vampire Kiss Cookies for Halloween
- Halloween Drinks: Toxic Tonic
- Let’s Make Witch’s Brew Halloween Brownies
Halloween Games & Fun
- Halloween Games for Kids and Adults
- Free Printable Halloween Name That Tune Game
- Let’s Go on a Halloween Treasure Hunt
Come Join Us!
Liked this article and want more? Follow along on Instagram, Facebook, Twitter, Pinterest, TikTok, and YouTube!
Come over and join us on Facebook in the group Recipes, Crafts, and more with TipToe Fairy or Sewing and Crafting with The TipToe Fairy!
