About once a week, my husband has to venture out to find things we can’t get delivered either on Instacart or other delivery services. I have made face masks made for all of us, including my toddler. This easy tutorial will show you how to make a face mask at home using pipe cleaners for the bendable nose pieces. This post contains affiliate links.
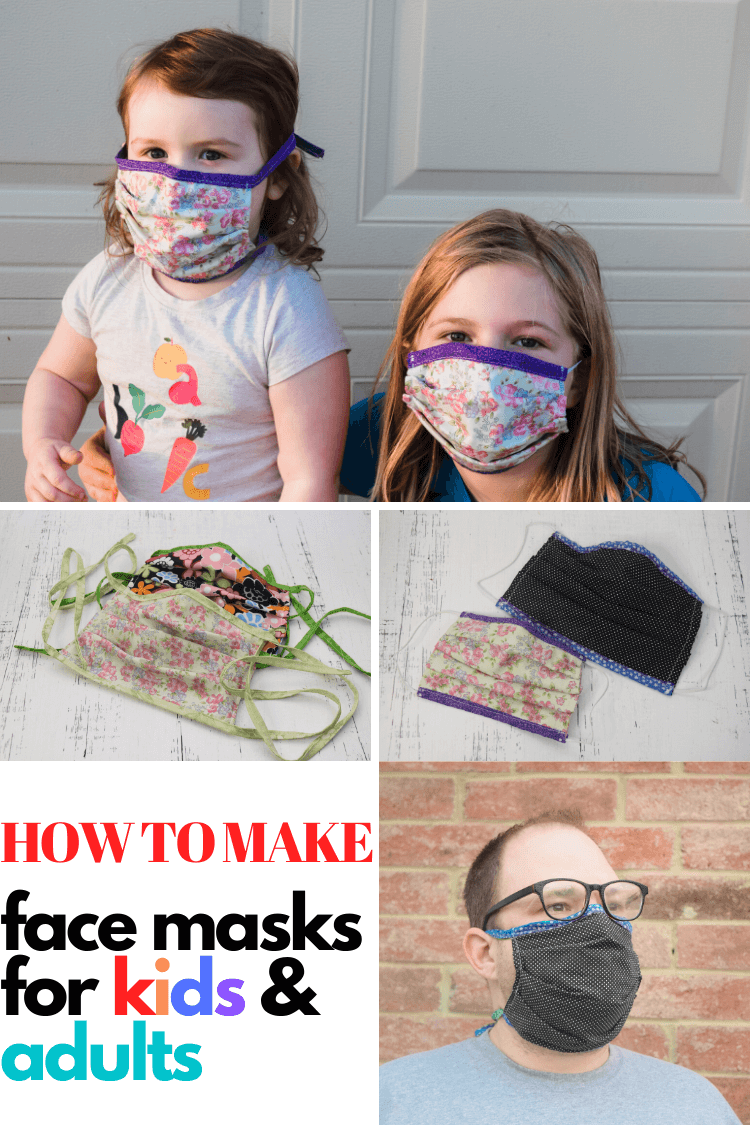
I just was researching the transmission of the virus, and it seems to invade the mucous membranes of the nose, mouth, and eyes. The New England Journal of Medicine did a study that showed this virus can stay suspended in the air for 3 hours, which means if someone coughs it into the air, it could possibly hang there for up to three hours. So, not only do I send my husband out in a face mask I made at home, I also now make him wear my daughter’s old lab safety goggles.
Table of Contents
NEW! Elastic-Backed Face Mask
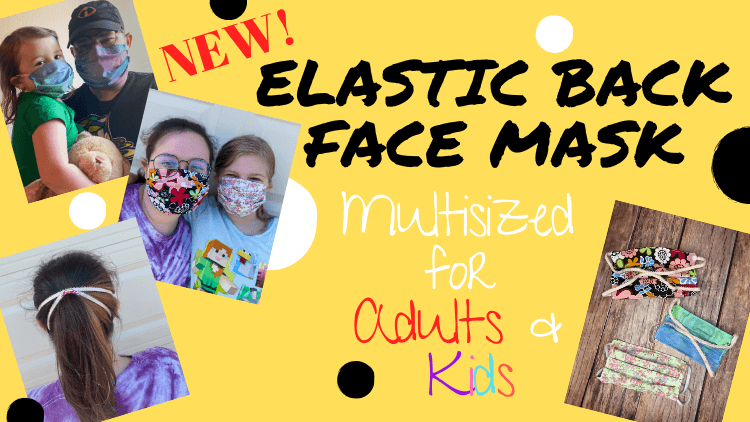
I have a NEW sewing pattern based on feedback I’ve received – Elastic Back Face Mask. The new one has elastic that goes around the whole head, and it’s pretty easy to stay on a little kid.
Elastic versus Tie Face Mask
I have found that adding ties instead of elastic to the face masks make them much more versatile and easy to fit, especially on my kids. It’s also less painful. Those elastics can really hurt your ears, especially if you need to wear it for a long period of time. I made one of each version for my husband.

My 9 year old and my 2 year old can wear the same size mask if I use ties. If I use elastic, it’s too big for my toddler.
Adult versus Child Size
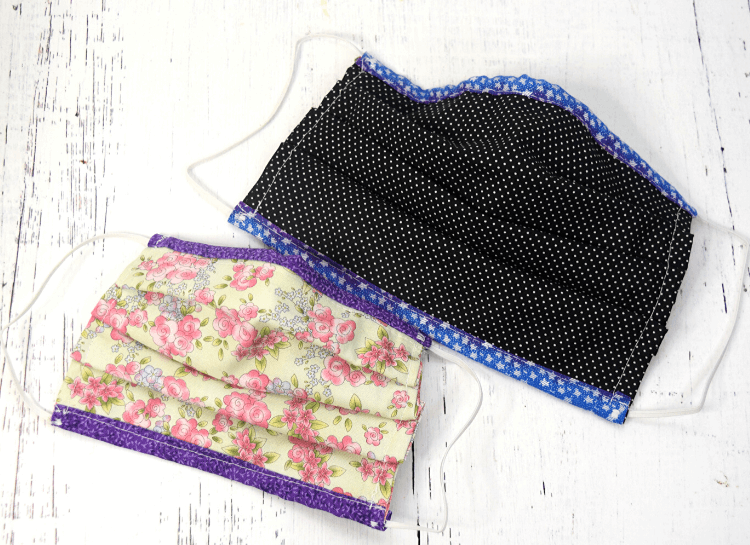
This pattern has a cutting guide for both adult and child size. I’ve seen masks cut to a rectangle shape, but I chose square so that it would go further down your face and cover to the chin. This is the case for both adult and kid sizes, so it won’t be easy to come off or go above their mouth.
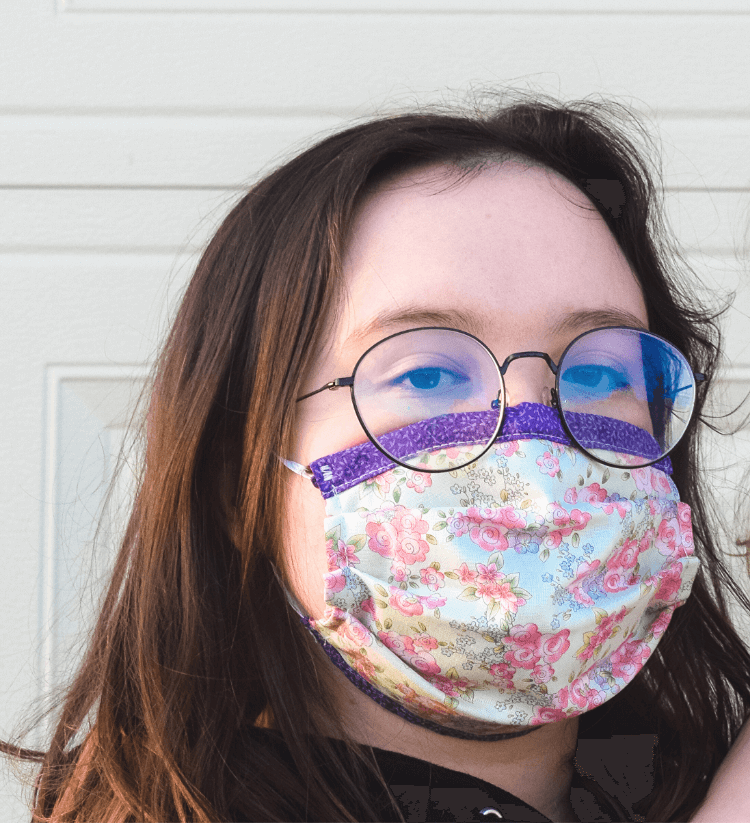
In addition, if you have a petite face, like my 20 year old daughter, the child size may fit you better. My husband has a fuller face as do I, and we both found the 9 x 9 size had better coverage. But, I could also comfortably wear the child-size in a pinch as well.
How to make a Face Mask at Home
This face mask is three layers with a pocket for adding an additional filtering layer. I’ve been putting a regular coffee filter just folded in the pocket for my husband just to add some additional filtration to the mask.
I recommend using quilting cotton fabric as you want the tightest weave of fabric to keep things from getting through to you. I use double fold bias tape for the ties, which also edges the mask, and that is where I hide the pipe cleaner at the nose, to bend it to your face.
Double Fold Bias Tape
Unfortunately, I cannot find ready made double fold bias tape to be delivered here that doesn’t take a long while. I’m unwilling to go to Walmart to find it, and our craft stores are closed due to the shelter in place orders. So, I’ve been making my own with a bias tape maker.
It’s super simple, and honestly, you don’t “have to” cut the fabric on the bias to make it. It’s the best way to do it since it gives the fabric some stretch. But, I was trying to make masks for my husband, and I didn’t want to add the extra step of piecing together bias cut fabric strips.
I just cut the strips straight up and down and make bias tape just fine with it, and my masks are working just fine with those strips made into the ties.
How many face masks do you make?
I recommend making two per person in your family if you’re all able to shelter in place right now. This way, you can wash one and have one ready to go.
If you are currently working outside the home, I would probably make 3-5 per person. That way you aren’t washing one every day.
How do you wash a face mask?
Since they have pipe cleaners, washing is not a big problem. I put them in a small load in the washing machine on HOT with regular laundry detergent. Then, I hang them to dry by the straps.
What do you put in the pocket?
You can leave the pocket empty. I’ve seen some people put a coffee filter glued together that is holding powdered citric acid as it’s a filter. But, I have not been able to find those v-shaped coffee filters anywhere and citric acid is sold out.
So I’ve been using the traditional round pleated coffee filters.
Here is what I do with the coffee filter to put it in the pocket:
- Fold the top and bottom down to be a more rectangular shape.
- Slip it into the pocket.

Download the Face Mask Cutting Guide

How to make a Face Mask at Home - Adult & Child Sizes
Materials
- 1 1/2 yds quilting cotton woven
- coordinating thread
- pipe cleaners
Tools
- Sewing Machine
- Rotary Cutter
- Rotary Cutting Mat
- Scissors
- Iron
- ironing board or mat
- Pins
- Face Mask Cutting Guide
Instructions
Use the cutting guide to cut 3 squares of the 9 x 9 square for an adult or the 7 x 7 square for a child (or small adult)

Take two squares and place them RIGHT SIDES TOGETHER. Sew 2-3 inches from the outside edge in the middle for each side like the dotted lines in the image.
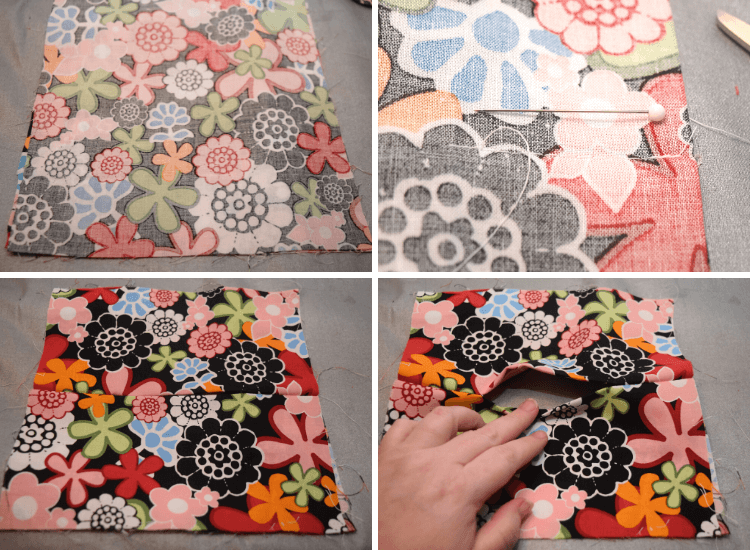
Fold each piece in half like the photo and press. This forms the pocket for adding additional filtering.
With RIGHT SIDES TOGETHER line the third square up with the side that forms the pocket hole.
Sew along each side (DO NOT SEW TOP OR BOTTOM)

Turn it right side out.
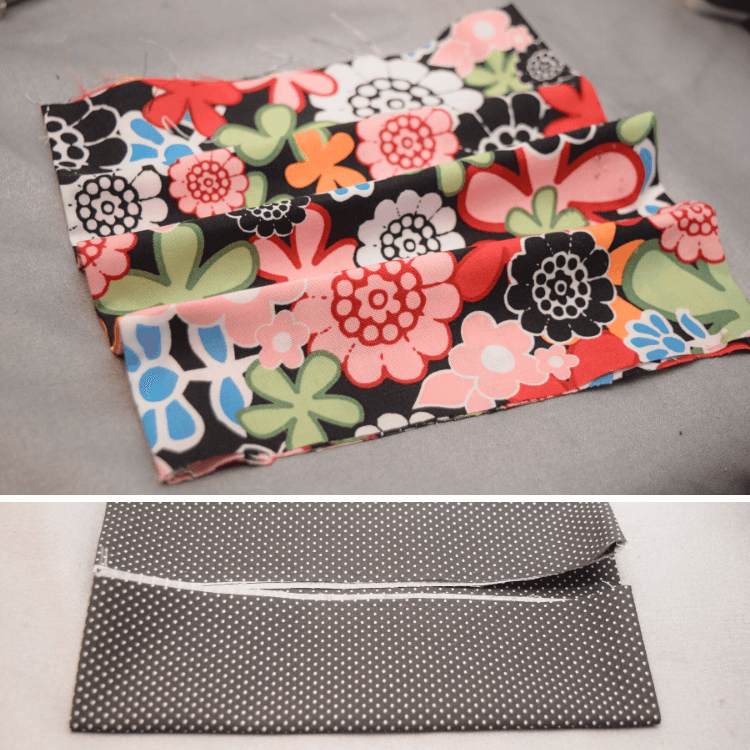
Make the lines for the pin tucks. Fold in the square in half and press. Then open it back up and fold the top and bottom raw edges to the middle and press each one.
If needed, make your double fold bias tape. (Here's an easy tutorial.)
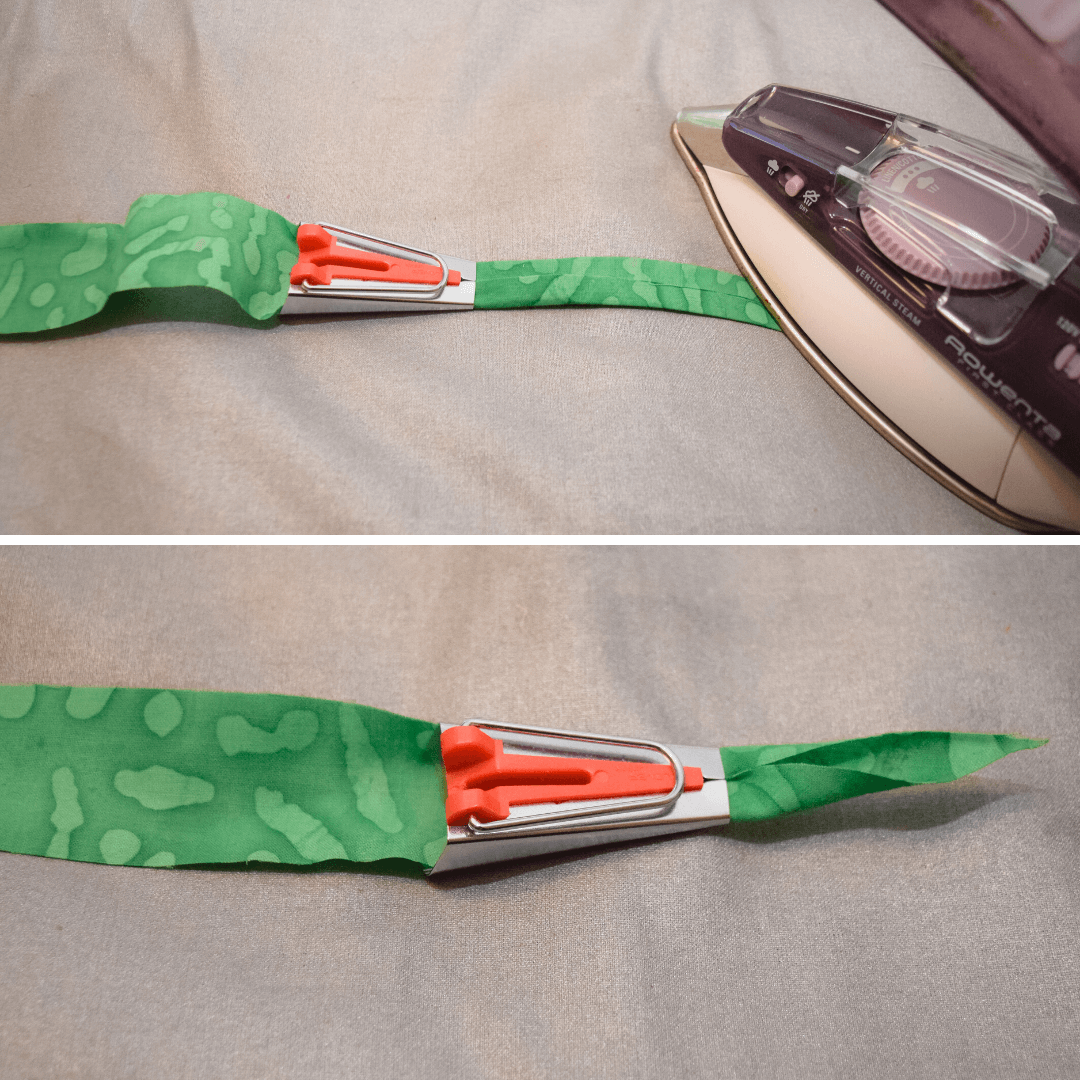
Cut a 40-inch piece of bias tape for both the top and bottom.
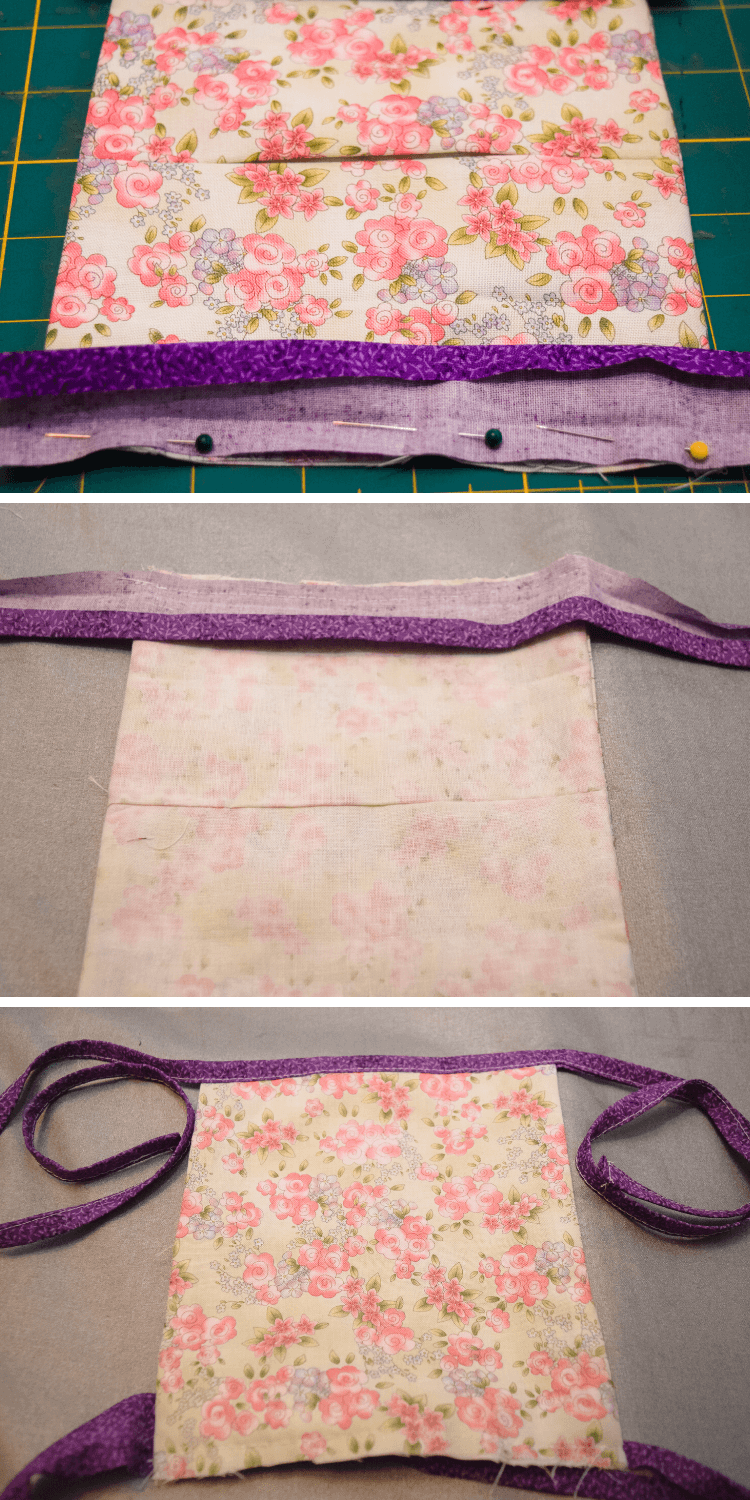
Open up bias tape and line up the center of it with the center of the back of the mask. Then, line up with raw edge and pin. Do this for the top and bottom of the mask.
Then, sew the bias fold tape to just the top and bottom at that raw edge.

Cut pipe cleaner to size if you're making the adult or child size mask.
Fold the bias tape over, pin, and sew closed for the bottom of mask. Make sure to tuck the raw edges of each ending of the bias tape before sewing.
Fold over the bias tape and pin it closed for the top of the mask.
Between the pins, insert pipe cleaner into bias tape and position it so it's in the middle.

Sew the top and ties closed.

Fold each side of the mask into the pin tucks at about 1/2 inch.
Sew a topstitch over each pin tuck at the edge.
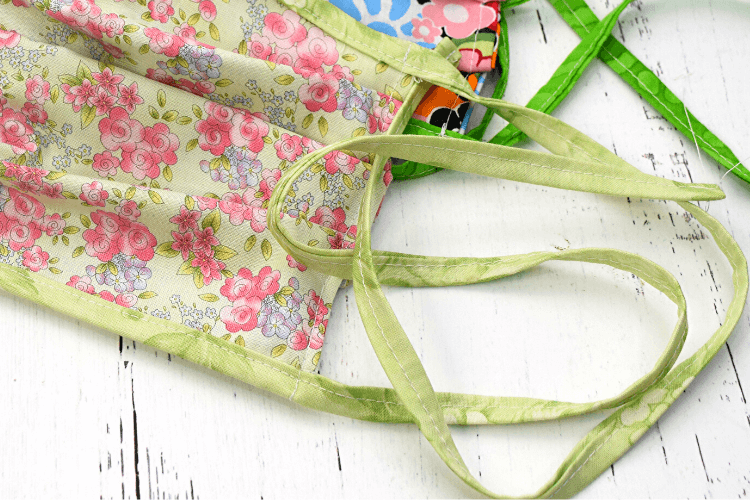
You're done! Try on your mask!
Elastic version
Instead of cutting 40-inch pieces of bias tape, just cut two pieces of the double fold bias tape to:
- 9.5 inches for adult
- 7.5 inches for child

Open up bias tape and line up the center of it with the raw edge of the center of the back of the mask.
There should be about 1/2 inch of bias tape sticking out on either side of the mask. Fold that raw edge inward and pin the entire edge in place. Do this for the top and bottom of the mask.
Sew along that on both the top and bottom of the mask.
Cut pipe cleaner to size if you're making the adult or child size mask.
Fold the bias tape over, pin, and sew closed for the bottom of mask. Make sure to tuck that part of the raw edge into the bias tape.
Fold over the bias tape and pin it closed for the top of the mask.
Between the pins, insert pipe cleaner into bias tape and position it so it's in the middle.
Sew the top closed.
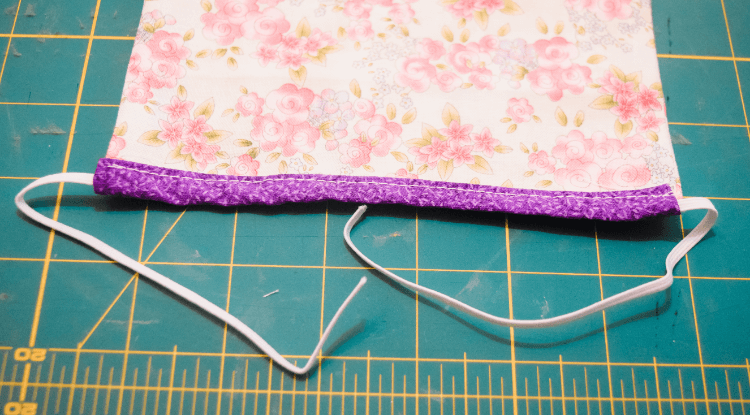
Cut two pieces of 1/8-in elastic and cut to:
- 6.5 inches for adults
- 5.5 inches for children
Insert the end of the elastic into the end of the bias tape about 1/2 inch on the bottom of the mask like the photo.
Tack it down with the sewing machine.
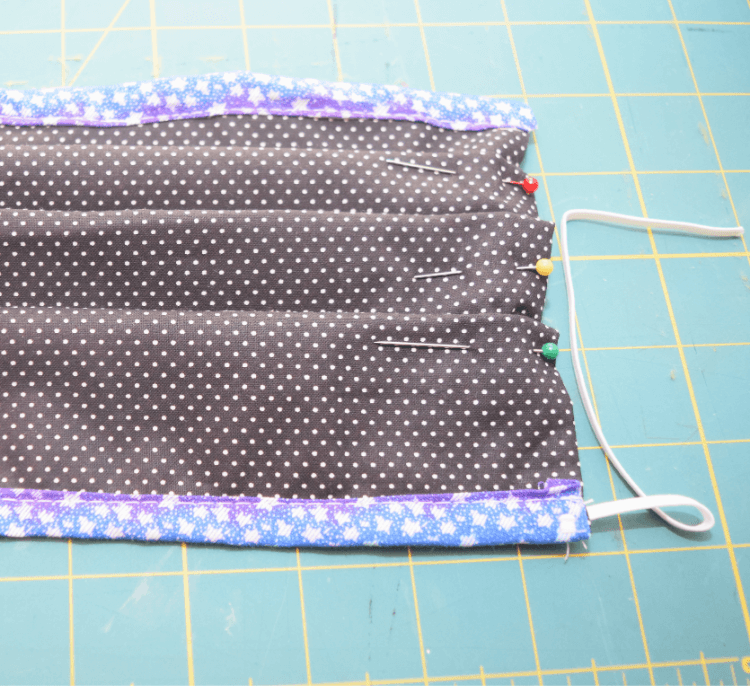
Fold each side of the mask into the pin tucks at about 1/2 inch.
Begin just under the bias tape and sew a topstitch over each pin tuck at the edge.
Now insert the top of the elastic into each side of the bias tape just as you did the bottom and tack it down with the sewing machine.
You're done! Try on your mask!

4 comments
The instructions do not specify where to fold for the pleats. I am sure it makes a difference so that a filter can be inserted. Where do the folds go????
Where you fold and press in half and then fold the bottom and top to that fold – those three lines were you make the pleats.
What is the seam allowance you use?
1/4 inch.