This post contains affiliate links. Before I had a blog for my creative outlet, I had a craft booth where I made all kinds of whimsical baby and kid things. The MOST popular item was this Lovey for Babies.
NEW PATTERN – Sew a Snuggle Bunny Lovey!!
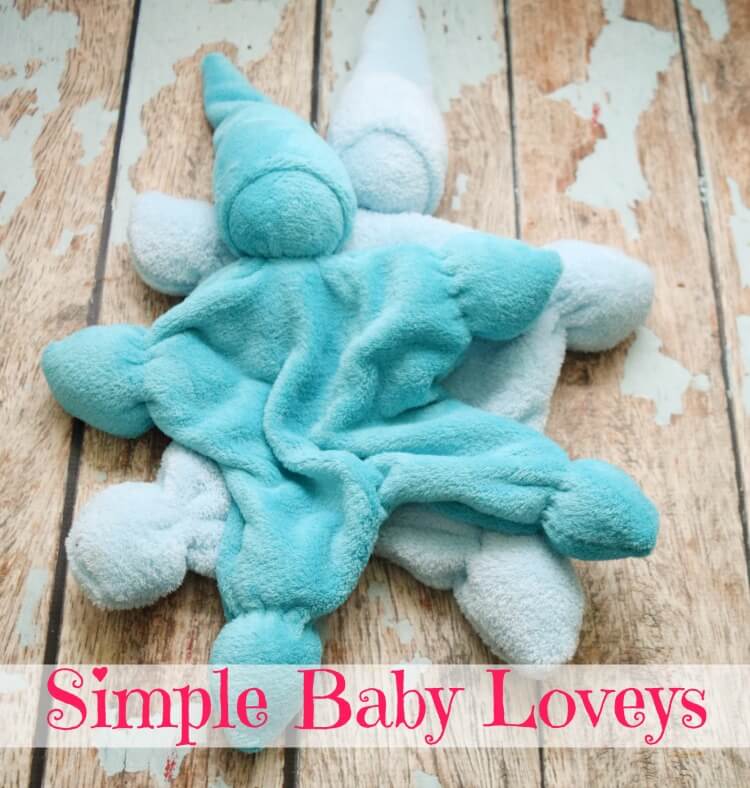
I have made these for probably 19 years now – as long as I’ve had my oldest daughter. I’ve made this kind of lovey from all kinds of organic fabrics, cotton fleece fabrics like sherpa and velour, fleece fabrics like polar fleece, but the most popular is a fabric I’ve seen called a variety of things – flurr, minkee or minky, and cuddle fleece fabric. It’s a plush and incredibly soft microfiber fabric. It comes in so many bright and beautiful colors and you can find it at the local fabric store.
These are dolls you can make very quickly. The first time it might take you an hour, but after that you can whip one out in approximately 30 minutes. They are great for baby shower gifts. People will definitely ooh and aah over it.
They are easy to make from just scraps. I like to stuff them with wool stuffing or wool roving, but you can easily use cotton or polyfil. Wool stuffing is great for waldorf-doll making because it’s a natural product. Plus, it holds your body heat and your scent when you need to lay baby down. The downside to wool stuffing is that if you wash the doll, it will felt and get smaller and won’t be fluffed anymore.
When my babies are tiny, I will tuck the lovey under my neck for a couple minutes and then lay it near them, and they keep mommy’s scent and warmth right by them. Then, I can get a few minutes to take a shower or get something done.
So, let’s make one!
Table of Contents
Download the Sewing Pattern
Simple Lovey for Baby
Materials:
- 1/3 yd of knit material – fleece, hemp fleece, sherpa, velour, minkee, etc – any soft thick knit
- a couple handfuls of stuffing
- needle and matching thread
- 6-inch piece of string or thread, or yarn
1. Cut out pattern pieces. Cut 2 of the body, 1 hat, and 1 head.
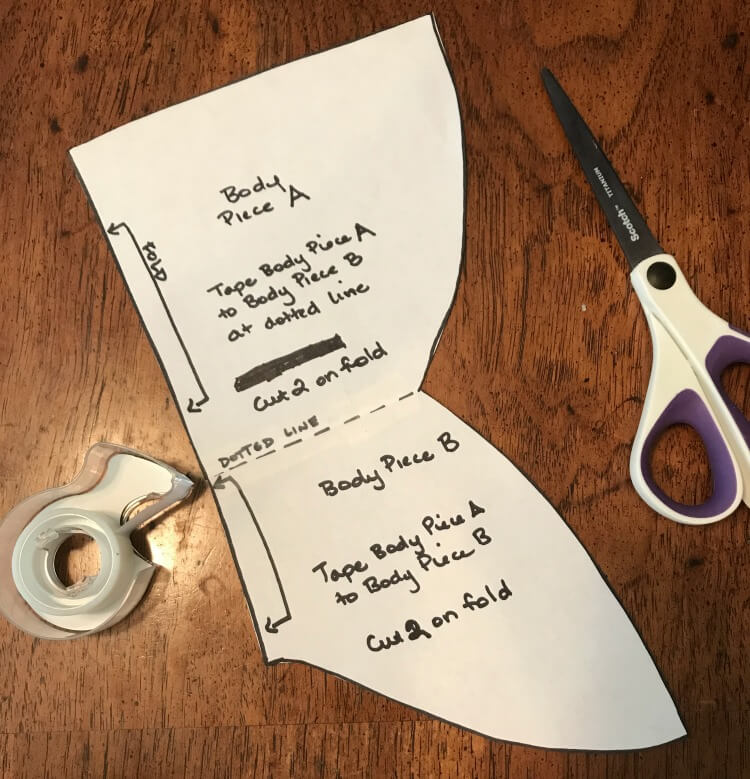
Make sure to tape the body pattern together.
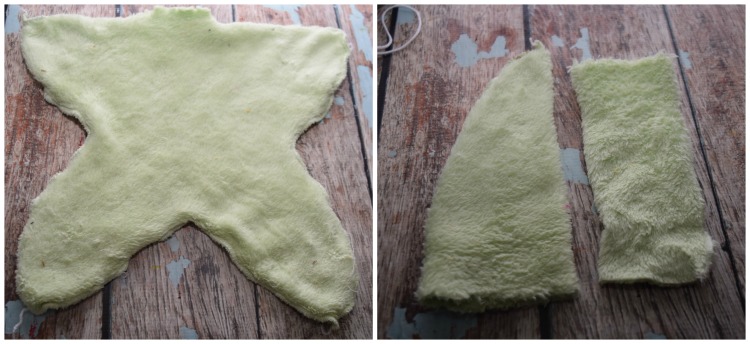
2. Right sides together, sew the hat, head tube, and body together with a straight stitch on your sewing machine OR serge if you have a serger, or you can completely hand sew it. Make sure to leave a small opening (about 1.5 inches wide) for the head to fit in the middle of the top of the body. Turn all pieces right side out except the head.
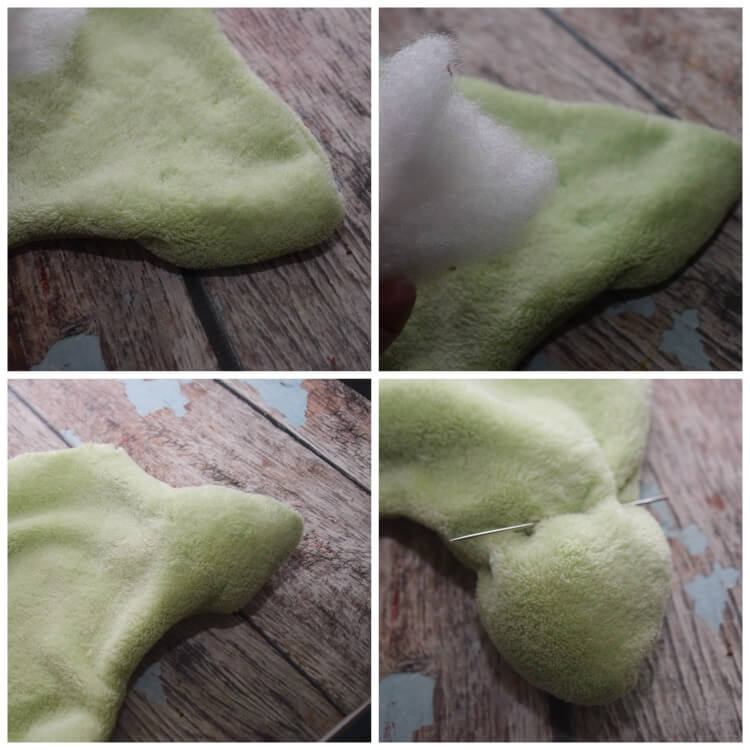
3. For the arms and legs there are two options.
- Option 1: Put a little fluff of stuffing in each hand and foot and sew a running stitch around each hand and foot and pull the threads tight and tie off.
- Option 2: Just tie a knot for each hand and foot and don’t add stuffing.
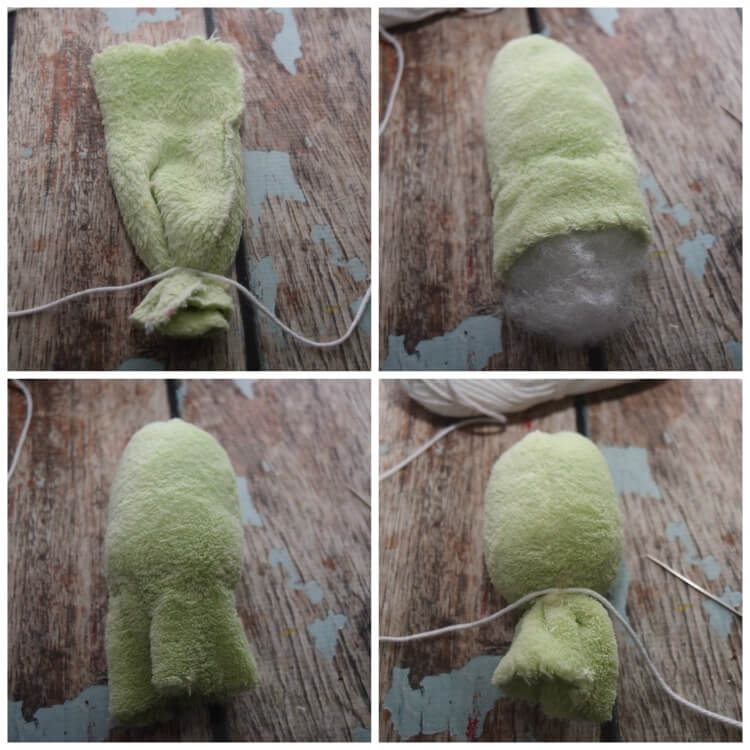
4. Approximately 1 inch from the top of head tube wrap a piece of yarn or thread around it several times, pull tight, and tie off. Flip the head so it’s right sides out. Make a ball of stuffing and insert it into the open end of the head tube. As close to the stuffing as you can get, tie off the bottom end of the head tube just like the top.
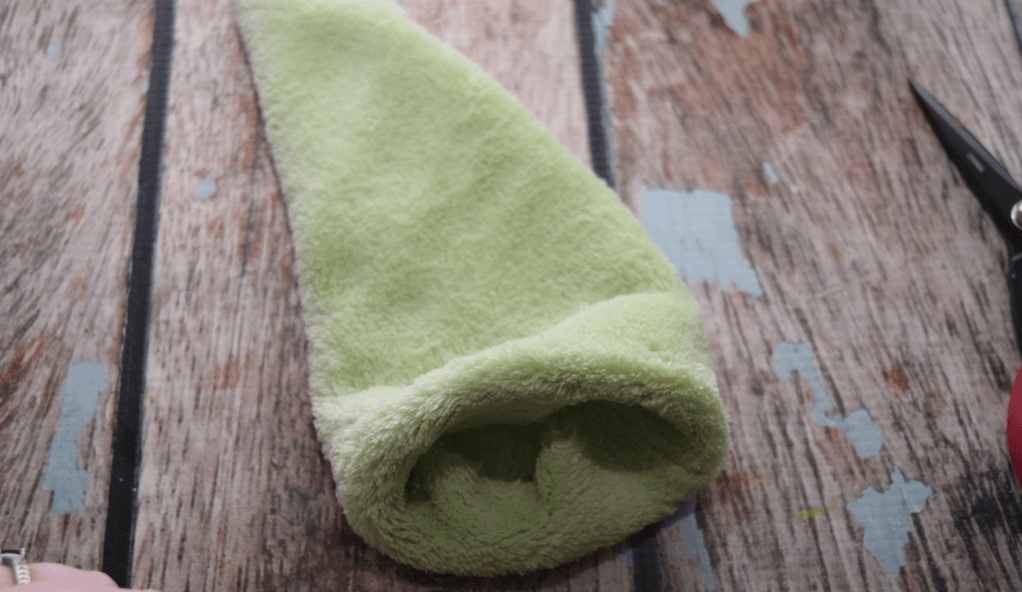
5. Attach the hat to the head. Fold under the raw edges of the hat.
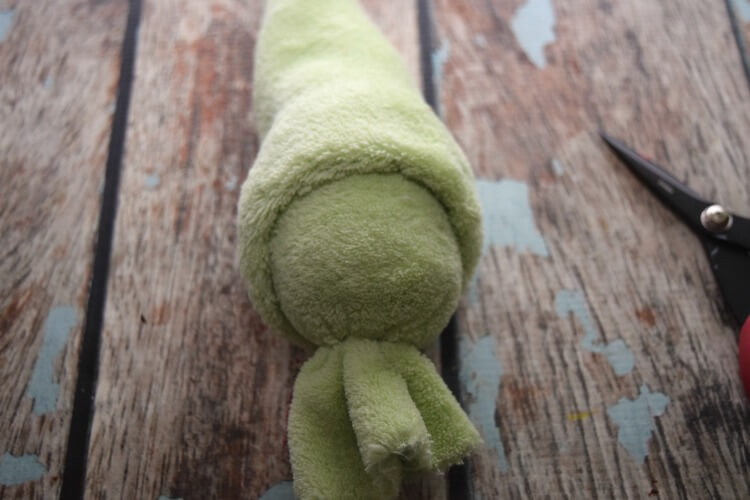
Pull on head (it should be snug).
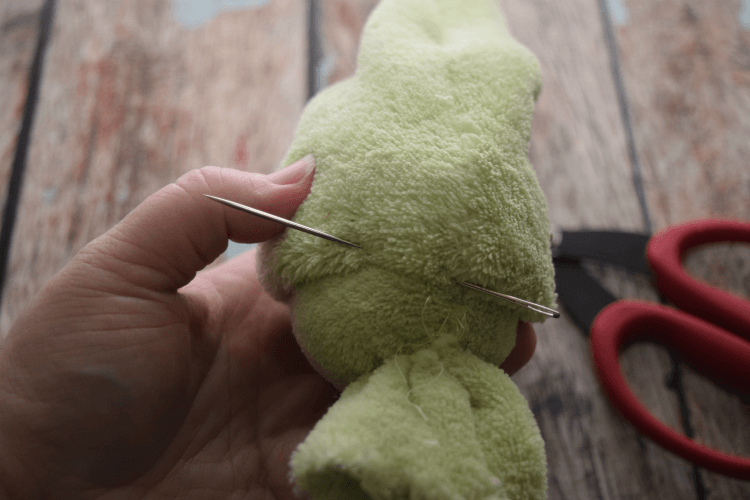
Sew around the edge, hiding the thread ends under the hat when you tie it off. Next, knot the end of the cap.
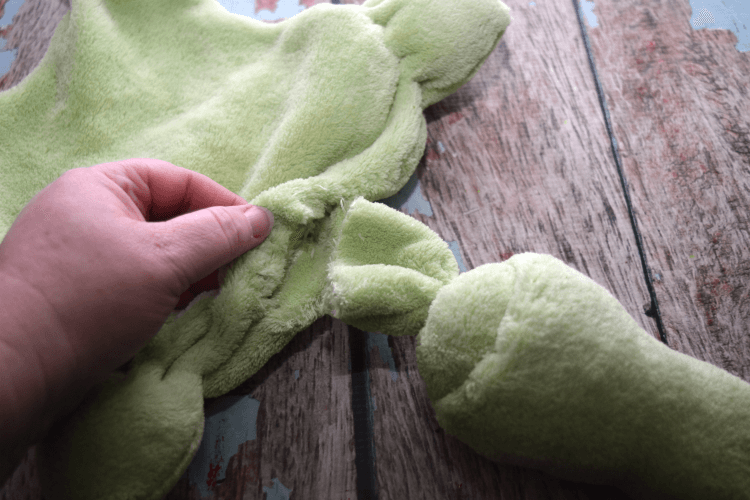
6. Insert the head into the body. Fold raw edges of the body inward and insert the neck.
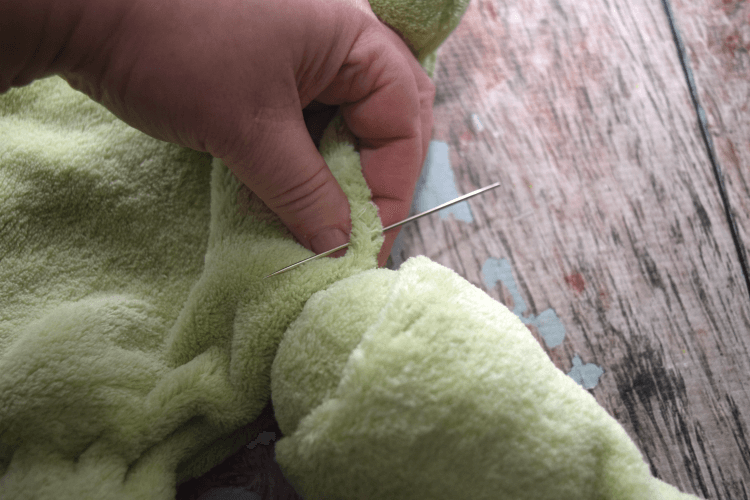
7. Whip stitch the shoulders if the opening is a little too big. This happens to me all the time.
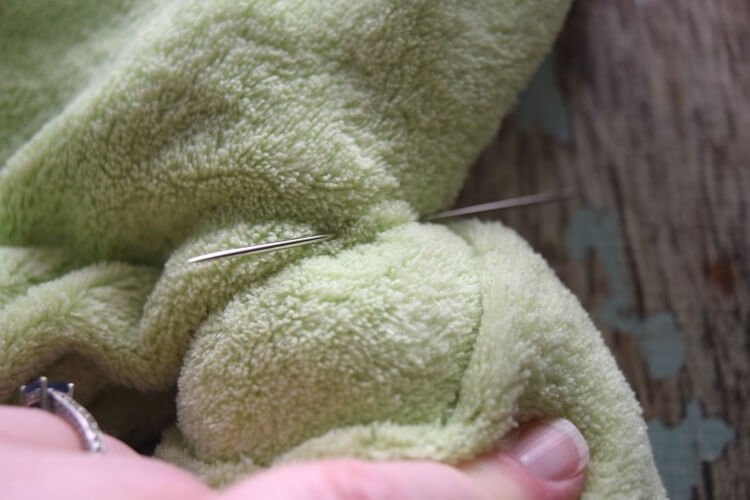
8. Then, sew the bottom of the head to the body with small, secure whip stitches.
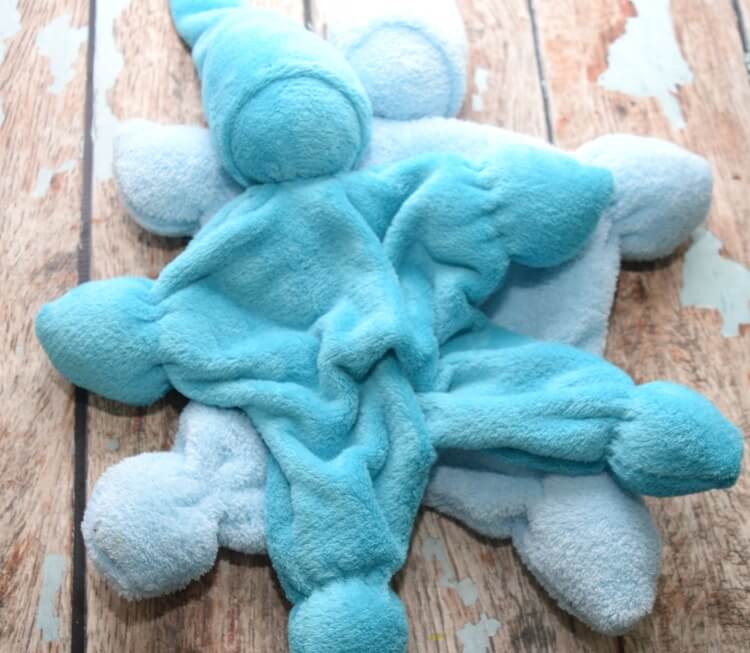
Now you’re done!
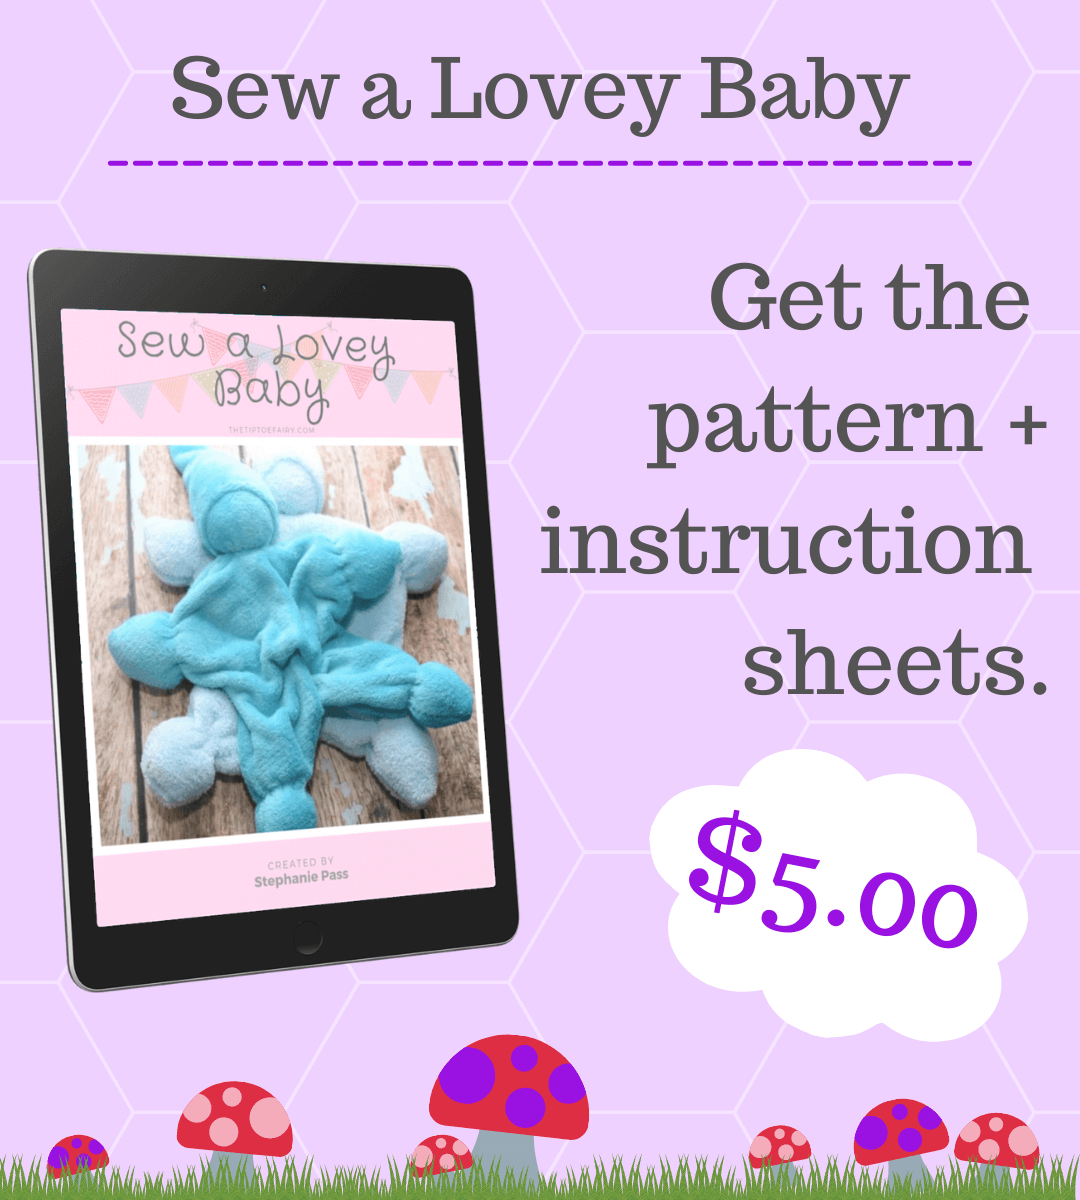
Buy the Pattern + Instruction Sheets All Together
More Sewing Projects
- Sew a Snuggle Bunny Lovey Doll
- Swaddle Baby Dolls
- Tiny Cloth Pocket Dolls
- Make an Origami Bag
- DIY Wipe Off Baby Changing Pad
Come Join Us!
Liked this article and want more? Follow along on Instagram, Facebook, Twitter, Pinterest, TikTok, and YouTube!
Come over and join us on Facebook in the group Recipes, Crafts, and more with TipToe Fairy or Sewing and Crafting with The TipToe Fairy!

16 comments
This is such a cute idea; I can’t wait to try it. My son is 11 months old & sleeps so much better if he has something soft to hold. Thank you for sharing this!
Thanks for such a great tutorial. These are so cute!s
Thanks so much for this pattern. I used minky fabric and the head came out a little to the left but thw instructions were easy to follow and I love the result!!!
Lol, I was thinking this would also work for a pet toy. My cat has a floppy bird toy that I think is meant for dogs that she loves to carry around because it’s floppy. it use to have crinkly plastic inside but it’s worn out. This would be cute to make for her, maybe out of an old t-shirt. I might have to try this out as a pet toy. The hands and feet and even the head could be stuffed with scraps. Thanks for sharing.
Curious about the last sentence of Step 5. “Next, knot the end of the cap.” What does that mean? Thank you.
Oh sorry! Sometimes I knot the very top of the hat. It’s a nice thing for babies to chew on. I just realized I didn’t show that in any of the pictures.
Would flannel fabric work with this?
It can, but I’ve found that using a stretchy fabric works the best.
Have you ever used a Muslin cotton for these loveys?
No, I tend to use stretchy knits like velour, sherpa, minkee, and flurr type fabrics.
My nephew & his wife are expecting twin boys this July. I’m crocheting afghans and am really wanting to make a couple of these to go along w/the afghans. They’re so cute! Thank you for sharing; I can’t wait to make these. (another nephew & his wife are expecting a little girl this May & I’ll make one of these for her, too!)
I can’t wait to make one for my new grandson!
thank you