For the past few weeks, I’ve been making flickering light up fairy jars out of all kinds of upcycled jars. I finally devised a way to upcycle my Yoplait Oui yogurt pots into flickering light up tiny fairy houses, and I cannot wait to show you! These are so fun.
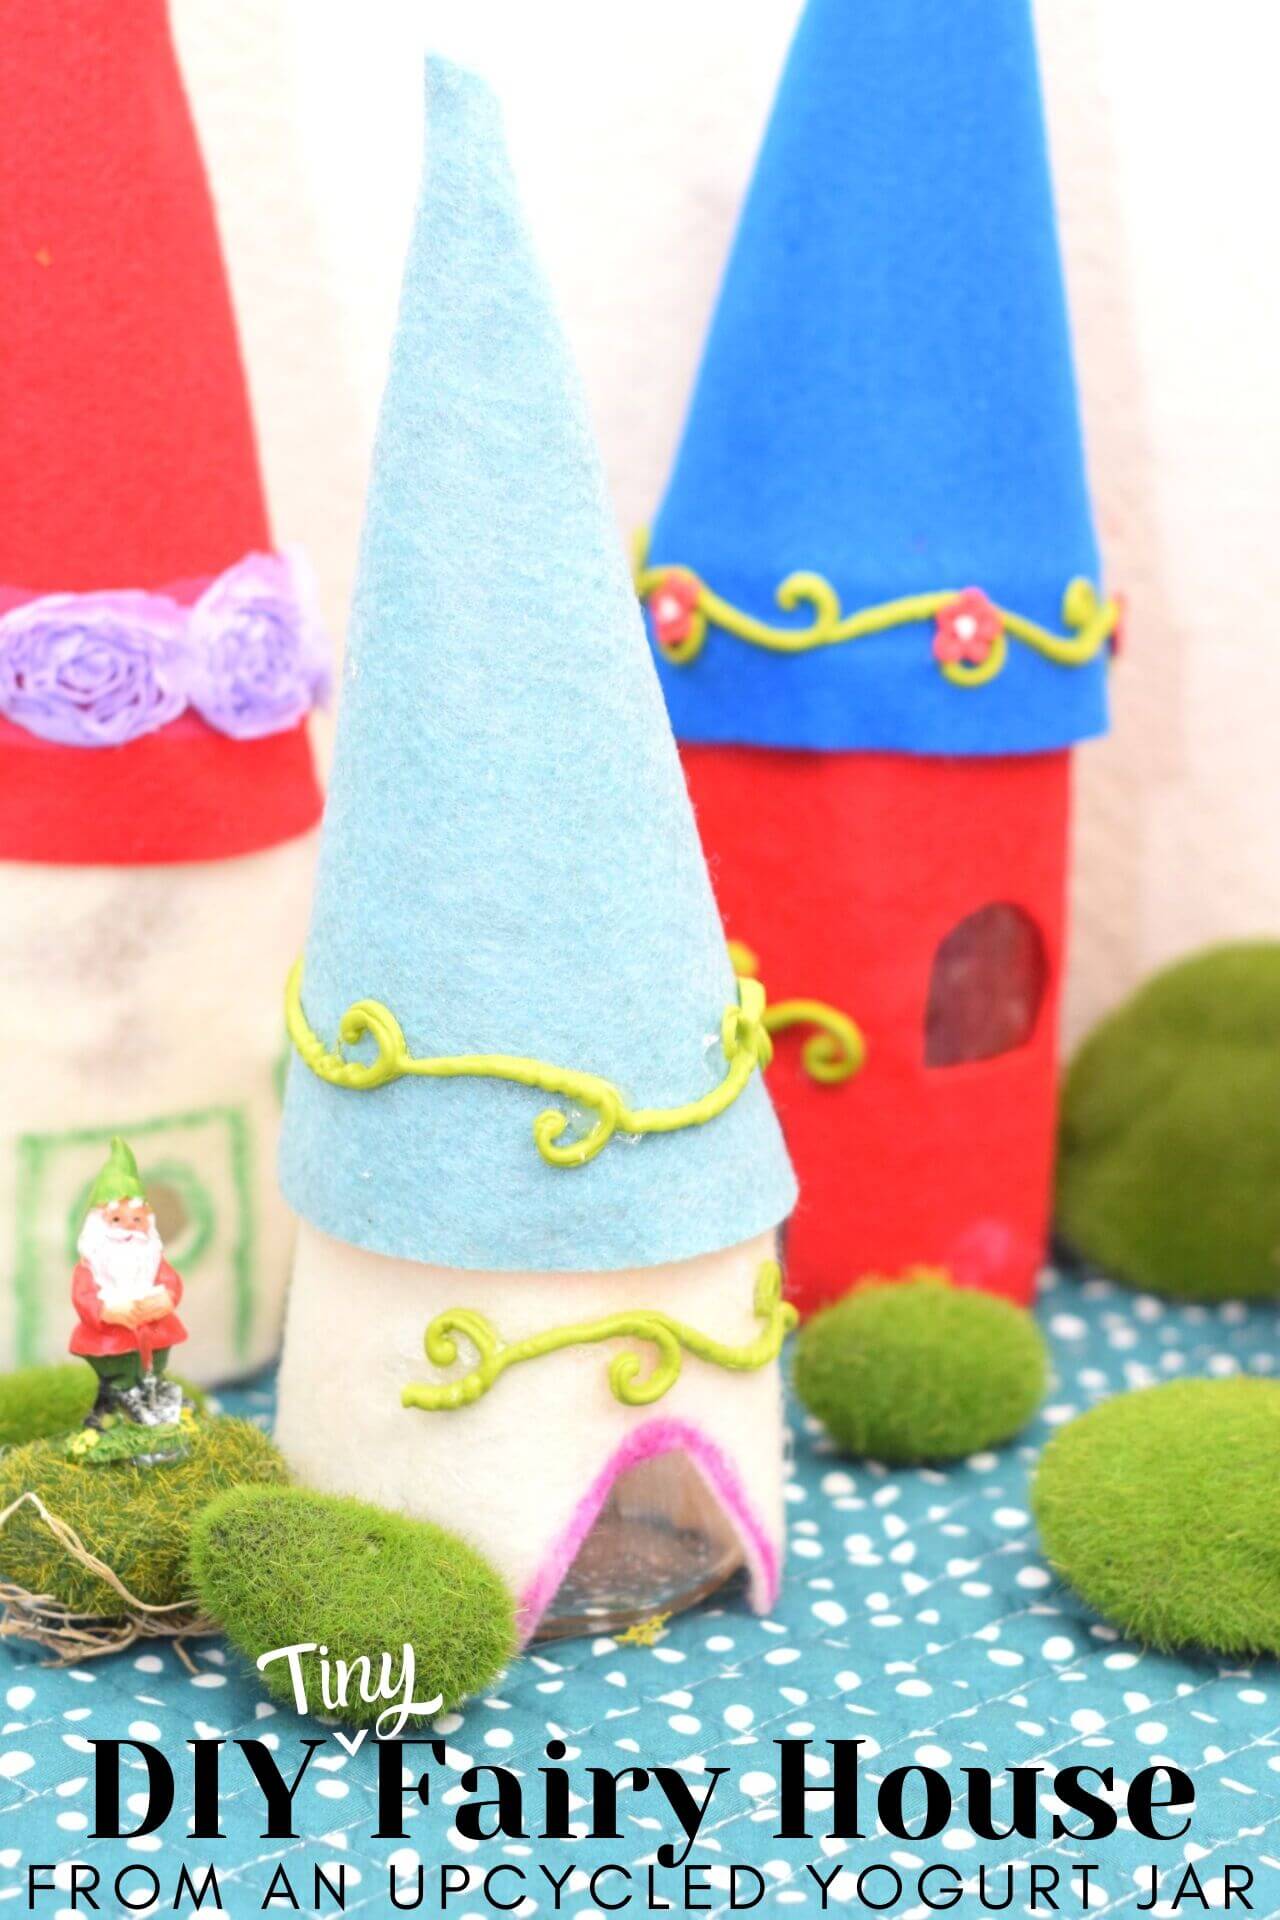
There’s so much you can do with these. Fairy houses, pixie house, gnome houses! I’m picturing a little Christmas village laid out in fluffy cotton to look like snow or a Halloween village of witch and evil fairy houses. These are just so much fun!
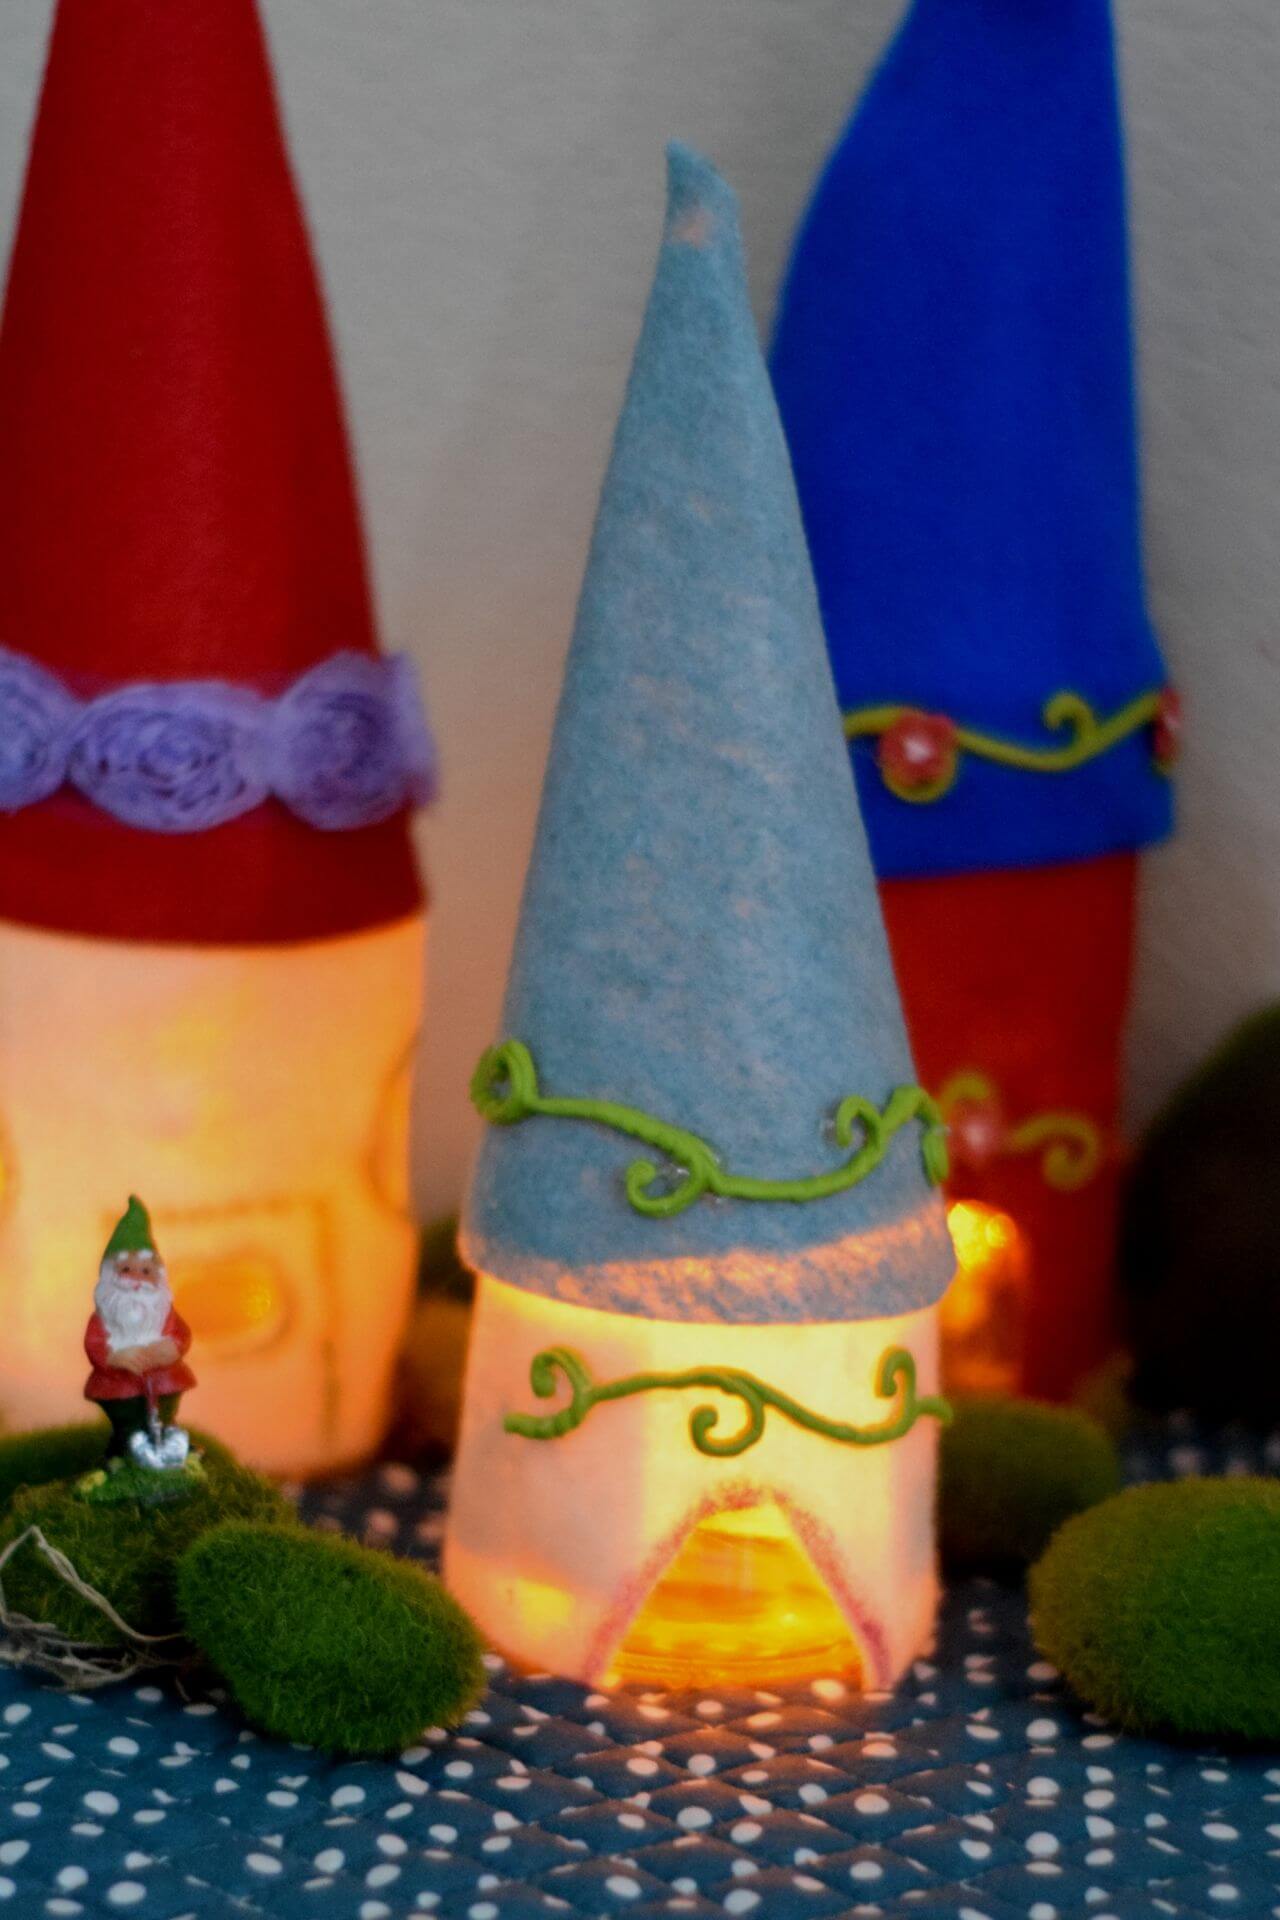
These are the perfect craft to do with older tweens and teens. They have an adorable little fairy or gnome house to take home! You can use these for centerpieces for a fairy birthday party or make witch houses for a Halloween party. Or, make a single fairy house as a night light for a kid. This post contains affiliate links.
Table of Contents
How to Make a Light Up Tiny Fairy House
Supplies
- Yoplait Oui yogurt pot
- 2 felt sheets (11.7 x 8.3 inches)
- 1 sheet of card stock
- flickering LED lights
- embellishments – stickers, trims, ribbons, moss
- glue gun
- Sharpie marker
- Download the pattern pieces HERE
Directions
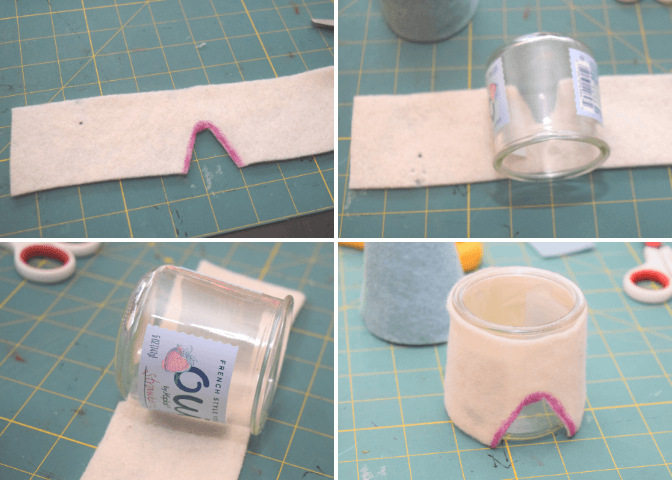
Cut out the pattern pieces. Use one felt sheet to cut out the roof. Use the second felt sheet to cut out the rectangle house piece to 2 1/2 x 9 inches. Use a sheet of card stock to cut out piece B of the roof.
In the very middle of the house piece, cut out a doorway. Use a Sharpie to go around the edges of the doorway. (You don’t have to do this, but it looks cool when it’s lit up.)
Make the Tiny Fairy House
With these fairy houses, you don’t have to remove the labels on the Oui pots. So, when you’re ready to hot glue the piece of house felt to the Oui jar, just make sure to line up the doorway opening with one of the sides of the jar where there is no label. Then, hot glue the piece all the way around the jar.
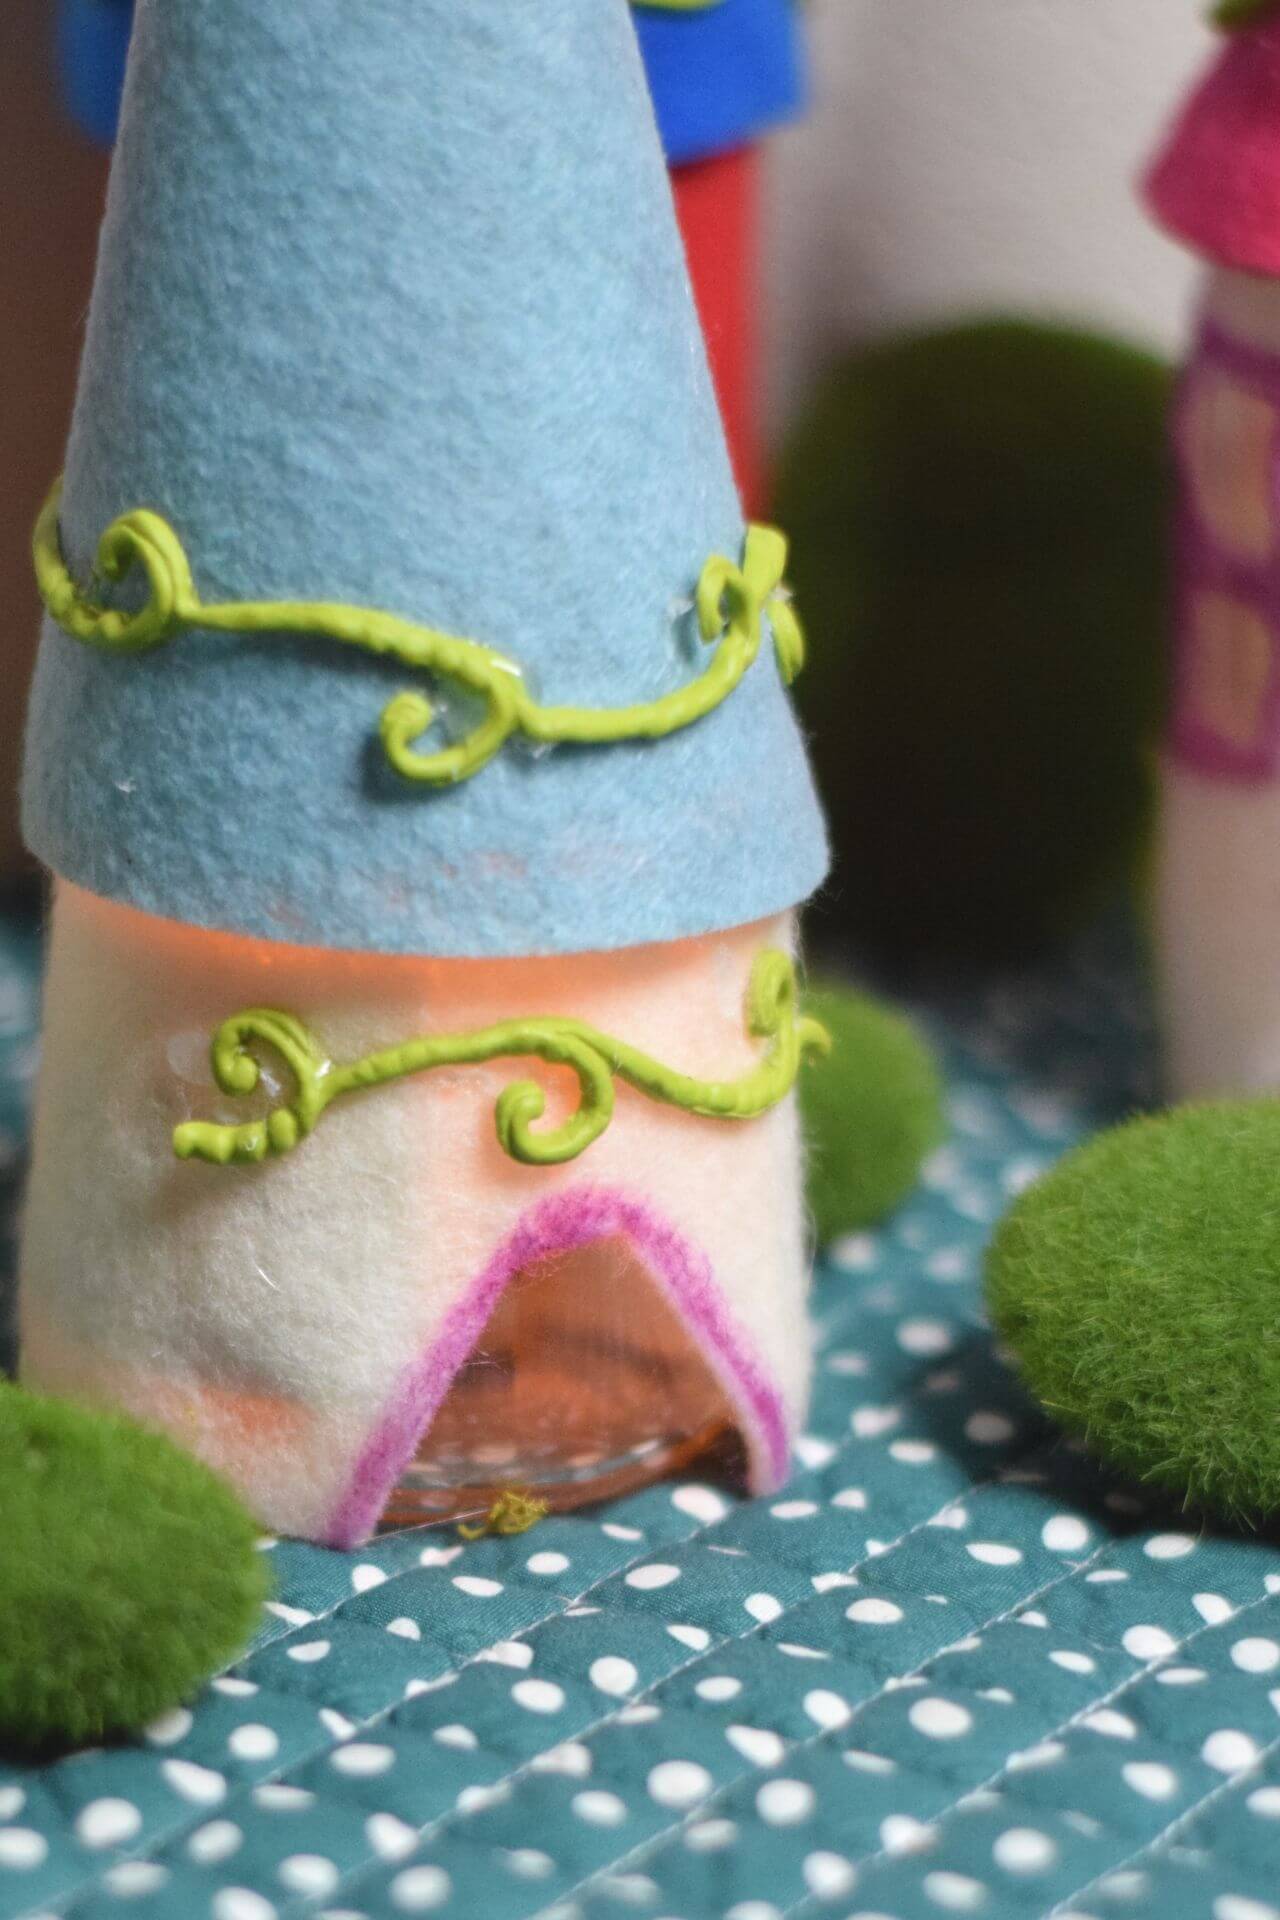
You can leave the house pretty sparse, or you can add embellishments. I added stickers of ivy which I hot glued. I used Jolee’s brand dimensional stickers. They have all kinds from mushrooms to flowers.
You can also buy a bag of moss and hot glue small pieces around your fairy house to look rustic.
Once your house is ready, set it aside and let’s work on the roof.
Make the Tiny Fairy House Roof
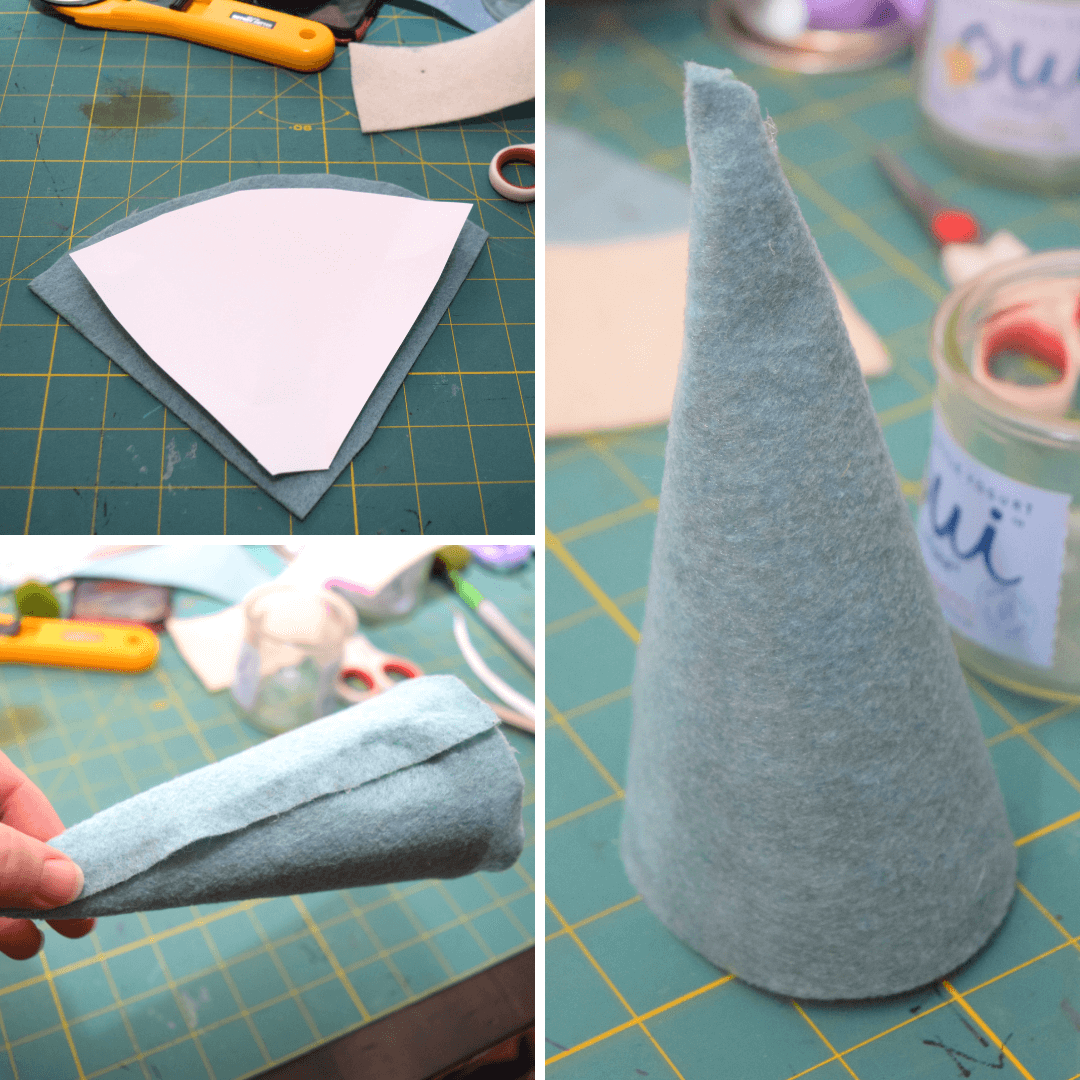
Take the card stock piece and glue it to the wrong side of the felt roof piece. Then, roll it and overlap the seam and hot glue closed. Before hot gluing the top of the roof, add a dollop of hot glue and fold the point down inside the roof. Then, hot glue the top of the roof.
Embellish the roof with stickers or ribbons or trim, if desired. I hot glued a dimensional sticker around my roof.
To put the roof on, just place it on top. It should fit fairly snug over the lip of the yogurt pot. I do not glue it down, so I can easily remove it and turn the flickering lights on and off.
Light Up the Fairy House
These LED lights are my favorite because they flicker. I think the flickering is part of what makes these fairy houses so fun. It looks like a hearth fire or maybe the fluttering of wings in the lights of the house.
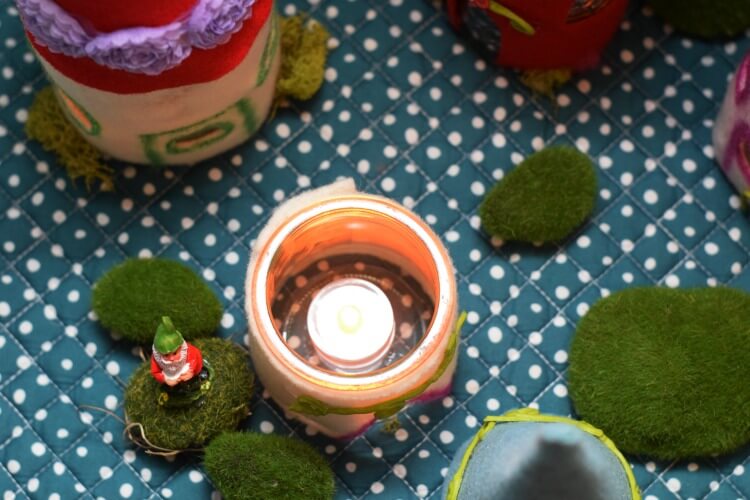
Just drop an LED light into the jar and then place the roof on top. It’s easy to turn off and on because you can just easily take the roof off and turn the light off.
Get the PDF Pattern
If you’d like a downloadable copy of this pattern + instructions, you can purchase the PDF for $2.00 by clicking the banner below.
More DIY Jar Ideas
- Upcycled Votives from Glass Yogurt Pots
- DIY Dinosaur Terrarium Night Light Mason Jar
- Light Up Mason Jar Aquariums
- DIY Light Up Gnome Mason Jars
- DIY Light Up DISNEY Mason Jars
- Make a Mason Jar Christmas Snow Globe
