I love vintage photographs and advertising, and I love displaying them. One of the best ways is making them into DIY magnets for the fridge or a magnetic board. I’ve been doing this for 20 years now, and they are all over my fridge.
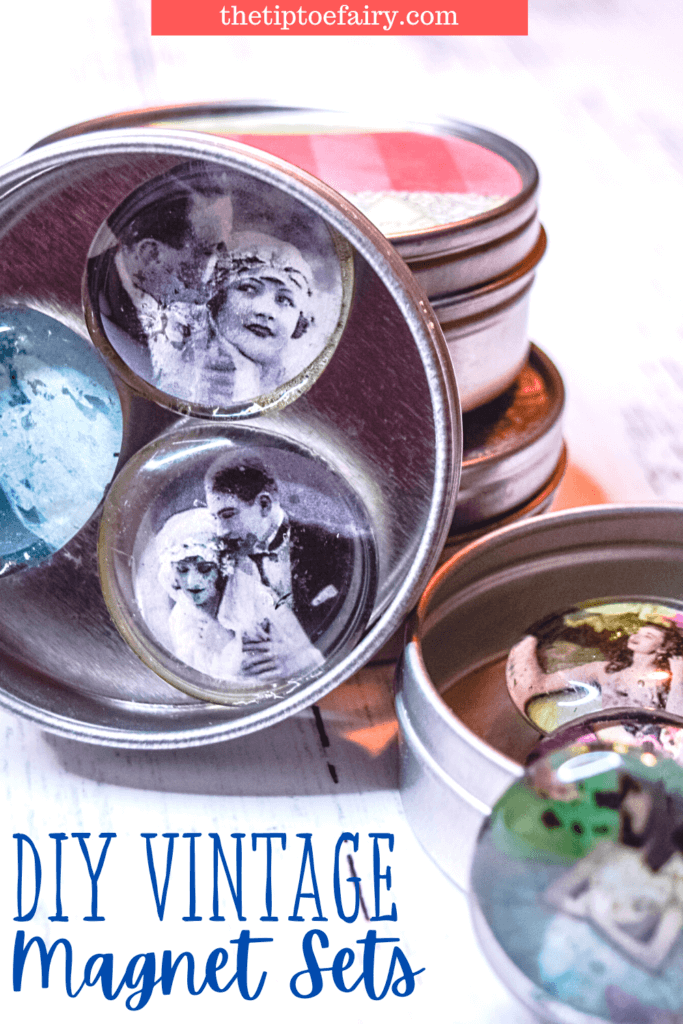
These little magnet sets are also perfect for gift giving. They make a wonderful stocking stuffer. They take so little time to make that you can make a few batches to give to multiple people in just an hour or so.
Table of Contents
Where do you find the images for the DIY Magnets?
You can find all kinds of instant downloads for these on Etsy and sometimes even eBay. You can also make your own using Canva or PicMonkey and using public domain images. You’ll need to shrink them down to about a 1-inch hole punch. I shrink the images down to 1-inch to make them easy to punch out.
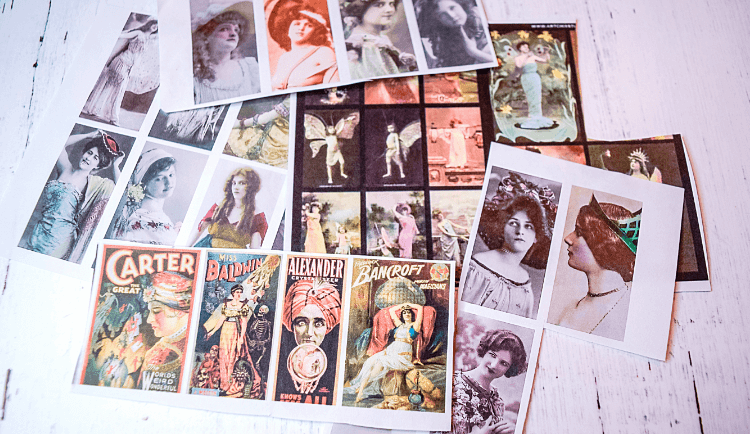
Or…I’ve got a sheet full of 30 vintage images in the perfect 1-inch size below for FREE just for you:
Free Vintage Images Download
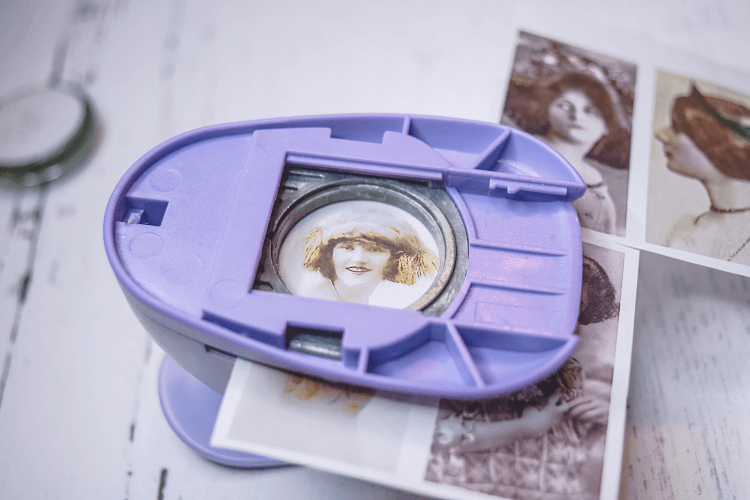
If you are steady, you can cut these out with scissors. But, I am totally not. So, I like to use a 3-inch hole punch for the punch out for the lid decoupage and a 1-inch hole punch for the punch out to decoupage for the magnet.
How do you make these vintage DIY Magnets?
These are so fun to make! You can easily sit down and watch a favorite movie or tv show and make a few dozen in an hour.
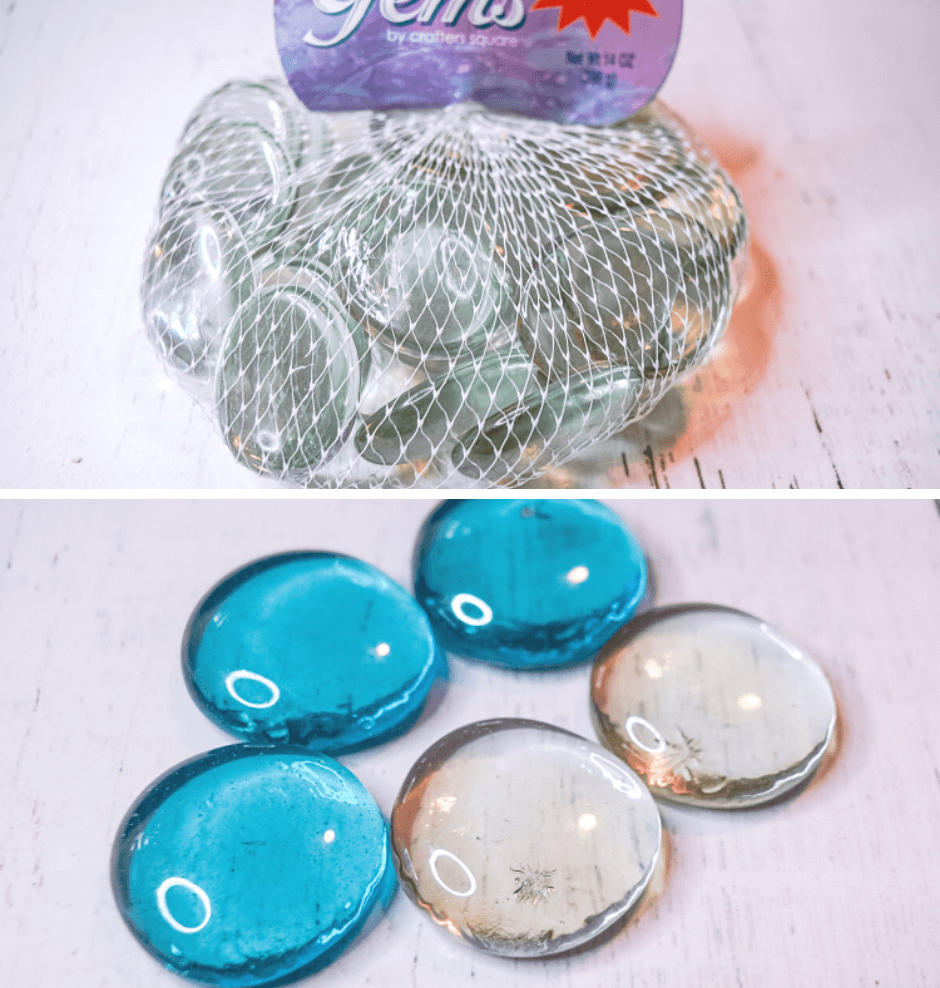
You will need the flat-backed marbles also called cabochons, which you can find at the dollar stores.
Since we’ll be decoupaging the images to the cabachons, you’ll need Mod Podge or watered-down school glue and a paintbrush.
You will also need magnets. I find the thicker ceramic magnets that need to be hot glued work best. Avoid the thinner adhesive ones because they don’t seem to hold much of anything on the fridge.
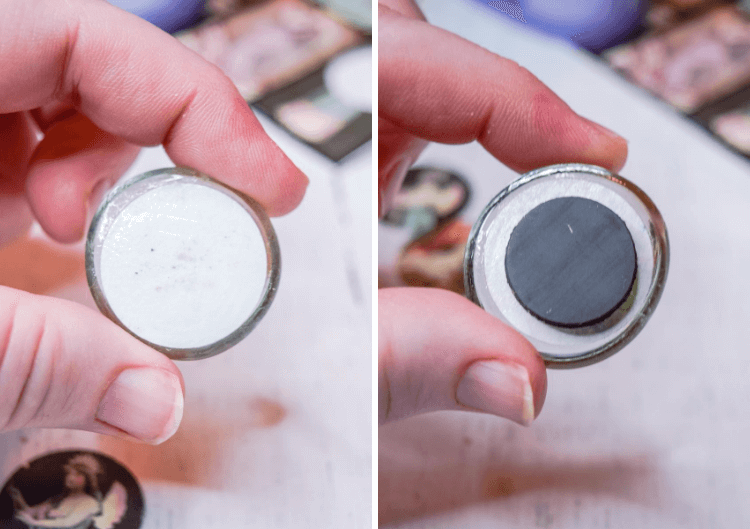
That’s all there is to it! You’ll have a new set of magnets or you can package them up for gifting.
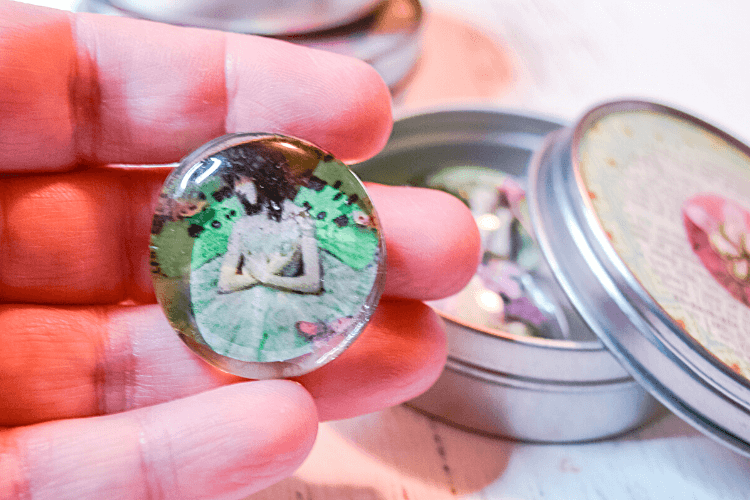
How do you package the DIY Vintage Magnets for Gift Giving?
I purchase clear-lidded containers to hold about 3-4 magnets as a gift. You could also put sets into organza drawstring bags.
If you are going to use the clear-lidded containers to hold the magnet sets, like I did, you’ll need some scrapbook paper or an old book to make circular punch outs to decoupage to inside of the clear lids.
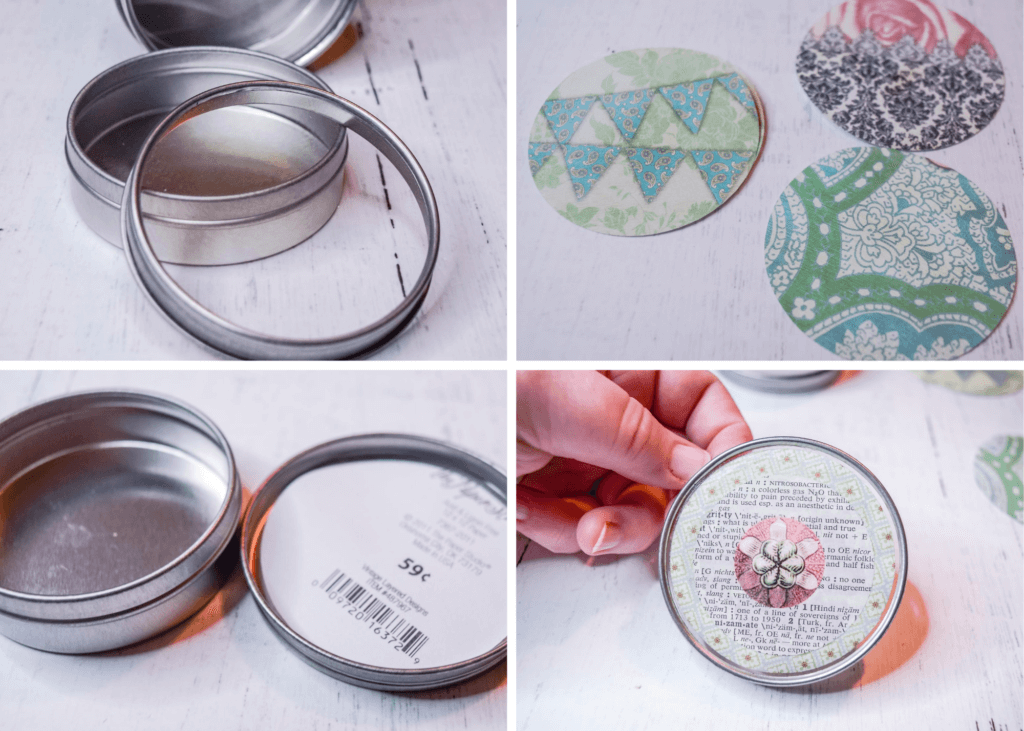
Making a Themed Set of DIY Magnets
I like to make theme sets with my magnets. Here’s a few examples:
- mermaids
- fairies
- witches
- wedding couples
- couples in love
- girlfriends
- beautiful headshots
You could also find vintage images of favorite actresses or movies. You could do a whole magnet set of the Wizard of Oz or Alice in Wonderland or even Harry Potter characters.
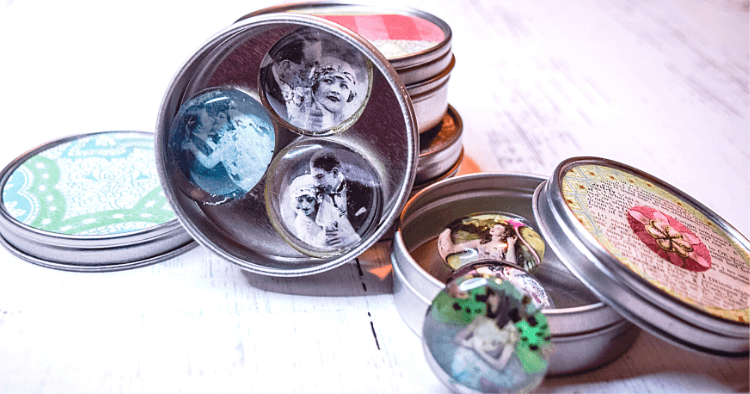
When I make a theme of magnets, I like to also match the lid decoration to the theme. So, I’ll look for scrapbook paper that looks vintage for headshots of vintage women. Or, I’ll find paper that looks like water for mermaids, florals for weddings, etc. I love using a cut out from a page out of an old book or even a dictionary.
With a dictionary, you could center the main word that would go with your theme in the lid decoration.
More DIY Gifts to Make
- Aromatherapy Rice Bags
- Warming Corn Bags
- Make an Origami Bag
- Lavender Bath Bombs
- Harry Potter Bath House Salts
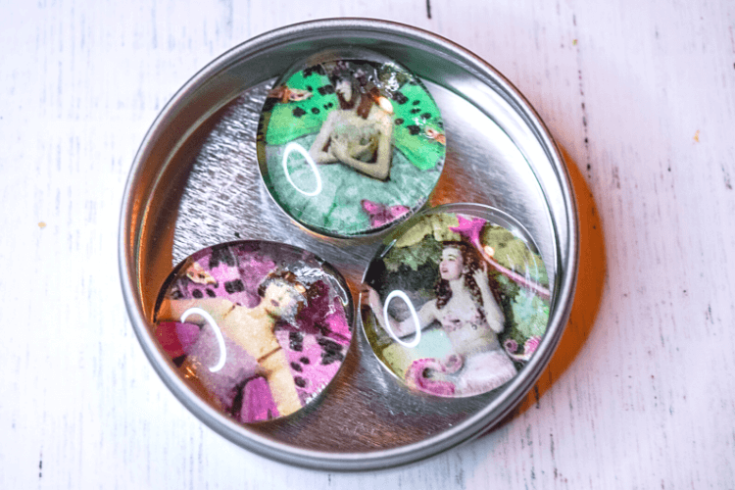
DIY Vintage Magnet Sets for Gifts
Materials
Instructions
- Punch out the 1-inch images.
- Take 1 cabochon and lightly brush Mod Podge on the flat back of it.
- Immediately place the image on the Mod Podge.
- Gently brush another layer of Mod Podge over the image.
- Let dry.
- Hot glue a magnet to the center of the cabochon.
- Continue decoupaging the images onto the backs of the rest of the cabochon.
- Take scrapbook paper or a page from an old book and cut 3-inch pieces.
- Take the clear lid of the container and decoupage the scrapbook paper to the inside of the lid so the right side of the scrapbook paper (or book page) shows through the lid.
- Place the magnets inside the container (or inside a small drawstring bag).
- Gift magnet sets as gifts!
