
This is a perfect little sundress and bloomers sewing pattern to make adorable dress sets for your babies and toddlers for the summer. It’s made of knit, so it’s comfy and perfect to throw on in a hurry.
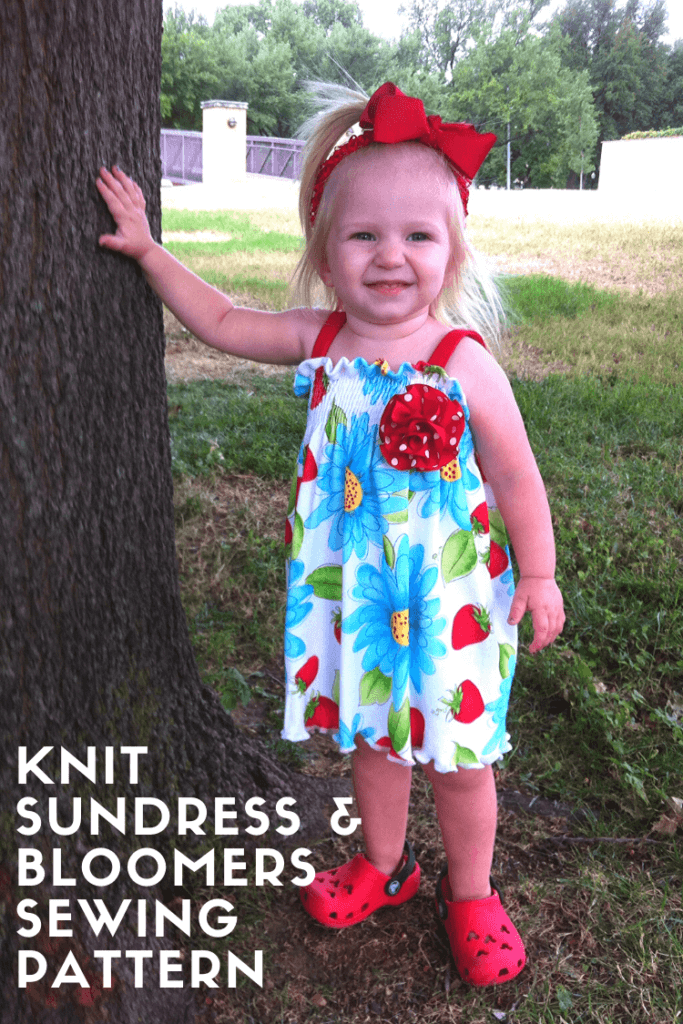
I love making baby and toddler dresses. They don’t take much fabric, and they are so easy to whip out. This Sundress & Bloomers sewing pattern is very easy to put together. The dress is a simple rectangle, and you use shirring elastic to create the bodice.
Table of Contents
What kind of fabrics for this Sundress and Bloomers Sewing Pattern?
This sundress is made with knit. I like putting my babies in cotton knits, so they aren’t restrictive. Plus, it’s such a breathable fabric.
I would recommend cotton knit, cotton interlock, cotton jersey, hemp jersey, or even bamboo knit, which is super soft.
The bloomers are my favorite thing in this pattern. I actually make more bloomers than dresses because they work perfectly as shorts for spring and summer. I pair them with onesies and t-shirts for my little girls. And, they fit wonderfully if you’re using cloth diapers and have that big diaper booty on your baby.
Get the Sewing Pattern & Cutting Guide
The dress has no pattern piece because it is a simple rectangle. Get the bloomers sewing pattern and measurement guides for the straps, waist, and dress measurements in the form below:
More Fun Clothing Projects
- Cupcakes & Ice Cream Baby Body Suits
- Minnie Mouse Cupcake Applique
- TieDye Summer Dresses
- TieDye Baby Body Suits

Sundress & Bloomers Sewing Pattern
Materials
- 1 yd of knit fabric
- 24 x 24 inches piece of knit fabric
- 1/2 inch non-roll elastic
- shirring elastic
- 1/8 or 1/4 inch elastic
- 2 large scraps rib knit fabric
Tools
- thread
- scissors
- sewing machine
- Optional: serger
Instructions
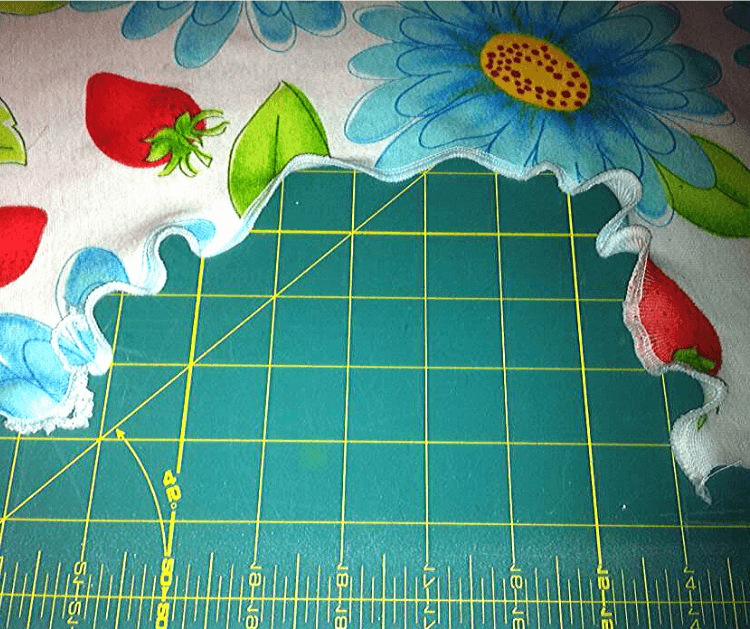
1. If you have a serger, lettuce edge the hem of the dress. If you do not know how to do this, look at your instruction booklet for your serger and determine the settings for a rolled hem. After setting your serger to the rolled hem, insert the bottom hem of your dress and begin. As you serge, stretch the fabric and you will begin to see it become wavy as it goes through.
If you do not have a serger, just make a small plain hem.
2. Hem the top of the dress.
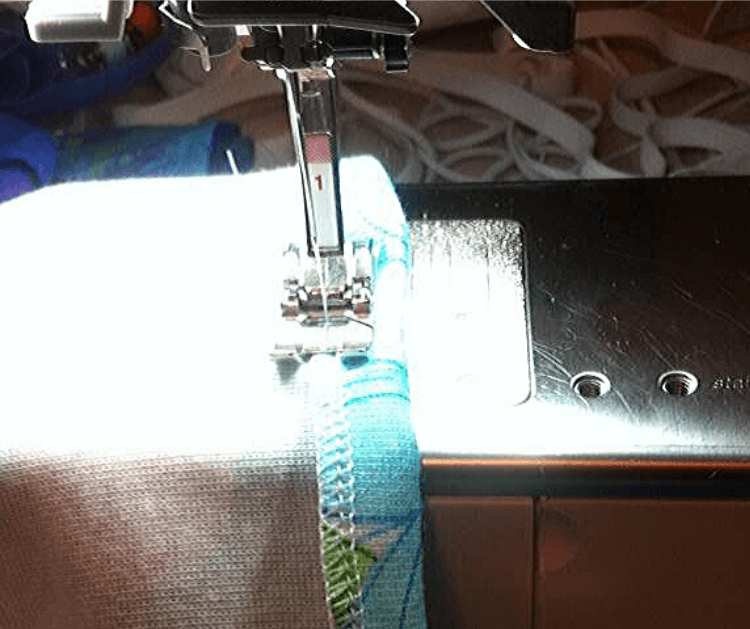
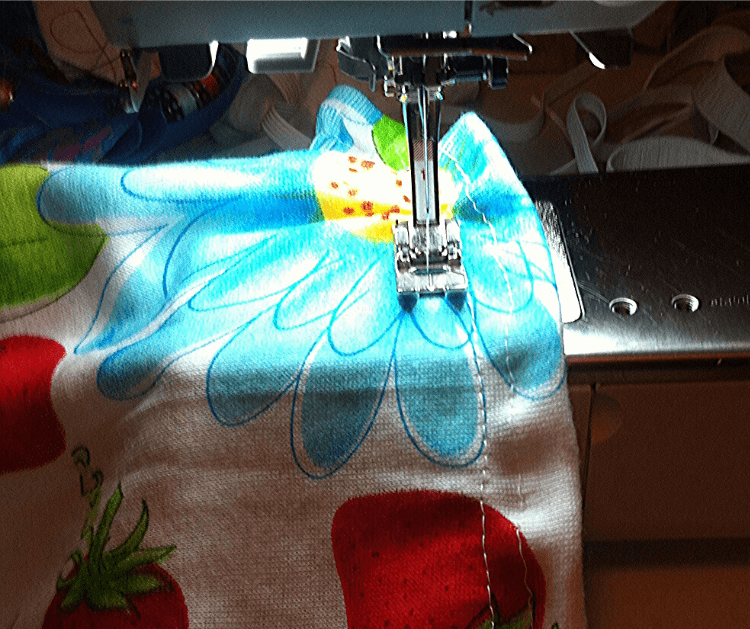
3. Fill a bobbin with shirring elastic. You will shirr the top of the dress while sewing the right side of the fabric as shown in the picture.
Line your presser foot edge with the hem stitch line and begin shirring. Stretch the fabric some as you shirr, so that as you finish, it begins to gather. As you start shirring a new row, line your presser foot up with the previous shirred row. Continue shirring for several rows. Make sure to leave excess thread at each row. Then as you create more shirred rows, pull slightly on the excess threads to gather the shirring more.
4. Once you have sewn all rows, put the right sides together of the dress. This will create a seam at one of the sides of the dress. Make sure you match up the shirring rows. As I sew the seam, I usually do some back-stitching to tack the shirring so it doesn’t come loose. Then cut the threads of the shirring close to the tacking.

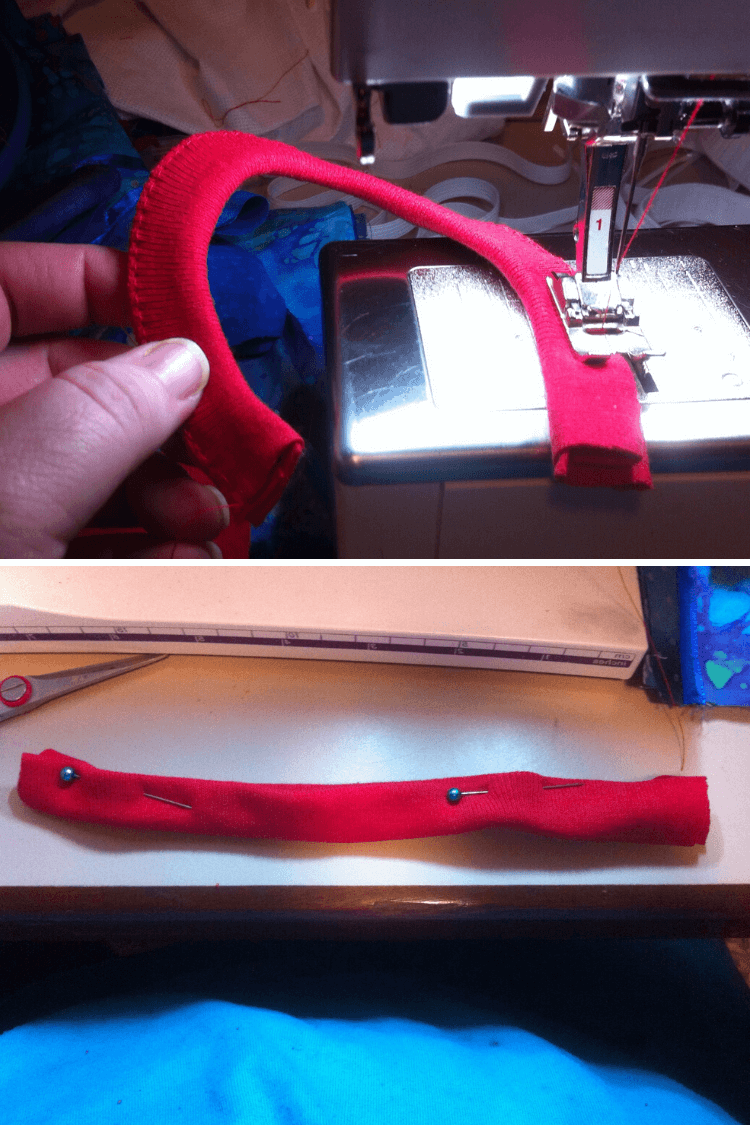
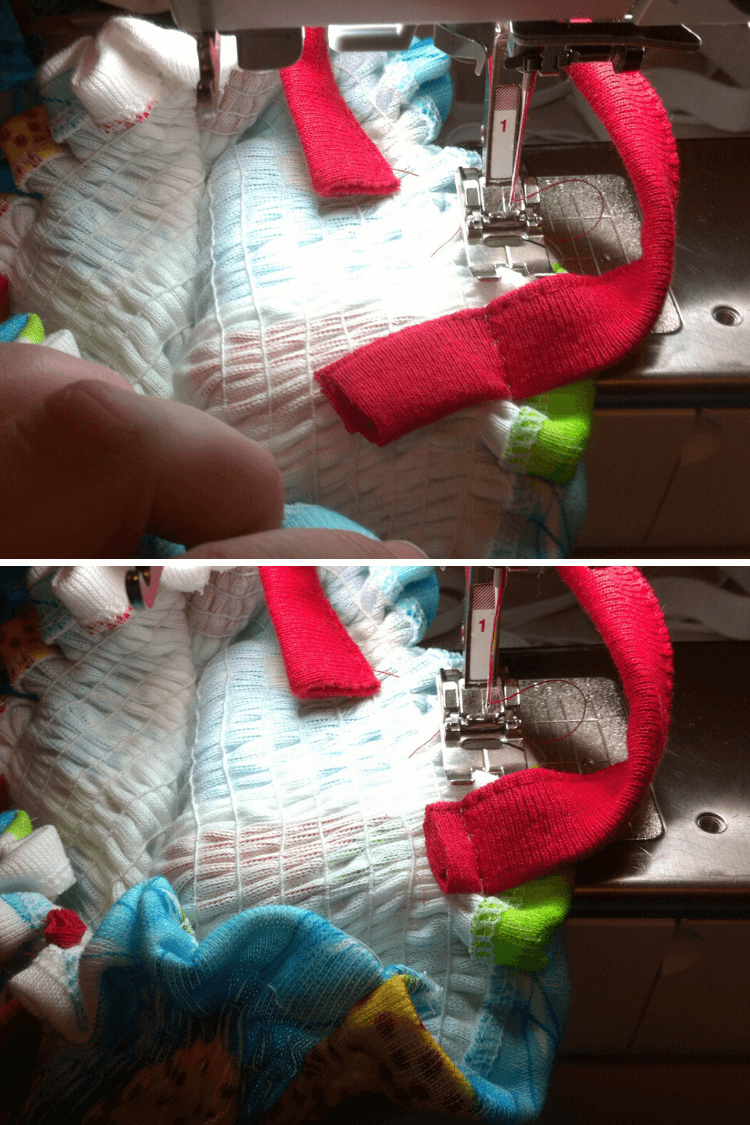
5. To make the straps, take your two pieces of rib knit. Unlike the dress, they should be the most stretchy LENGTHWISE. You will fold them into thirds like the photo.
Then you will fold them in half once more to hide the raw edge.
Sew each strap closed as pictured.
6. Try the dress on your daughter and mark the placement of the ribbed straps. There will be some excess to each strap edge, which you can cut off after sewing them on.
If you can’t try it on a child, sew the straps and leave an excess of about 1/2 inch to 1 inch at each raw edge.
When I sew the straps, I like to sew them on the hemline of the top of the dress and I tack them so they are secure. Usually, they will fit nicely about 2 to 2.5 inches from the center of the dress on either side. If they are attached too far to the side, they tend to fall off the shoulders.
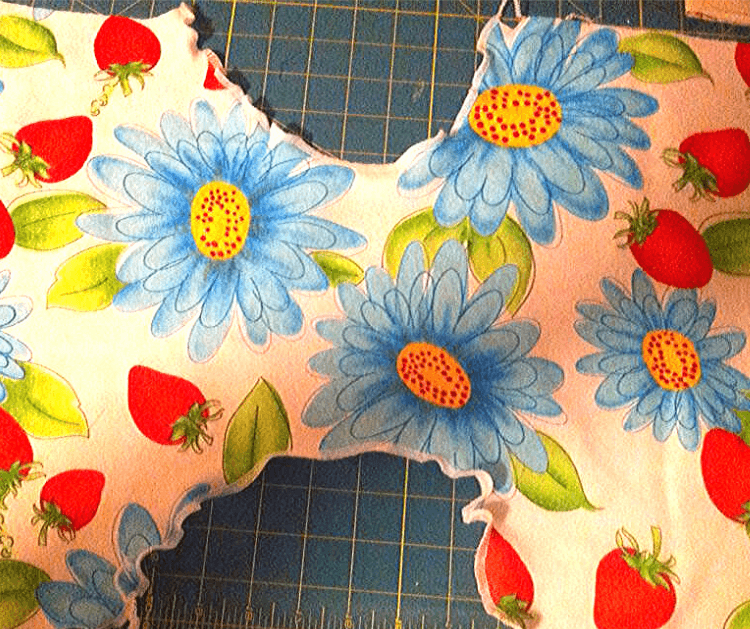
7. You will need to tape the bloomers together at the points indicated. It will be just one pattern piece.
8. If you have a serger, use the rolled hem to lettuce edge the legs of the bloomers. If you don’t have a serger, just sew a small hem on the legs.
9. Attach the 1/8 inch elastic about 1/2 inch from the edge of the legs. Make sure you leave a little above the side seam where you start attaching it, so you will catch some elastic in the side seam.
Remember to stretch the elastic as you sew, so that it will not be loose on your baby’s legs. Don’t stretch it extremely tight so that it doesn’t cause red marks on their legs, but also don’t NOT stretch it, otherwise it will be loose.
10. Put right sides together of the bloomers, matching the side seams. Start at the leg and sew the side seam all the way to the waist.
Once you sew both side seams up, it should look like this.
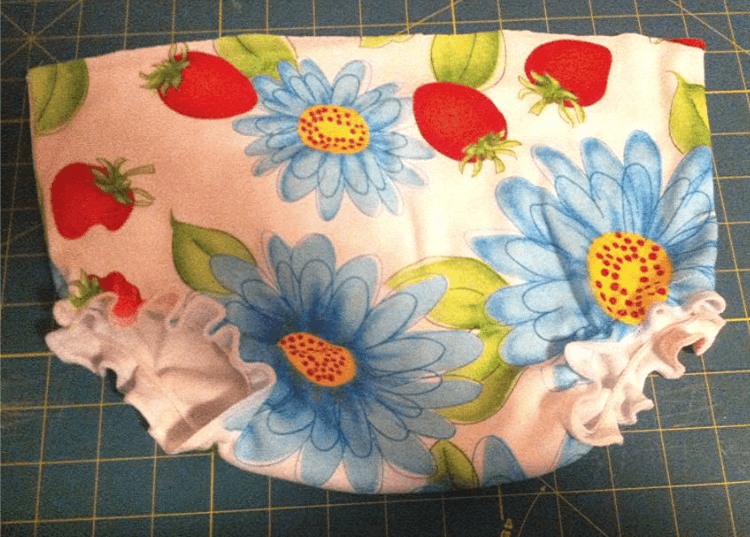
11. To finish up your bloomers, we just have the waistband. Sew a casing for the elastic waistband, but make sure to leave 1-2 inches unsewn to insert your elastic.
Measure your child’s waist and subtract 1-1/2 inches and cut the elastic. If you need a chart, use the one in the cutting guide.
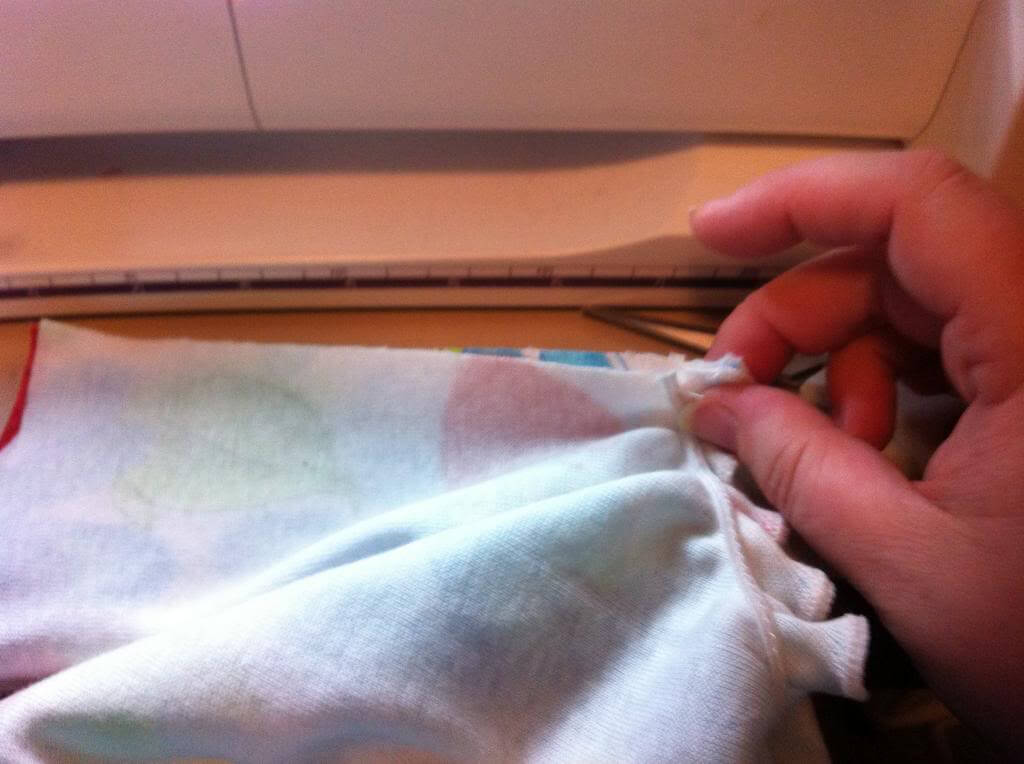
12. Insert the elastic into the casing using a safety pin. Make sure to leave one end of the elastic out. Then, pull through, overlap the elastic and sew it together. Then sew the casing closed.
28 comments
Saw your link on This Gal Cooks Link Party #41. Oh my goodness this outfit is precious. Pinning!
So sweet! Thanks for the tutorial.
Ooh free pattern!! Awesome, thanks! Yours turned out very adorable!
Very cute! Love the fabric!
Love the fabric, great job on the dress :)thanks for sharing with us at Creative Mondays …
What a gorgeous dress and such cute fabric!
Thanks for linking to a Round Tuit!
Hope you have a fabulous week!
Jill @ Creating my way to Success
http://www.jembellish.blogspot.com/
Darling dress and bloomers!
This is such an adorable dress, and the bloomers are cute, too! I feel like very baby and toddler dress should come with bloomers!
Navy Wifey Peters @ Submarine Sunday Link Party
http://usscrafty.blogspot.com/2013/04/submarine-sunday-26.html
This is DARLING! I can’t wait to make one! Thanks for posting- saw you on nap-time creations
is very nice!
This is so cute! I love to shir! I love your fabric choice! Thanks for sharing! I’d love for you to visit us at Get Your Crap Together!
So very cute! Makes me wish for a grandaughter!
I absolutely love that fabric. Also I have recently learned how to make a lettuce edge without a serger. You have to set your sewing machine to tight zigzag stitches and stretch the fabric as you go. Warning: It fills your machine with lint, so be sure to clean it and oil it when your done or maybe even half way through.
The outfit is charming and looks so cute on your little girl. Love the bright floral fabric.
the bloomers make me smile! I love that lettuce hem as well. I love your choice of fabric, and the over all look is very fun!
great job Momma!
with love,
-Jo
So cute!!
cute girl….and thanks for sharing your DIY, its awesome! am a new follower, found you on keep calm link up
hope you can follow back
http://www.prettylittledahlia.com
Thank you for this fabulous tutorial! Can’t wait to try it.
I’m going to do this just as soon as I get the fabric together 🙂 TYVM for sharing
This is so cute…makes me wish I had a little one again…almost.
What a gorgeous outfit – she must be really pleased with it 🙂
Thanks for linking up!
Sarah @ A Cat-Like Curiosity
What a cute little outfit! Thanks for sharing it at Throwback Thursday!!
xoxo
Denyse
Thanks for linking up at Throwback Thursday and sharing this gorgeous outfit!
do you remember where you got that fabric? I LOVE it. i’m searching the world over till i find some! and the dress and bloomers are adorable! thanks
Thanks!! Unfortunately, it was from an old line of children’s clothing where they sold off the extra fabric.
I remembered the name. It’s Baby Nay. I’ll check to see if I still have some in my stash. I’m such a fabric hoarder.
oh! that would be GREAT! thanks
Faaaaabulous charts! Thanx so much for those: I was wracking my brain trying to figure out the measurements for the dresses and the straps!