Thank you ILTC and Blueprint Social for sponsoring this post!
One of my favorite crafts is to tie dye, and my favorite dyes are Tulip’s One-Step Tie Dye because you can create a fashion masterpiece so easily. Just add water for beautiful bold color! The dyes are permanent and color-fast, which means they won’t fade in the wash! Are you ready to Tie Dye Your Summer?
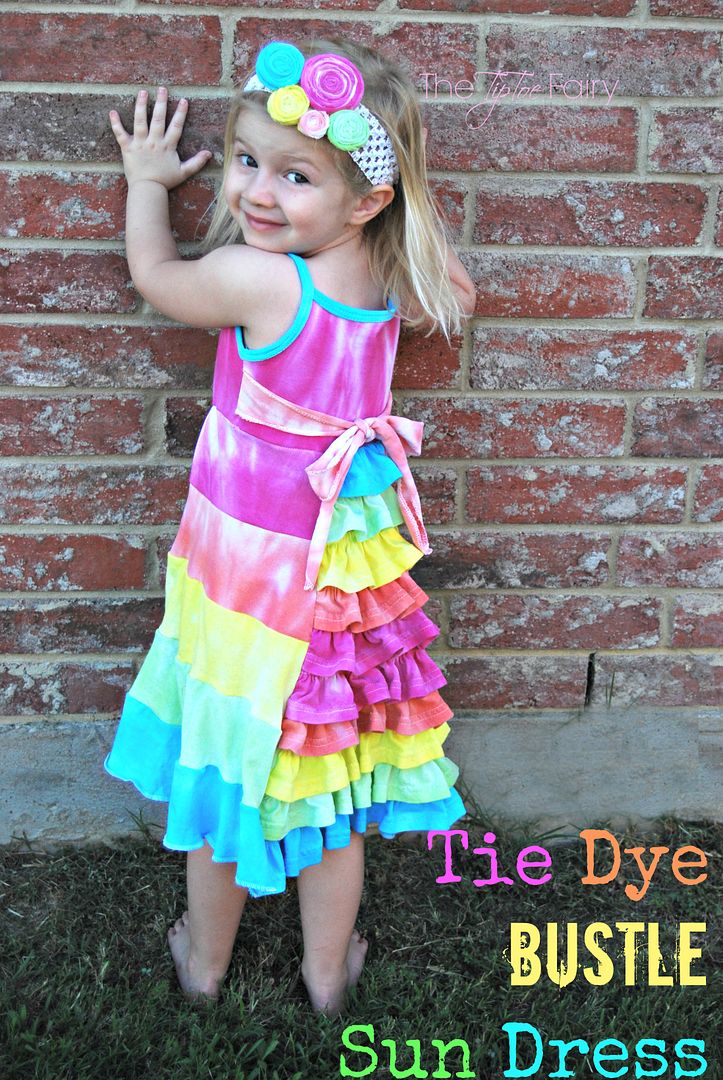
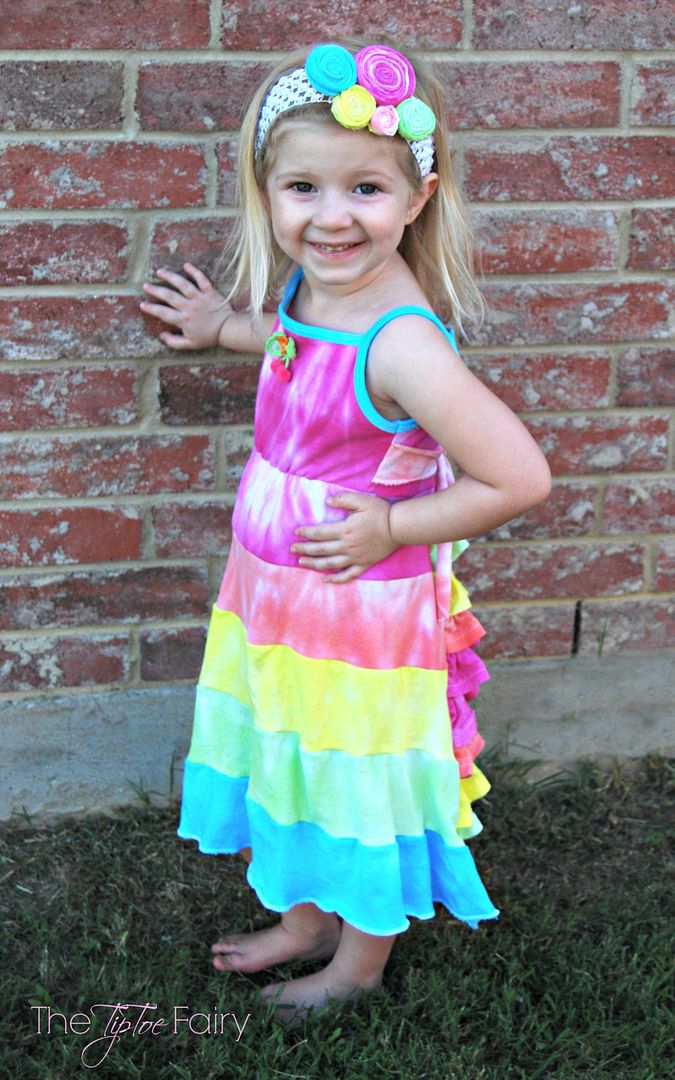
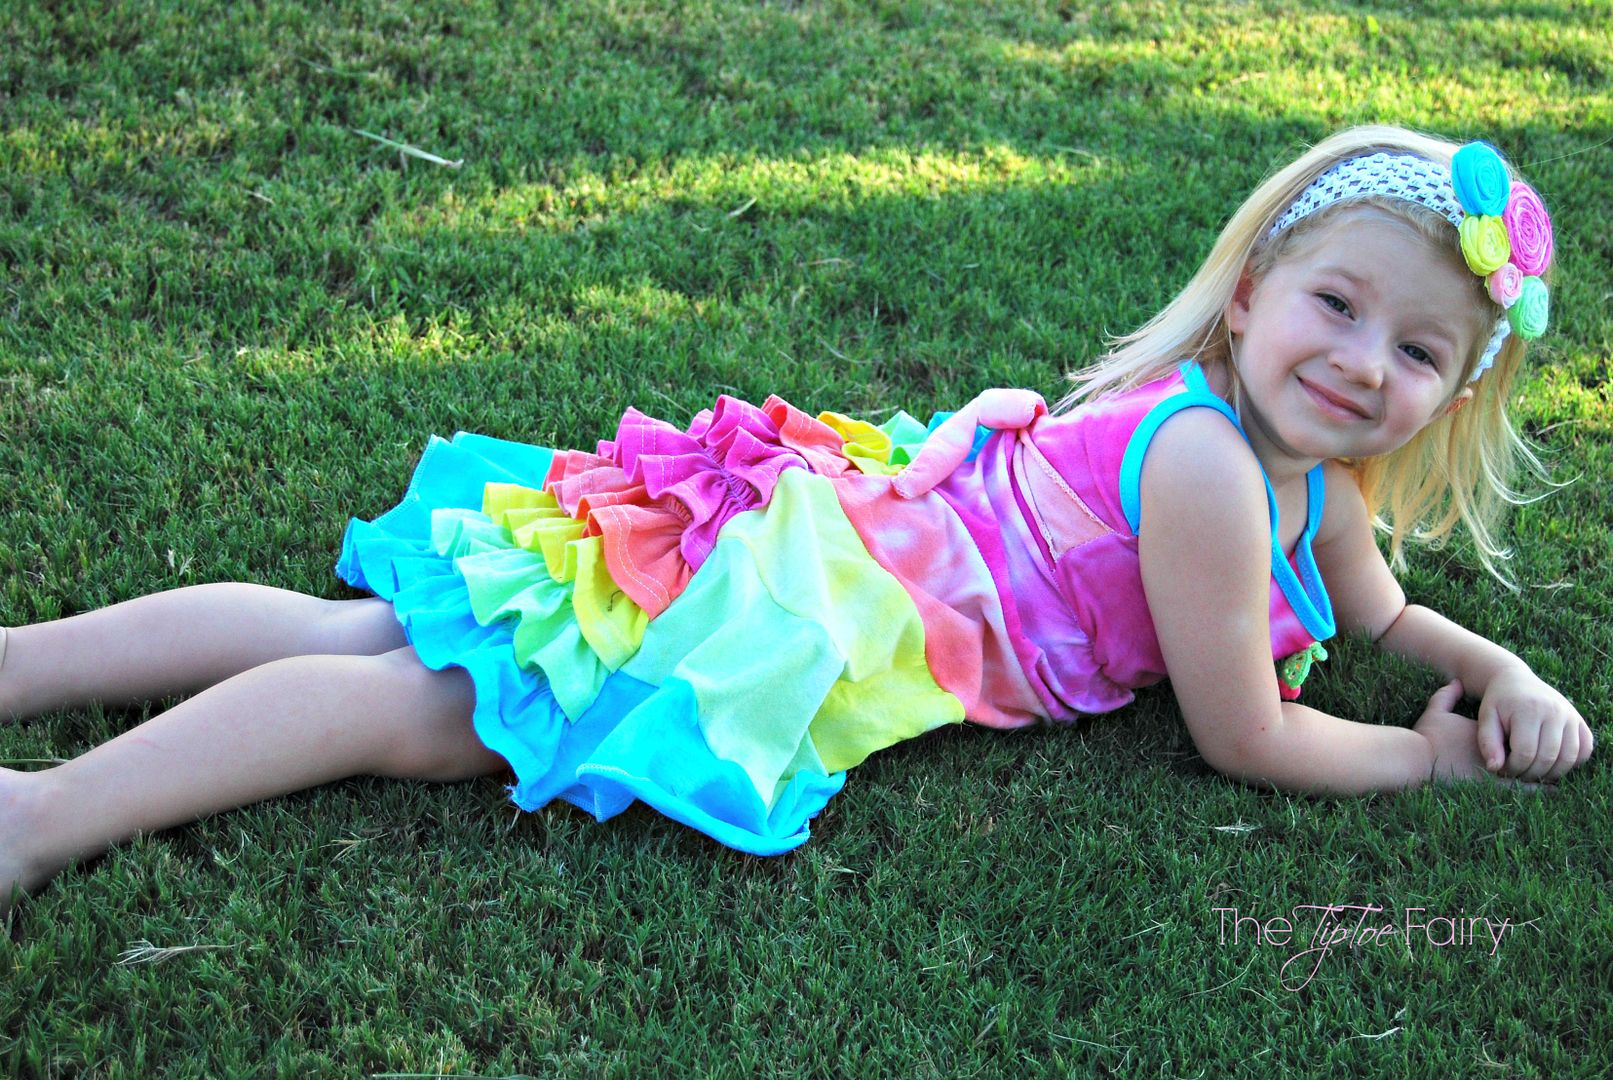
Today I have a fabulous tutorial to make a Tie Dye Girls Bustle Sun Dress made from adult-sized t-shirts. I dyed the shirts ahead of time with Tulip’s One Step, then turned them into this adorable sundress. My daughter is a size 4, so I’ll be giving those measurements, but you can easily change it for other sizes. If you’re adventurous, you can even make this in an adult size!
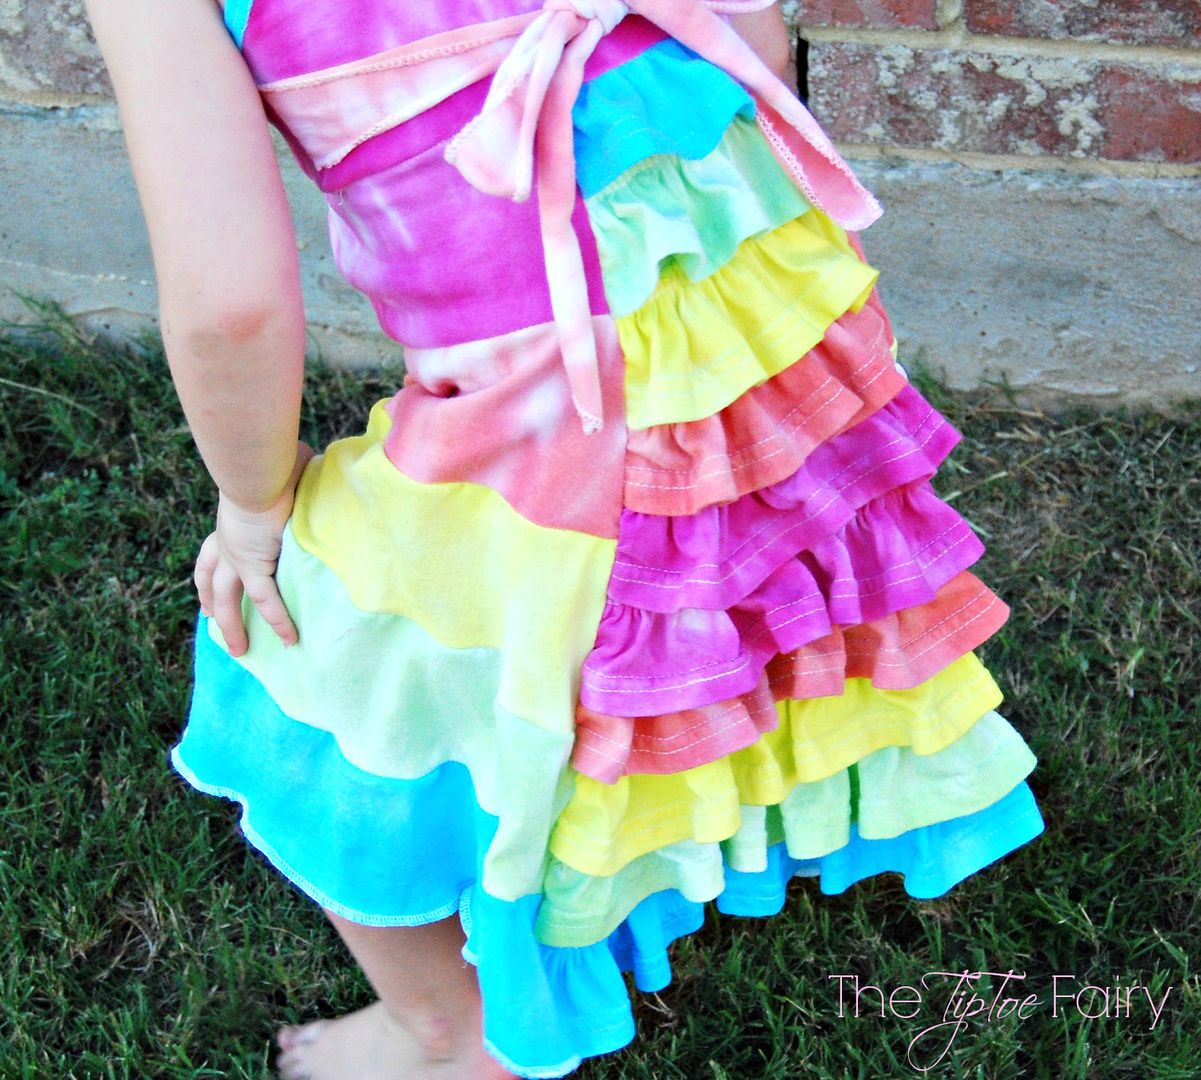
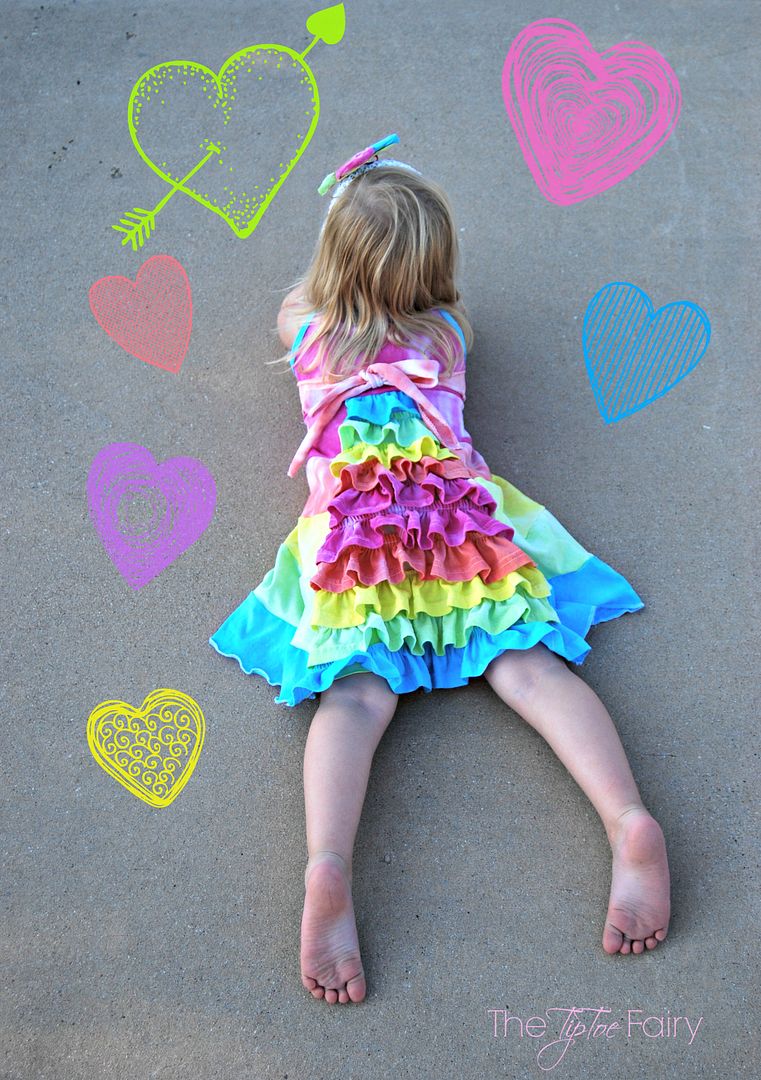
I thought the bustle would be super easy and way less time consuming by using the hem of the t-shirts. I absolutely LOVE how it came out! It was exactly as I had imagined.
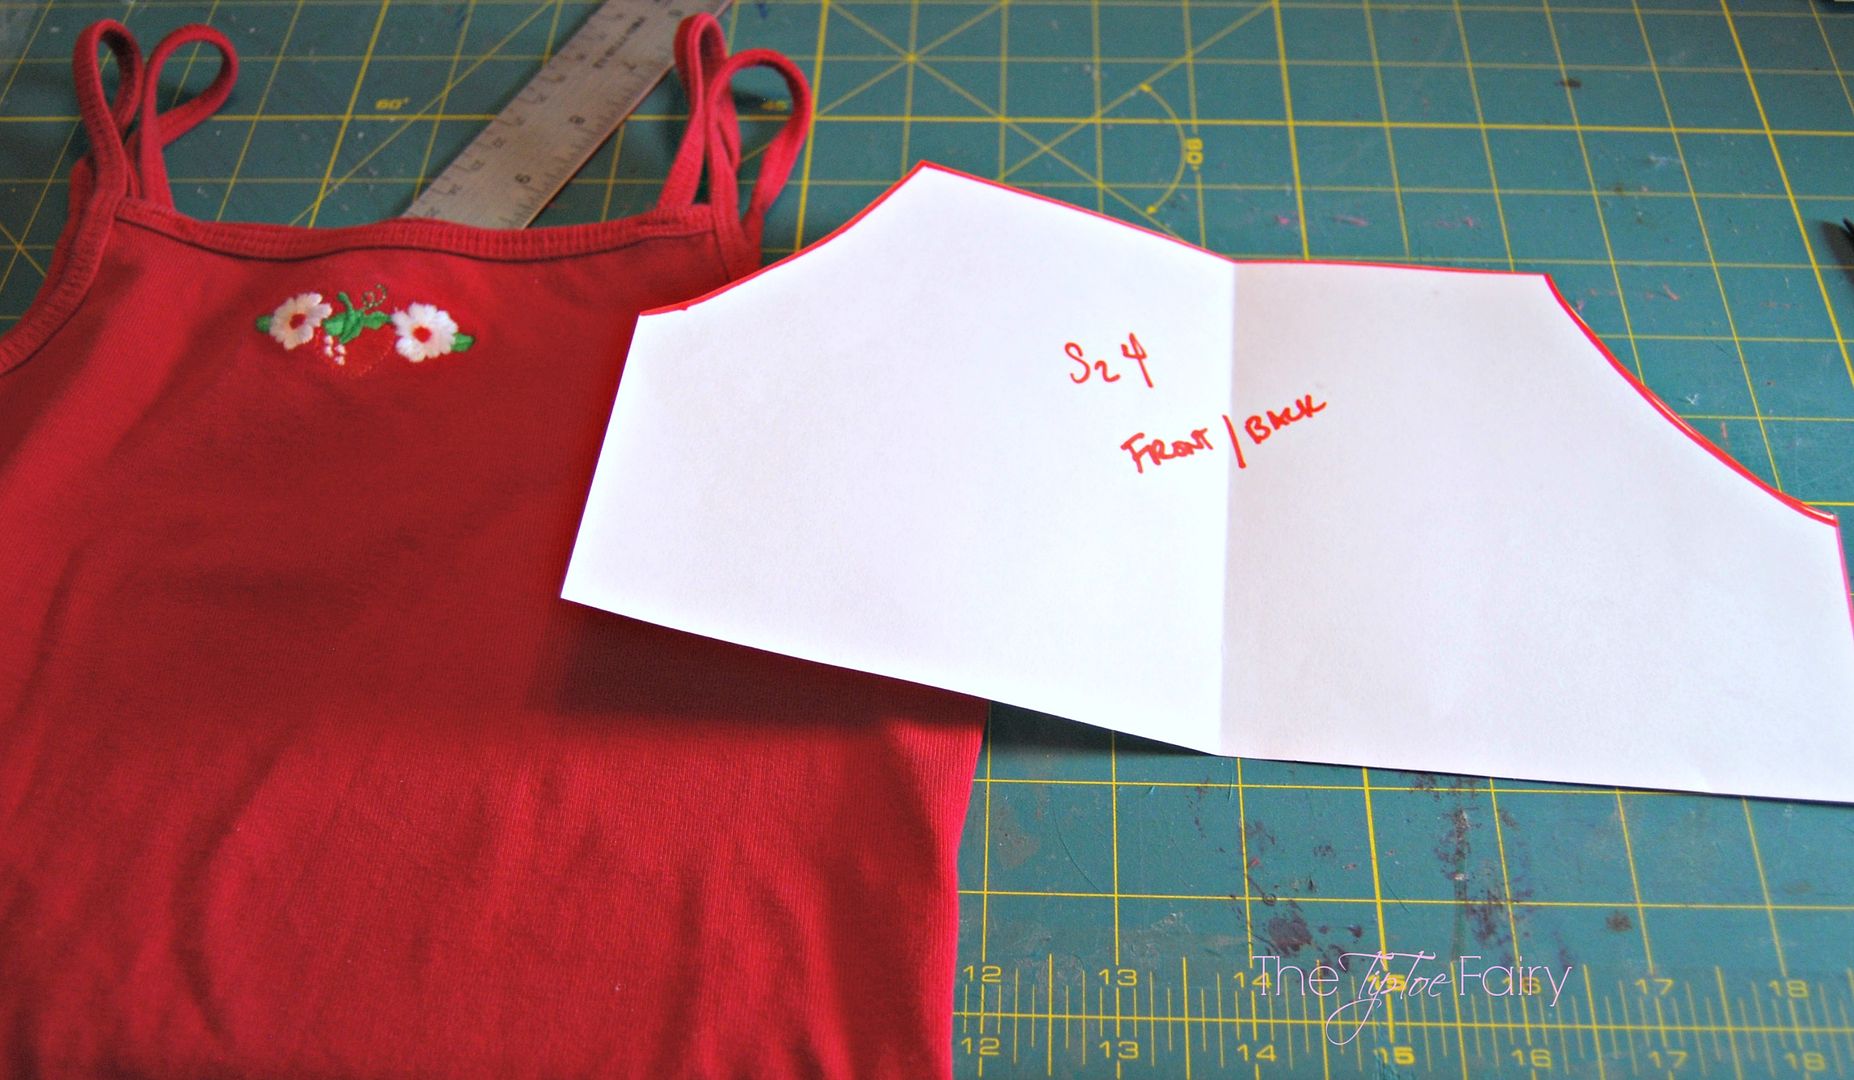
If you’ve seen my tutorials before, you know my disdain for sewing patterns. I don’t like tracing them, and I don’t like cutting them. I prefer to use an existing shirt or dress and create my own pattern — which is what I did with this one.
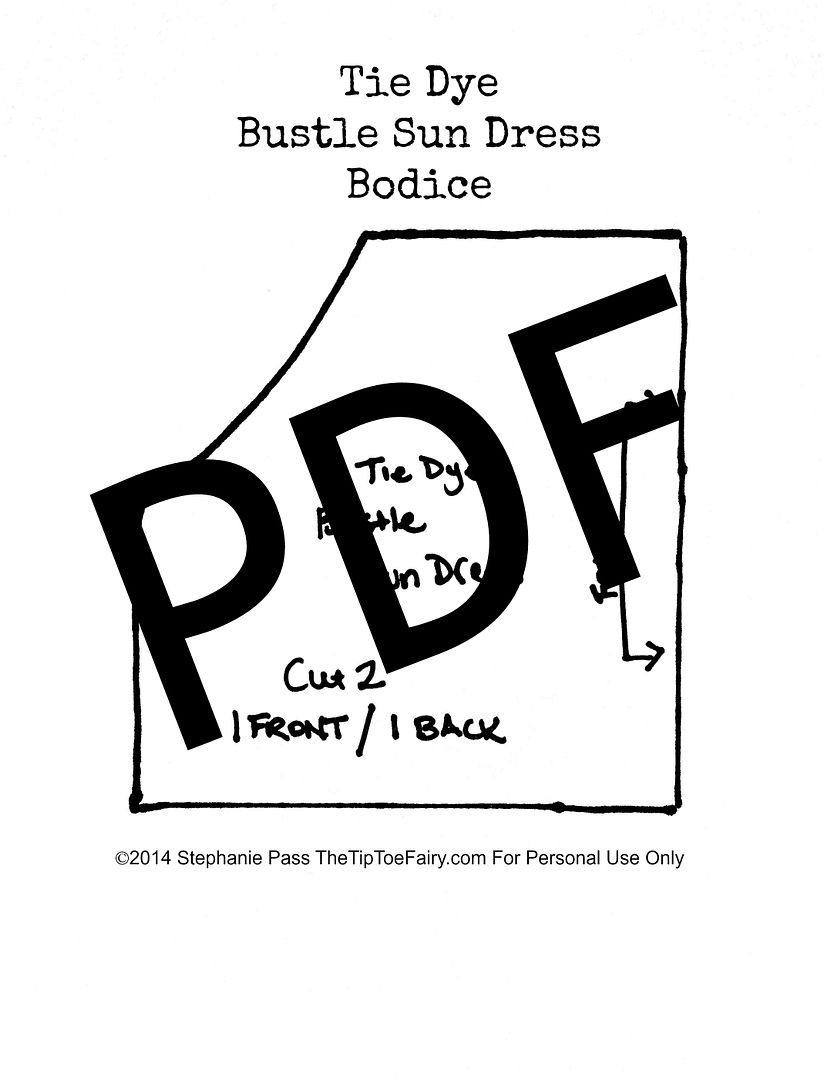
This tutorial does have the bodice pattern in a size 4T. I based it on a sleeveless t shirt that fit my daughter and her chest measurement of 21 inches. You can easily size it up or down.
Table of Contents
Bustle Sun Dress Tutorial
Supplies
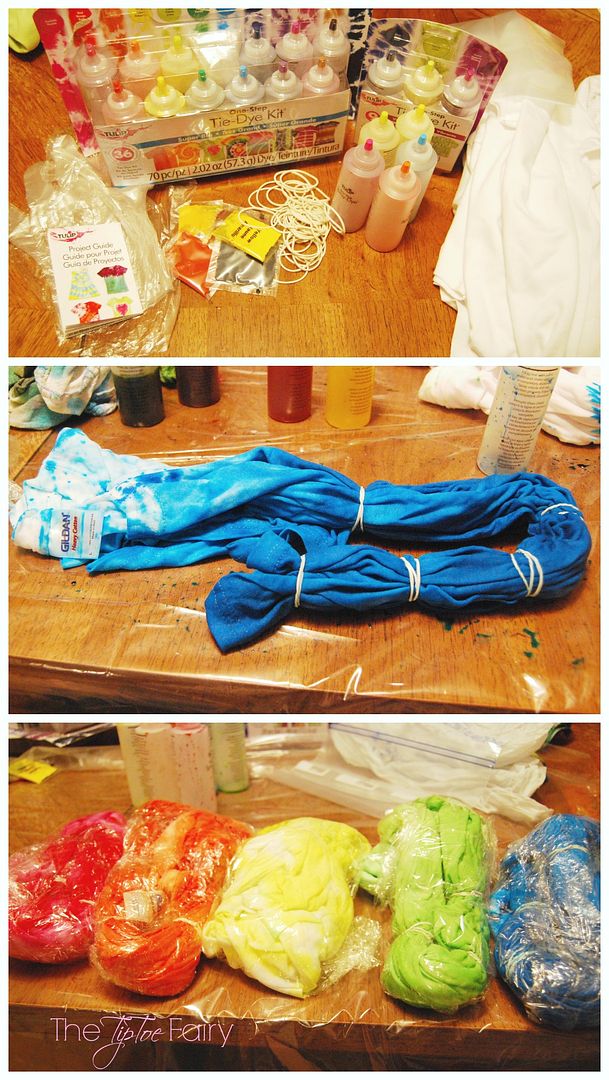
- 5 different colors of Tulip One-Step dyes (I used: fuchsia, lime, yellow, turquoise, orange)
- 5 white large adult t shirts
- sewing machine
- Recommended: ruffler foot for sewing machine, twin sewing machine needle, and a serger
- Click the pattern below to get the download:
Directions
*Please use a 1/4 inch seam allowance.
1. Dye the shirts. Just follow the Tulip One-Step Directions to get beautiful, vibrant colored t-shirts.
2. Using my daughter’s measurements and a shirt that fit well, I created a bodice — find the link to the bodice in the supplies.
Size 4T
- Chest Measurement: 21 inches.
- Length of dress: 19 inches.
- Circumference of skirt hem: 42 inches
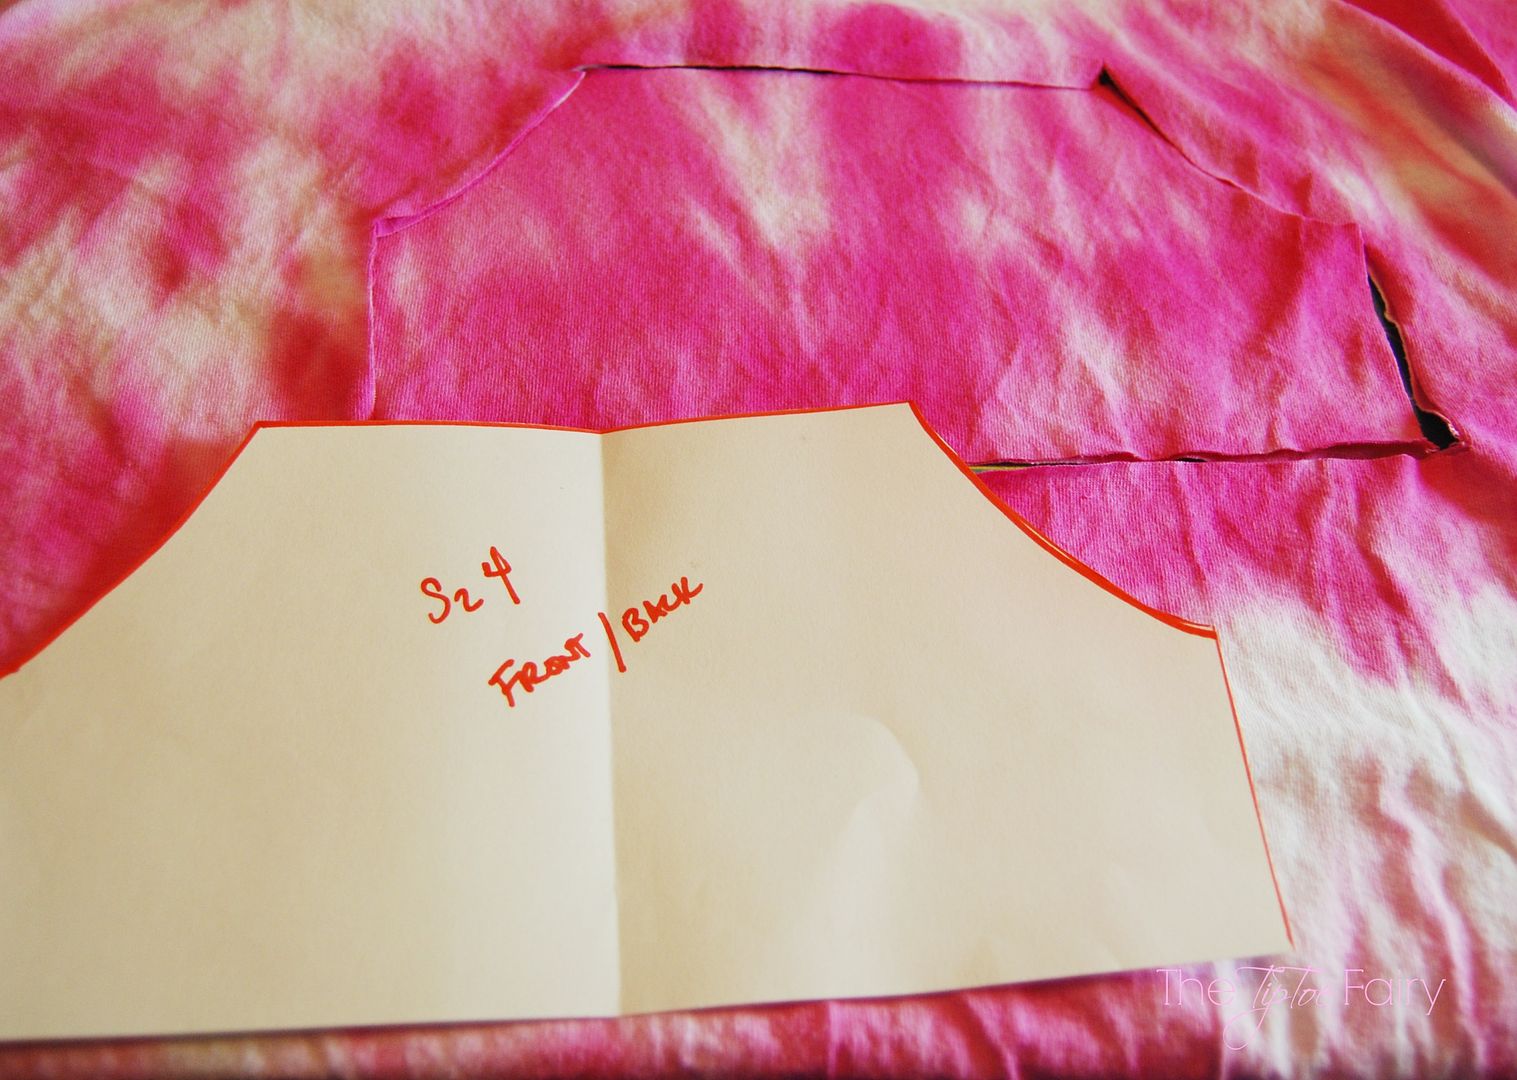
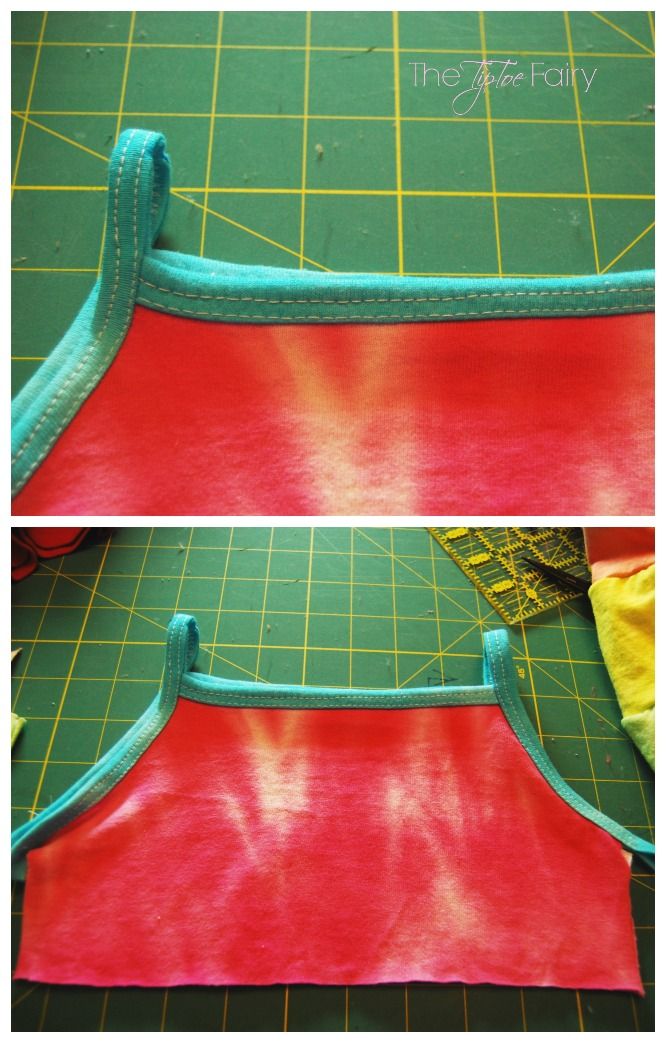
3. Based on the measurements, the bodice was 5.5 inches in length. Choose the color and cut it out at the top of the t-shirt.
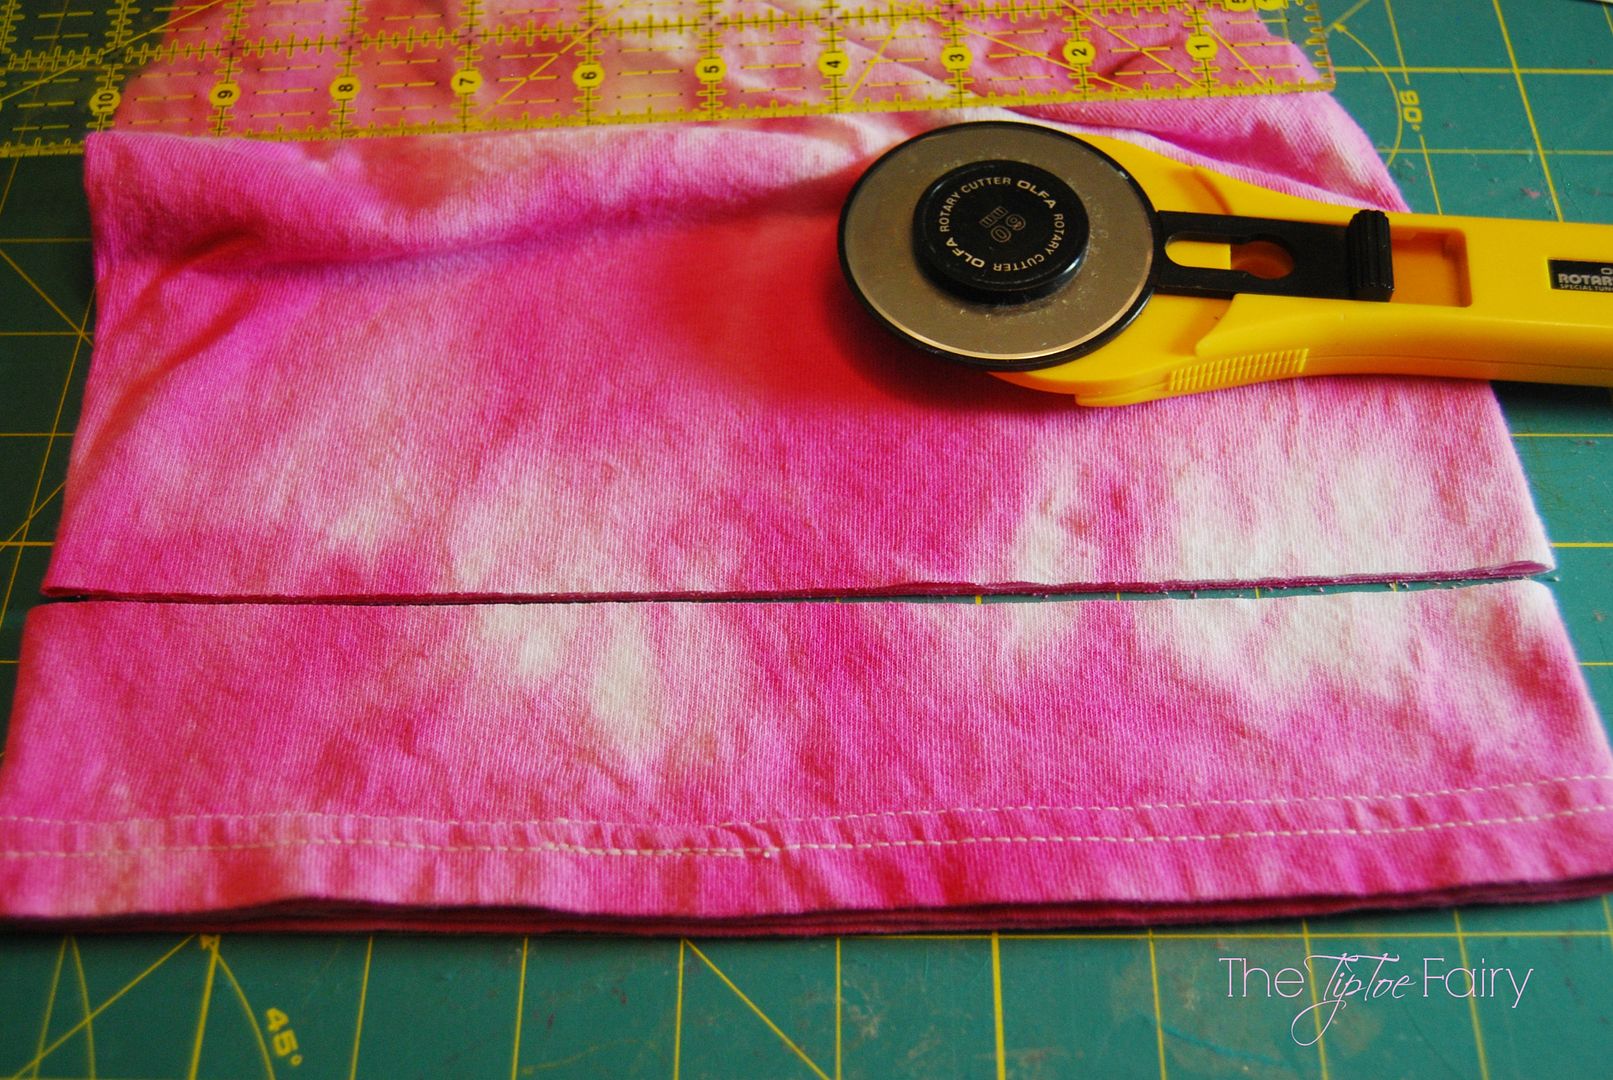
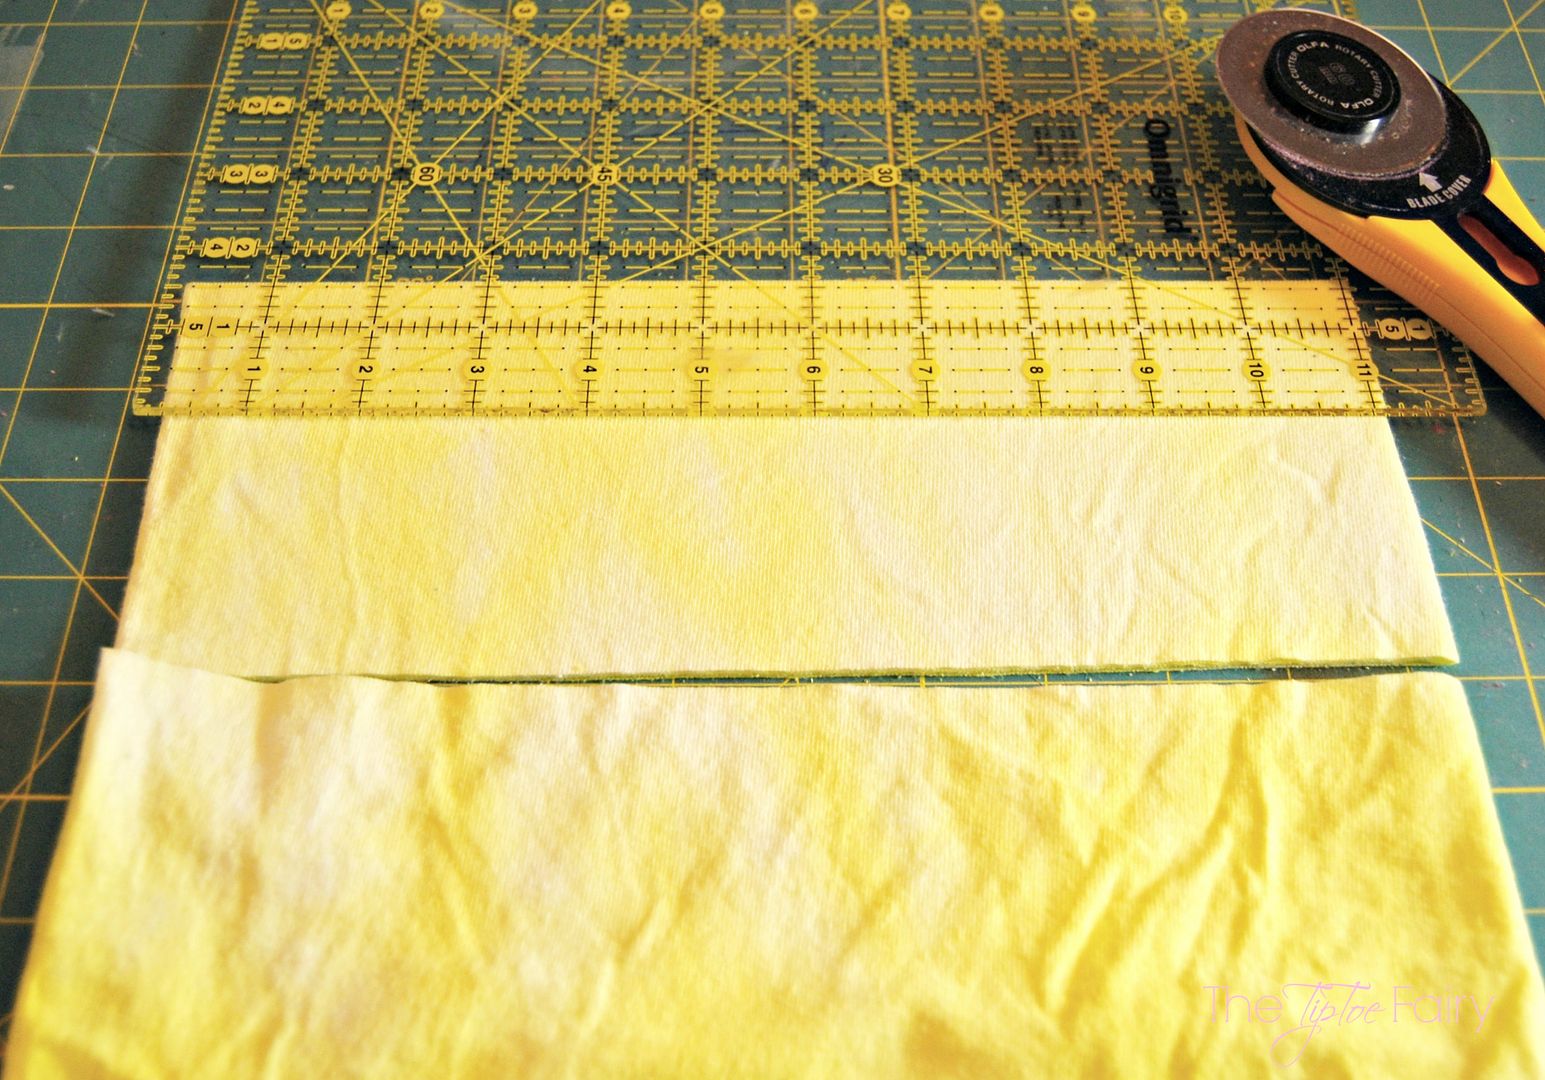
4. For the bustle, 2 strips per color are necessary, for a total of 10 strips. For a toddler size, two strips can be obtained from the hem of the t shirt. Each piece was cut at the hem of the shirts to be 2 1/4 inches long x the entire width of the shirt. And, later in the tutorial we will cut this into 2 different sized strips.
5. With 5 colors for the front of the skirt, each strip was cut to be 4 inches long x the entire width of the t-shirt.
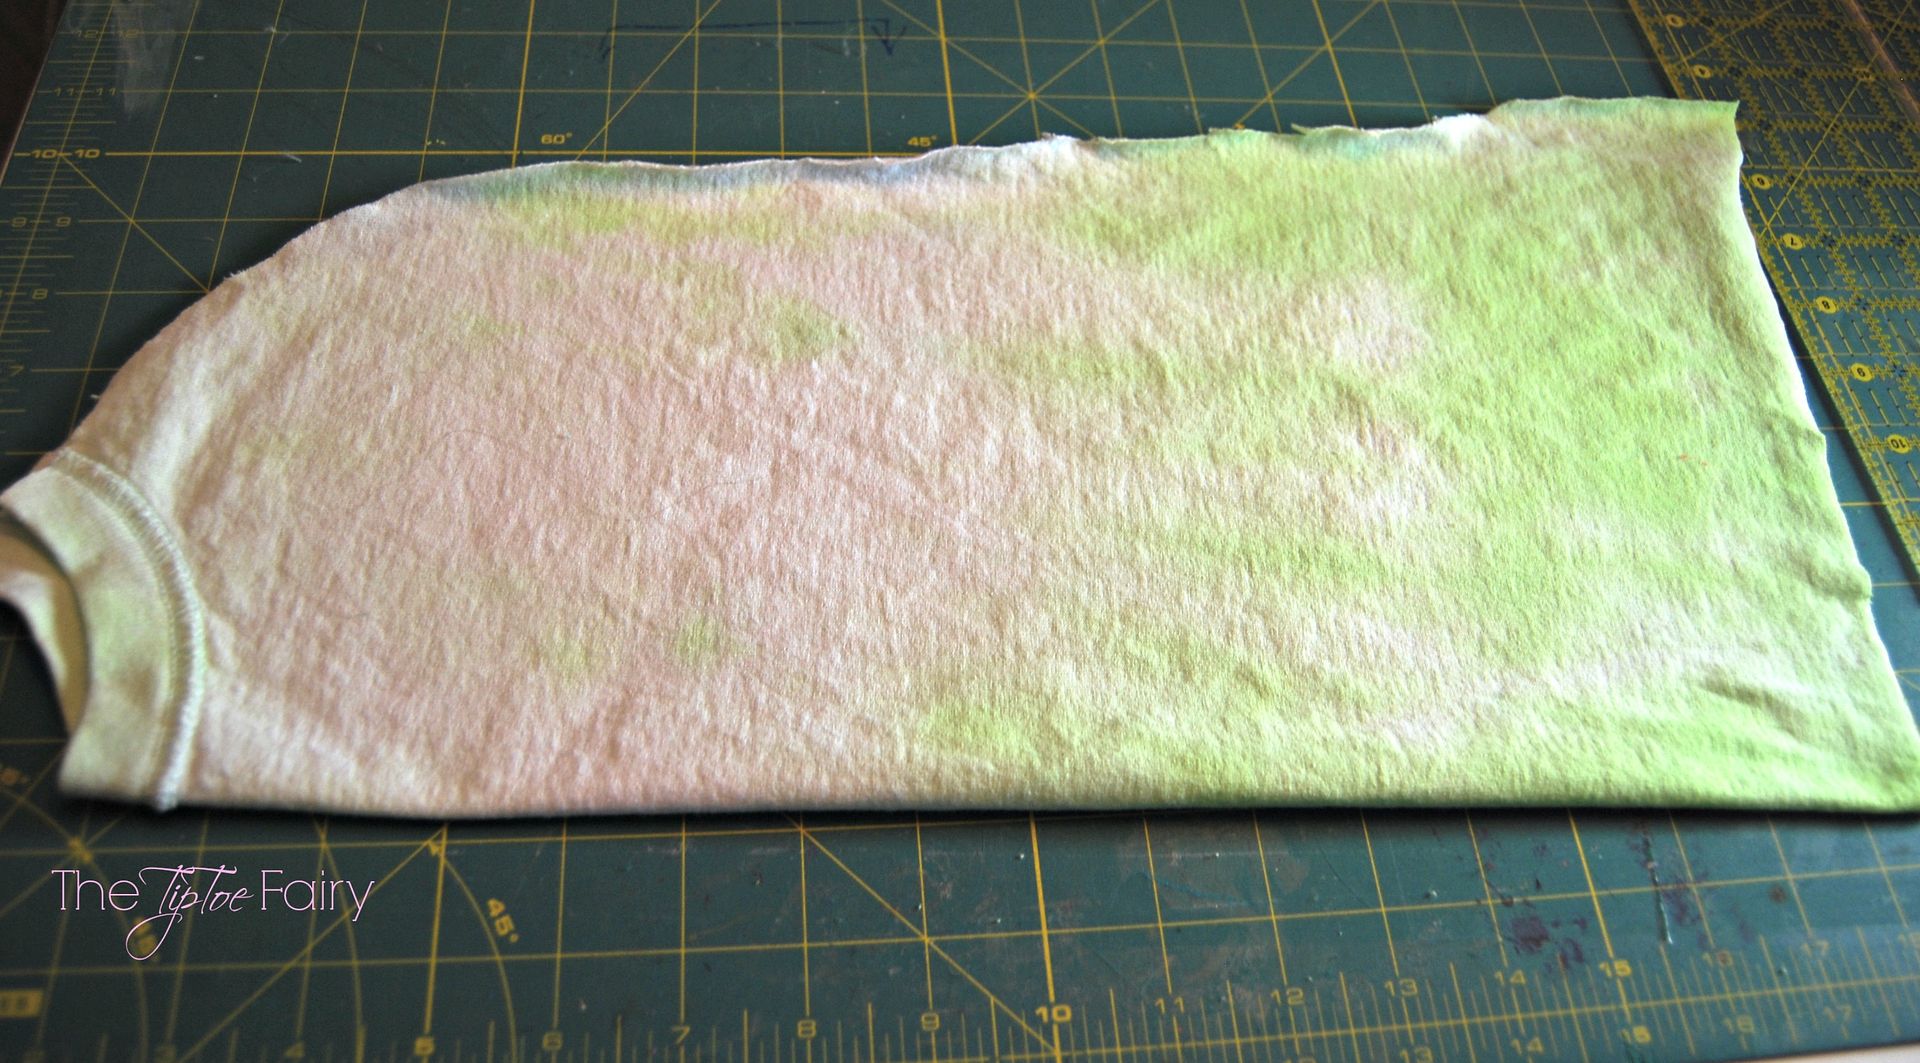
6. From one t shirt, cut a large piece off the front or back that measures about 12 x 14 inches for a size 4T. This is the base layer for the bustle.
7. Choose one color to be the binding for the straps. Cut a strip 2 inches long x the width of the t shirt. Choose another color for the straps and cut 1 1/2 inch long x width of the t shirt.
8. Just in case you’d like to make a headpiece or add some t-shirt rosettes (tutorial found here), cut 1-2 inch strips.
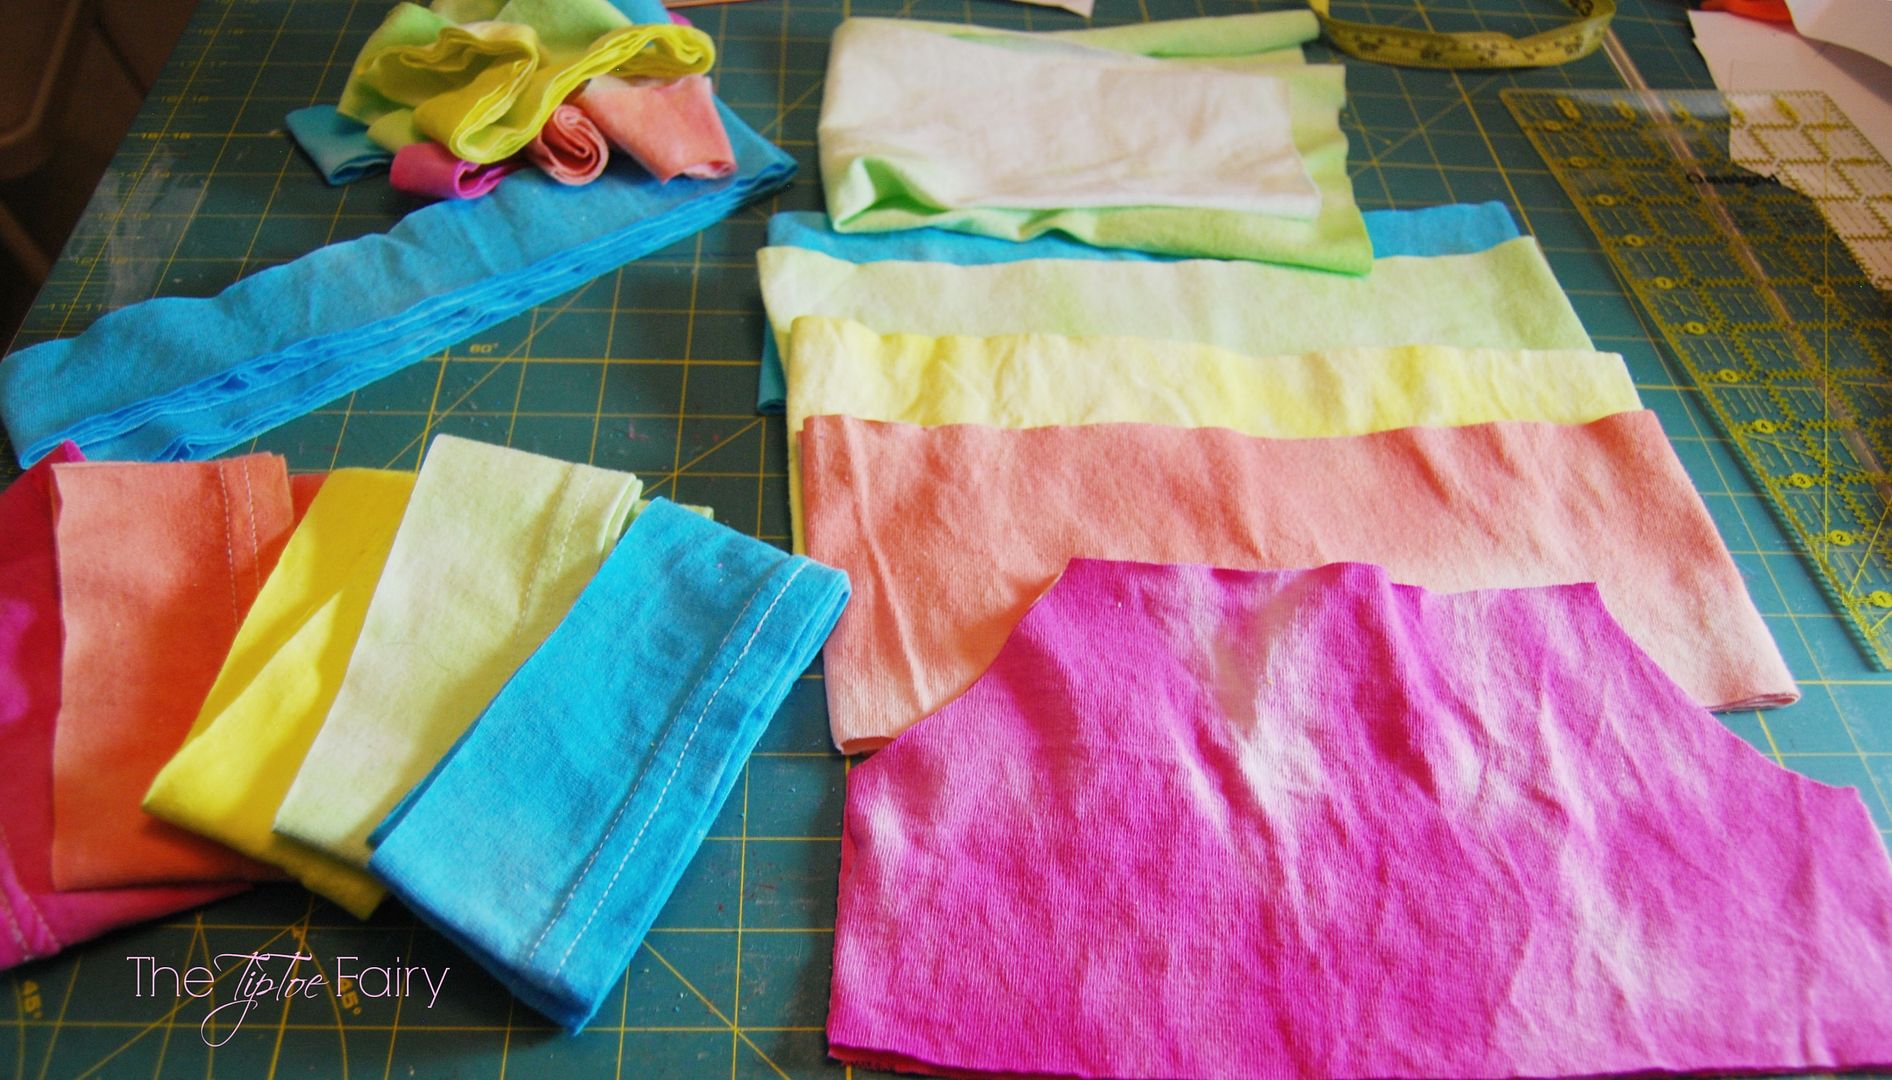
9. You should have:
- 1 bodice
- 5 strips that are each 4 inches wide
- 1 strip 2 inches wide for binding for the straps
- 5 strips 2 1/4 inch wide for the bustle ruffles
- 1 12×14 piece for the bustle backing
- 1 strip 1-1/2 inch wide for ties
- any extra strips for embellishments
10. Make the binding like you would make bias tape and attach it to the top of the front and back of the bodice by sewing with a double needle. Be sure to stretch a little as you go. Then, attach it to create the straps, too.
A Sewing Tutorial for Knit Binding can be found – HERE!
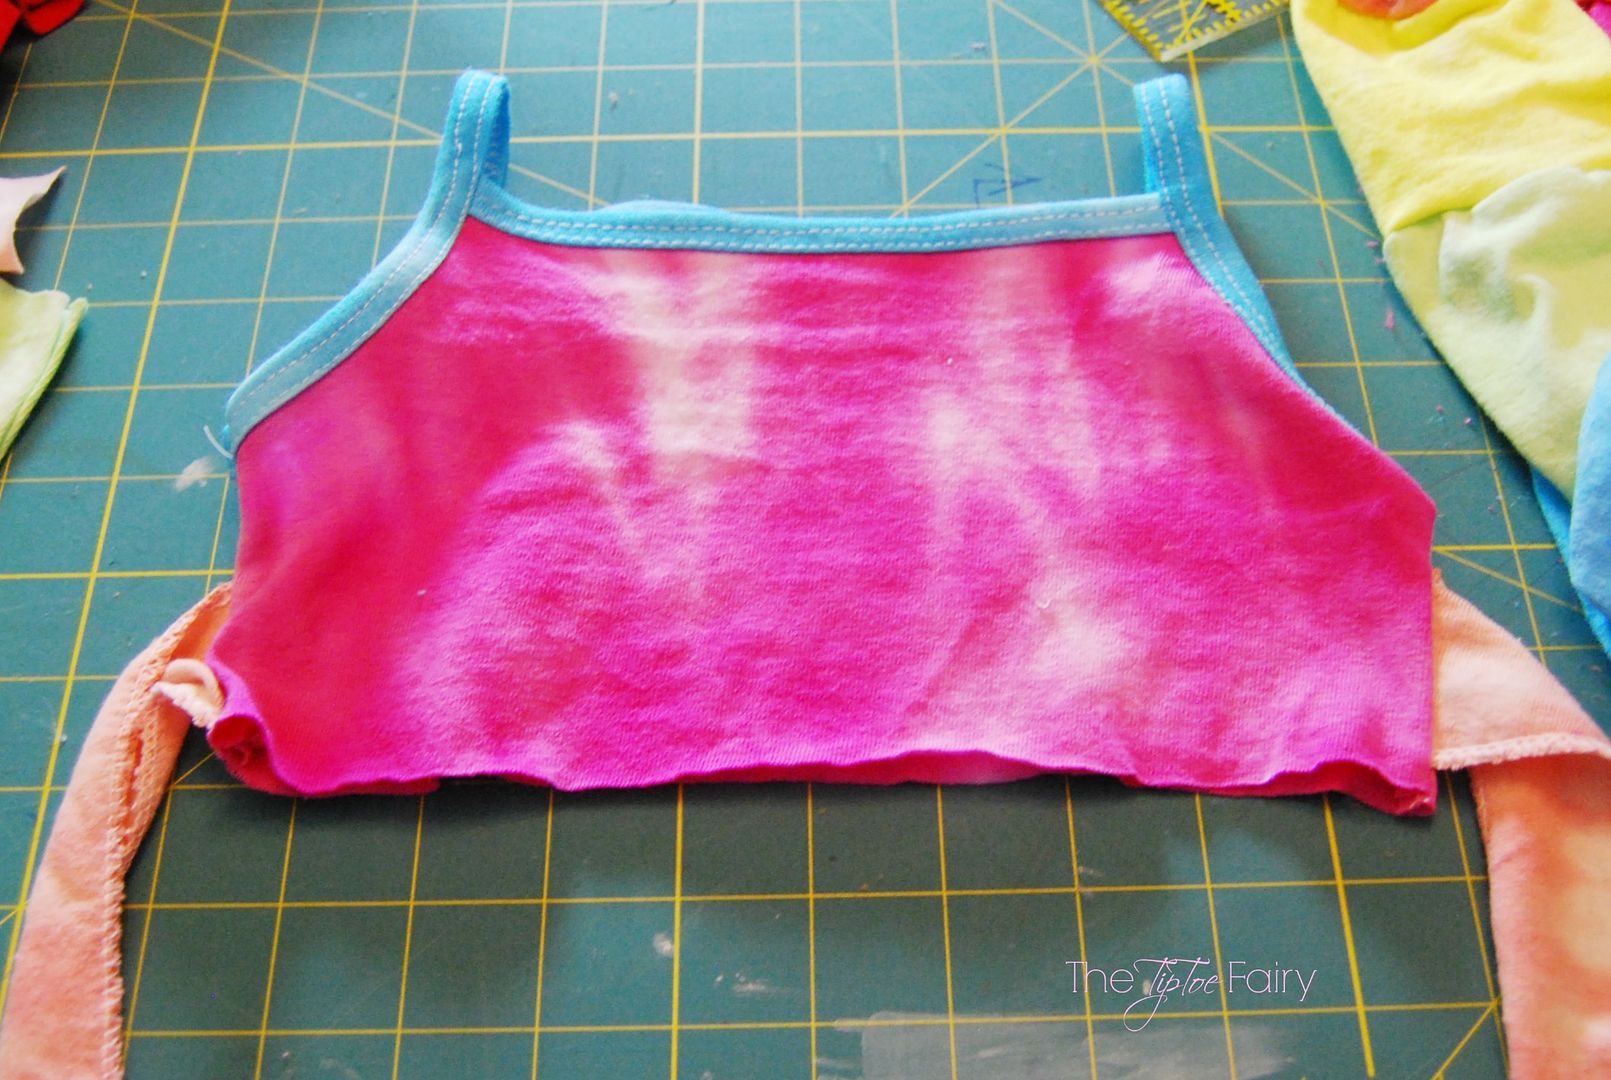
11. Make the ties. Cut the 1 1/2 inch strip in two halves. You can fold them over, sew the length, and create a tube, or don’t sew them (knit doesn’t run). I serged around my straps.
Next, line up the bodice side seams WITH RIGHT SIDES TOGETHER. Insert the straps from the inside to the side seam. Make sure to leave about 1 inch at the bodice for room to attach the skirt. Then, sew each side seam beginning at the bottom of the bodice.
12. Cut the back fabric for the bustle into a triangle type shape. The top of mine was about 6 inches wide and flared out to 12 inches wide. Then, decide how the bustle strips will be laid out. Mine were laid out – blue, lime, yellow, orange, pink, pink, orange, yellow, lime, blue. Next, cut the strips.
For a 4T, these are the bustle strip measurements widths I cut:
- Strip #1 / Strip #10 – Blue 12 in / 30 in
- Strip #2 / Strip #9 – Lime 14 in / 28 in
- Strip #3 / Strip #8 – Yellow 16 in / 26 in
- Strip #4 / Strip #7 – Orange 18 in / 24 in
- Strip #5 / Strip #6 – Pink 21 in / 21 in
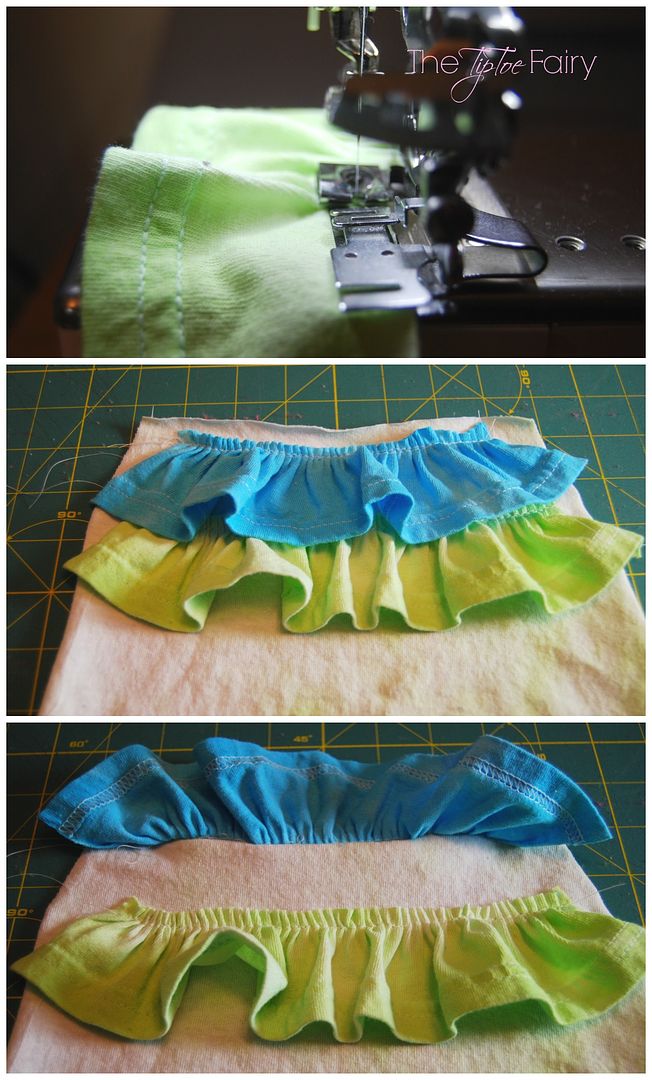
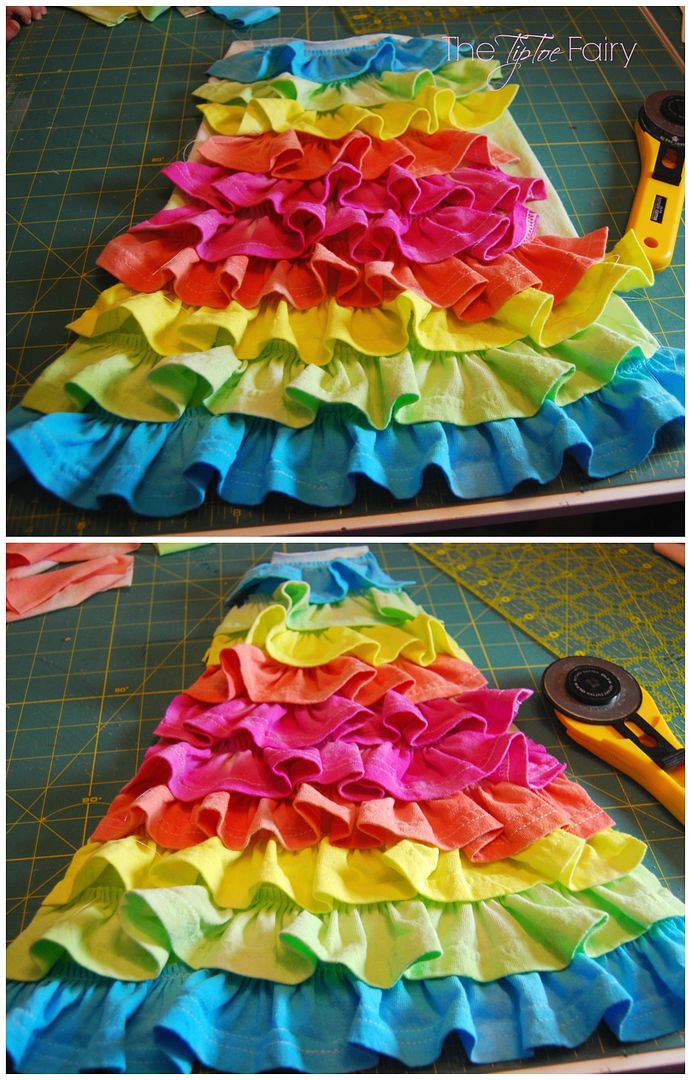
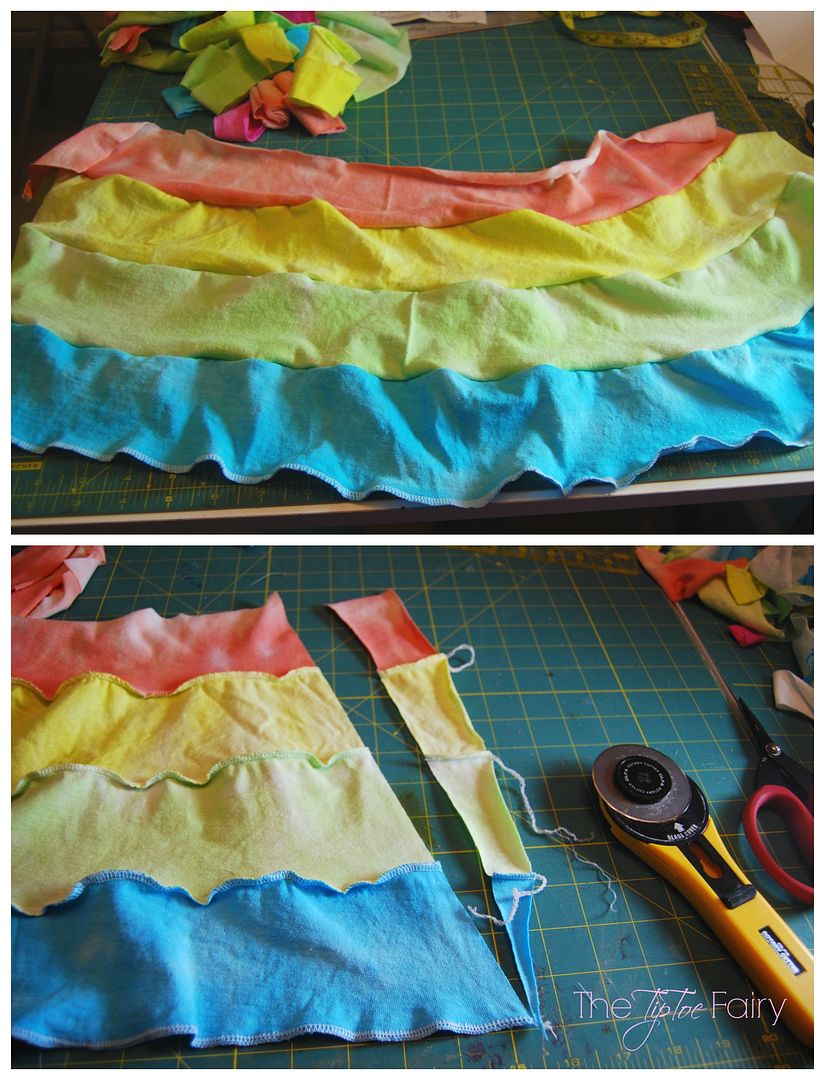
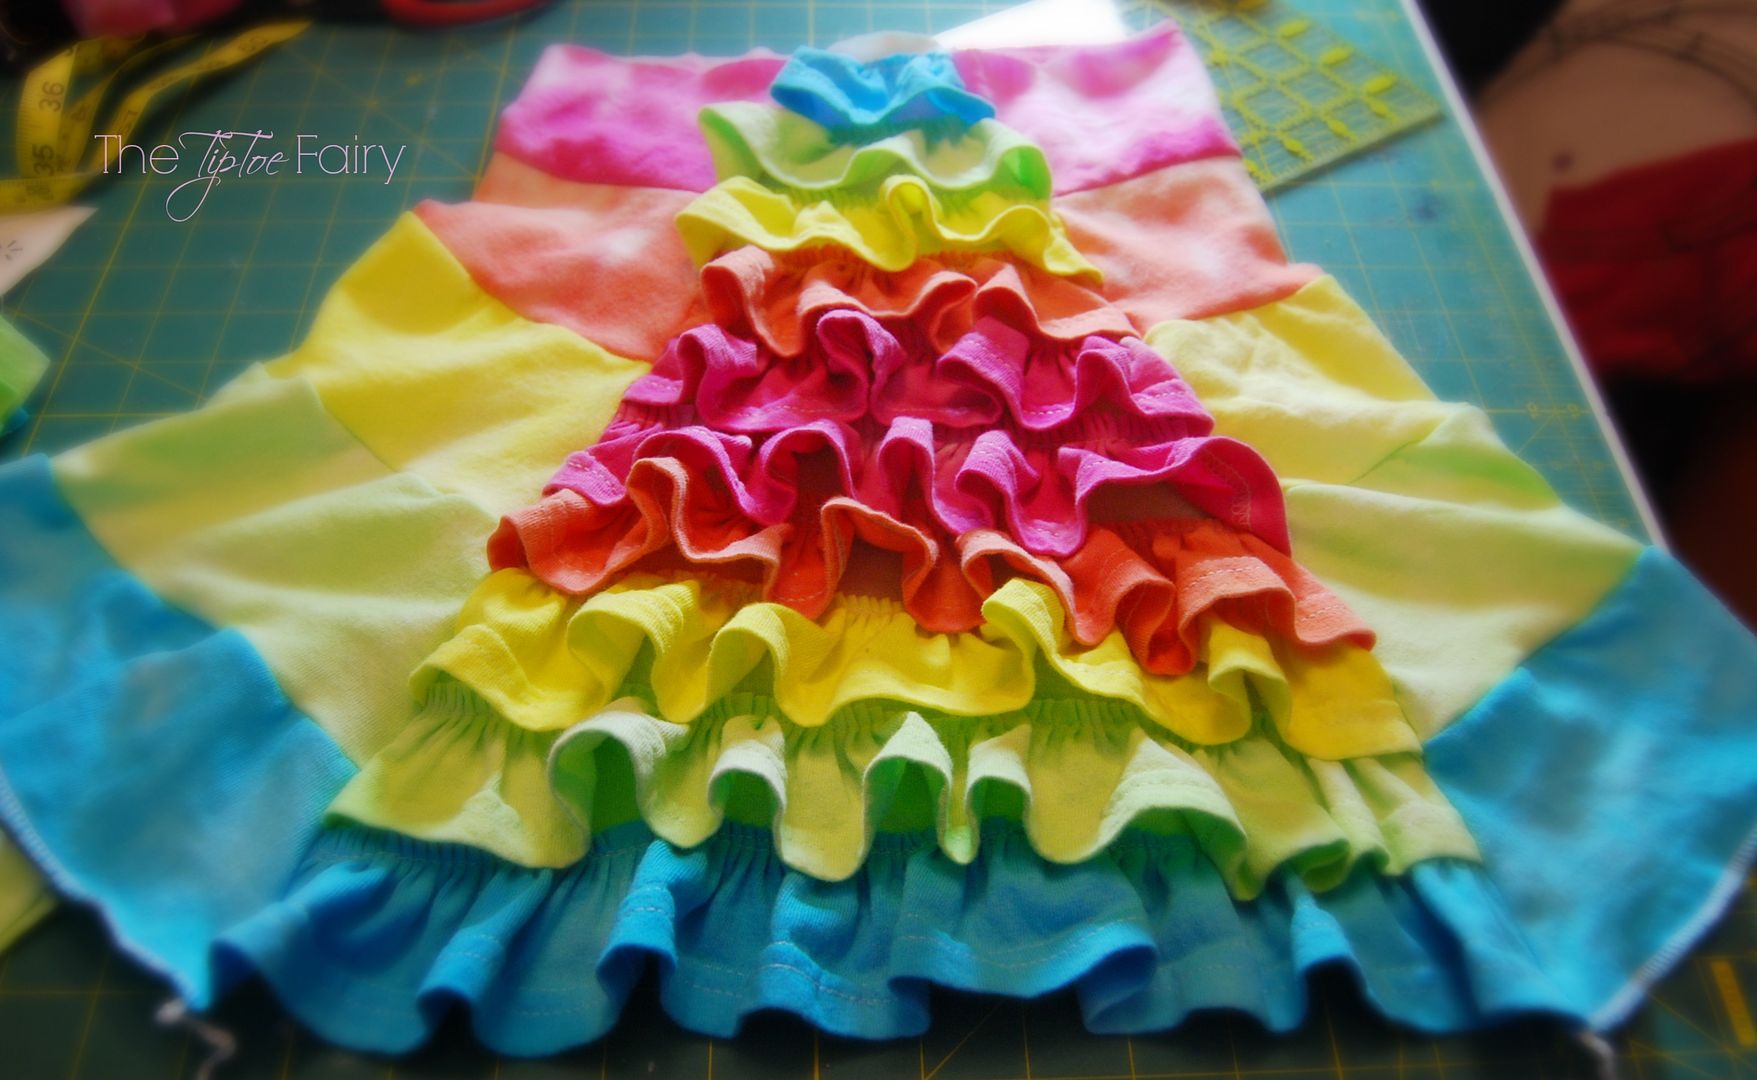
13. If you have a ruffler foot use it to gather each bustle strip. If not, use the typical gathering stitch. Next, begin attaching the ruffled bustle strips to the back fabric. Attach each one about 1 1/2 inches below the stitch line of the bustle strip above it so that raw edges are hidden.
14. Once the bustle strips have all been sewn on, cut down the triangle so the very top measures 4 inches wide. Use a ruler and make sure to cut in a straight line to the top and cut off any excess backing fabric. Then, baste the edge of side.
15. For the front skirt, for a 4T size, use this chart to cut the layers:
- Layer #1 – Pink 24 inches
- Layer #2 – Orange 27 inches
- Layer #3 – Yellow 30 inches
- Layer #4 – Lime 36 inches
- Layer #5 – Turquoise 42 inches
16. Sew each layer to the next one to create the skirt, stretch the layer as you sew it to the next to create a gathering effect.
17. Next, lay out the front of the skirt and cut each side in a diagonal from bottom to top. The diagonal should start at the edge of the bottom layer and cut so that the diagonal cuts off 2 inches at the very top of the top layer – on both sides.
18. Now with RIGHT SIDES TOGETHER, sew the bustle skirt to the front skirt. This is what it will look like:
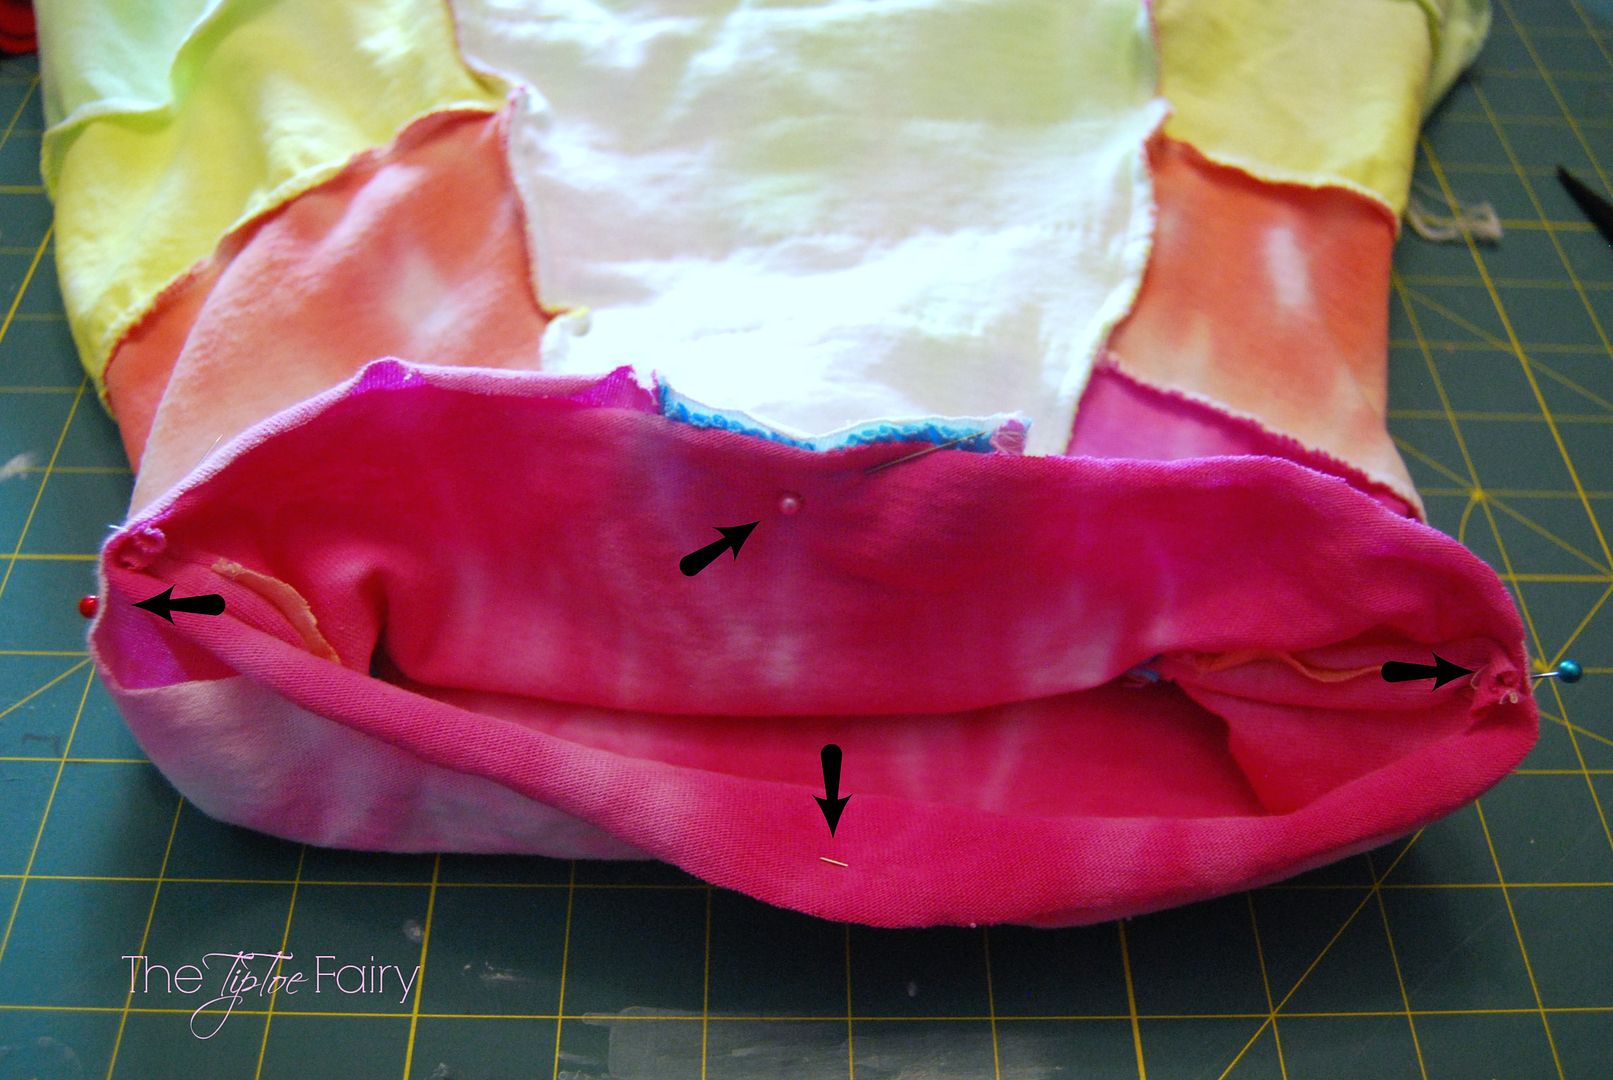
19. Now WITH RIGHT SIDES TOGETHER, insert the bodice into the skirt and pin the sides and front and back, and then sew together. Make sure you put the front of the bodice with the front of the skirt and not the bustle!!
And Voila!, You’re Done!!
Watch this video to see how much fun Tie Dye with Tulip can be!!
Tulip One-Step Tie-Dye is America’s Favorite Tie Dye! They are perfect for groups and having family fun! To find out more about Tulip dyes, visit here:
- Facebook: facebook.com/lovetocreate
- Twitter: twitter.com/ilovetocreate
- Pinterest: pinterest.com/ilovetocreate
- Blog: http://ilovetocreateblog.blogspot.com
To see even more tie dye projects, check them out below:
Thank you ILTC and Blueprint Social for sponsoring this post!

11 comments
LOVE LOVE LOVE THIS — WHAT A FUN & COLORFUL BUSTLE SUNDRESS TUTORIAL: TIE-DYE & SEWING! EVERY little girl would be H-A-P-P-Y to wear this dress everywhere! Maybe lots of work & time to tie-dye large white T-shirts a rainbow of bright pastel colors & then sew the ruffled bustle for the back of the sundress! VOLIA — how DARLING! You are so CREATIVE and AMBITIOUS, Stephanie. LOTS OF L-O-V-E sewn into this for your daughter. Hope you’re getting compliments galore wherever she goes . . . you deserve it! Sarah in Minneapolis
Thanks so much Sarah! I was absolutely thrilled with how it came out!
that dress is seriously adorable!!! pinned!!
This is so adorable and a way fun idea I’m going to have to show my mom this and see if she can make some for my nieces. I’m not much of a seamstress.
I just love this dress Stephanie! Cute, colorful and girly=win!!!
Very cute dress. I wish that I had a little girl to make this dress for her. My daughter is 17 now and this isn’t her style. 🙁
This is beyond adorable!! I am taking a sewing class now and learning how to ruffle. Totally pinning this for the future 🙂 Thanks for sharing!
Sephanie,
This is such a cute dress! I’ve alwasy wanted to try tie dying, but have yet to. This looks like an aswesome tutorial! I’m pinning for later! Great job!
Wow, what a masterpiece! I like so many things about this, but I think my favorite part is the contrasting bias tape. You are a genius!
This turned out absolutely adorable! I am sure she loves it.
Absolutely love those ruffles. This turned out AMAZING!