This post contains affiliate links. This is a sewing tutorial for knit binding. It can seem scary, but it’s really not hard. It’s much like bias tape, and it’s very easy to make. Once you do it the first time, you’ll love the look and want to do it again and again.
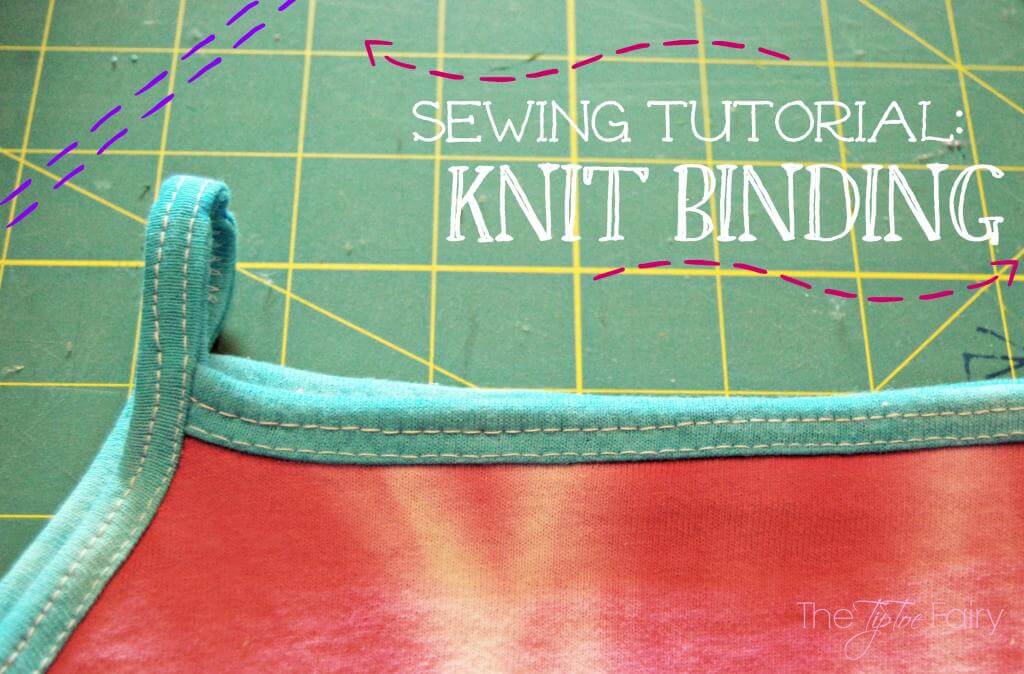
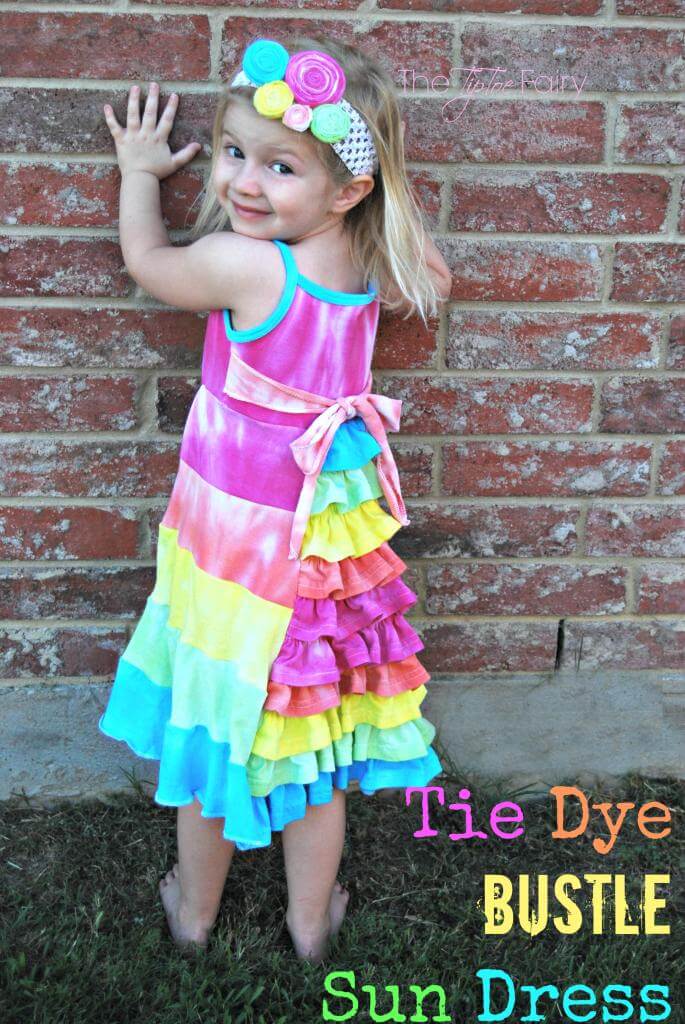
This tutorial goes along with a fun sundress I made – Tie Dye Bustle Sun Dress. You can use this tutorial to easily add straps to any knit sundress.
Table of Contents
Using a Double Needle
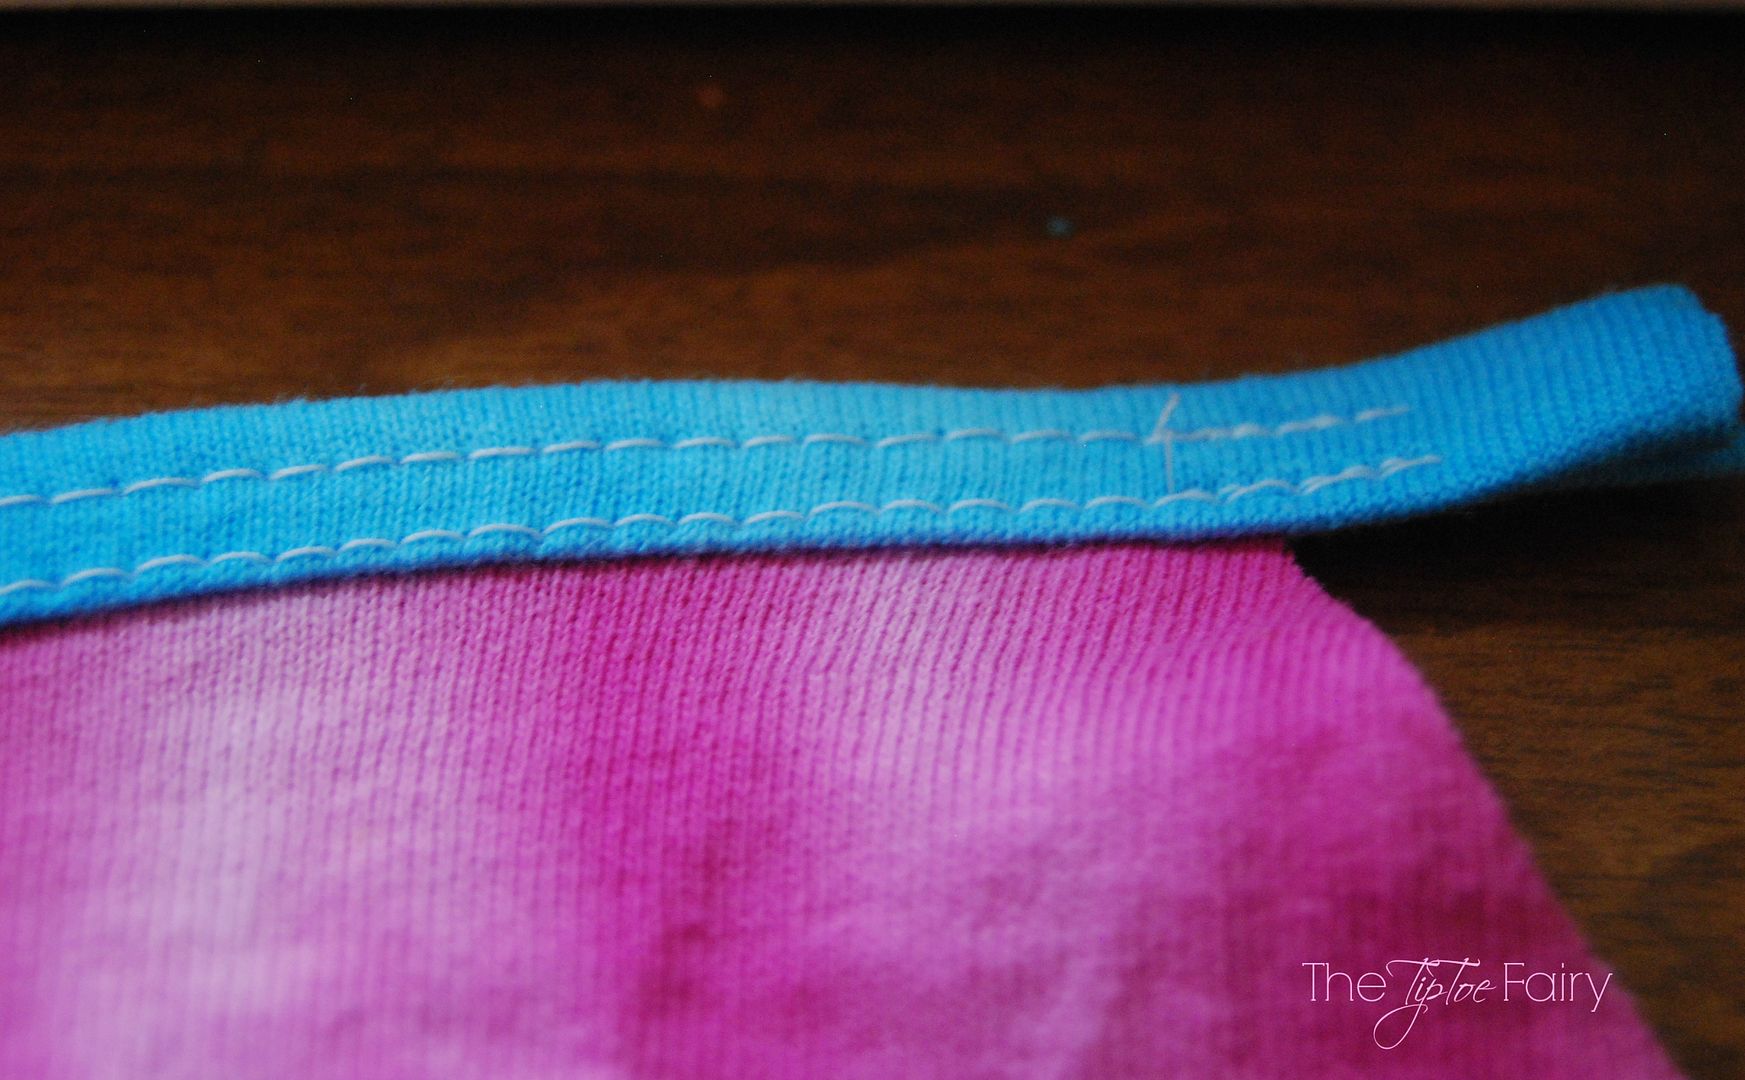
First and foremost, a double needle makes knit binding look awesome! You can use a single needle, but a double helps with the stretch of the knit. You can pick one up at your local fabric store and sometimes I’ve even found them at Walmart.
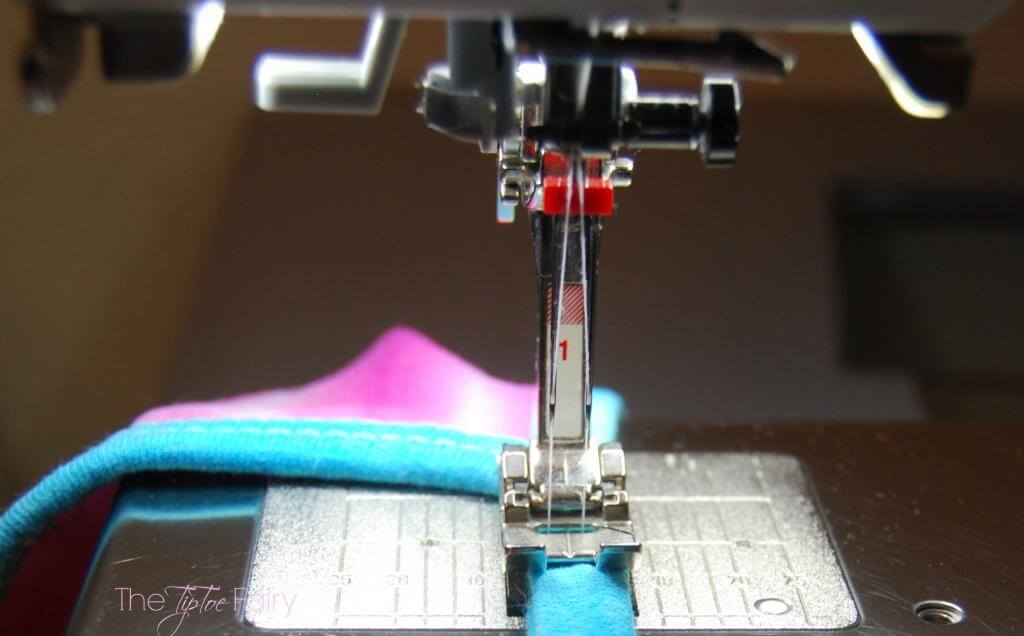
A double needle may look scary because you’ll have to add a second thread in your sewing machine, but all you have to do is thread it through with your first thread and stick it through the second needle. That’s it!
The second spool can be a bobbin you leave on the bobbin winder. OR, I prefer a full spool of thread. Before I had an additional thread stand, I’d just put it in a coffee cup. But, you can get an additional thread stand for cheap on Amazon.
I have found I prefer the stretch double needle in the 4.0 75 size. You can also find a 4.0 80 one in most craft stores that works great, too. There are other sizes that are wider and more narrow as well, and those can be found online.
Create the Knit Binding
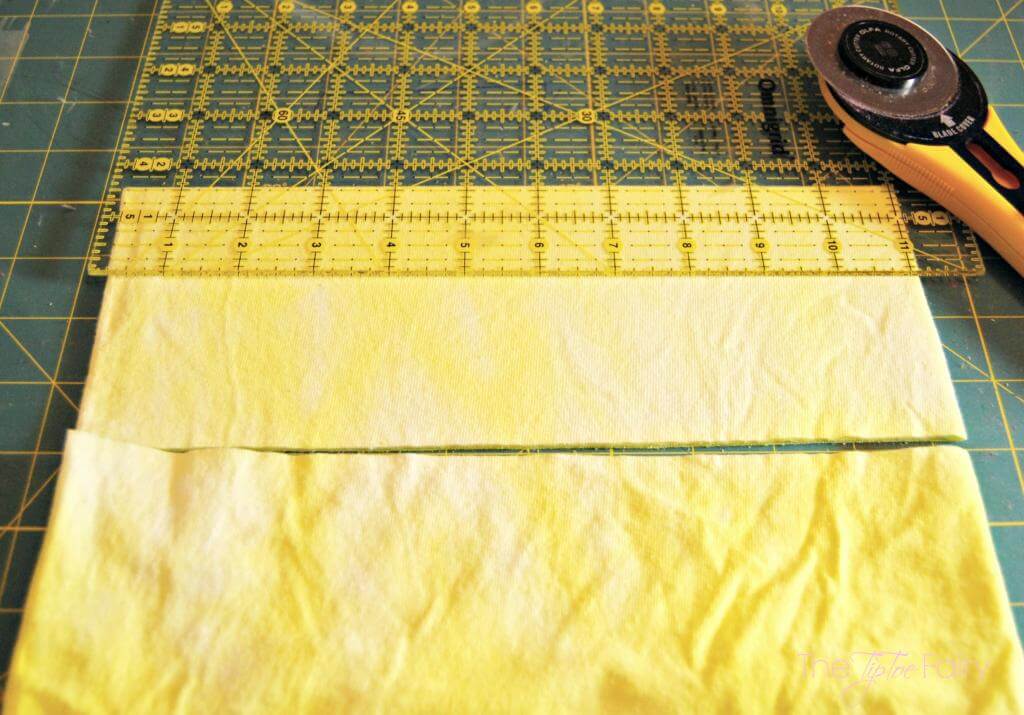
First lay out your fabric folded over lengthwise so you can cut a long piece all together. Smooth it and make it as straight as you can get it. The best way to get a smooth straight cut is to use a plastic quilting ruler and rotary cutter.
Measure and cut your binding strips to be 2 inches wide.
Next, heat up the iron to give them a good pressing.
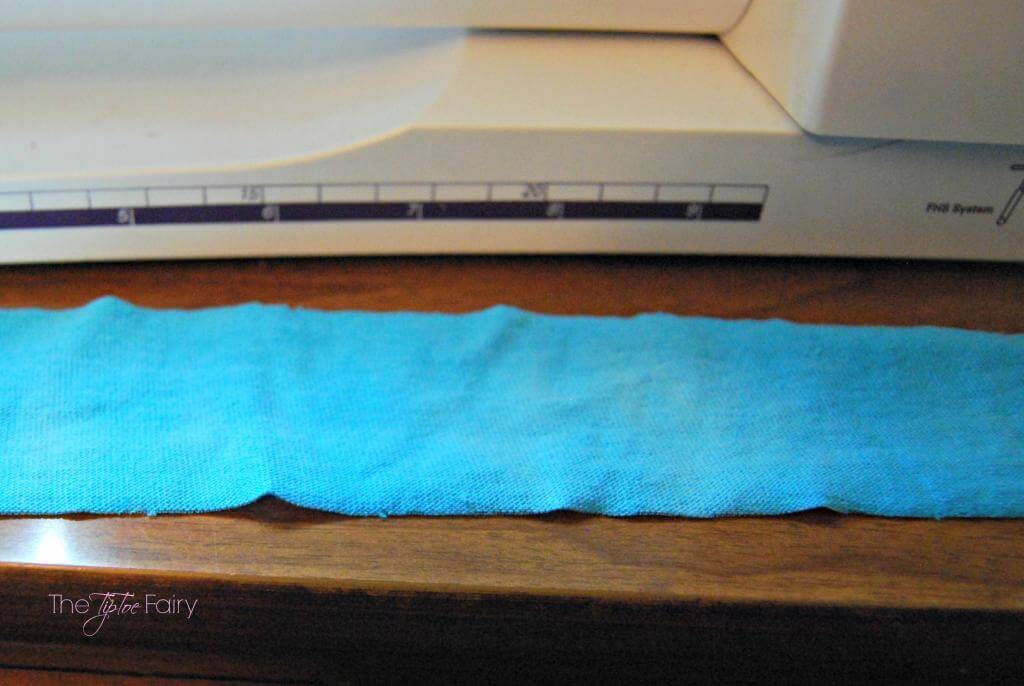
Lay out the binding and fold the raw edges inward, slightly overlapping and press along the whole strip.
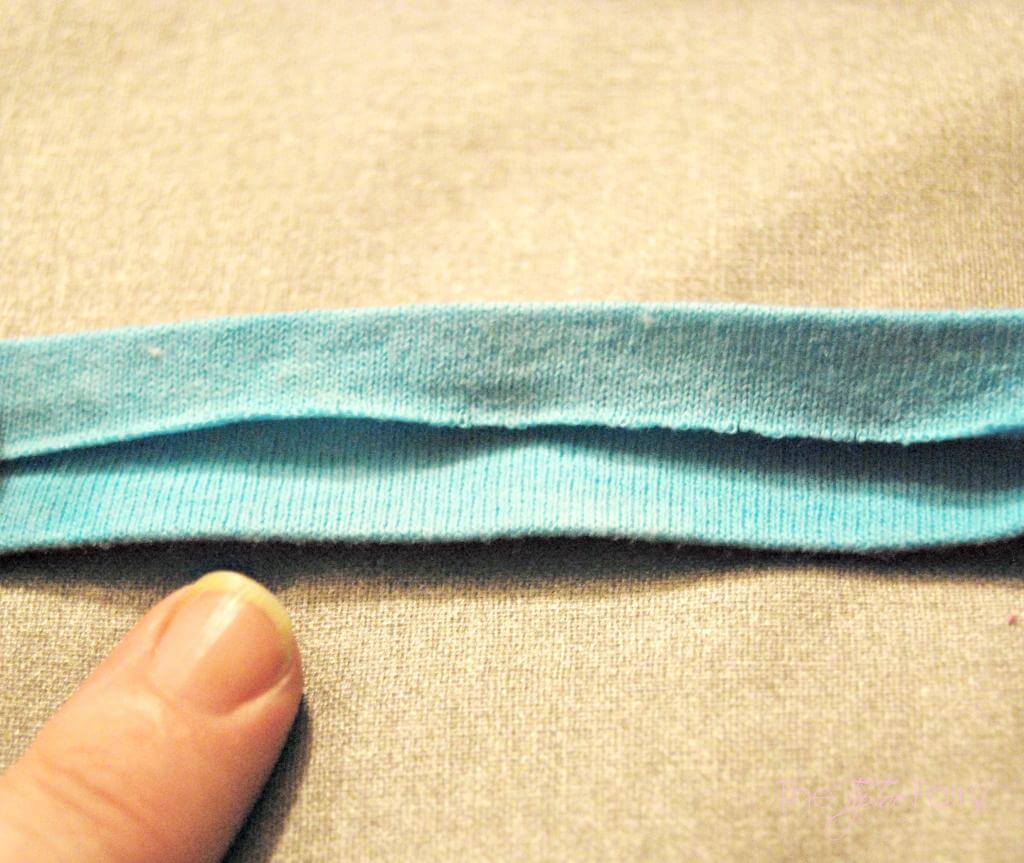
Fold again the folded edges together and press along the entire strip.

Sewing the Knit Binding
Now pin it on to the edge of your clothing.
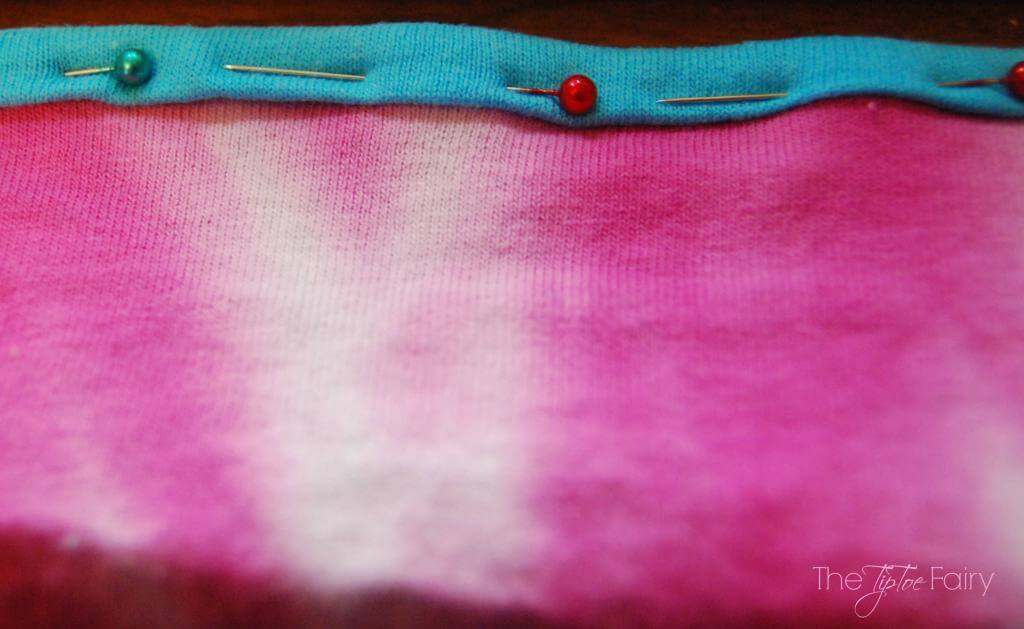
I line up the left edge of the binding just to the right edge of the middle part of the presser foot. You can see it in this picture below. As you sew, stretch the fabric and binding together just a bit.
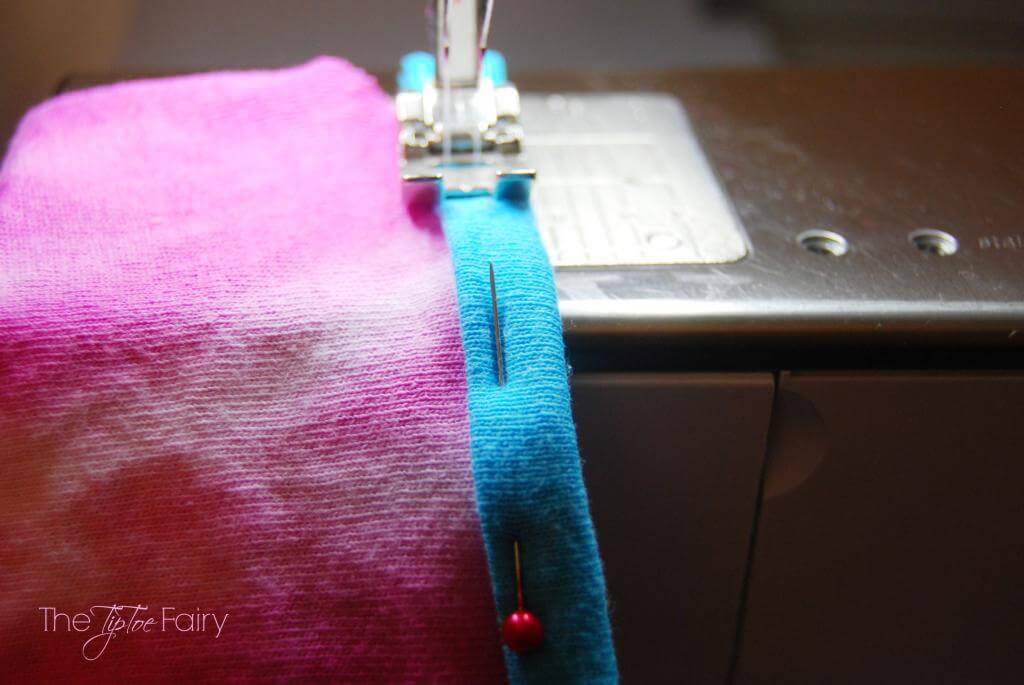
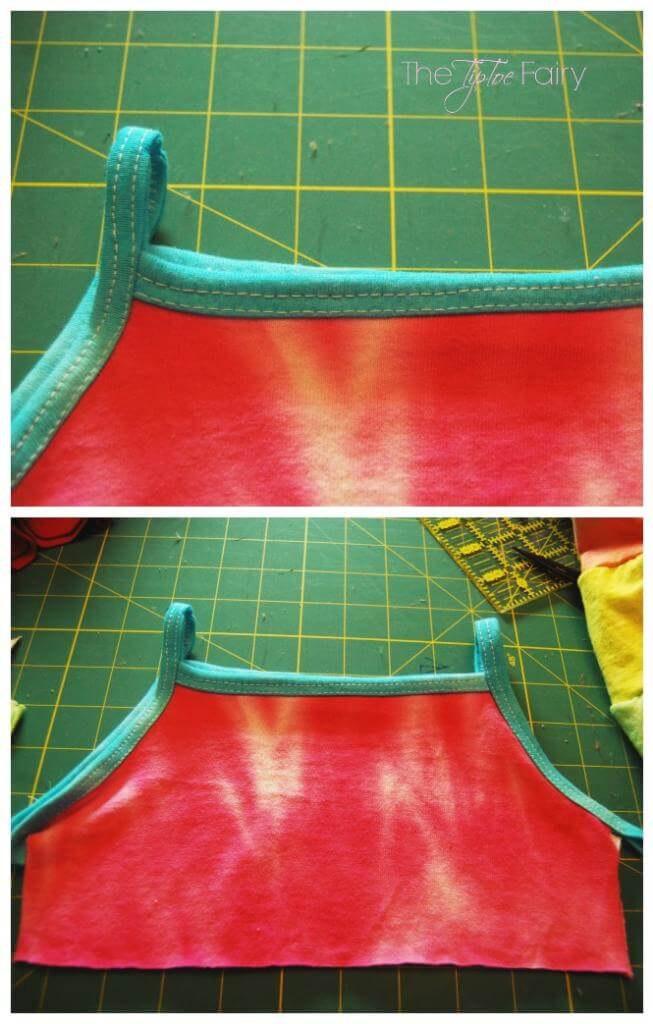
Here is a finished bodice piece. Notice how I leave about an inch on the raw edge and sew down it. This way I know it’s secure, and I can clip that just before pinning the vertical knit binding that will form the straps.
When you do add the binding that forms the straps, make sure you measure on the person’s body the distance from each the front and back bodice pieces, so you know how long to make the strap between them. For a 4T, I used 4 inches.
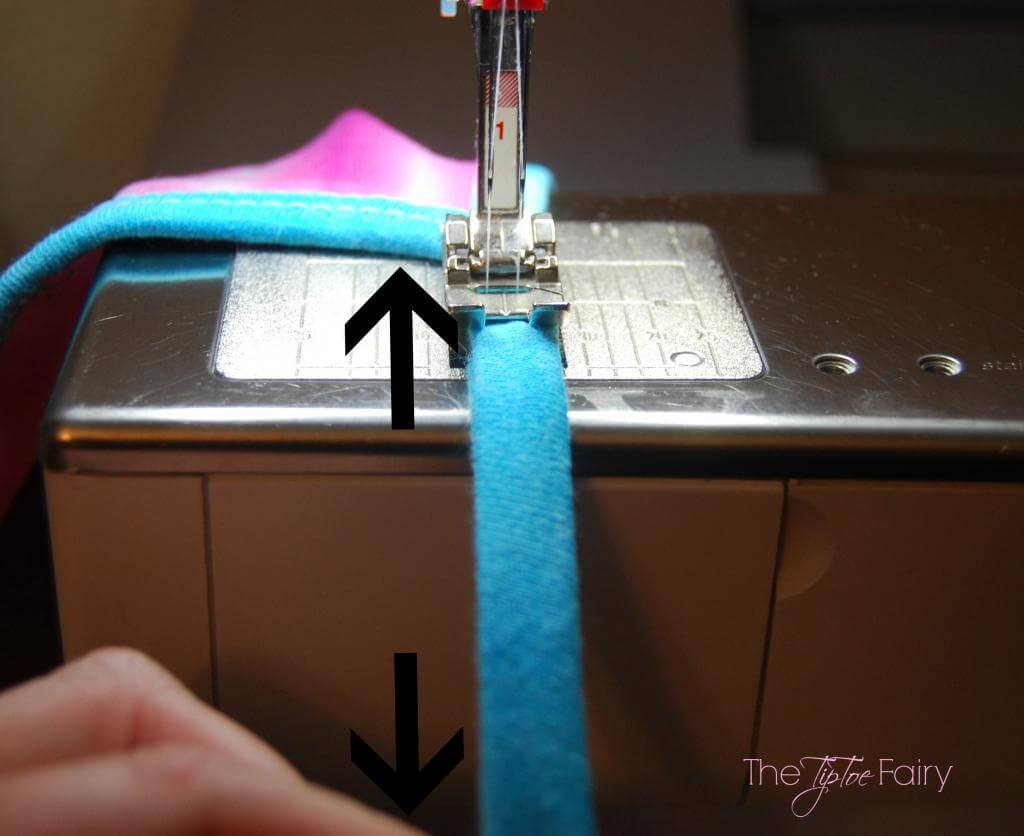
Finishing the Knit Binding
Here is the finished bodice. I usually add the knit binding before I add the skirt. If you’ll notice, I add the knit binding in three pieces.
- One piece across the top of the front bodice.
- One piece across the top of the back bodice.
- Then each arm strap bodice connects the front and back bodices together and hides the bodice knit binding raw edges. Then, the raw edges of the straps that are on the side seams are just sewn together in the side seams.

3 comments
awesome!!! Pinned…
awesome!!! Pinned…
This is great, the dress is gorgeous. Do you do any stretching when sewing this binding? I’m guessing not. Would this work on a T shirt neckline ? Thx