Do you need to make an anniversary or Valentine’s gift for your special someone? Make a Where We Met Map Keychain using dominoes. This post contains affiliate links.
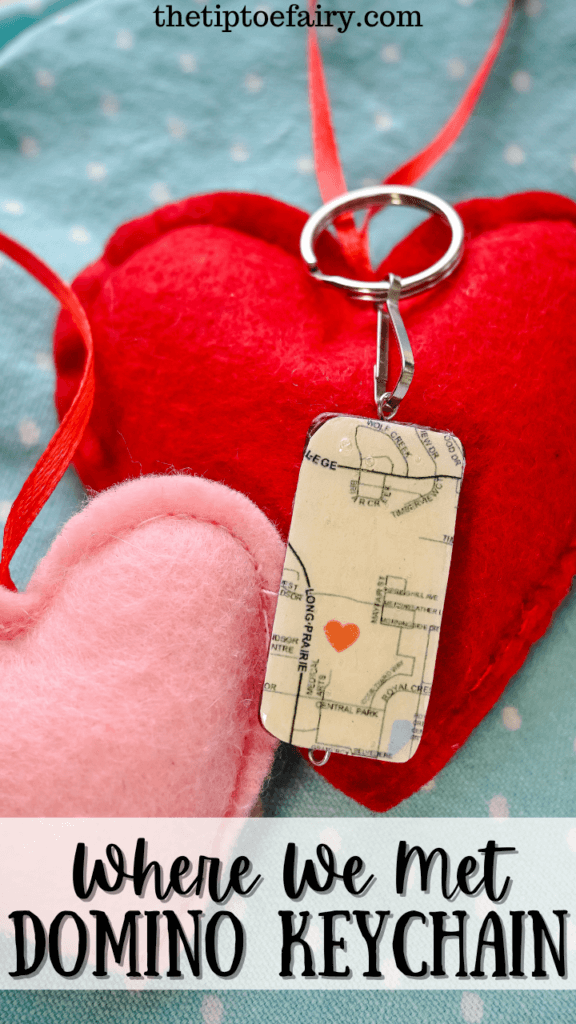
Table of Contents
Supplies needed to make this Where We Began Map Keychain
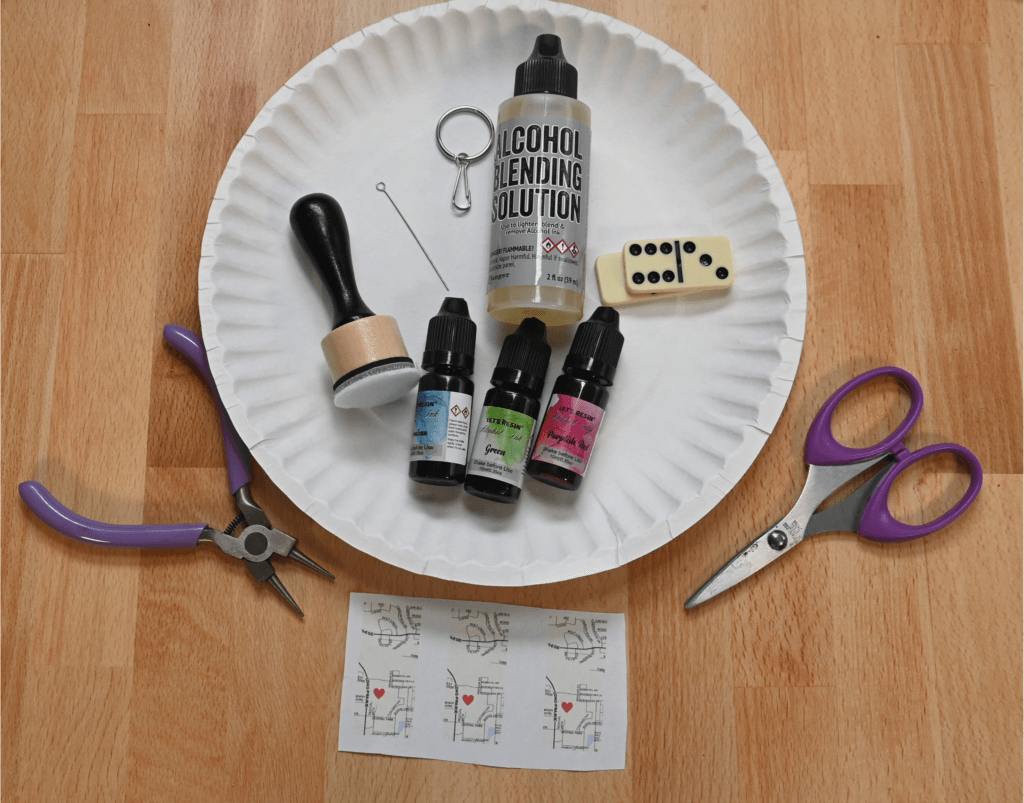
Note: For this tutorial, I used alcohol inks to color the domino, but this is not a necessary step. You can completely skip that step and still make this domino.
- Domino Beads
- Alcohol Inks
- Alcohol Ink Blending Solution
- Alcohol Ink Blending Tool with Pads or Pieces of Felt
- Paper
- Printer
- Mod Podge
- Paintbrush
- Keychain Kit
- Optional: Glossy Accents
How to make a Where We Met Map
This is really easy to create, and you can make matching ones for you and your significant other.
Where to find maps
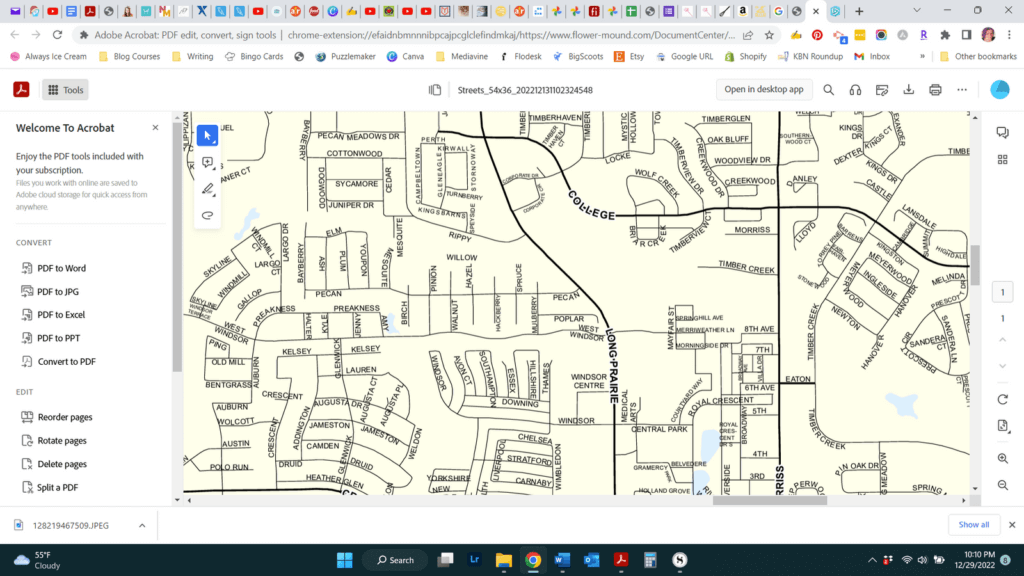
First, do a search for a map for the city where you met. It might takes some looking, but you’ll most likely find one you like. Make sure it’s clear and not grainy so it prints well, since you’ll be printing a tiny map.
I’ve done this a couple of ways.
- If I have a paper map, which is pretty rare, you can scan the area of the map you want to use with a scanner app for your phone. Just taking a picture doesn’t always work as there can be shadows.
- Search online. Often times, the city has maps you can open and zoom in and then take a screenshot. This is the common way I do it.
I do a search for the “city map” and then go to “images.” When I click on images, I go through the maps to find the best one that is clear and shows the roads exactly where the people met.
When I’ve found the map. I take a screenshot and then upload it to Canva. If you use another image software, use that one and edit the photo so it’s 1 x 2 inches in size.
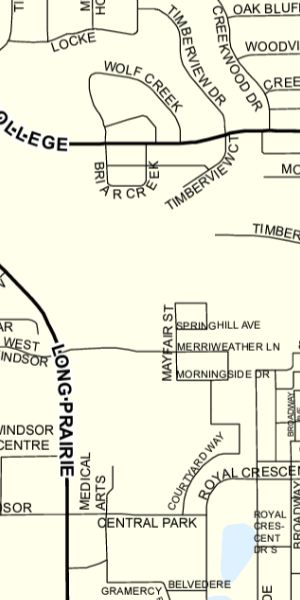
Place a heart image on the exact spot where you met. I like to make it red so it’s noticeable in the map, since the map ends up so tiny on a domino.
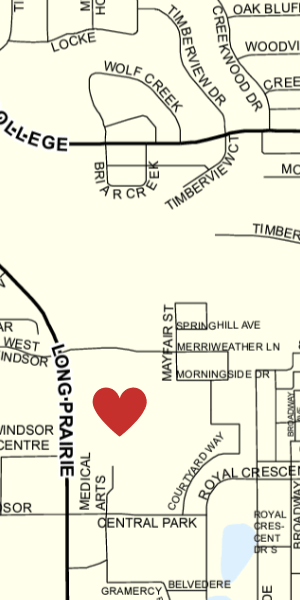
Here is a video where I made the domino-sized map using Canva. If you’re familiar with Canva, this is easy to figure out. If you have another favorite image software, use it.
Then, make sure that heart spot, where you met, is fairly close to the center of the image.
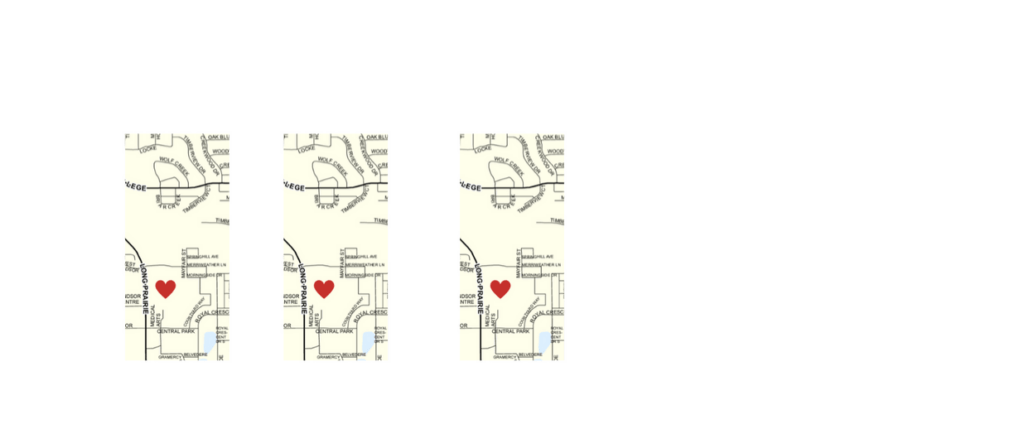
Once the 1 inch x 2 inch map is made, then open an image that that measures 8.5 x 11 inches, for a piece of paper, and put a few maps on it. I like to put more than one on the print out, so if I mess up, I have another one ready to go.
Then, print it out.
Alcohol Inked Dominoes
This step is not required, but I just think it looks nice.
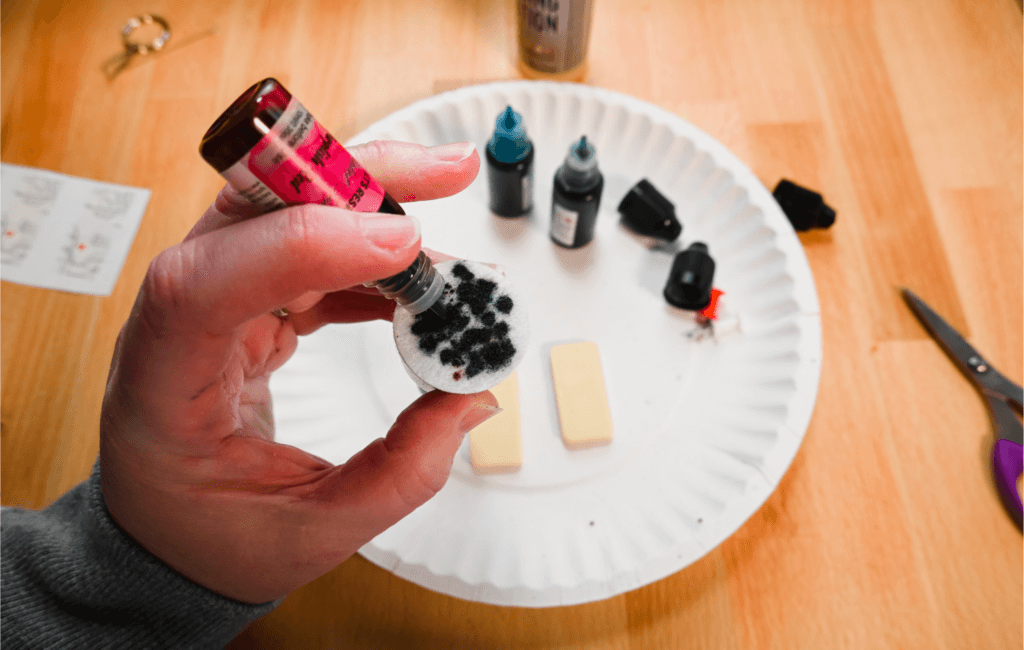
If you want to use alcohol inks on the domino, then, add 3-4 drops of various colored alcohol inks on the blending tool as well as a few drops of alcohol blending solution.
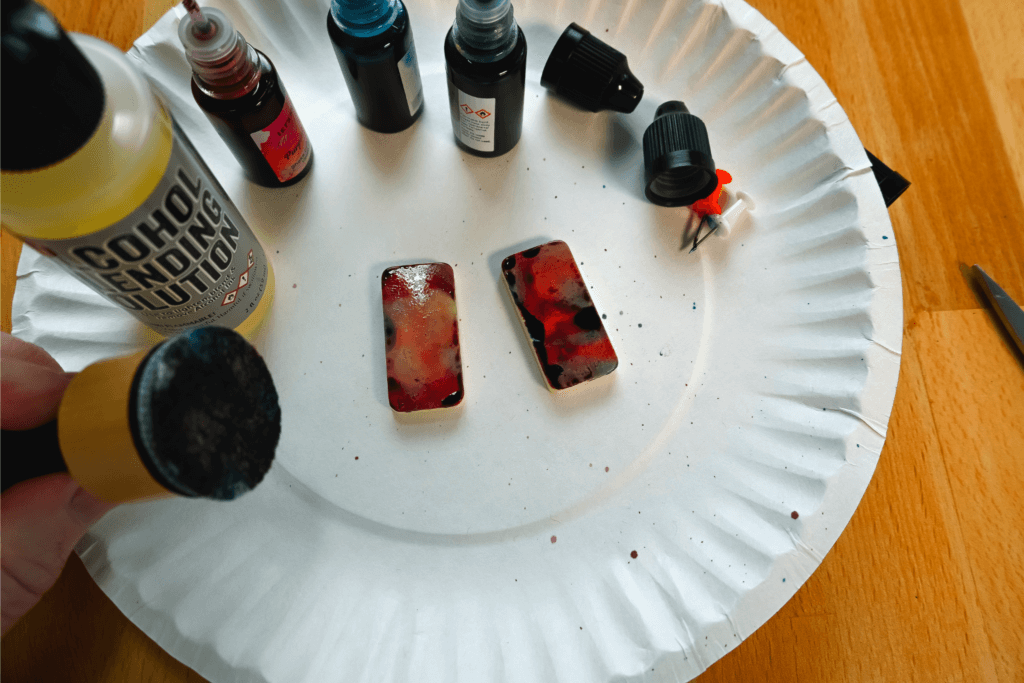
Stamp that all over the domino’s front and back and sides.
Allow that to completely dry before adding the map.
Where We Met Domino Map
Once the domino is completely dry, flip the domino over so the smooth back side is up.
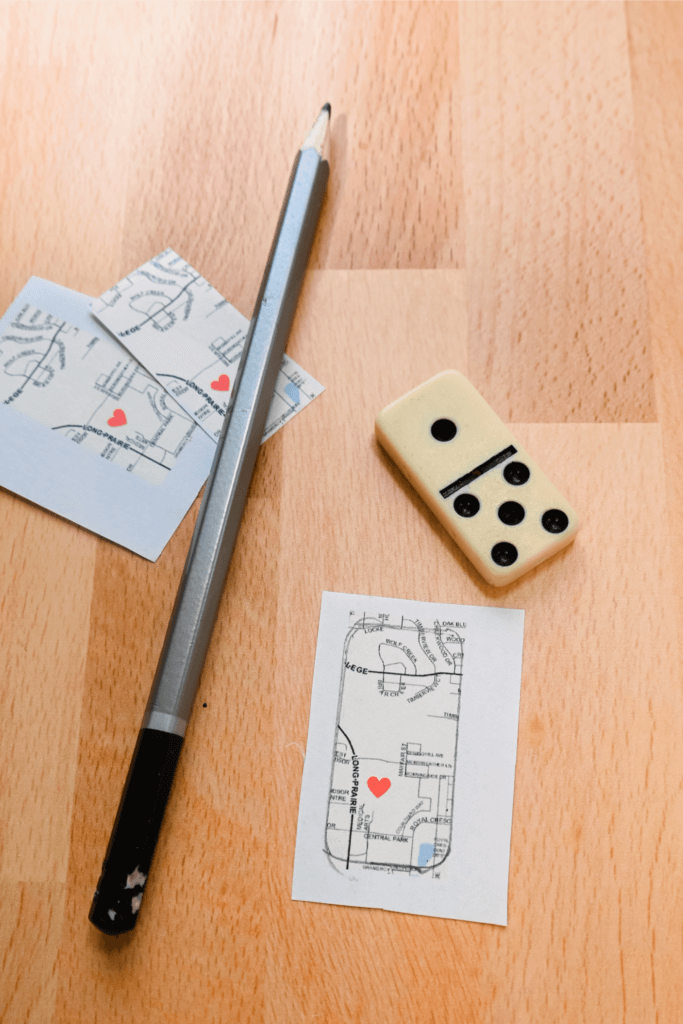
Lay the domino on top of the map you created and trace it, so you’ll know how small to cut it. Then, cut out the map.

Use the brush and Mod Podge and spread a thin layer of Mod Podge over the back of the domino and then lay the map over that.
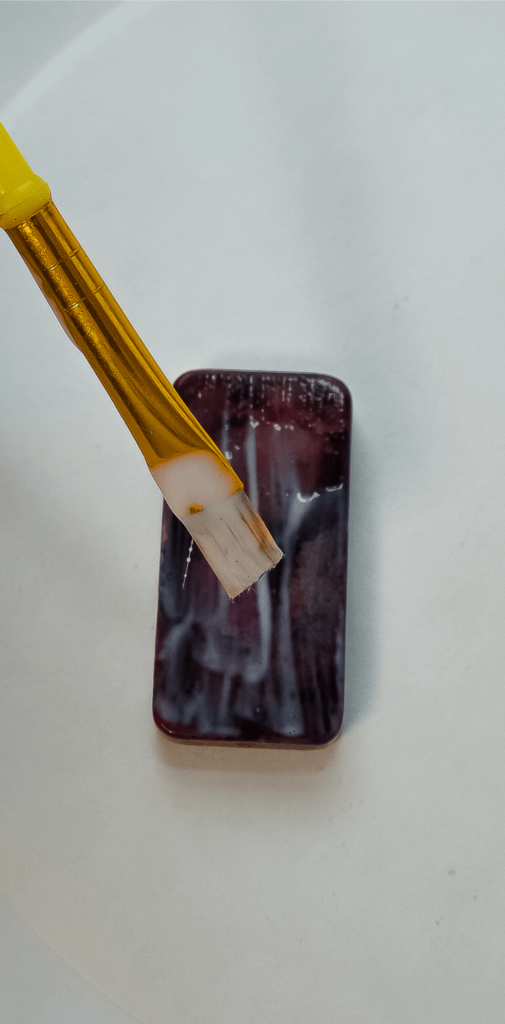
Use the brush with a thin layer of Mod Podge and brush the map to be smooth over the domino.
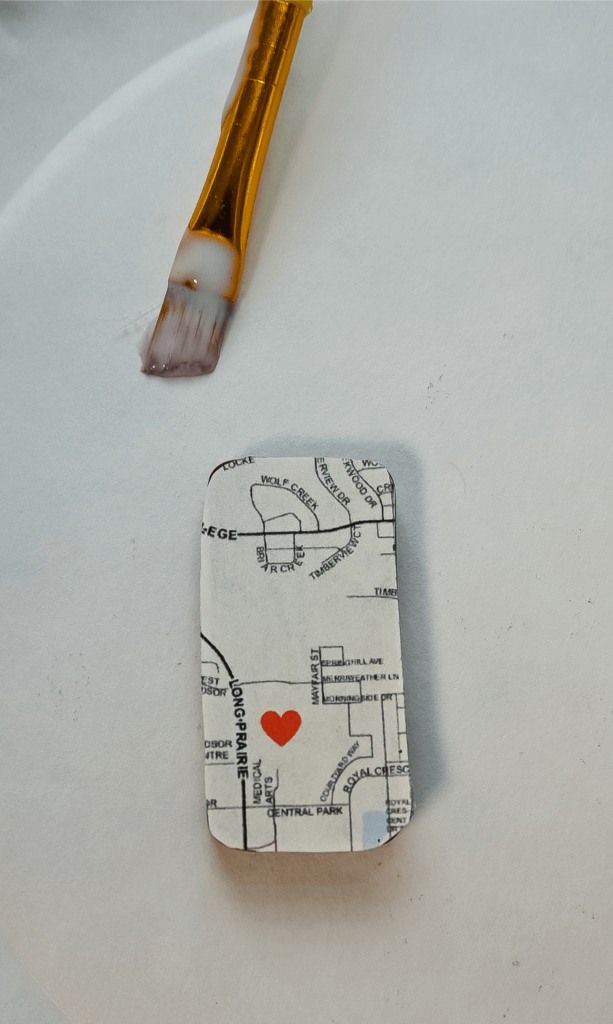
Add a second layer and even third layer, if desired. Then, let the domino dry.
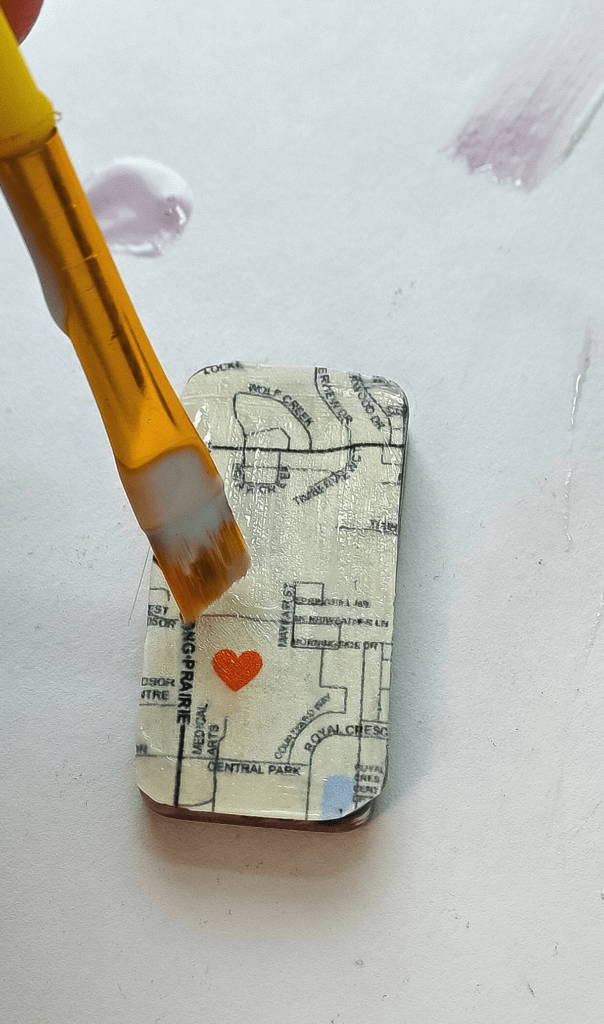
Glossy Accents
If using gloss Mod Podge, this step is not necessary. However, Glossy Accents add this nice hard lacquer top over the finished piece that I just love.
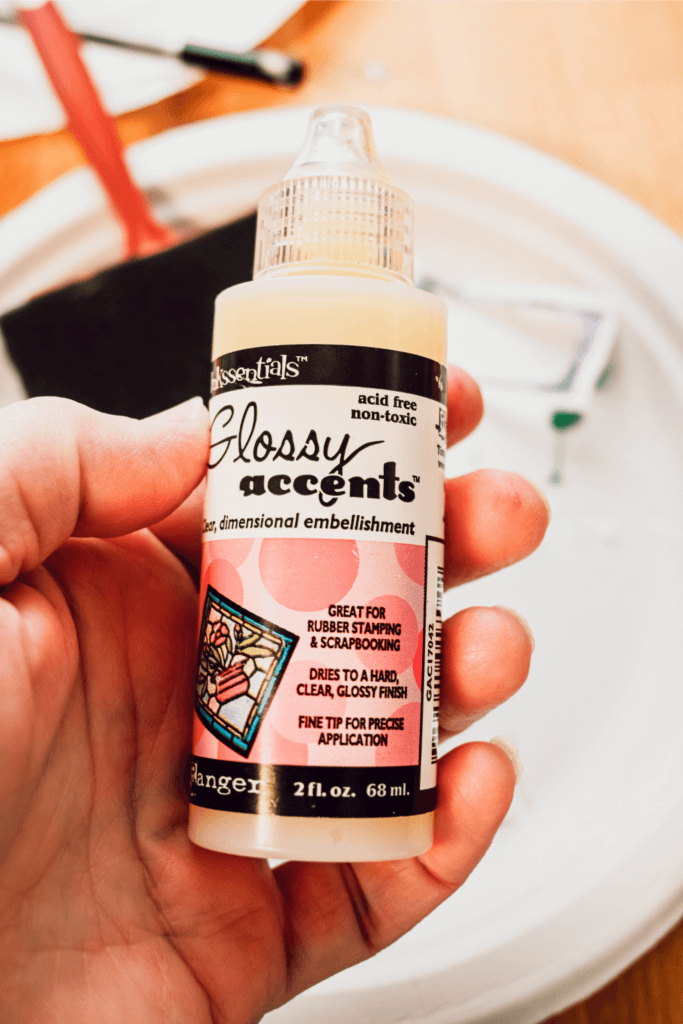
Once the Mod Podge is dry, go around the map with the Glossy Accents tube. Make sure to go around the very edge where the map stops, so it looks even everywhere.
Don’t shake up the Glossy Accents because that will cause bubbles which will pop as it dries and leave big holes on your map. Just carefully squeeze to cover the entire top surface of the domino.
Make sure you leave the domino on a completely flat surface so the Glossy Accents dries flat. Otherwise, it will pool to one side and look very distorted.
Allow to completely dry.
How to turn a Domino into a Keychain
There are quite a few ways to turn a domino into a keychain.
One method is to use the keychain kit I linked to the above supplies. That comes with eye screws, which you can screw into the top of the domino. If it seems lose, I sometimes add a tiny drop of crazy glue to the end of the eye screw before screwing it into the domino and that helps it stay tight.
Then, you’ll simply let it dry and attach the rest of the keychain parts.
I have a ton of keychain hardware, so another method, which I often do, uses eye pins. These are long straight pins with a loop on one end.
Insert the eye pin down the hole in the domino. You need an eye pin longer than the domino.
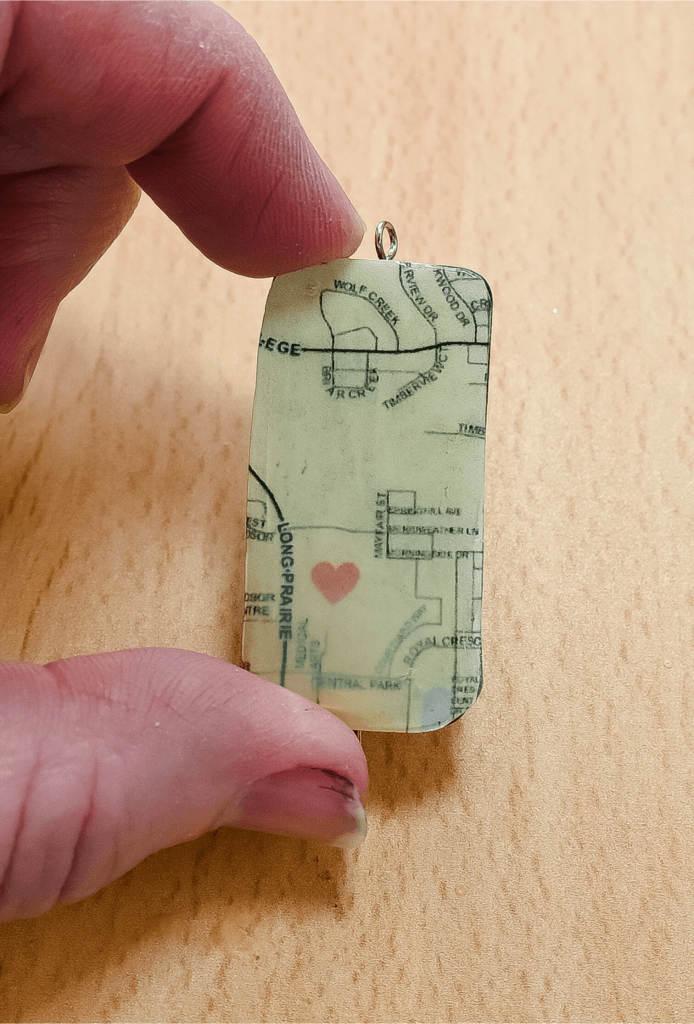
If the eye pin is like an inch or so longer than the domino, add a bead at the bottom, and then take a pair of jewelry pliers and make a tiny loop on the end of the eye pin, to hold the bead secure.
If the eye pin is just a little bit longer, then take a pair of jewelry pliers and make a tiny loop on the end of the eye pin so that it stays securely in the domino.
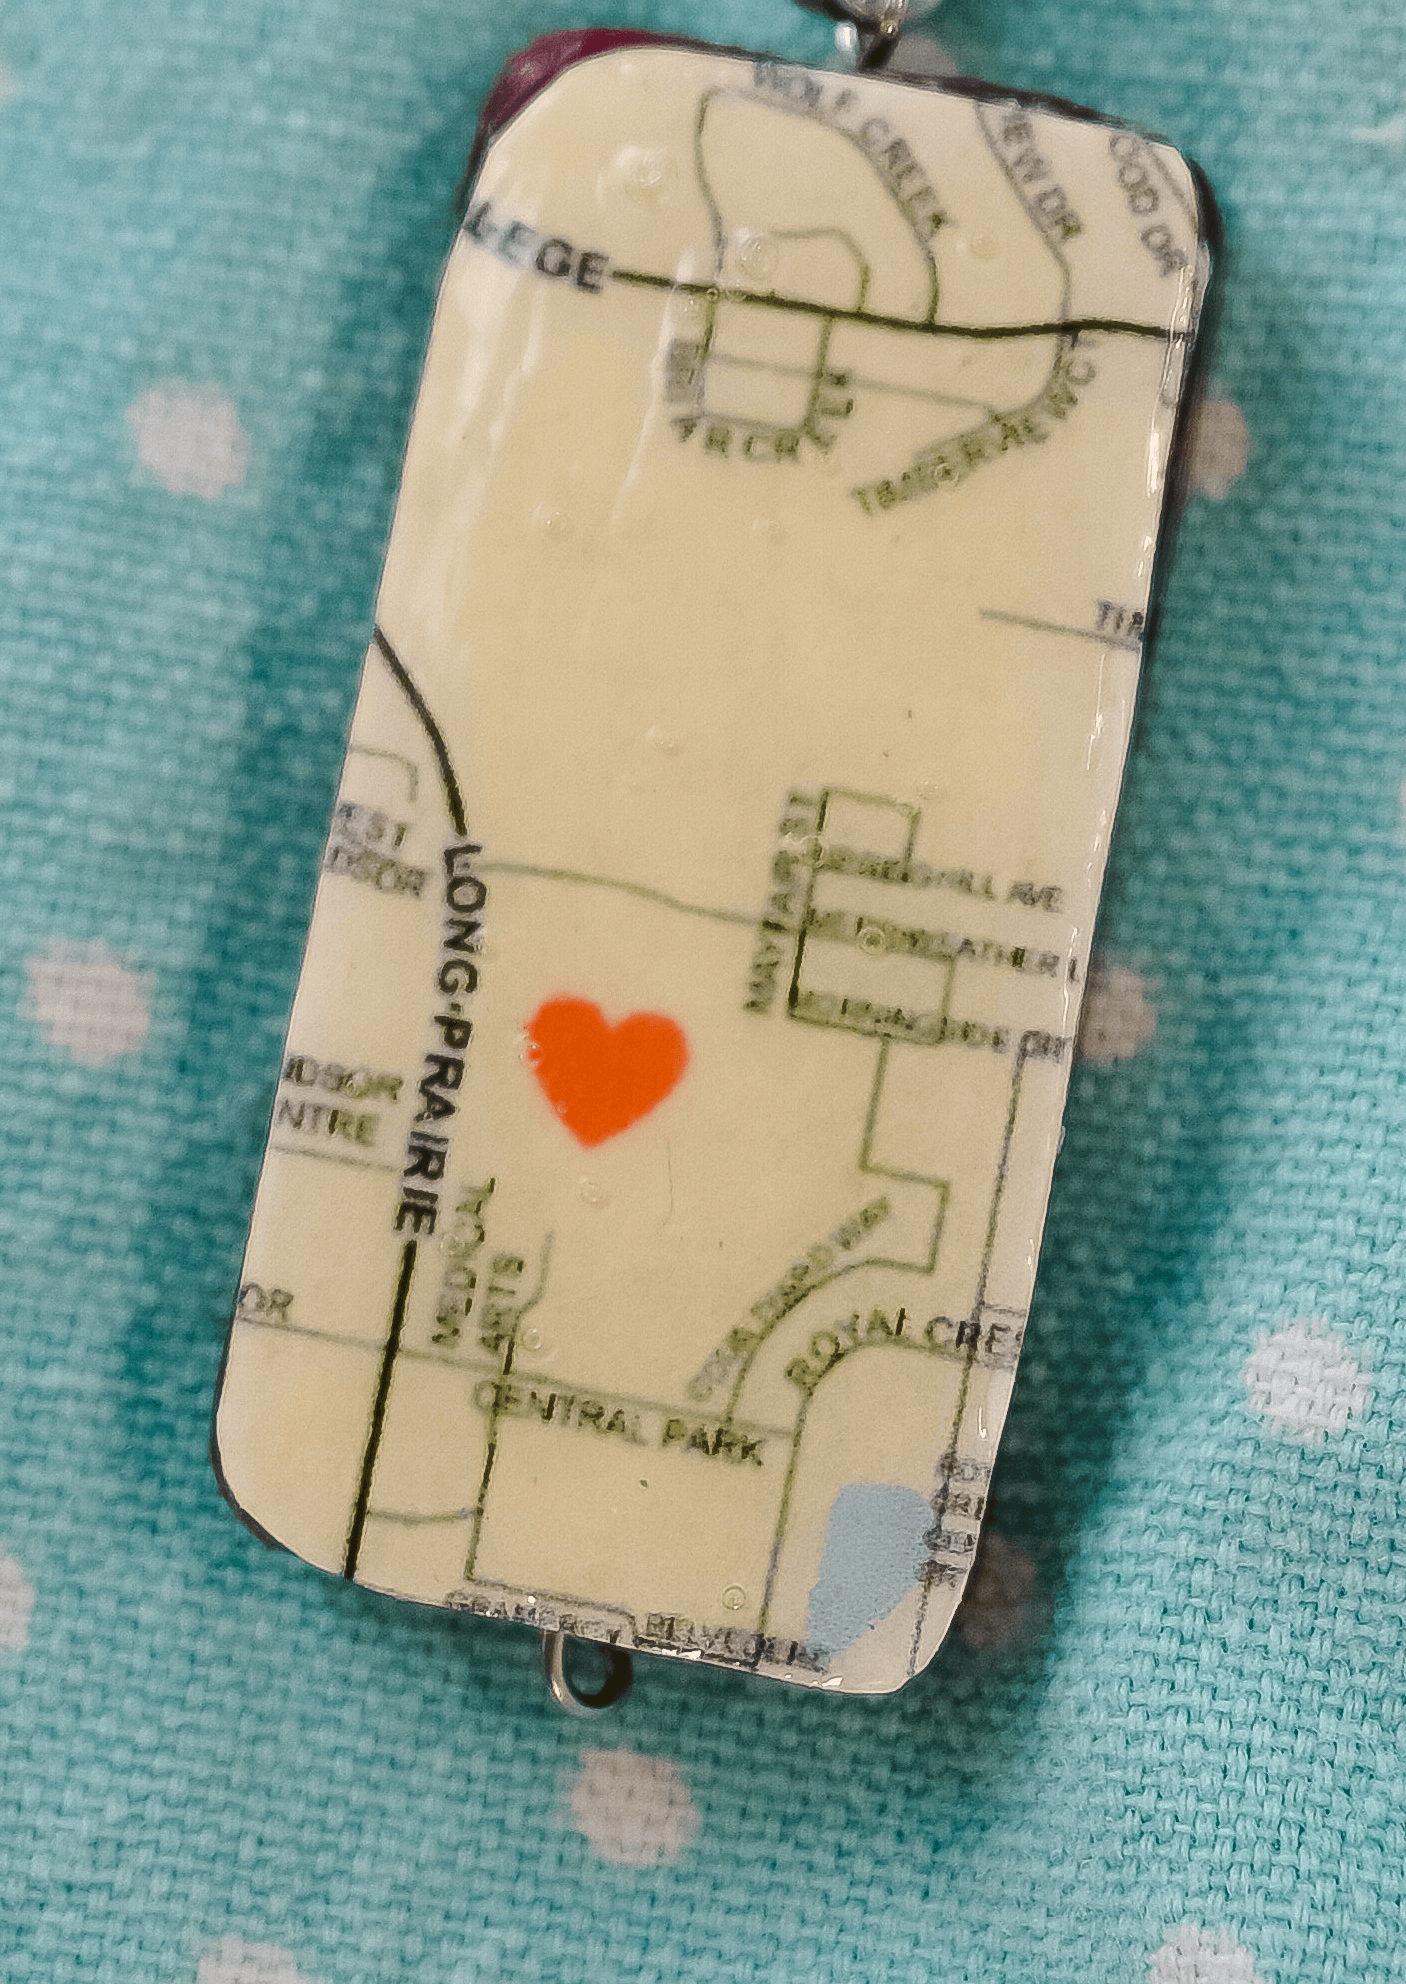
Then, attach the rest of the keychain hardware.
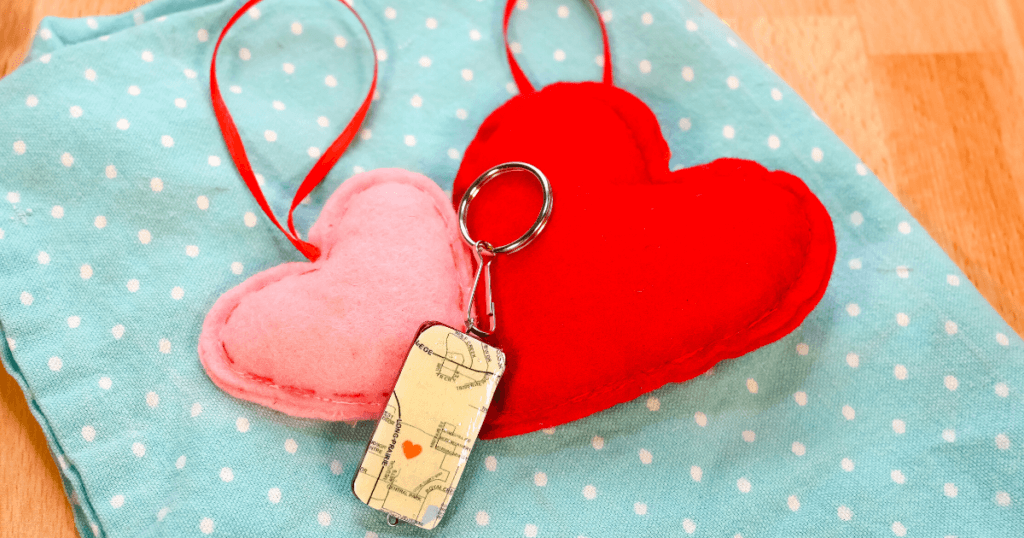
That’s it, you’re done!
If you enjoyed this one, this Altered Dominoes tutorial is another idea to use domino beads.
More Valentine Ideas for your Lover
- FREE Printable: DIY Naughty Coupon Book for Valentine’s Day
- How to make a Gnome Love Jar for Valentine’s Day
- Play I Love You Bingo with your Love with this Free Printable!
- DIY Valentine Love Jar & Our Love Story
- Surprise Your Husband with Love Notes
- More Love Notes to Send Your Significant Other
Come Join Us!
Liked this article and want more? Follow along on Instagram, Facebook, Twitter, Pinterest, TikTok, and YouTube!
Come over and join us on Facebook in the group Recipes, Crafts, and more with TipToe Fairy or Sewing and Crafting with The TipToe Fairy!
