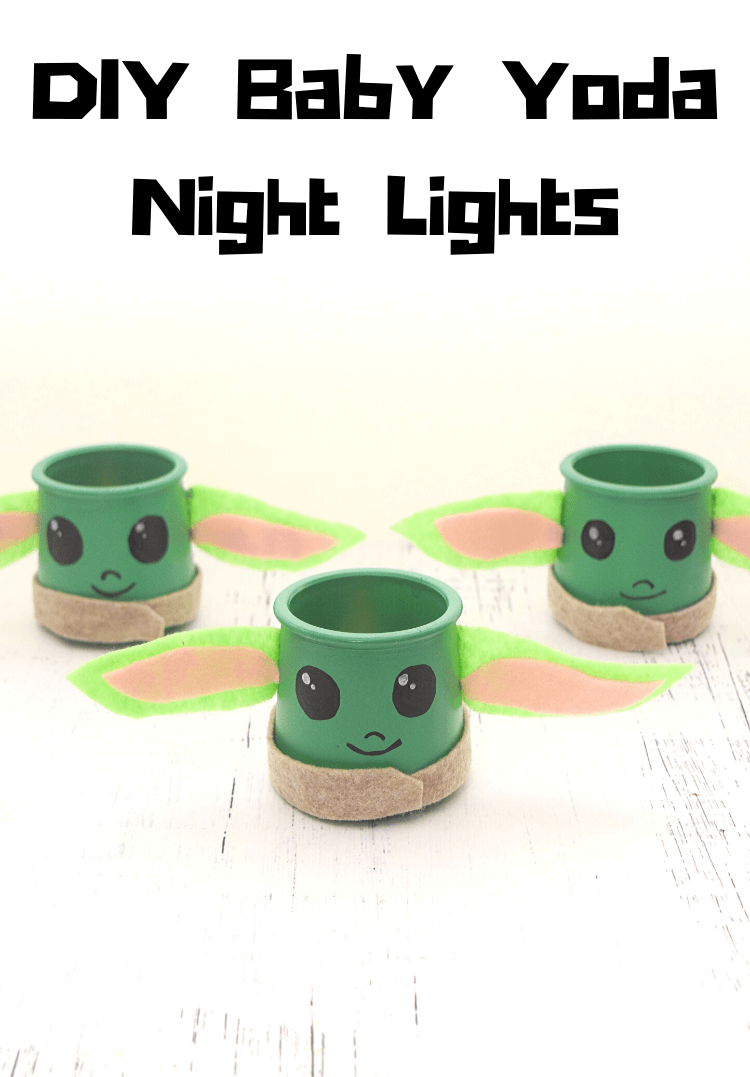
I am a crafting fiend when it comes to upcycling jars – yogurt jars, baby food jars, even pasta and pickle jars, and most definitely mason jars. If it’s a jar, I will have a craft for it. That is why I can’t wait to show you how to make these little Star Wars-inspired night lights for your kids. This post contains affiliate links.
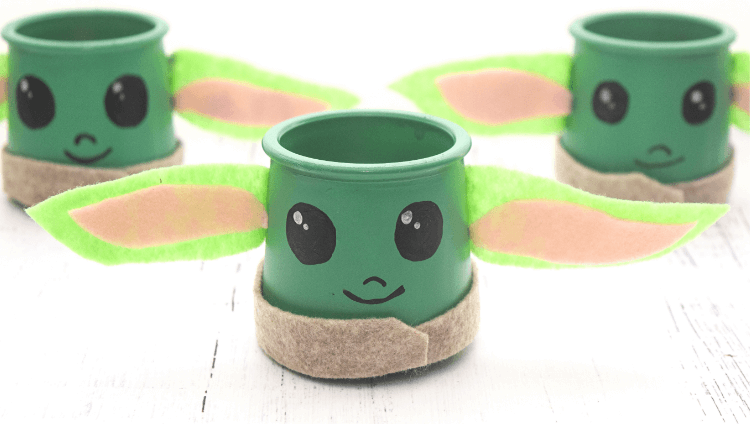
Are you big fans of The Mandalorian? Baby Yoda or “The Child”, whatever you want to call him, he is just so adorable! Your kids are going to love making a Baby Yoda Night Light for their bedroom.
Table of Contents
What kind of jars can you use to make these Baby Yoda Night Lights?
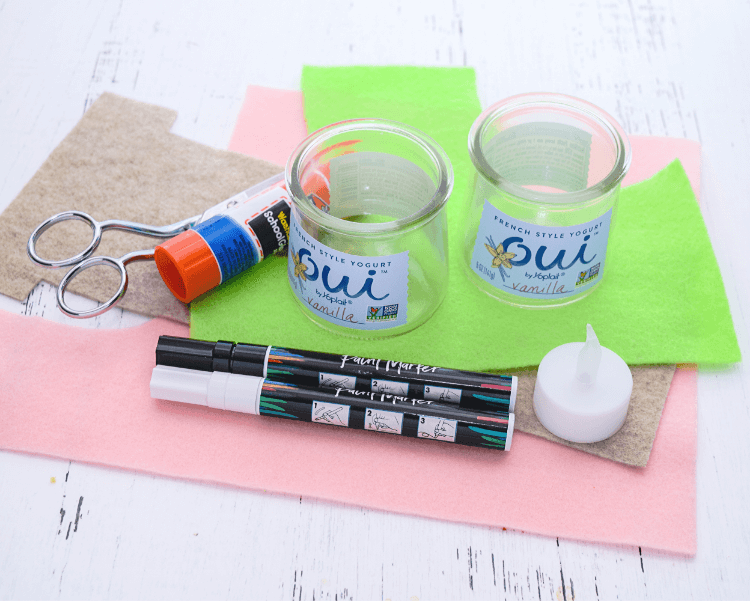
We love Oui yogurt by Yoplait. It comes in these perfectly little cute glass pots. I usually save them, wash them, and remove the labels because they are just so perfect for all kinds of crafting from votives to planters for succulents to water jars for painting.
Those jars are our usual for making these types of night lights. But, you can also use baby food jars. Or if you’re worried about glass, you can use a small clear plastic container like a pudding cup.
What kind of spray paint do you use for Baby Yoda?
I used a green called Wildflower. You can get whatever green you’d like. I tried to look for a “yoda” green color, but in the end, I couldn’t find a green felt that matched it very well. So, I just went with what was available.
I made sure to get one that would work on all surfaces including glass. Depending on what kind of container you’ll use to make the night light, whether it’s glass or plastic, make sure your spray paint will work on that kind of material.
Download the Pattern Pieces
How do you make these DIY Baby Yoda Night Lights?
You will need to cut 2 inner ears in pink felt and 2 outer ears in green felt for the ears. You’ll also need to cut out the two pattern pieces for the neckband, line them up on the dotted lines, and then cut out one long neckband.
If you have kids making these, I recommend sticking with glue sticks. They worked great for us to attach the ears and the little neckband. But, if you want to make them quickly and you don’t need to worry about burning little fingers, then I’d recommend using hot glue. It’s fast and quick and doesn’t really require you to hold it for a little while to stick.
I used paint pens to make the faces. Make sure the black eyes are completely dry before adding the white accents to the eyes, or it gets a bit messy.
You can use any kind of battery-operated tea light or votive light, but I found the flickering lights were just cooler for the display. It definitely makes you sleepy to lay there in bed and watch it flicker as you drift off. My daughter (and even my husband) loved it.
More Jar Crafts
- How to Make Mason Jar Fairy Houses
- Dinosaur Terrarium Night Light Mason Jar
- Light Up DISNEY Mason Jars
- Light Up Gnome Mason Jars

DIY Disney Baby Yoda Night Light
Materials
- 1 upcycled Oui yogurt jar or baby food jar.
- Green spray paint
- spring green felt sheet
- pink felt sheet
- brownish beige felt sheet
- white paint pen
- black paint pen
- flickering battery operated votive
Tools
Instructions
Remove the labels on the jars with hot soapy water or Goo gone.
Clean the jars and allow them to air dry.
Spray paint the jars with green spray paint and allow to completely dry.
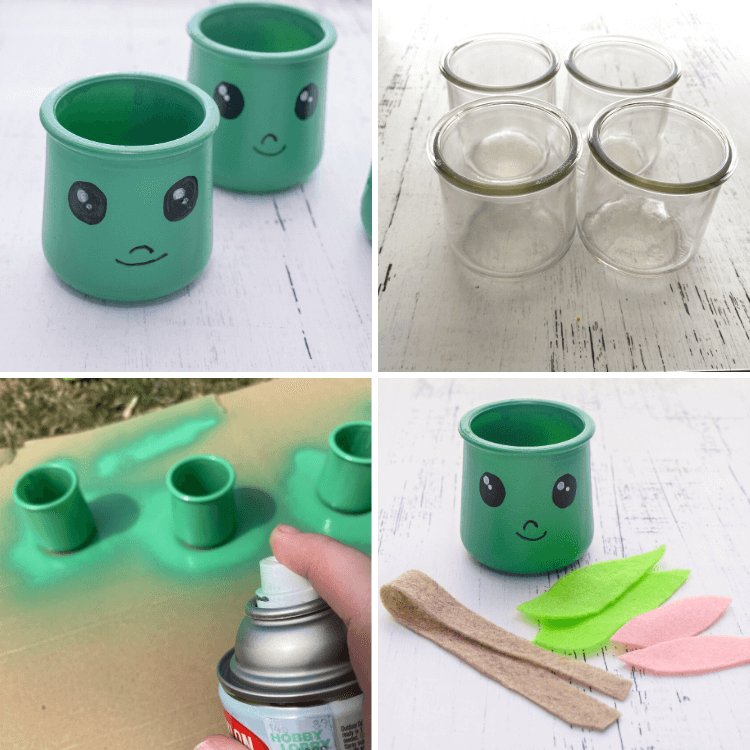
Use the black paint pen to make large black eyes on the jar.
When the eyes are completely dry, use the white paint pen to add circles and dots to the left at about the 10 o'clock spot.
Add a small nose and mouth with the black paint pen.
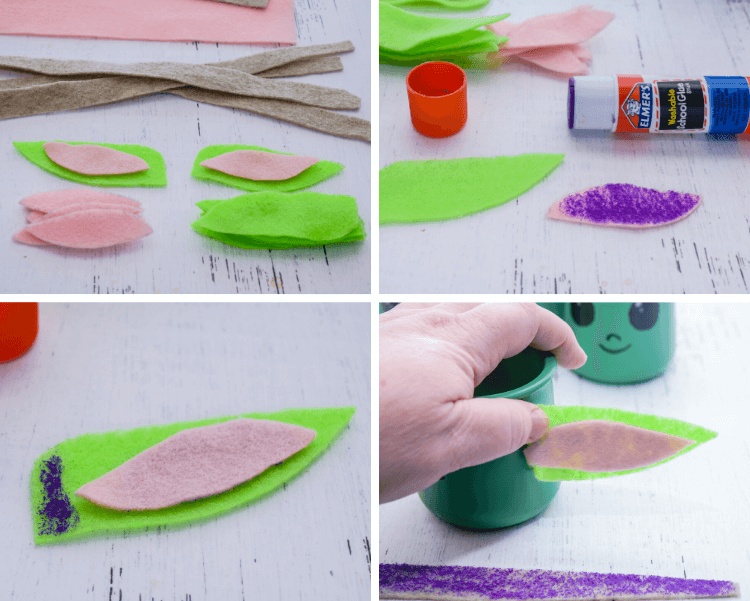
Use the pattern pieces to cut out the neckband and the ear pieces.
Glue the pink ear part to the green ear part. Allow to dry for a few minutes.
Add the glue stick to the edge of each ear.
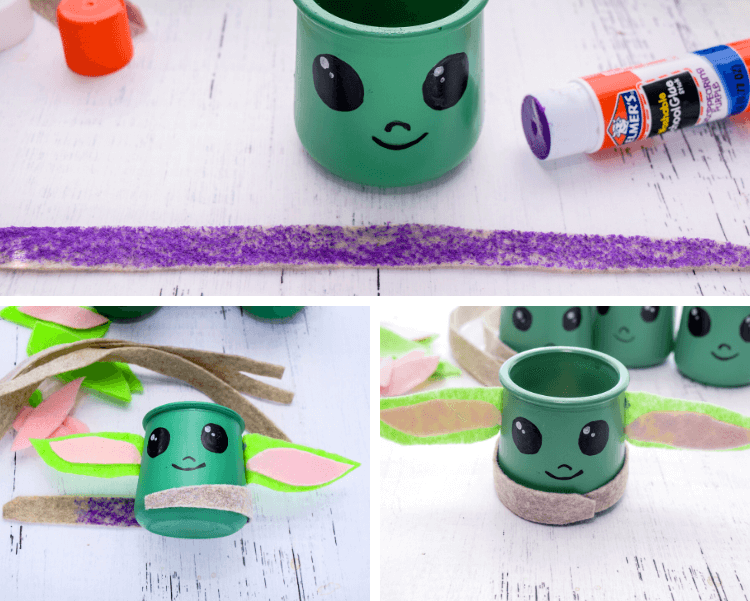
Completely cover the backside of the neckband felt with glue stick and then wrap it around the very bottom of the jar. Hold it closed for a minute or so to dry.
Attach the ear and fold it backwards and hold it for a minute to begin to dry. Do this for both sides.
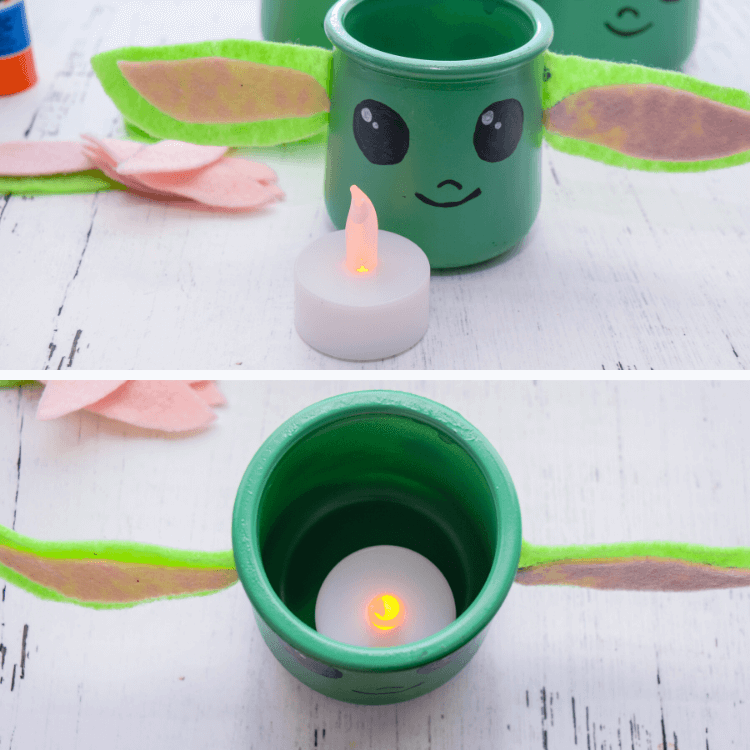
Insert a flickering votive in the jar.
You're done!
