This post was recently updated, and it is still my MOST FAVORITE wreath I’ve ever made for Halloween! This post also contains affiliate links.
This is my favorite time of the year. If only it was 70 instead of 95 degrees here in Texas, it would be perfect! I can feel the weather changing. It’s much cooler in the mornings than just a couple weeks ago, and the wind is picking up. Soon! I can’t wait!
I just love Halloween. It is my absolute favorite holiday. And, I just love to decorate for Halloween, too! We live on a corner lot at a cul-de-sac, and it is the perfect place to have all the Halloween decorations.
When we were first married, I just decorated our front porch with some lights and spider webs, maybe a blacklight. However, since we moved to our current home a few years ago, I’ve expanded to the rest of the yard and side of the house, and I try to do a little more and change up the Halloween decorations each year. Here’s a post with some of our recent Halloween decorations. I think it’s become quite successful as a lot of trick or treater moms come to the door and tell me they’re taking pictures of our house for ideas for the next year! Isn’t that awesome?
I love to make almost all my Halloween decorations as easily as possible. The ready made ones in the stores just don’t have the awesomeness of making something yourself. This year I got on the ball so that I could share them on the blog before Halloween, so you could get some inspiration to decorate, too!
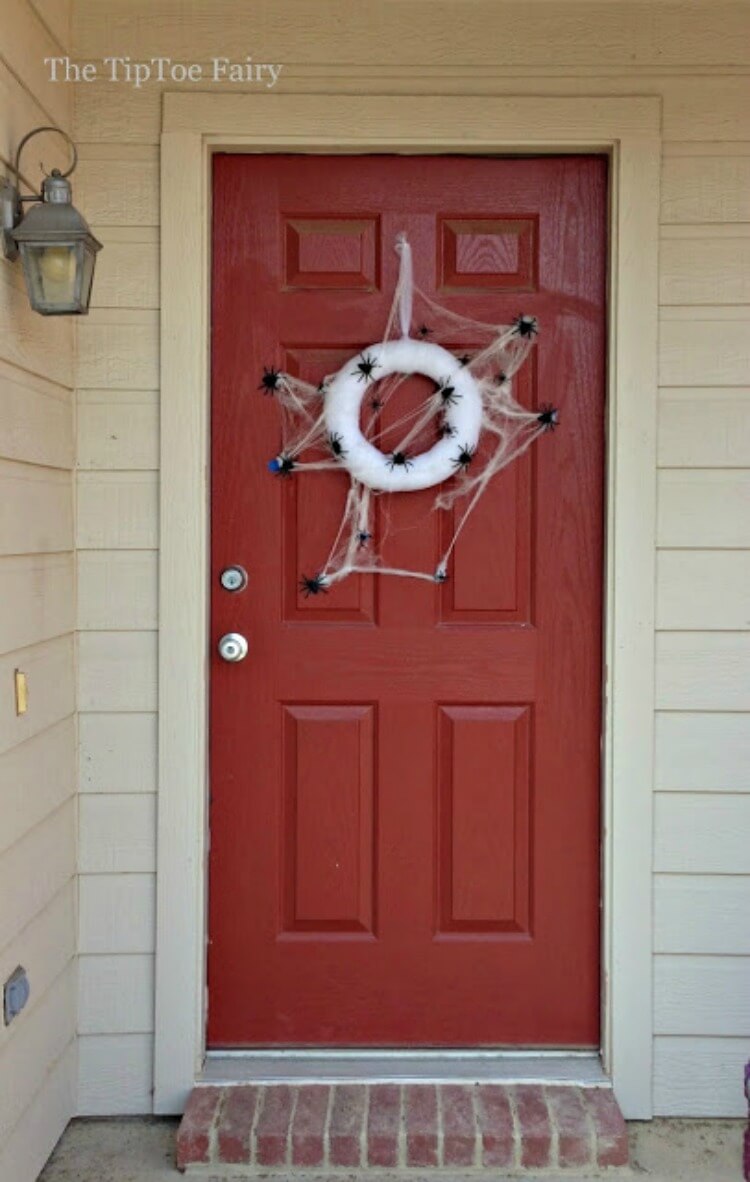
Table of Contents
How to make a Spooky Spider Web Wreath
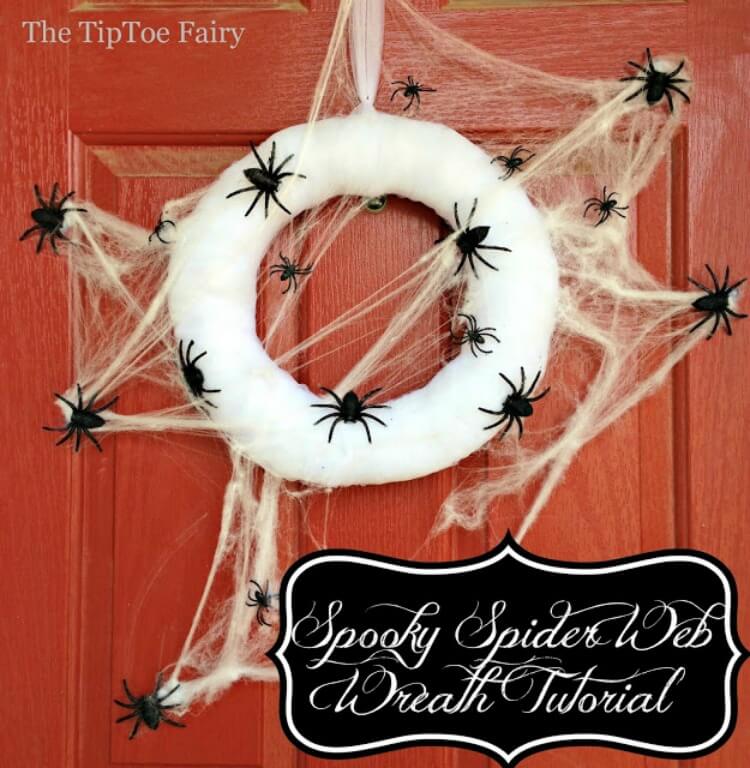
Today’s tutorial is a Spooky Halloween Spider Web Wreath. It’s very easy to make. You can whip it up in less than an hour. I think it looks totally awesome on my front door.
Supplies
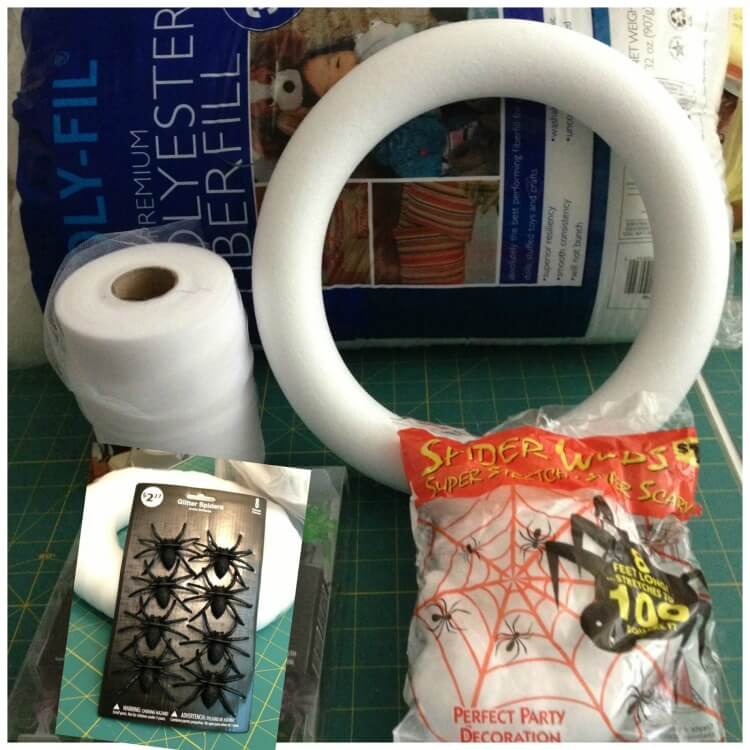
- 1 white styrofoam wreath
- 1 roll of white tulle
- 1 spider web with spiders
- Polyfil stuffing
- glue gun
- tape or small nails
Directions
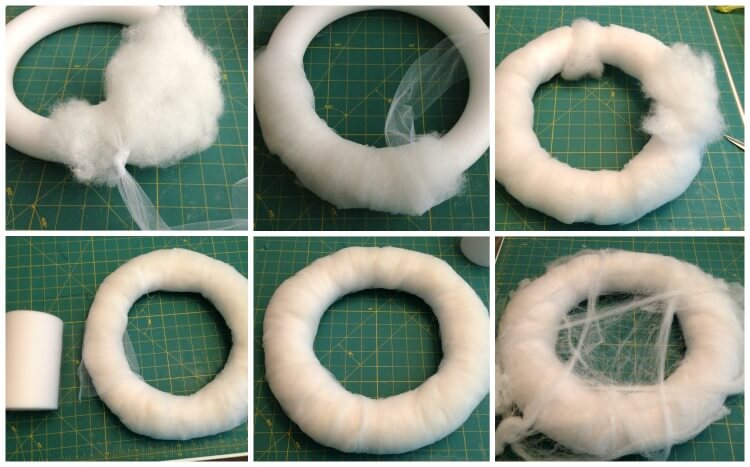
Pull out some stuffing and loosely wrap it around the wreath, just do one section at a time. Tie the tulle in a knot on the wreath and wrap it around the stuffing.
Wrap the tulle around and around the stuffing to completely cover it.
When you end one part of stuffing, add another section of stuffing to the next part of the wreath and keep wrapping until you’ve wrapped the entire wreath in stuffing and tulle.
Once you’re finished, if your wreath looks a bit lumpy and sparse in sections, add some extra stuffing and continue wrapping to even the wreath out.
Now you’ve finished adding stuffing. To finish off the tulle, cut it off the spool and tuck the ends into the back and add a dab of hot glue.
Finish off your wreath by applying one last layer of tulle around the entire thing. Make sure to tuck the tails and add a dab of hot glue to keep them closed.
How do you wrap the Wreath in Spider Webs?
Here’s where the fun begins! Take your spider web and cut off about a 1-foot long piece. Stretch it out all across the wreath. Make sure you keep some tails hanging off so they can be stretched onto the front door after you’ve placed the wreath. Add a dab of hot glue at various spots on the wreath to hold the spider web.
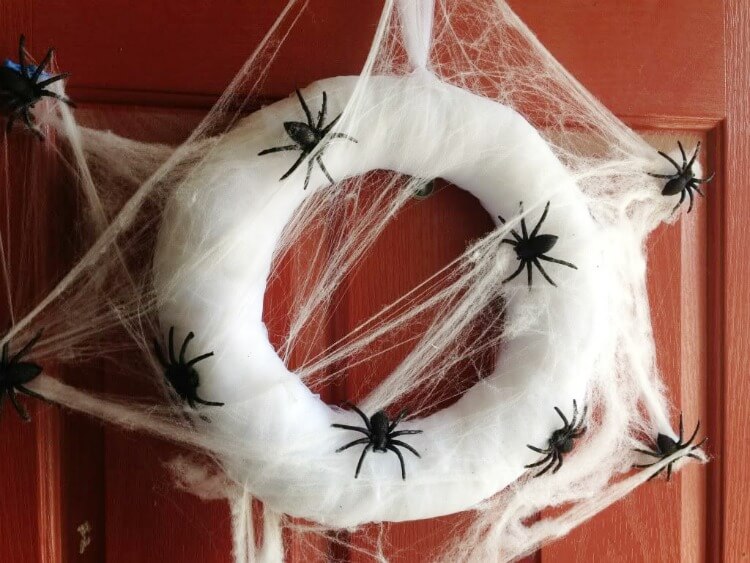
Next, get your larger-sized spiders. (I found these in the Halloween department at Walmart for $2.27/pkg). These are larger than spider rings and come in a back of 8. I bought 2 packages and used 10 spiders.
Hot glue the spiders all around the web. Save about half of them to put on the web ends you put all around the door.
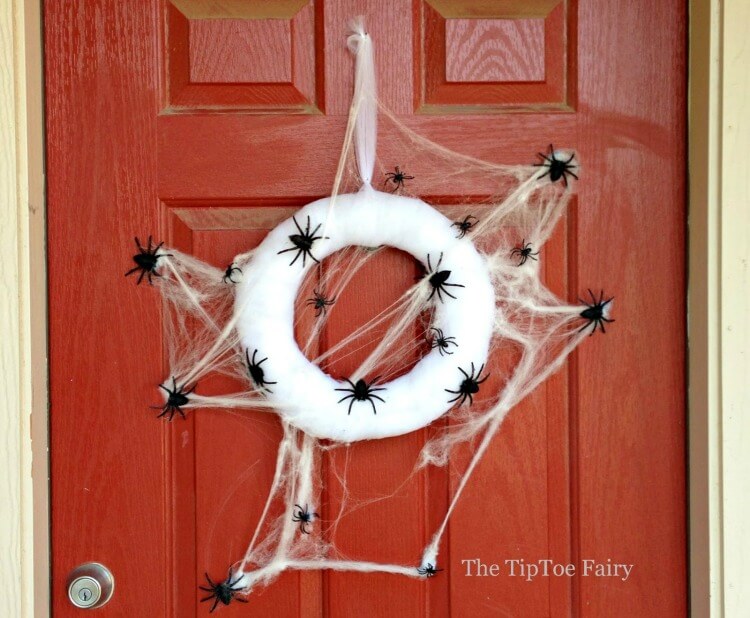
Attaching to the door. Tie a piece of tulle around the top and hang it from a nail or wreath hook on the door.
How do you attach the spiders to the spider web and door?
If you don’t mind a few holes in the door, take some tiny nails and hammer them around the door in various places to stretch the spider web. Nate refused to let me put some holes in the door, so I attached outdoor painter’s tape behind the spiders and web that were to be stretched around the door and attached them that way. I just pulled off pieces of the outdoor painter’s tape and rolled it into sticky balls.
Once you’ve attached it to the door, take about 5-7 spider rings and cut off the ring part. Then fit them into the spider web all around. And you’re done!
More Halloween Wreath Tutorials
I’ve made many wreaths for Halloween. Here’s a few you might like:

11 comments
How cute! I’ve never seen anything like this before! I love that it’s so easy and really cheap to make.
This is great! Unfortunately we have a real spider that loves hanging out on our front door. I think he’d probably make myself a home in the wreath. Looks like it might be pretty cozy for him. Thanks for sharing! Stop by my Friday’s Five Features tomorrow and link up this post (and others)! http://diy-vintage-chic.blogspot.com
Cute!! lol my 3 year old is deadly afraid of spiders… don’t think I could get away with this at our house!
This is so great. It especially looks great on your colored door (it’s hard to tell if it’s a red or an orange). I don’t have a good Halloween door hanger, so I’m definitely gonna have to make one of these. Thanks for sharing!
Love this! Shared it on my Facebook page and pinned. Thanks for showing it off at All Things Pretty!
Too cute and simple Love it! Thanks for linking up on Made in a Day!
Kim
Love this! I am featuring it tomorrow on Made in a day! Also please please link it up at my Halloween Linky Party too! Thanks for linking up!
Kim
Hi Stephanie,
What a cute project! I love it so much that I decided to feature it in our roundup of scrap fabric crafts! Check it out here: http://www.favecraftsblog.com/homemade-fall-wreaths/
Have a great day!
I love your wreath! It will be featured today at HSH!
Sherry
I love this!!! Halloween is a fun time at my house since it’s my youngest son’s birthday. Every year I decorate a little more and I know that this will be a perfect addition! Love it 🙂 You are being featured @ Great Idea Thursday’s! Krista @ A Handful of Everything
Wow, this is such a fun wreath! Thanks for sharing! Stumbled so others can find it too!