My kids have always loved dress up. When my oldest two were little, we had dress up trunks full of all kinds of things and now with the little ones, we still do. Many of them I made myself including a fleece crown for each of them.
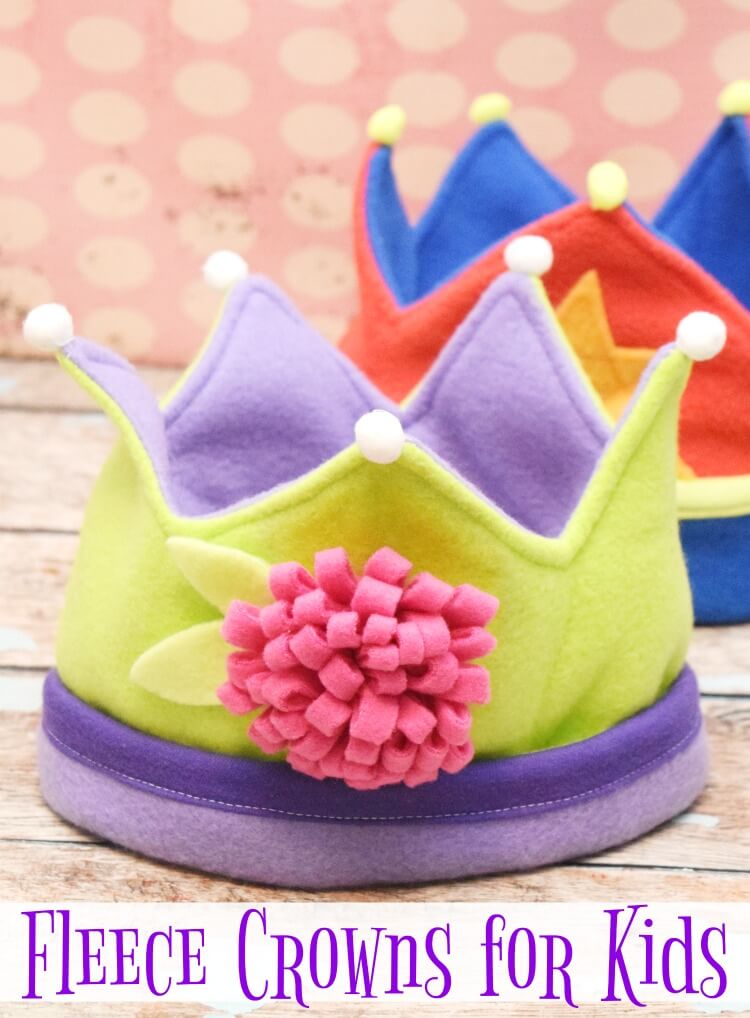
Both my 8 year old and toddler love dressing up, too. My toddler has really become obsessed with it. Her favorite things to wear are hats, so she’s always wearing her fleece crown. These are very simple to make.
Table of Contents
Download the File
Kids Fleece Crowns
Supplies:
- Fleece Crown Sewing Pattern
- 1/3 yard of fleece in 2 colors
- fleece scraps in multiple colors
- 1/4 yd – thick good quality solid color interlock or ribbed knit
- 1/2 inch pompoms
Directions:
Choose toddler (18 months to 4 yrs) or big kid sizes (5-10 yrs).
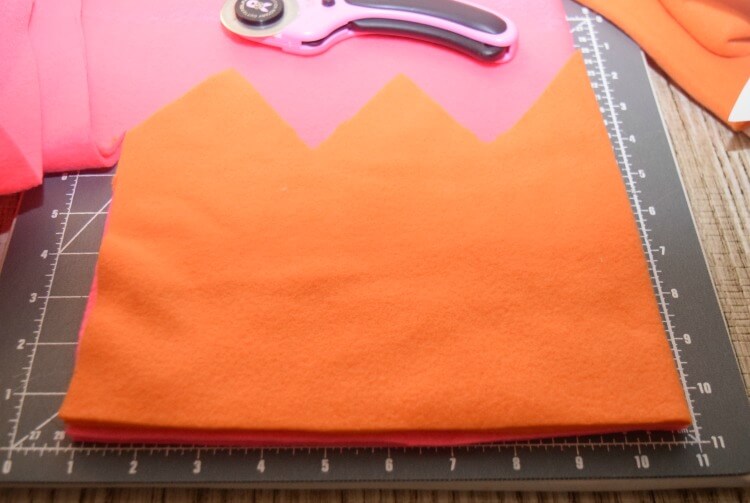
Begin by cutting out the crown pattern in two coordinating fleece colors.
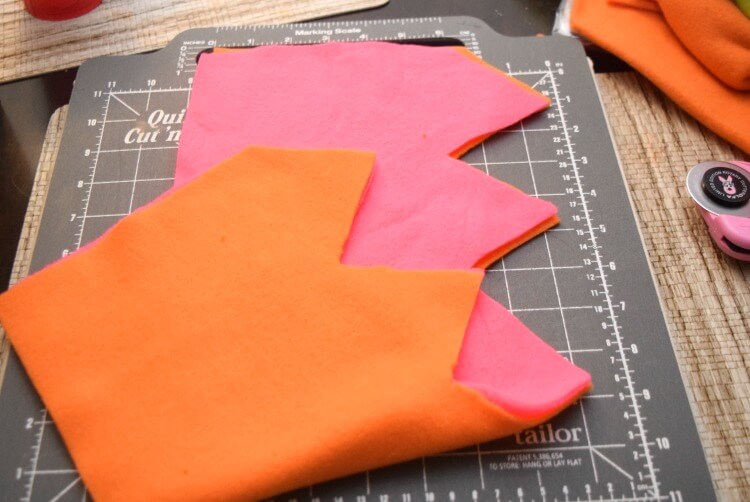
Place the fleece crowns right sides together and sew along the pointed edges.
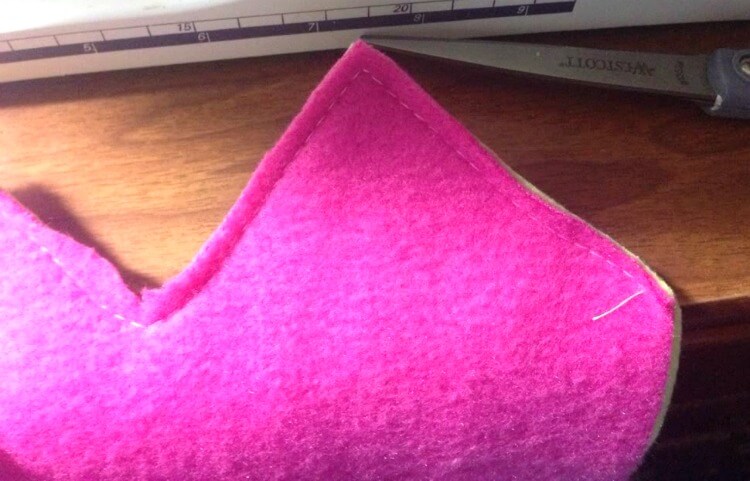
Don’t flip it right sides out just yet. Instead, pull apart the two colors (the points will be kinda hidden like in the photo) and line up the SIDE raw edges. Sew along that edge, so you’re creating a tube with the points hidden in the middle.
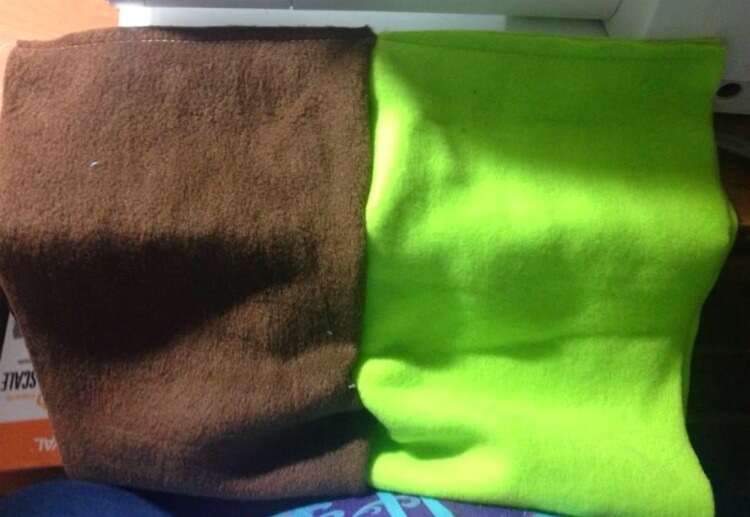
Trim the pointed raw edges to 1/4 inch and clip the inverted points, so when you flip it to the outside it lays nice. Now, flip the crown to the right sides out.
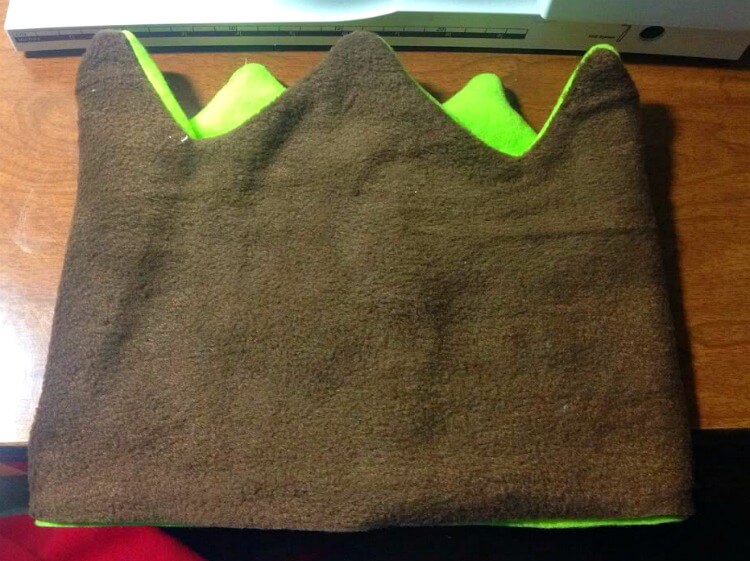
Top stitch the pointed edges of the crown all the way around.
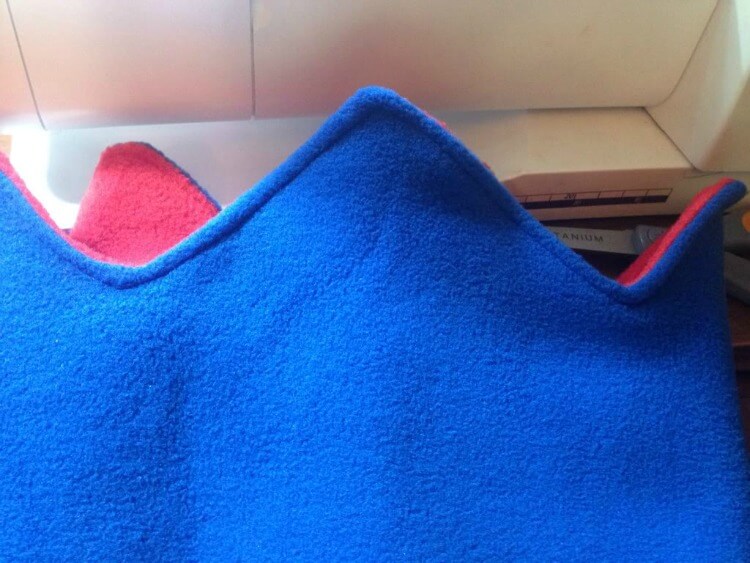
Make sure the crown pieces lay flat nicely.
Now measure about 2 inches above the lower raw edges. Sew a straight line around the crown but make sure you gently stretch the fabric as you do, so when they put the crown on, it won’t pop a stitch.
Now is when you need to decide which color will be the inside and which will be the outside. Also, check the raw edges and make sure they line up evenly, if they don’t, just trim the excess.
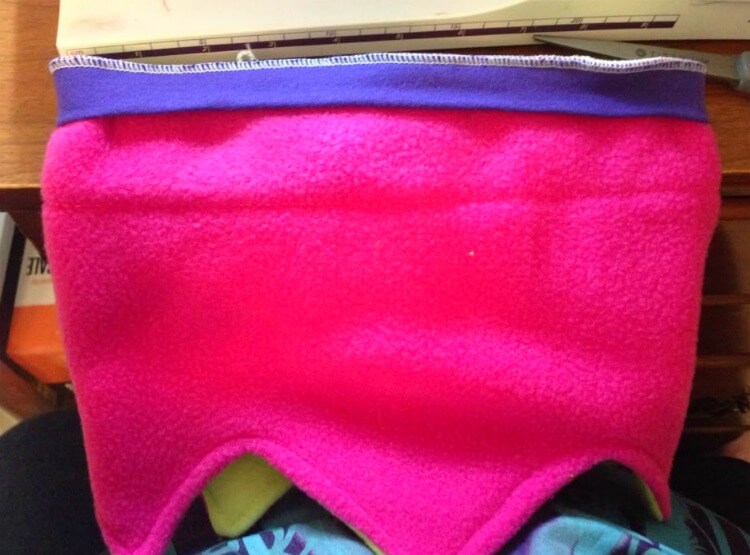
Cut a piece of the stretchy knit:
- Kid Size – cut your piece 16 1/2 inches long x 2 1/4 inches wide
- Toddler Size – cut your piece 14 1/4 inches long x 2 1/4 inches wide
Match the small edges of the ribbing together and sew them so you’ll have one circle of ribbing.
With the outside of the crown up, fold the rib knit in half lengthwise and line it up with the bottom raw edges. Line the seam of the rib knit with the seam of the crown. Then, pin it and pin the rest of the ribbing as you need it. I usually pin it in 4ths, so I have a pin at each side of the crown and each middle of the crown.
Most importantly, stretch the rib knit as you sew it on the crown. If you have a serger, I recommend using that, but if not, just use a long straight stitch.
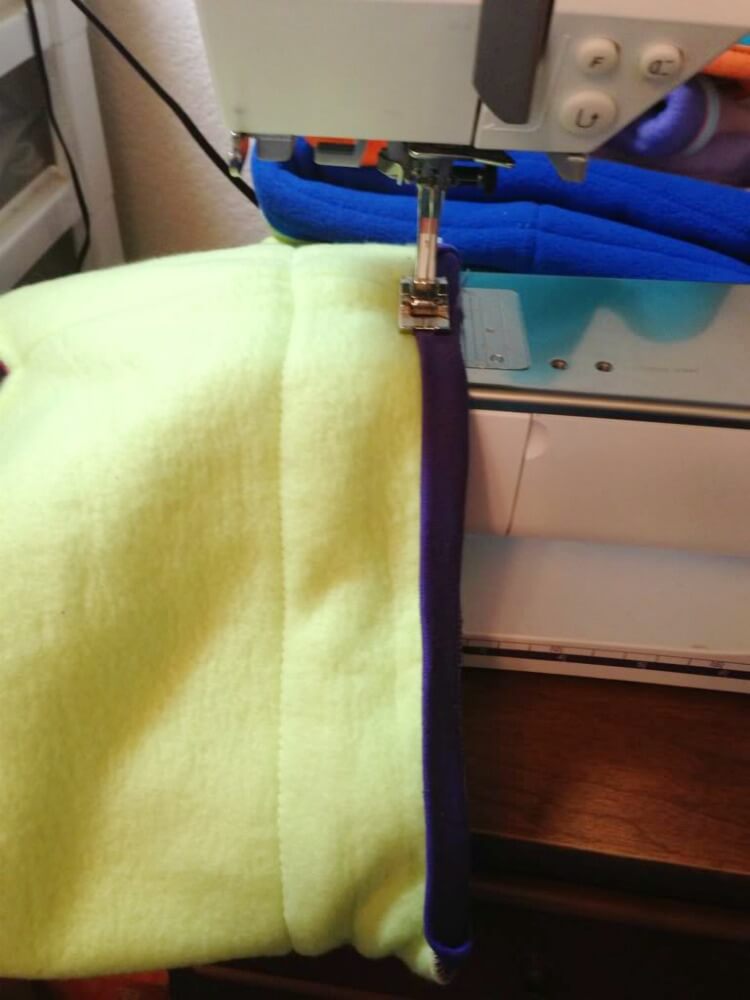
Flip the crown over so the INSIDE is on top. Fold the rib knit edge to the INSIDE layer, so you’re folding it over to hide the sewn raw edge. Now top stitch along the top of the rib knit folded edge 1/4 to 1/8 inch from the folded edge of the knit. Make sure to gently stretch as you sew.
Fleece Crown Embellishments
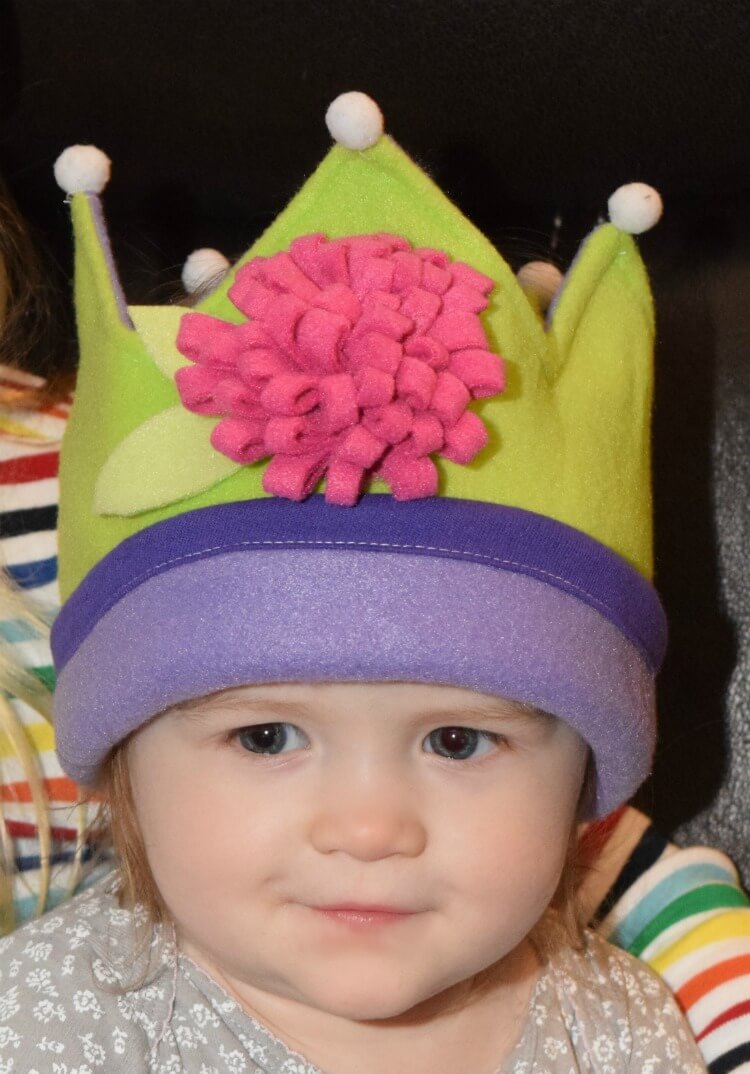
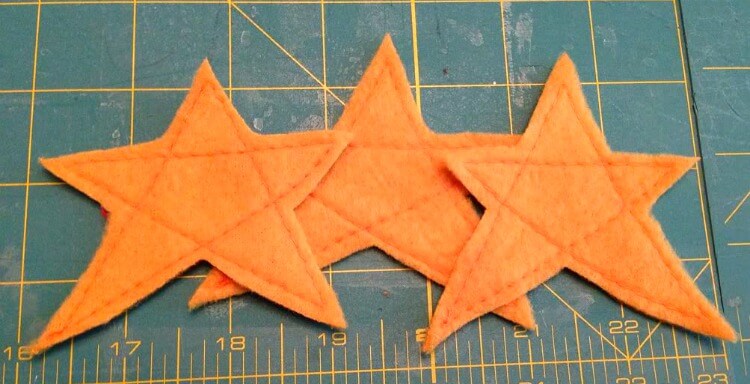
I like to add a little embellishment like stars and flowers. You can print out the star pattern and cut coordinating fleece scraps and put one or three on the front of your crown.
Star Embellishments
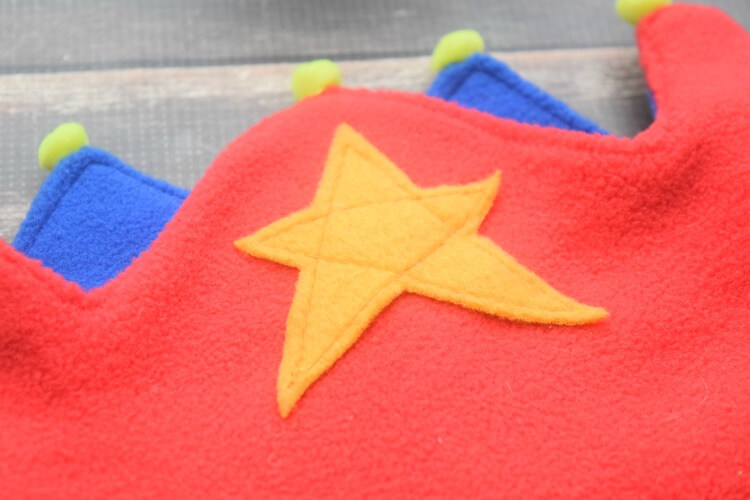
I usually just cut one star per crown. Then, I sew a straight stitch to look like a hand drawn 5 point star like the picture. Then, I use washable fabric glue and attach the star to the front of the crown.
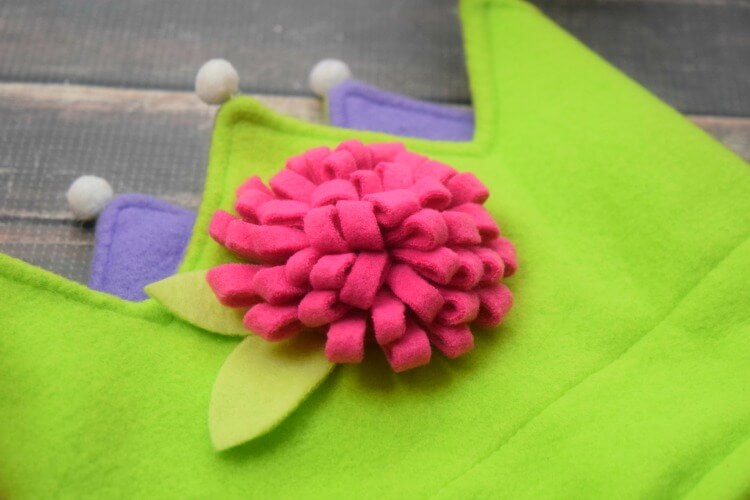
Flower Embellishments
Cut 2 small pieces of green fleece to look like leaves about 2 inches long.
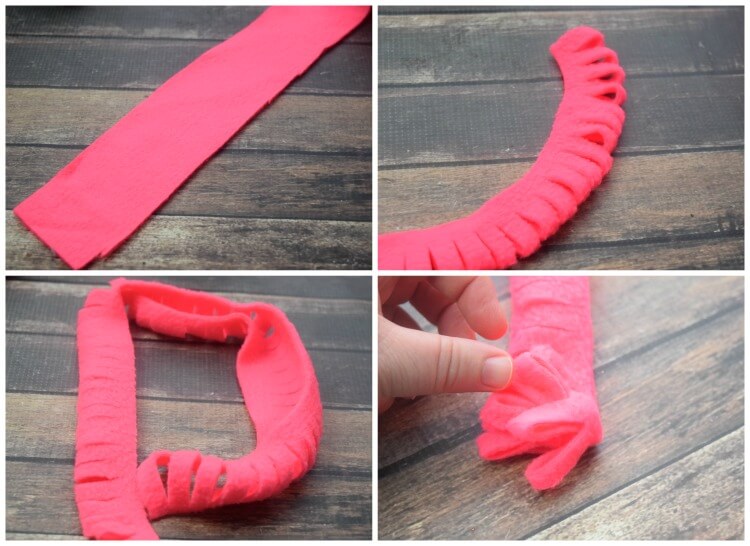
Cut a piece of coordinating fleece 18 x 2 inches.
Fold the fleece in half lengthwise. Use a pair of scissors and make cuts every 1/2 inch on the folded side just like the photo, along the entire length.
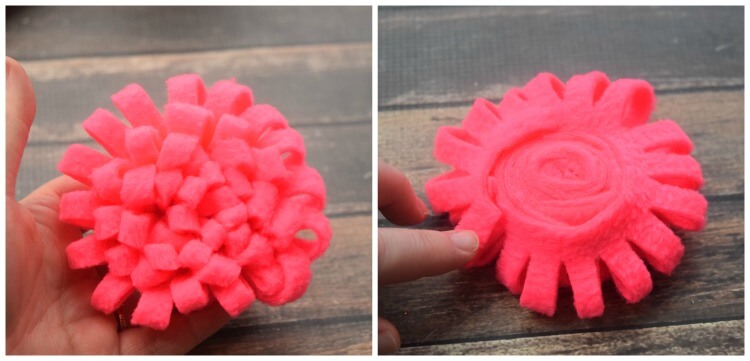
Keep it folded in half and begin rolling it up to form the flower.
Here is the back side view. Glue it closed from the back side.
First place the leaves on the crown and glue them with the washable fabric glue. Then, add the flower with a good amount of glue. Let it dry completely before trying it on.
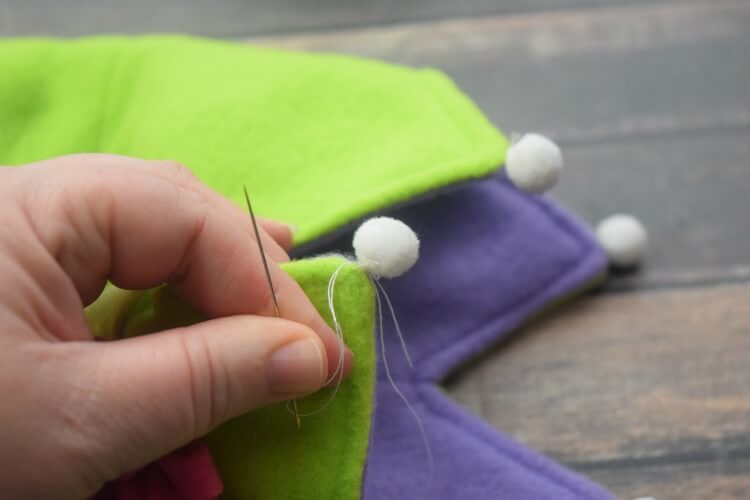
Lastly, it’s time to hand sew the pompoms with a needle and thread to each point.
Fold up the bottom of the crown at that stitch line about 2 inches from the bottom, and you’re done!


3 comments
These are adorable! Thank you for sharing them
Hi! I LOVE this pattern but I am butI am totally stumped at the point where you say to pull the 2 pieces apart and see up the side seams. I have tried numerous times and for some reason I’m not able to get it. It doesn’t make sense to me however I’m sure it works. I looked for a You tube video however there is none . Am I misunderstanding your directions ? Please let me know. Thank you!!
It’s this photo: https://thetiptoefairy.com/wp-content/uploads/2019/01/fleece-crown-2a.jpg
At this point, you’ll have just sewn the points together. Then line up the raw side edges, so you’ll line up each color together and sew one long straight stitch along it to create the side seam. You’re basically creating a tube. You don’t need to worry about the points, as you’ll flip everything once you’ve sewn this side edge.