Table of Contents
Do your kids love to dress up or wear Santa hats during the holidays? This Santa Aviator Hat is made from polar fleece and is very easy to make. It’s perfect for dress up play. My kids also love this Dinosaur Tail and these Butterfly Wings for dress up play!
My husband loves airplanes and jets, and all things flying. He’s even taken a few flying lessons; though a pilot’s license is a little beyond our means right now. He is an avid player of flight simulators, and he loves teaching our girls how to fly on his flight simulators. Our 2 year old just LOVES it. She runs in the room yelling, “Fly Daddy’s airplanes! all the time” This is a sponsored post.
Dress Up Costumes
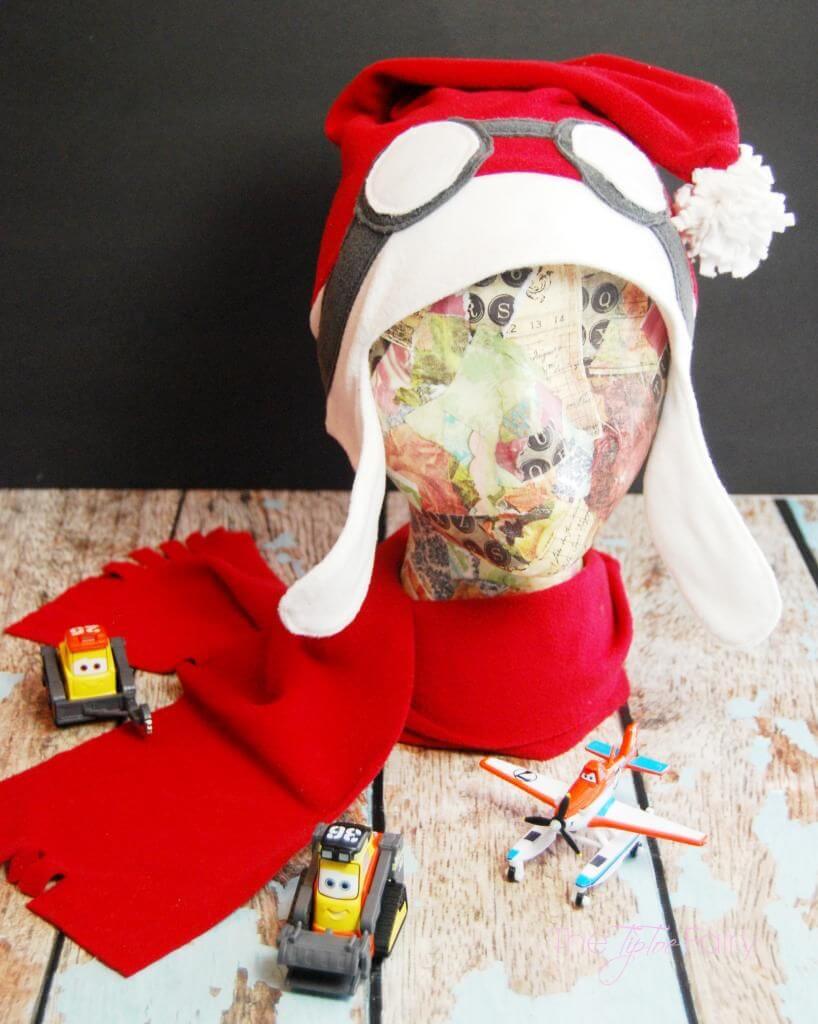
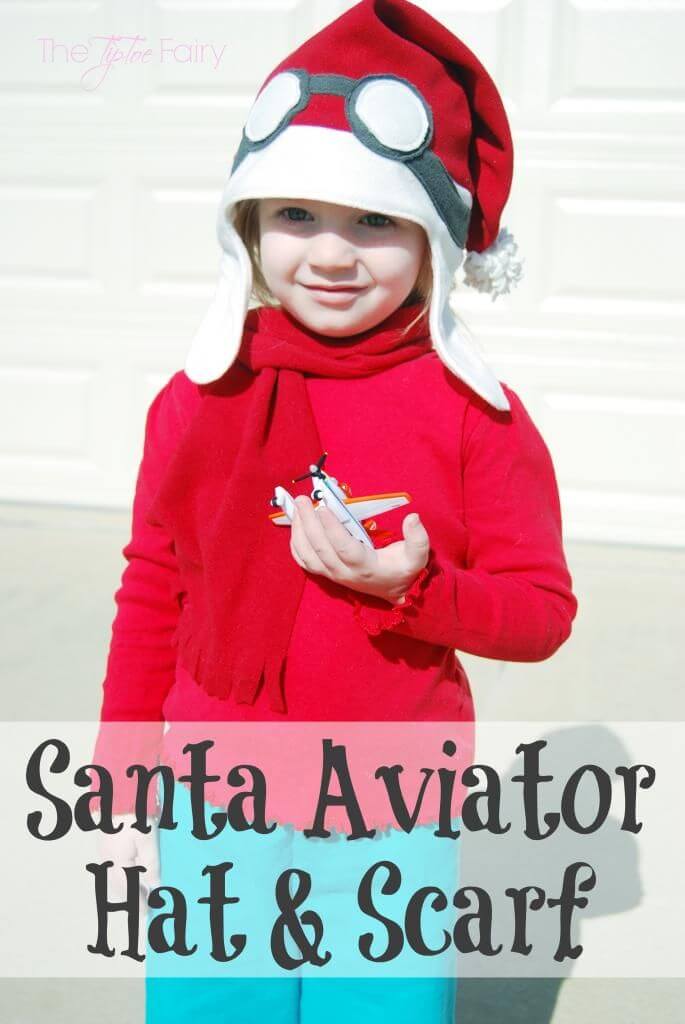
My kids are really into dress up, too. I love to make them dress up costumes that are more than just princess costumes. With the holidays just around the corner, I made this adorable Santa Aviator Hat and matching scarf to wear while flying the airplanes.
Get the Santa Aviator Hat Sewing Pattern

It’s available in baby to adult sizes!
How to make a Santa Aviator Hat and Scarf
This is a really easy tutorial. I used microfleece for this one. You can use regular polar fleece / blizzard fleece. But, I like the feel of microfleece and it’s not as stiff as regular polar fleece.
If you have a serger, you can make most of the hat on your serger. And, the scarf is completely no sew.
Santa Aviator Hat & Scarf
Supplies:
- 1/2 yd white microfleece
- 1/2 yd red microfleece
- 1/4 yd gray microfleece
Directions:
1. Print the pattern and tape the pieces together as instructed. Then, cut out the pattern pieces.
2. Using the correct size based on head circumference, cut out the fabric with the pattern pieces.
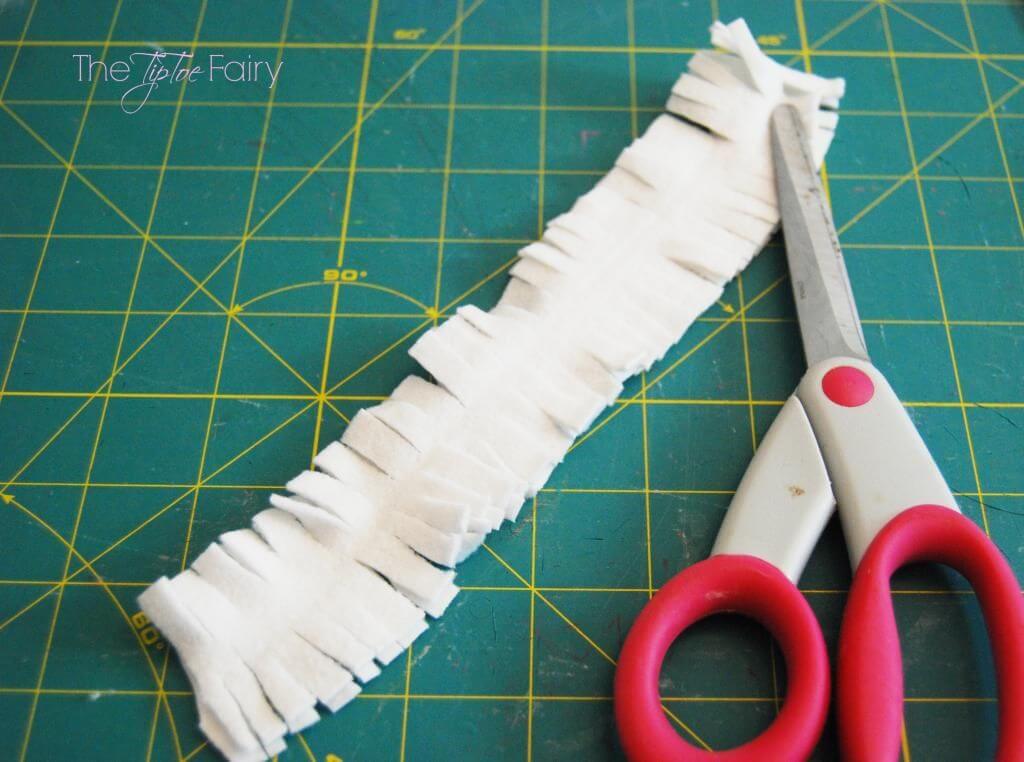
3. Cut a strip of white fleece 1.5 inches x 20 inches to create the pom pom. Use this tutorial to make the pom pom.
4. Now sew the hat side seams together.
5. The brim of the hat has those typical flaps of an aviator hat. To make these, make sure you tape both D Pieces together and cut on the fold. You’ll need 2 of these.
6. Line them up with right sides together and sew around the entire bottom edge with the flaps. Then, flip right side out.
7. Next, we’ll open up the raw edge from each side and line up the two back seams like the above picture, and sew along them. This way, we can fold it, and have a nice continuous edge to attach to the hat like the picture.
8. Fold it so that the raw edges meet, then with right sides together, line up the back seam in the middle of the raw edge of the hat and pin it. Also pin at each side seam and the front middle. Then sew around.
9. Once you have attached it to the hat, fold it down and top stitch along the bottom edges around the flaps, and stitch in the ditch where the hat meets the brim.
10. Now, it’s time to applique. Before sewing the applique, make sure to lay it out exactly how you want it. I laid mine out so that the goggles were partly on the white brim and the red hat. Once satisfied, you can start pinning them or using a spray adhesive to get them to stick before sewing.
11. Cut out 1 nose piece, 2 round gray pieces, and 2 round white pieces (the white should be slightly smaller). Use the chart on the pattern to cut the wrap around piece.
12. You can use pins or a spray adhesive to stick the white rounds onto the gray rounds. Then, sew around them (not on the hat, yet). I use a paper towel behind all of them as a stabilizer. Then set them aside.
13. Now use a pin or spray adhesive to attach the back piece of the goggles around the hat like the pictures. You’ll sew around it like a large rectangle.
14. Now sew the nose piece on the front. I used the paper towel stabilizer under the hat to help.
15. Lastly, place the rounds, and position them with spray adhesive or pins and sew around the gray part. Don’t forget to tear off all the paper towel stabilizer before wearing!
16. Next, attach the pom pom to the tip of the hat with a sewing needle and thread.
17. To make the scarf, just use the chart on the pattern. Once cut, make fringe by cutting a small strip about 1.5 inches deep about every 2 mm on either edge.
Now it’s time to try on your creation! Let me know if you make one!!


31 comments
CLEVER IDEA, Stephanie! I LOVE this SANTA Aviator Hat & Scarf, so THANKS for your 17-step sewing tutorial! Creative & brightly colored RED, white & black set for little Molly to wear during the holidays. Reminds me of SNOOPY, too, right? No, I cannot sew much as I have severe neuropathy in both hands since my 5th chemo treatment on Sept 19th. I do take time every other day to crochet for an hour or more, so I can keep my hands busy and my mind off the chronic PAIN. Sarah Helene in Mineapolis
Thanks, Sarah!
Oh my gosh! The hat is so adorable!!! So cute.
Oh my that is just adorable! Love it! #client
What a cute hat and scarf!! Thanks so much for sharing!
That hat is adorable! Any child would be happy to wear it!
So cute! Have you seen Prep and Landing the cartoon? If not, you should find it for the little ones. This reminds me of that show.
Cute idea!
Cutest idea ever!! I love it! Adorable!
You should sell them, Stephanie!
That is such a fun, super cute, idea!
That is adorable! I wish I could sew!!
that is SOOO fun! my boys LOVE the planes toys and I’m sure they would love this hat too!!
This is too cute!!
What an adorable hat idea!
What an adorable idea! Great DIY!
Oh my cuteness! I love that you made a hat and scarf set!
Pinning and sharing!
I would love for you to share this post {and others} at my Show Me Saturday linky party! Our next party will be this first Saturday of the new year. Hope to see you there!
~ Ashley
That is just the cutest! I really need to learn how to sew!
You are one talented girl! Adorable!!! My 3 year old grandson loves all things planes and he would love this. If only I could sew! I really need to actually learn how to use that sewing machine I received for Christmas LAST year. I agree, you should sell them. I’d be the first in line to buy the set!
The aviator hat and costume go perfectly with the airplane theme. You are extremely talented! It’s time to share your talent with the world.
The hat with aviators is SO CUTE! And thank you for sharing where you found some great plane deals. My child loves all things planes, trains and automobiles. I can’t say enough what an awesome job you did on the hat…seriously for those that can’t sew, please open an Etsy shop 🙂
This is the most adorable hat I have ever seen, and such a great dress-up idea. I just downloaded the sewing pattern – I can’t sew, but “mee-maw” can! My daughter loves planes in the sky (ever since my husband’s first business trip, where we had to explain the concept of air travel), but she’s not quite into the toys like my nephew is. Everything is fireman around our house right now, and trains because she had a Polar Express party at day care. That buys me some time to get the hat done!
I saw this on one of the Facebook groups and was dying, so cute!
What an adorable hat! Just so awesome. And thanks for the tutorial; looks pretty easy!
Absolutely adorable! Your kids are lucky to have such a talented mom!
This hat is darling. Seriously the cutest! I can’t believe how creative you are.
This hat is adorable, thanks for a great tutorial!
Oh my gosh… I’m loving this hat idea! My son loves planes so this would be great for him!
This is wonderful! I love it and it could translate past Christmas for sure! Adorable!!
This is a GREAT sewing pattern and tutorial! I really need to learn to sew. So many things I want to do, but sewing is at the top of the list. This pattern goes great with the Planes toys on sale at Walmart! Send one my way? 🙂 #client
Love this hat – it’s so cute!