In our home, imaginative play is very important. Each of my children has had a dress up box full of clothing, silks, hats, jewerly, and all kinds of accessories when they were little. I love to encourage their imaginations.
My youngest is 3 and lives in dress up clothing. Often times, she wears them out when I’m running errands. Her current favorite is a playsilk she wears as a super cape. When she wears it, she refers to herself in the third person as Super Molly. It’s so cute! She saves many people and animals.
In addition to being a superhero, she also loves to run around in wings. She has fairy wings, dragon wings, and butterfly wings.
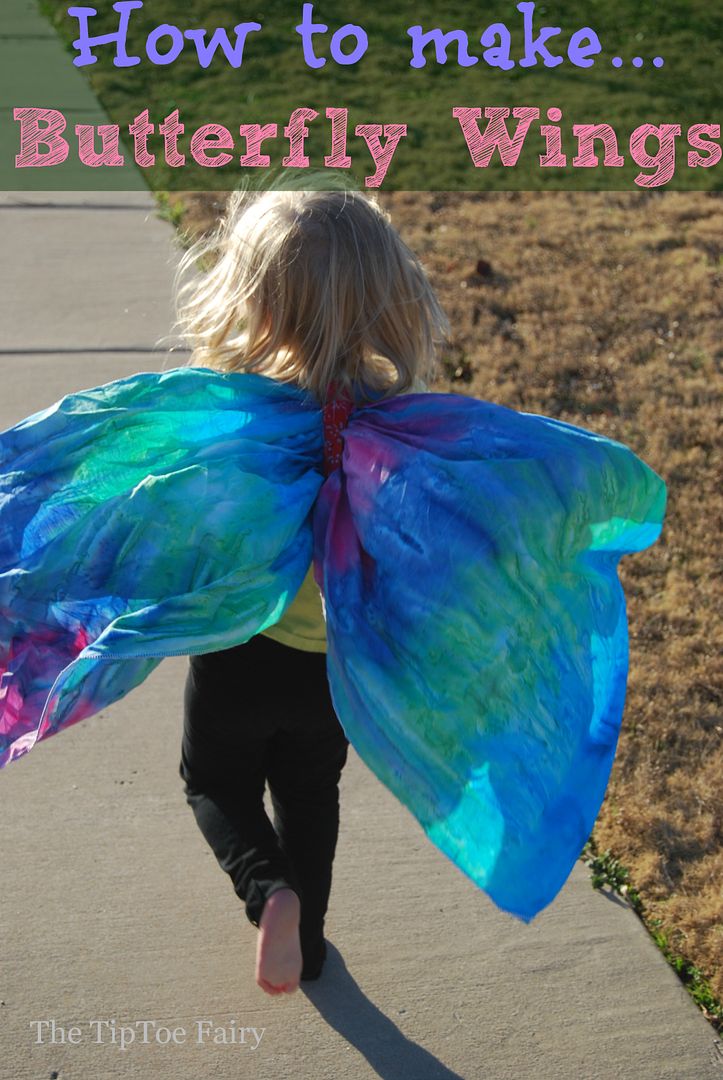
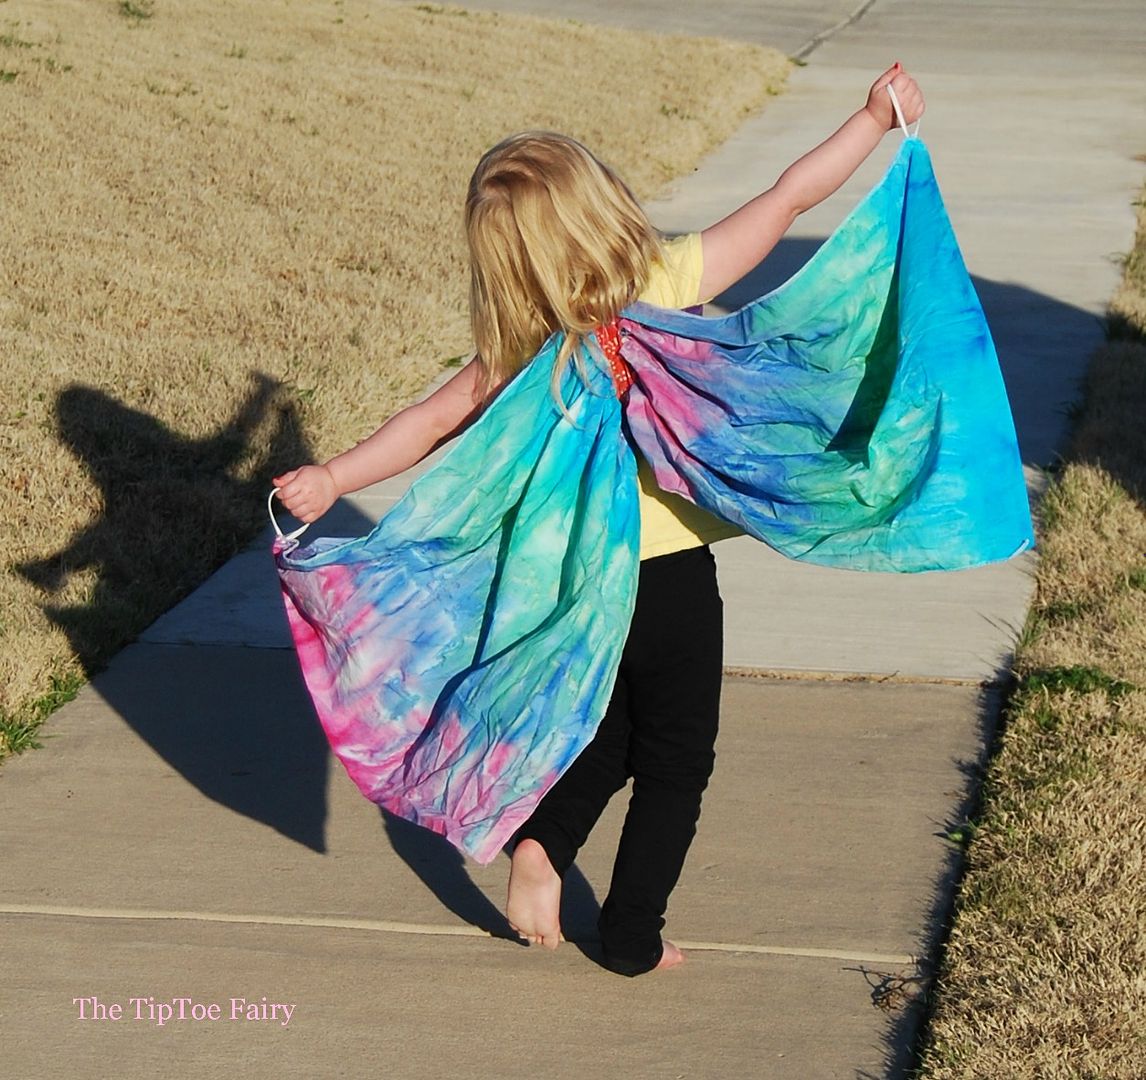
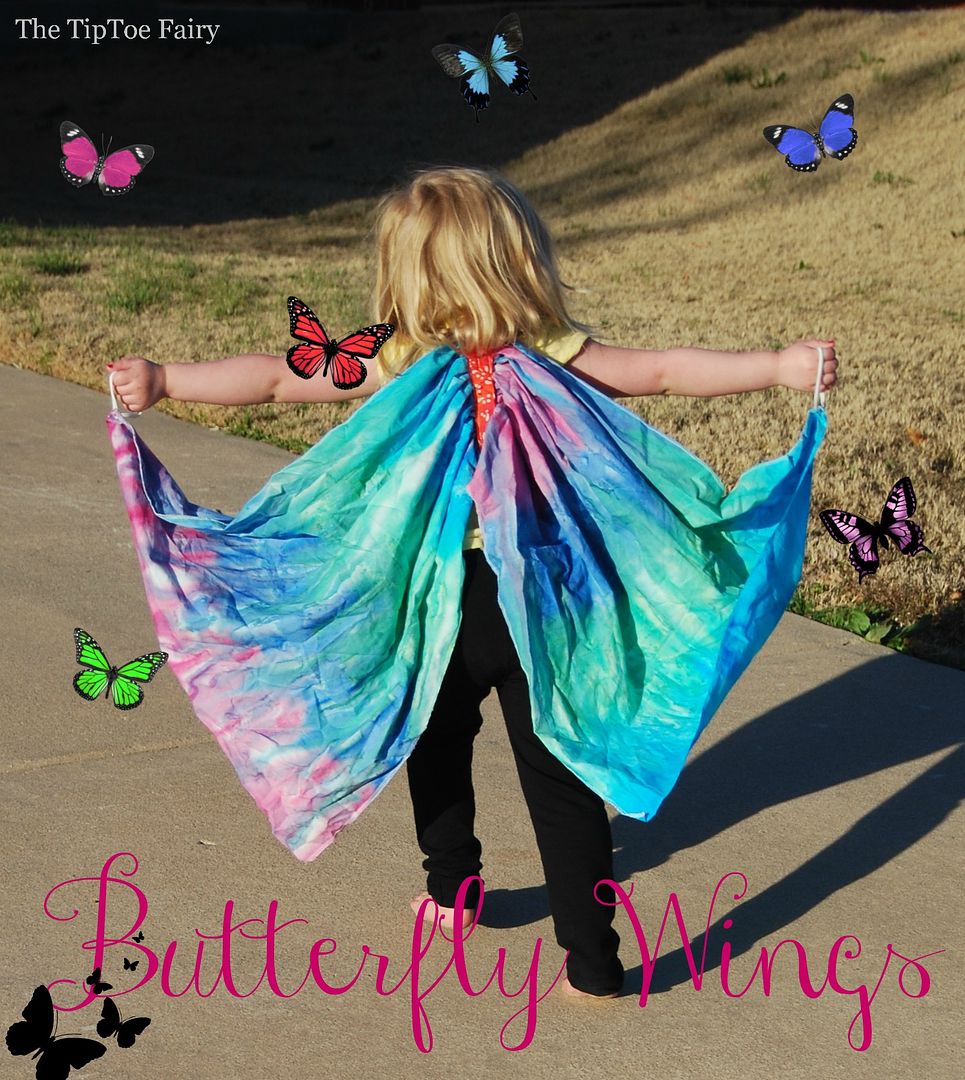
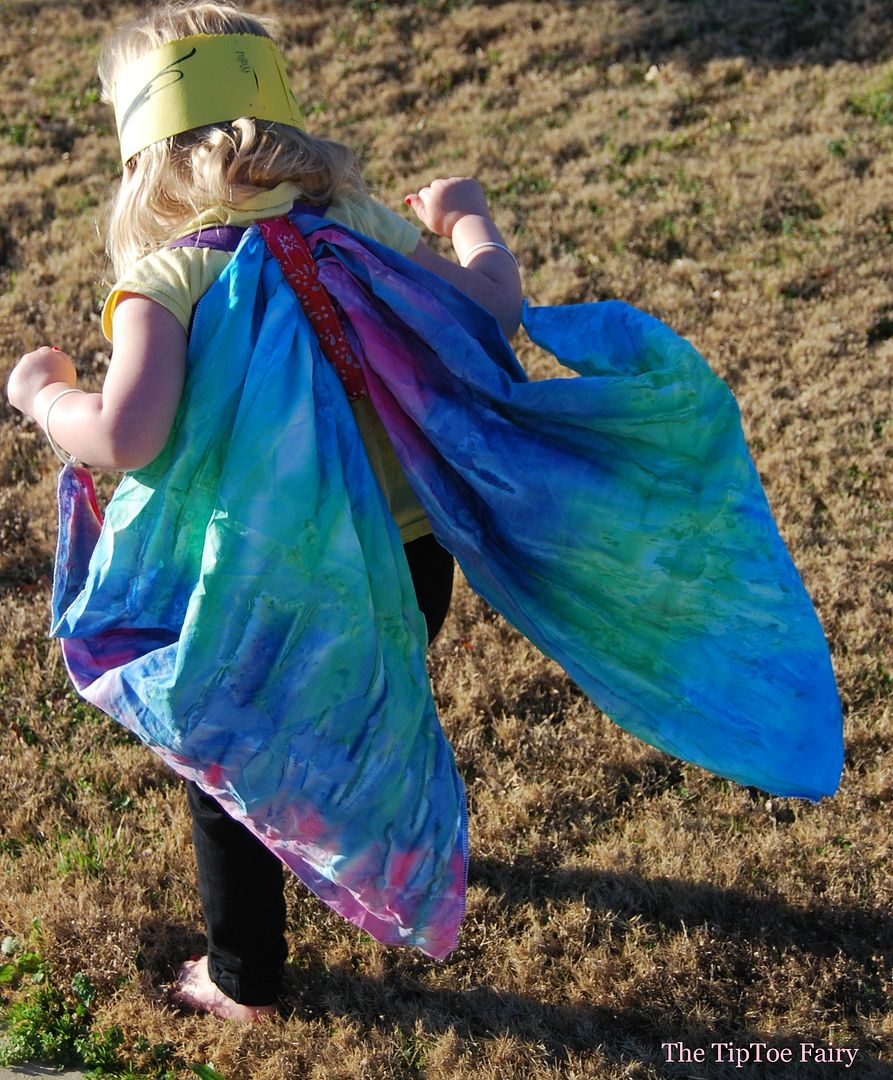
These butterfly wings are easy to make and don’t require daunting wires like fairy wings. They’re made to flutter in the wind as your child runs and plays.
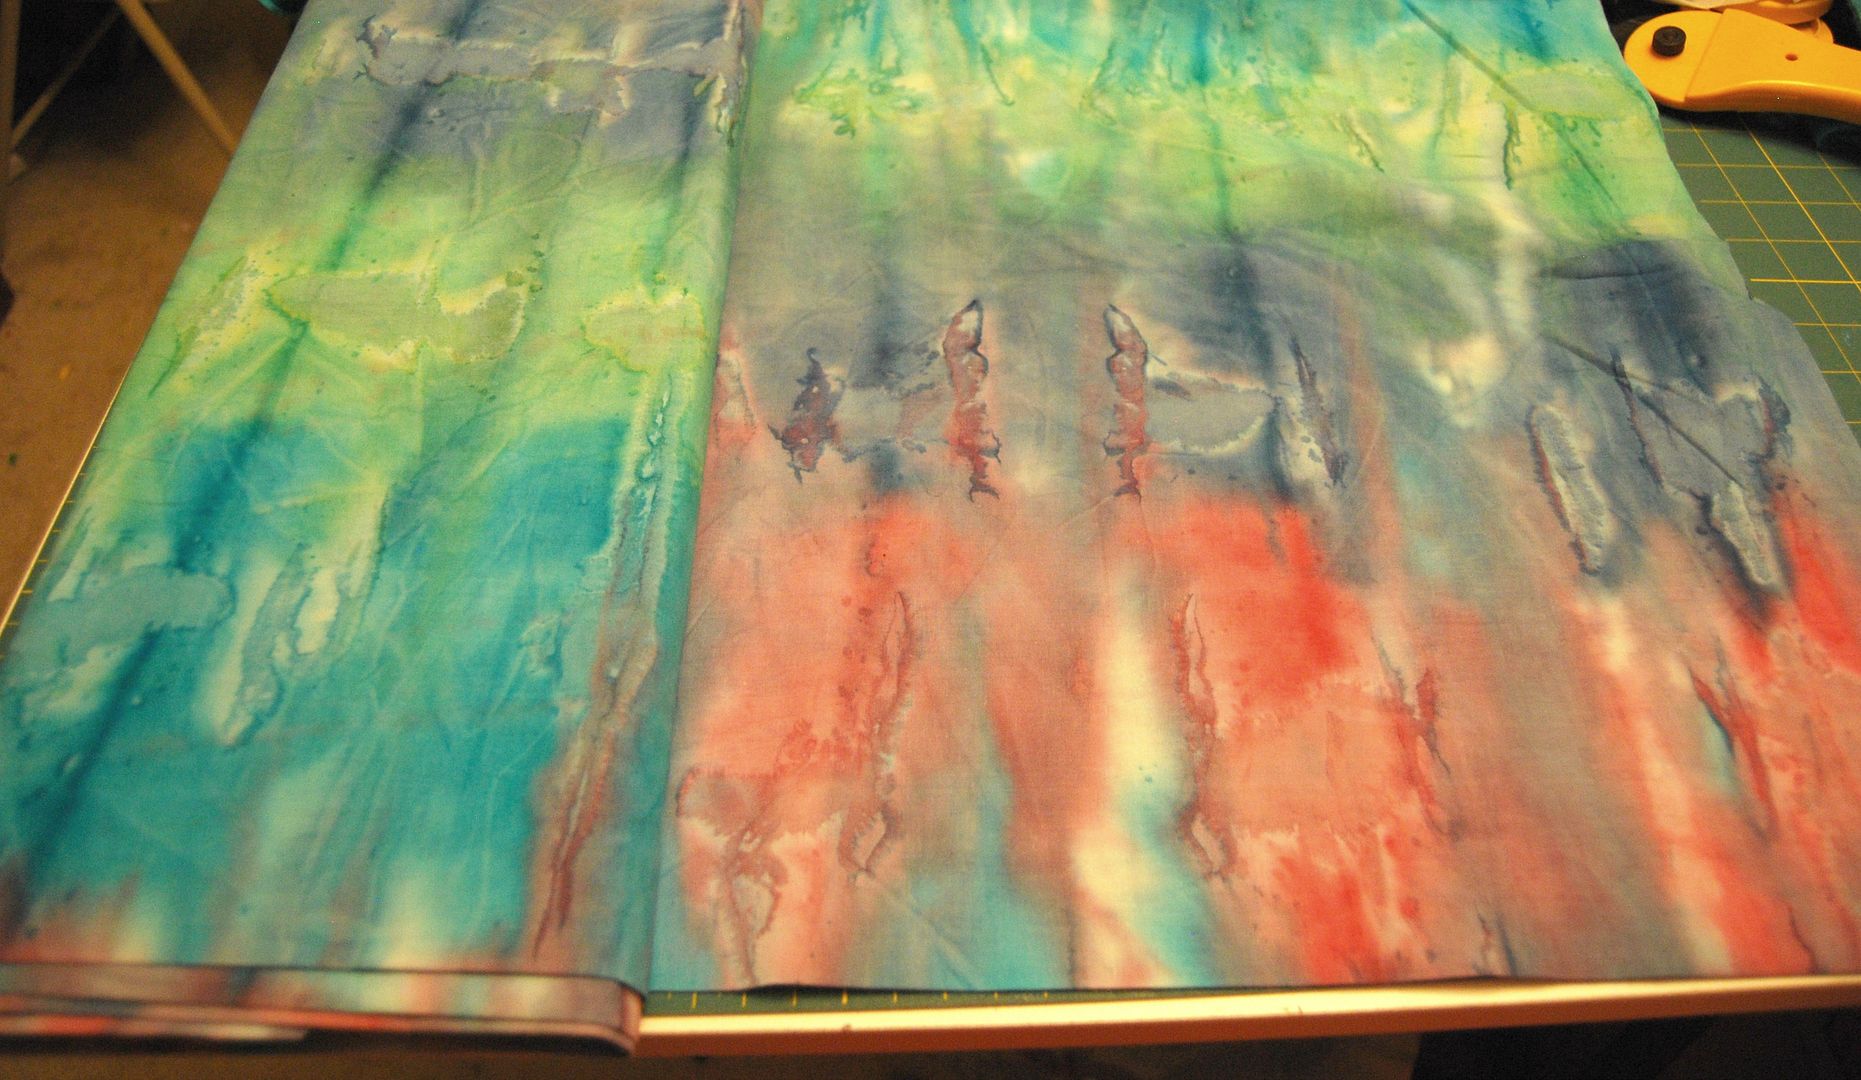
They can be made from any cotton woven fabric, but I have some favorite fabrics I love to use. This is the fabric I used for this particular pair.
Quilting grade cotton batiks, especially rainbow tie dye batik fabrics, are my favorites. They are bright and colorful and look like the very essence of “butterfly” to me. I also love to use either hemp silk or duipioni silk. Hemp silk dyes beautifully.
Use the 44/45 inch standard width of the fabric as the width of the wings. Then, cut the length as needed per child.
Butterfly Wings Tutorial
Supplies
- 1 yd cotton batik fabric
- 1/4 yd coordinating fabric
- 1 yd 1-inch wide elastic
- 1/2 yd 1/4-inch wide elastic (I prefer oval versus flat as it’s more comfortable.)
Directions
*When it says “outside of the wings,” it means the side of the wings that people can see on the back of the child. When it says “inside of the wings,” it means the part that is against the child’s back that no one will see.
1. Cut batik fabric to rectangle measurement needed.
- For toddler, I recommend 44 inches wide x 22 inches in length
- For 4-7 year old, I recommend 44 inches wide x 30 inches in length
2. Hem or serge the raw edges of the batik fabric.
3. Find the center of the rectangle and lengthwise sew two gathering stitches very close together, about 1/4 inch apart, down the entire length. Pull the gathering stitches tight so that the middle is about 6 inches long for a toddler size or 8 inches for a child size.
4. Cut a strip for the center of the wings from the coordinating fabric.
- 4.5-inch wide x 13.5-inch long piece for toddler size.
- 4.5-inch wide x 17.5 inch long piece for child size.
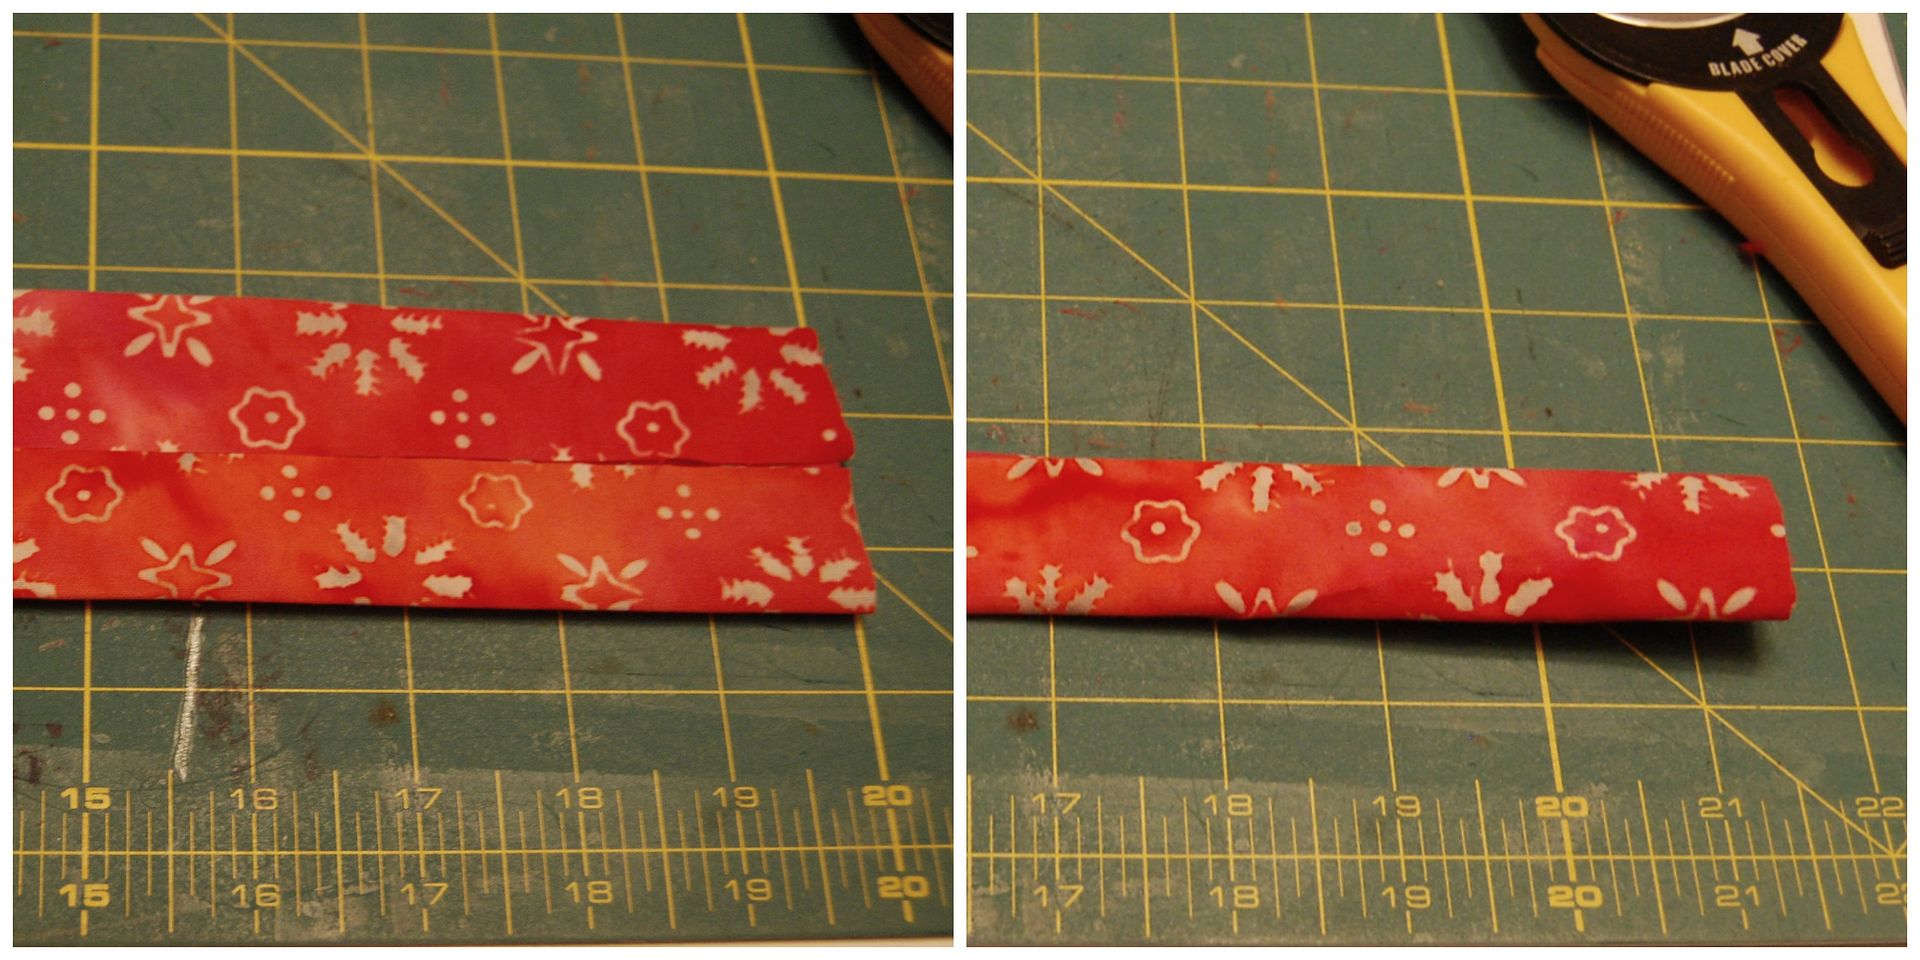
5. Take the strip and press the raw edges to the middle lengthwise. Then, fold the strip in half lengthwise, so that the strip is now about 1.25 inches wide. Sew it closed along the open edge.
6. Cut the 1-inch elastic.
- 25 inches for toddler size.
- 28 inches for child size.
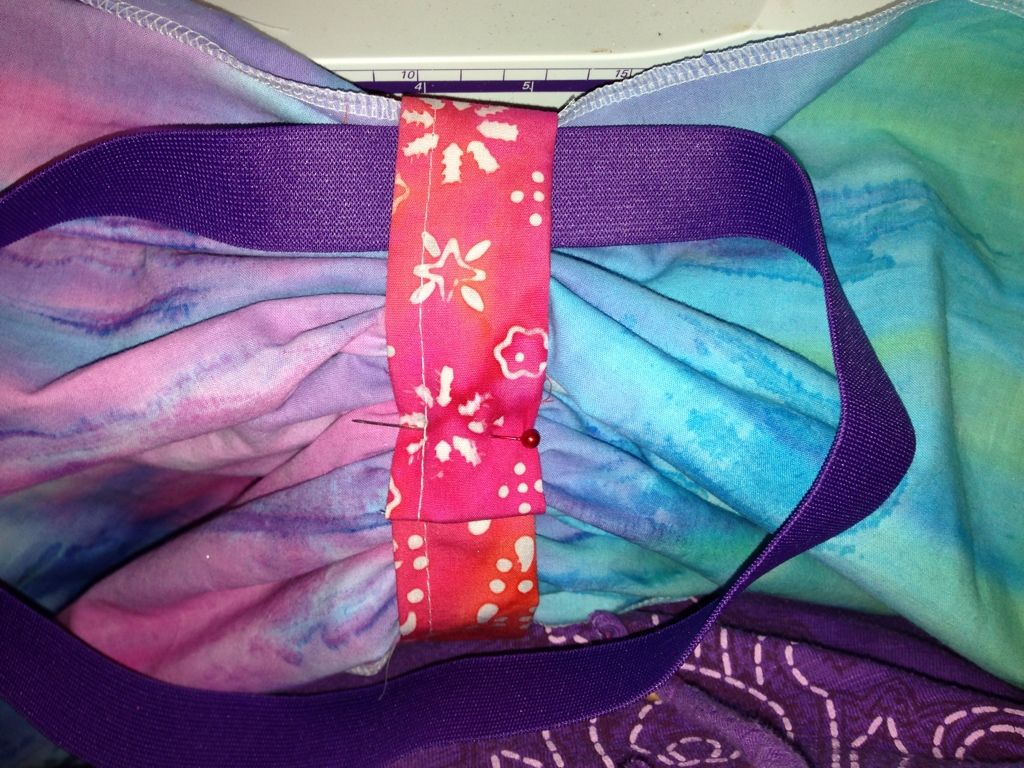
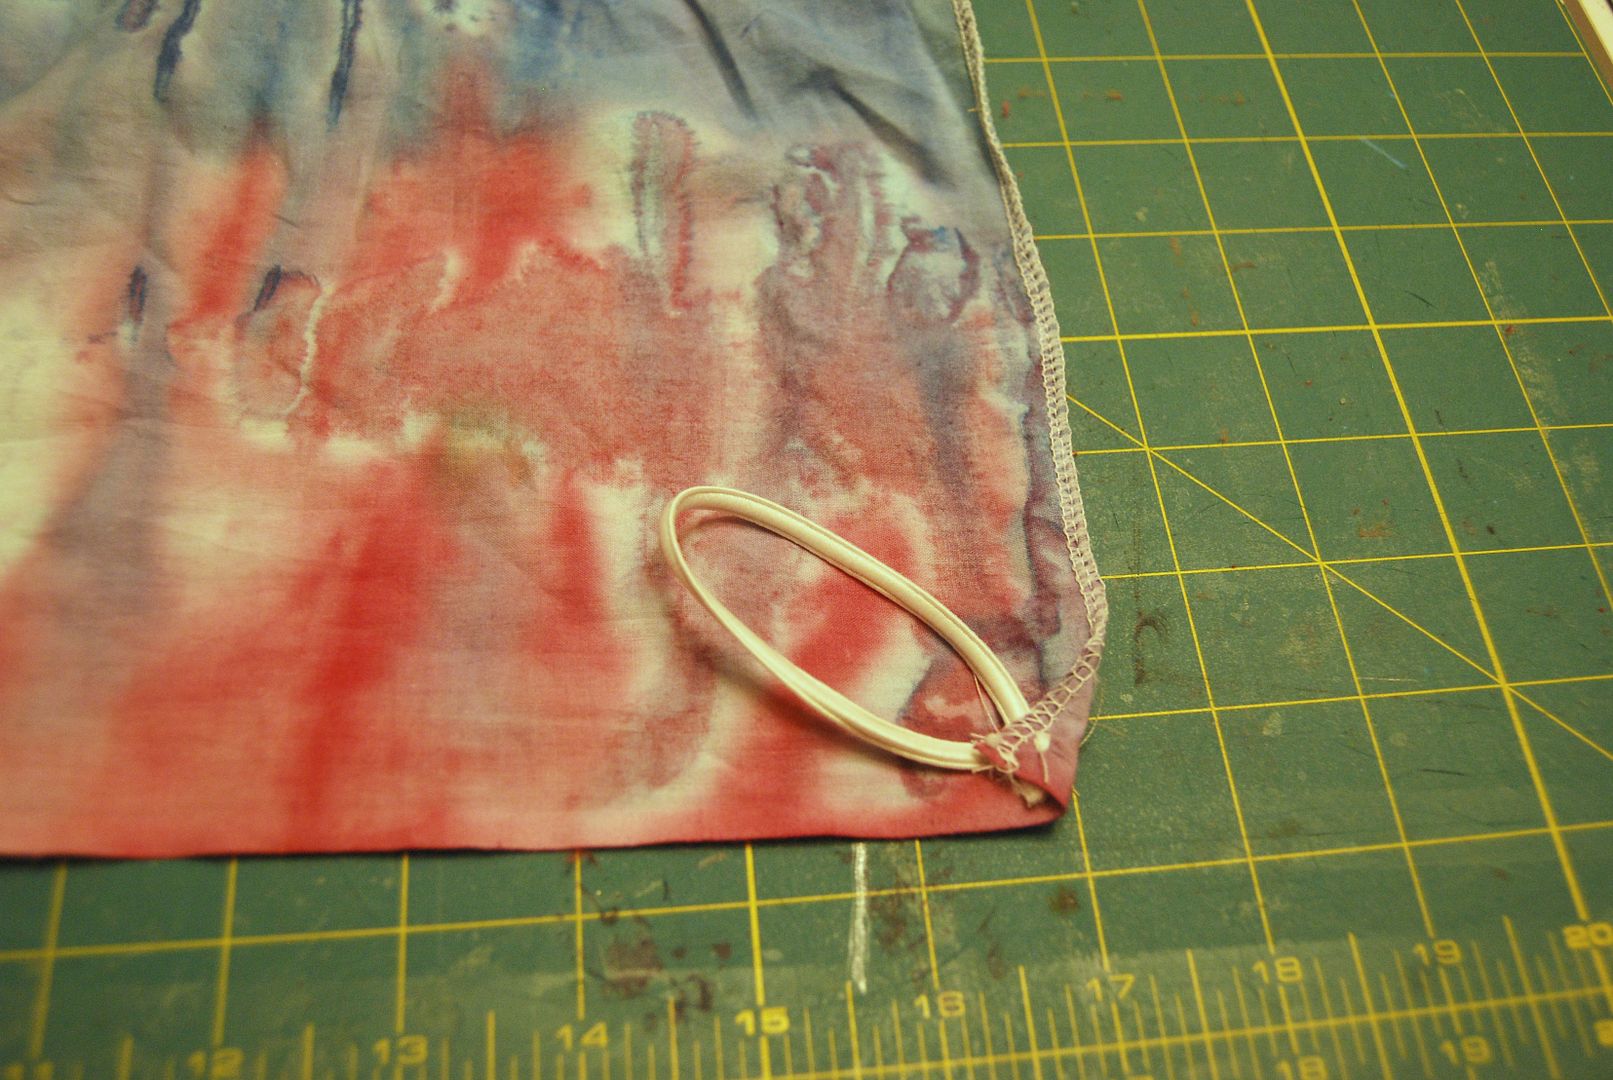
7. Fold the strip around the gathered part of the wings to hide the gathered stitching. Fold the raw edge inward on the INSIDE of the wings, and pin closed. Then, at the top of the INSIDE of the wings, like the picture, insert the raw edges of the 1-inch elastic and pin.
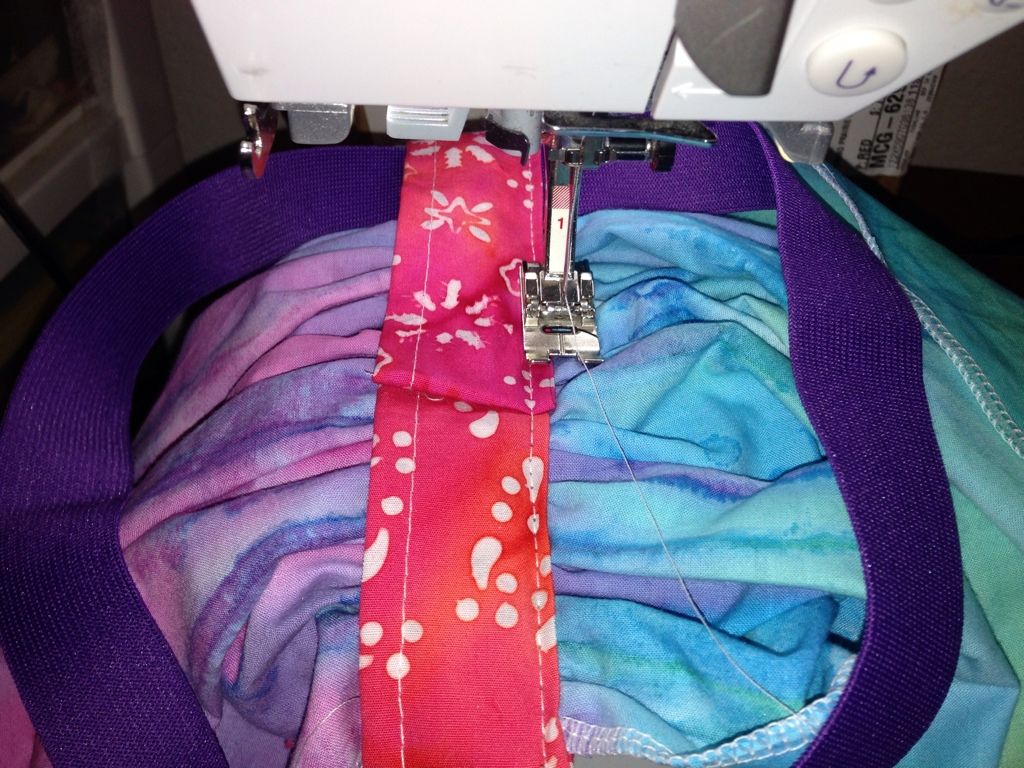
8. Now, on the OUTSIDE of the wings sew along the stitch line of one side of the strip, backtack at the elastic. Do the same along the other side of the strip. (I know the picture shows the inside, but I learned it was better to do it from the outside, so the stitching was nice.)
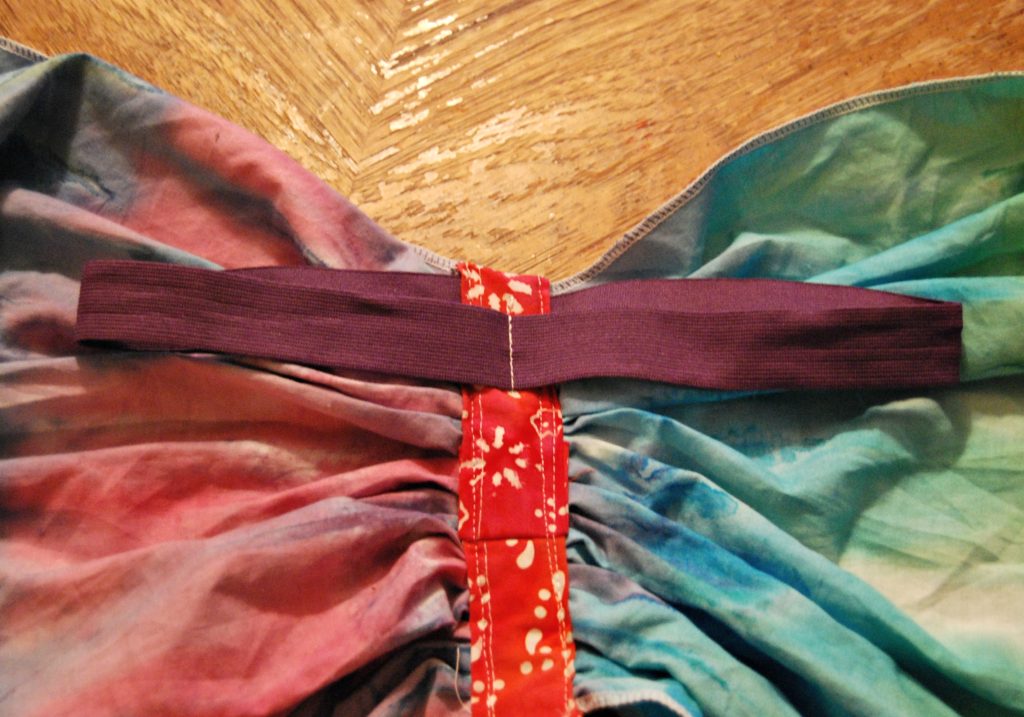
9. Now find the middle of the elastic and flatten it to the middle of the strip. Tack the elastic down. This creates two arm straps.
10. Cut two pieces of the 1/4-inch elastic.
- For a toddler size, cut them both 5.5 inches.
- For a child size, cut them both 6.5 inches.
11. At the top corner edge of each side of the wings, fold the corner down over the raw edges of the elastic and tack it down on both sides.
And you’re done! Now your child (or you, if you want to enlarge this) has a fun pair of butterfly wings. You could even use red and paint black dots for a ladybug version.
Have fun with your new wings!

7 comments
How adorable! I bet my niece will love these when she’s a little bit bigger!
Every little girl needs wings.
These are just fabulous and so simple. Will have to make some for my friend’s little daughter. Thanks for sharing.
The wings are a great idea! I loved it and have featured them for my Saturday Spotlight. Please stop by and share it. I have a featured button for you too. :o) Thanks for linking up yesterday on Craft Frenzy Friday.
Thanks so much for sharing this pattern. I have a question though… is the larger piece of elastic supposed to be secured at the bottom too? And does it just go over the child’s head? I made one for my son and its falling off because the large piece of elastic is too big. Thank you!
Thank you so much for commenting because I completely left out the step to create the straps out of the elastic. It was not made to go over their head, but on each shoulder. Step 9 will show you what it should look like. I’m so sorry I did not realize I left out that important step.
I am making 10 of these for my daughter’s preschool! They’re so cute, comfortable, easy to sew, and I love that they will be washable. Thank tou so much for sharing this tutorial.