My family has been making these wands for years. I met my husband it was smack in the middle of the Harry Potter era when the books and movies were still coming out. He was a HUGE Harry Potter fan.
I have to admit I hadn’t read a single HP book back then. I’d seen the movies, but I thought the books were for kids. Then, my husband begged me to read them. So, I did, and I was hooked by book #4 — like I could not move for about a week while I read all 7 books.
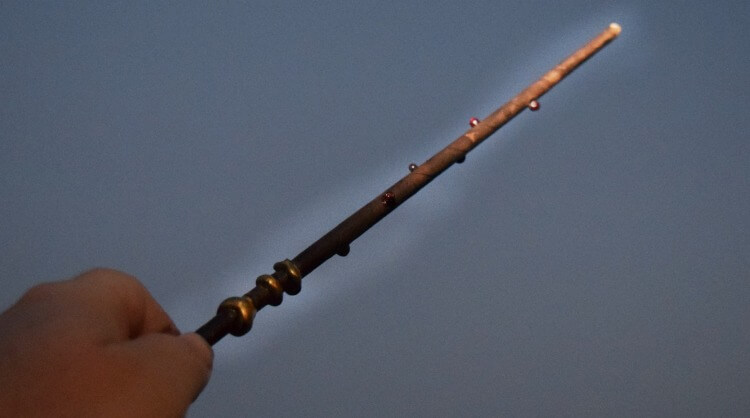
So each year when there was a new Harry Potter movie or a new book coming out, we started going to Harry Potter meetups and parties as Tonks and Lupin, a married couple in the books and movies. It was perfect as Tonks had crazy hair colors like me. Well, we decided we needed wands, so we started making them from rolled up paper, hot glue, and paint.
Table of Contents
Video to make DIY Paper Wizard Wands
Here’s a super quick video on how we do it, but down below you’ll find detailed instructions:
Paper Harry Potter Wizard Wands
Let’s get started. Here is what you need:
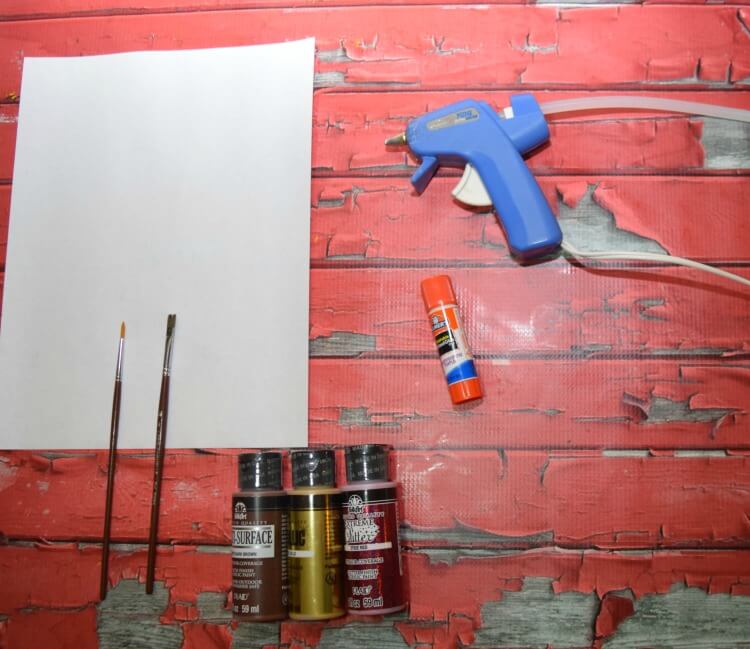
- 8 x 11 copy paper
- paint brushes
- glue stick
- cheap acrylic paints
- glue gun
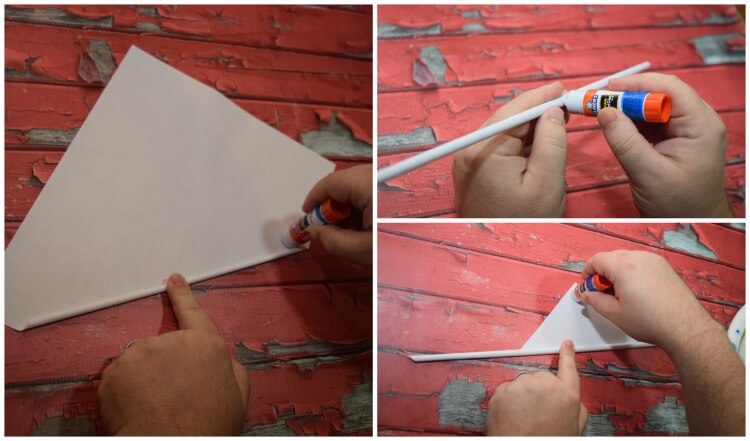
First start at the corner edge and add a little bit of glue stick and then use your finger to roll it very tightly as you can. This might take some practice, but you’ll get it. Keep rolling and gradually add more glue stick to the paper. Make sure to keep a tight roll. Add glue stick at the corner of the paper on the edge before you roll and seal it.
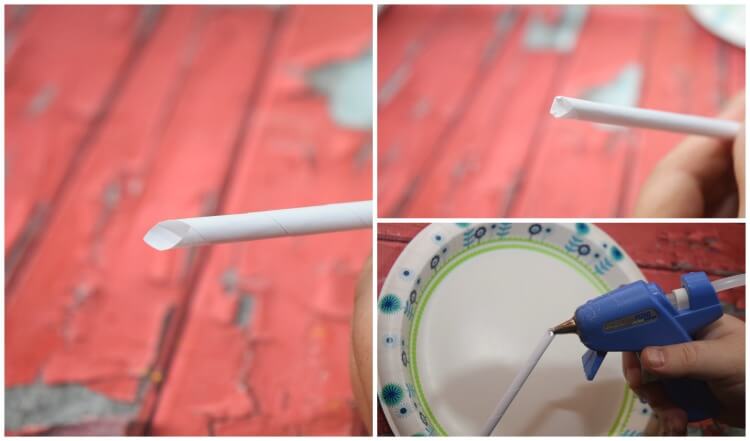
Since we rolled from the corner, the ends of the wand will look like this pointed way. Gently roll the point inwards. Then, add a dollop of hot glue to each end, sort of like a rounded drop of water to make each wand end.
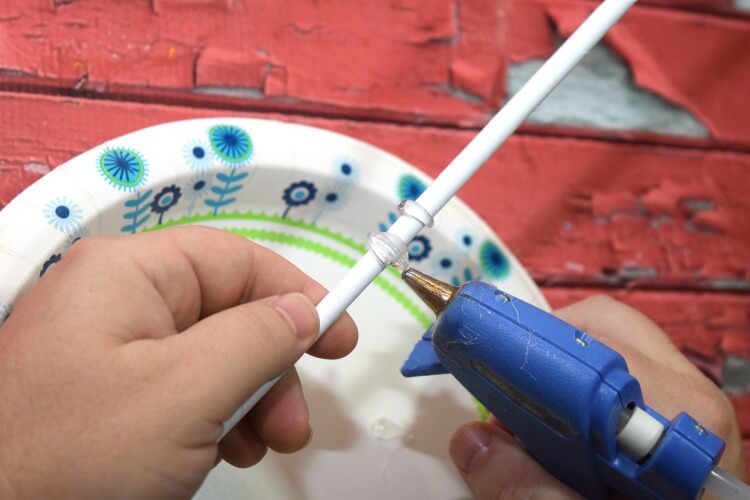
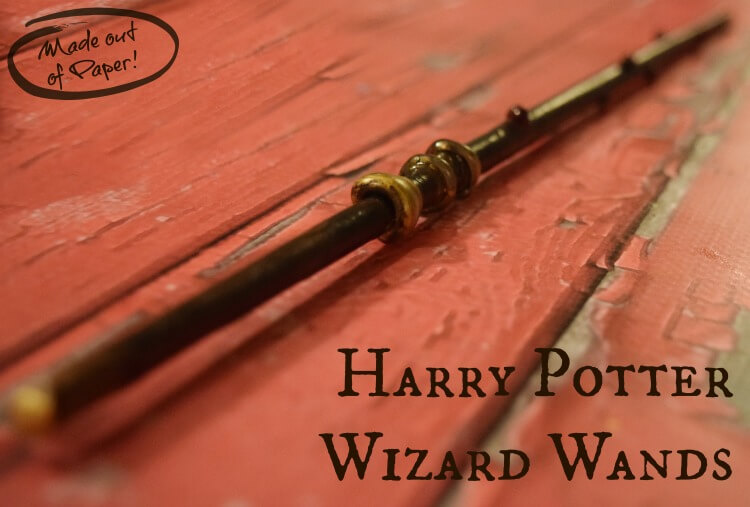
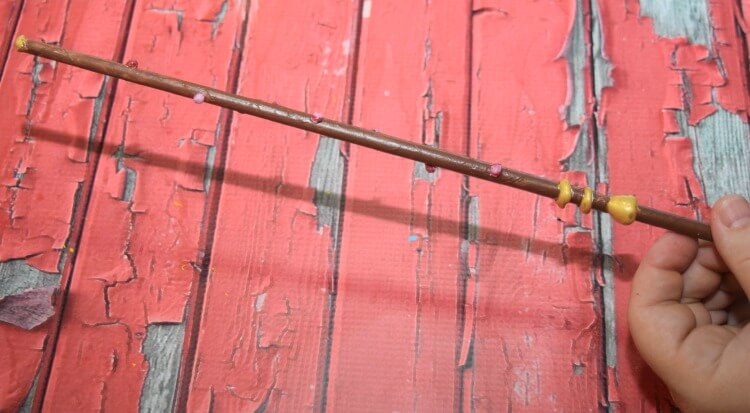
Next, here comes the artistic part. Now use the hot glue and make a little designs however you want around the wand. We added polka dots and rings to this one.
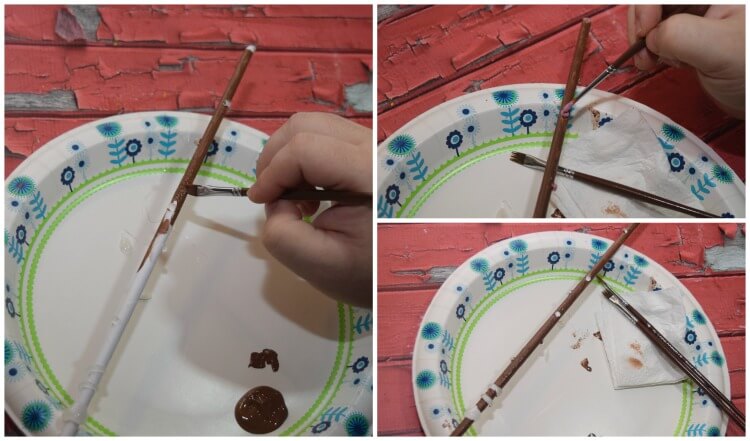
Now it’s time to paint. We use the really cheap acrylic paint.
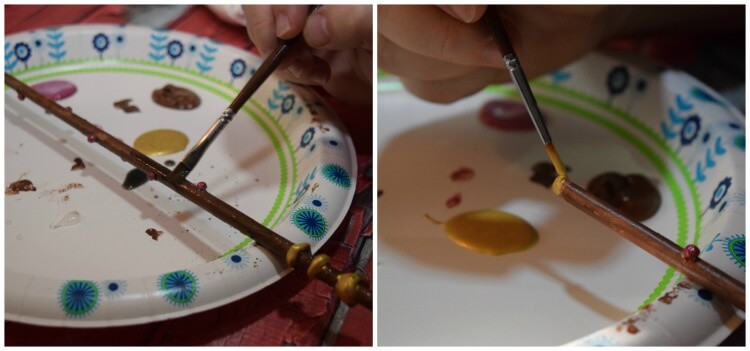
Before changing paints make sure the first one is really dry especially on the hot glue or the paint will just wipe right off when you try to paint another color.
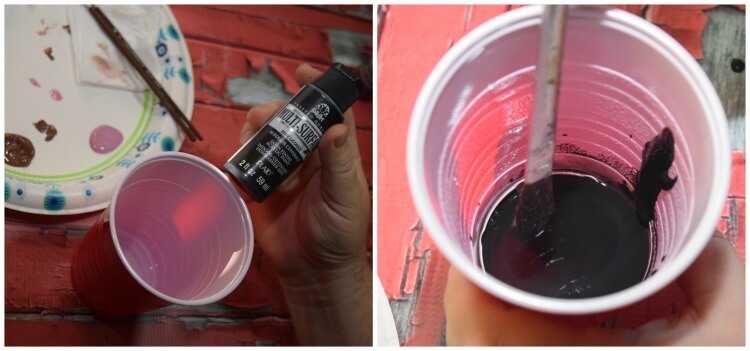
One thing my husband likes to do is add a wash with a dark color of paint that’s been watered down. Make sure your paint is totally dry before you do this. This adds a bit of antiquing to the look of the wand.
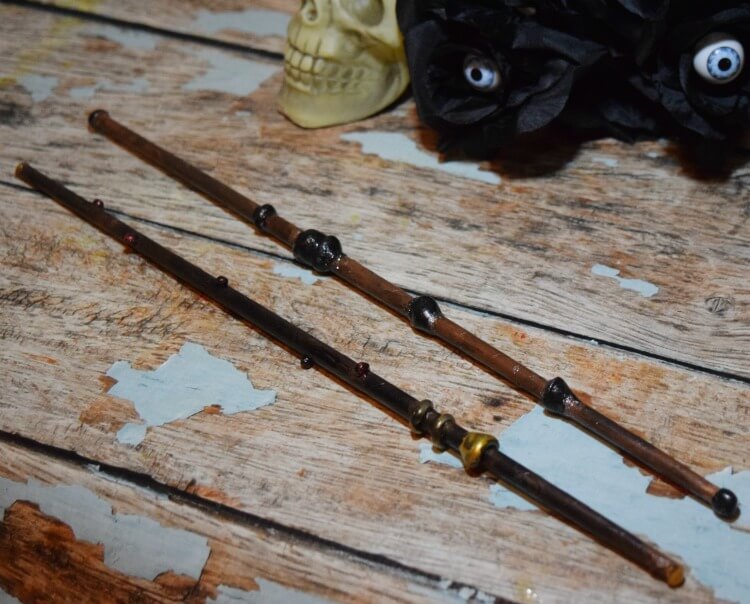
Now carrying around a paper one and it won’t last forever. But I found if you spray it with a bit of shellac spray paint it will last longer. Just make sure to let your wand completely dry before handling it.
Download The Beginner’s Guide to Wand Motions
Now that you’ve made your own Wizard Wand, let’s learn some Wand Motions! Download this free guide!
More Harry Potter Fun
- Let’s Make a Harry Potter Butterbeer Poke Cake
- DIY Harry Potter Wizard Wands from Chopsticks
- How to make a DIY Harry Potter Monster Book of Monsters
- Harry Potter’s Hot Butter Beer
- Free Kids Printable Harry Potter Puzzle Pack
- DIY Harry Potter Gifts – House Bath Salts
- Harry Potter’s Butter Beer Ice Cream
- Harry Potter Movie Night with Butter Beer Popcorn
Free Harry Potter Bingo Cards
Here’s a fun activity to do while watching the Harry Potter movies!

Harry Potter Wizard Wands from Paper
Materials
- 8 x 11 Copy Paper
- Acrylic Craft Paints
Tools
- Glue Gun & Gluel Sticks
- Regular Glue Stick
- Paintbrushes
Instructions
First start at the corner edge and add a little bit of regular glue stick and then use your finger to roll it very tightly as you can.
Keep rolling and gradually add more glue stick to the paper as you're rolling. Make sure to keep a tight roll. Add glue stick at the corner of the paper on the edge before you roll and seal it closed.
Since we rolled from the corner, the ends of the wand will look pointed. Gently roll each point inward. Then, add a dollop of hot glue to each end, sort of like a rounded drop of water to make each wand end.
Use the hot glue and make designs however you want around the wand. Allow hot glue to dry completely.
Paint with acrylic craft paint.
Before changing paints make sure the first layer of paint is really dry especially on the hot glue or the paint will just wipe right off when you try to paint another color.
Add a wash with a dark color of paint that's been watered down. Make sure your paint is totally dry before you do this. This adds a bit of antiquing to the look of the wand.
You can spray it with a bit of shellac spray paint or cover it with Mod Podge so it will last longer. Just make sure to let your wand completely dry before handling it.
Come Join Us!
Liked this article and want more? Follow along on Instagram, Facebook, Twitter, Pinterest, TikTok, and YouTube!
Come over and join us on Facebook in the group Recipes, Crafts, and more with TipToe Fairy or Sewing and Crafting with The TipToe Fairy!

3 comments
I HAVE TO show my niece this! She wanted to buy an $80 wand at HARRY POTTER LAND…. Well, it’s soooo not necessarily thanks to YOU!
hey thanks for this idea I am sure it will be saving folks money and a great idea to do together even Dad can do it. Thanks for sharing we want to share our you tube videos with all of you. We have a new one{ Hurricane Harvey Dedication Doris Hall].That will pull it right up.thanks so much and let us continue to pray for all these hurting lonesome people through out the lands…Keep up the crafting anything people can do to relax a little and enjoy getting their minds and hands busy Along with their hearts and a thumbs up to you….
Well geez! I think I might have to return the bunch of wood dowels I bought! I wasn’t really looking forward to sanding them down to a point at one end and think they will be a bit short anyway. Thanks for the fantastic idea! I have plenty of colored copy paper that will never get used, this is perfect! Great recycling project as well. WOOHOO!