
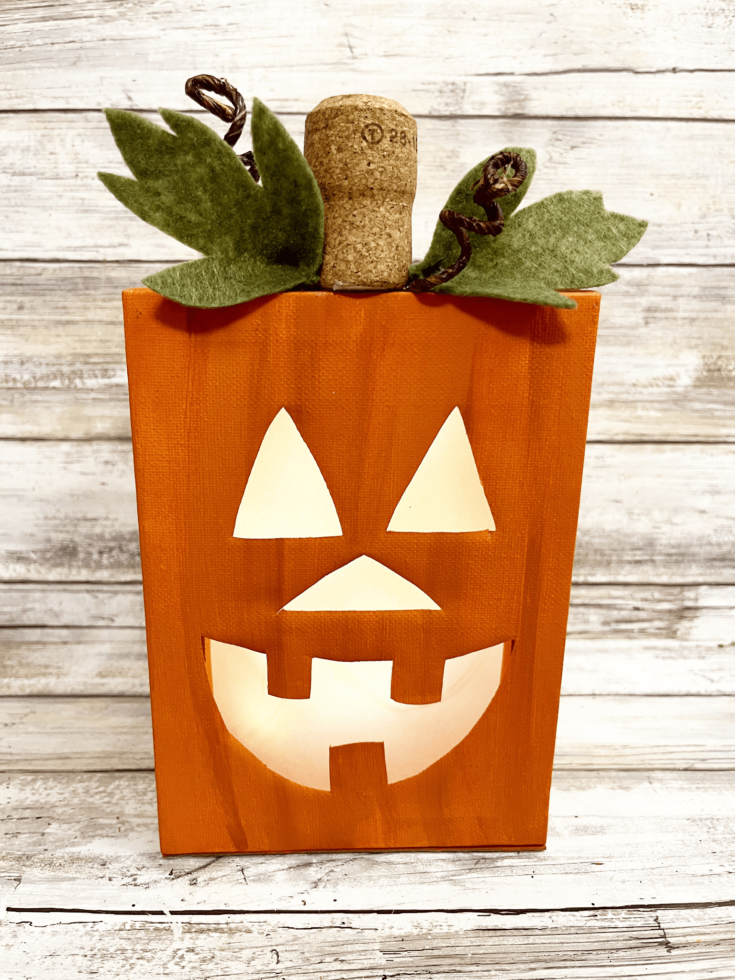
You can turn Dollar Store art canvases into something amazing for Halloween! Make a Light Up Canvas Jack o Lantern perfect for all those spooky Halloween nights. This post contains affiliate links.
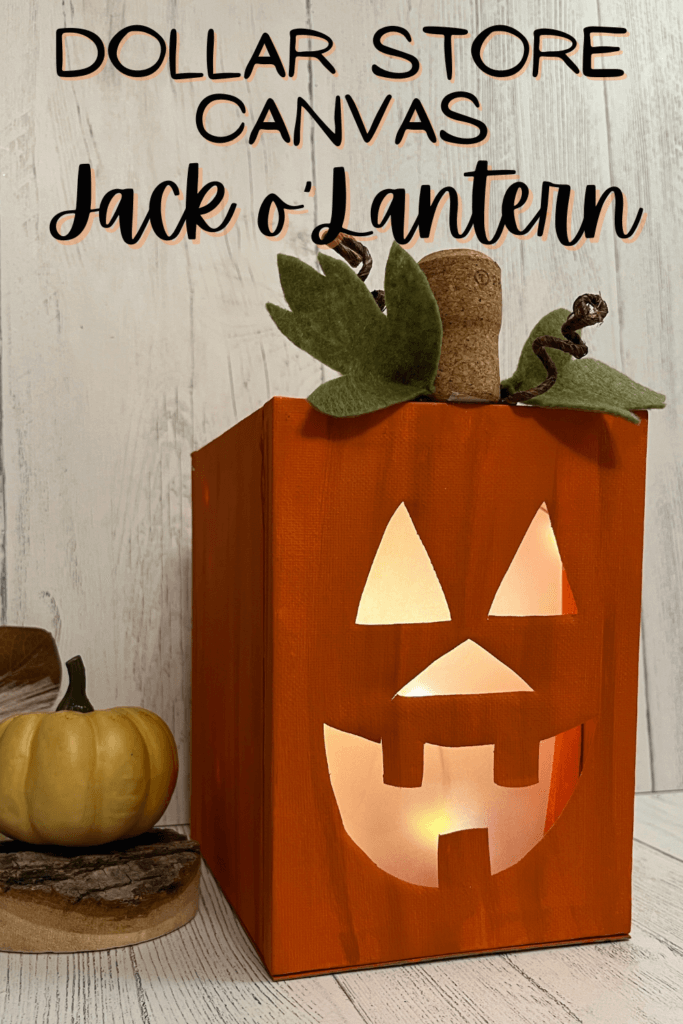
This is a fun craft for adults, teens and tweens (with a little help with the pumpkin face) to make their own jack o’lantern to decorate their room during Halloween.
Table of Contents
Supplies to Make a Light Up Canvas Jack o Lantern
This supplies are needed to make one (1) Canvas Jack o’ Lantern.
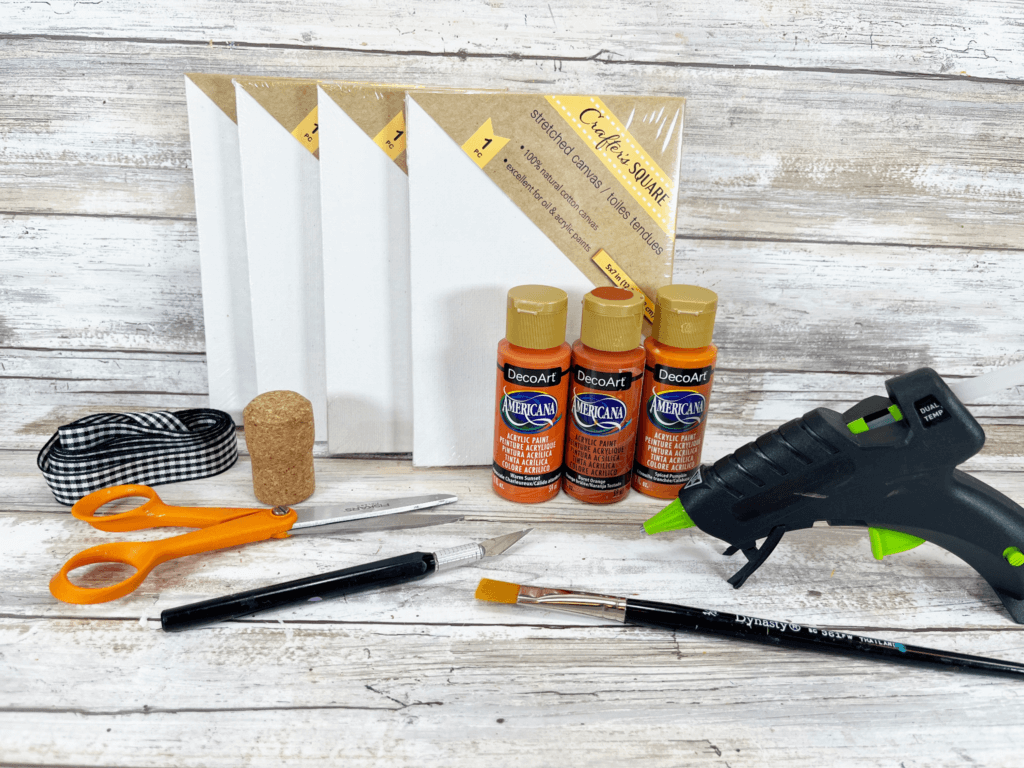
- 4 Art Canvas – 4 x 6 inch — all the same size
- 1 popsicle stick (craft stick)
- Battery Operated White Twinkle Lights
- Batteries
- Bright Orange craft paint
- Medium Orange craft paint
- Dark Orange craft paint
- Green Scrap of Felt
- Recycled Wine or Champagne Cork
- Scrap of Cardboard
- Vellum Paper
- Wired Twine
- JACK-O-LANTERN PATTERNS
- Glue Gun and Glue Sticks – Dollar Store
- Craft Knife
- Paintbrush
- Self-Healing Mat
- Scissors
- Wire Cutters
- Pencil
Download the Jack o Lantern Pattern Pieces
How to Make a Light Up Canvas Jack o Lantern
This is a fun and easy craft that will take you about an hour to finish. Most, if not all, of the supplies can be purchased at the dollar store such as Dollar Tree.
It’s perfect to add to your Halloween home décor!
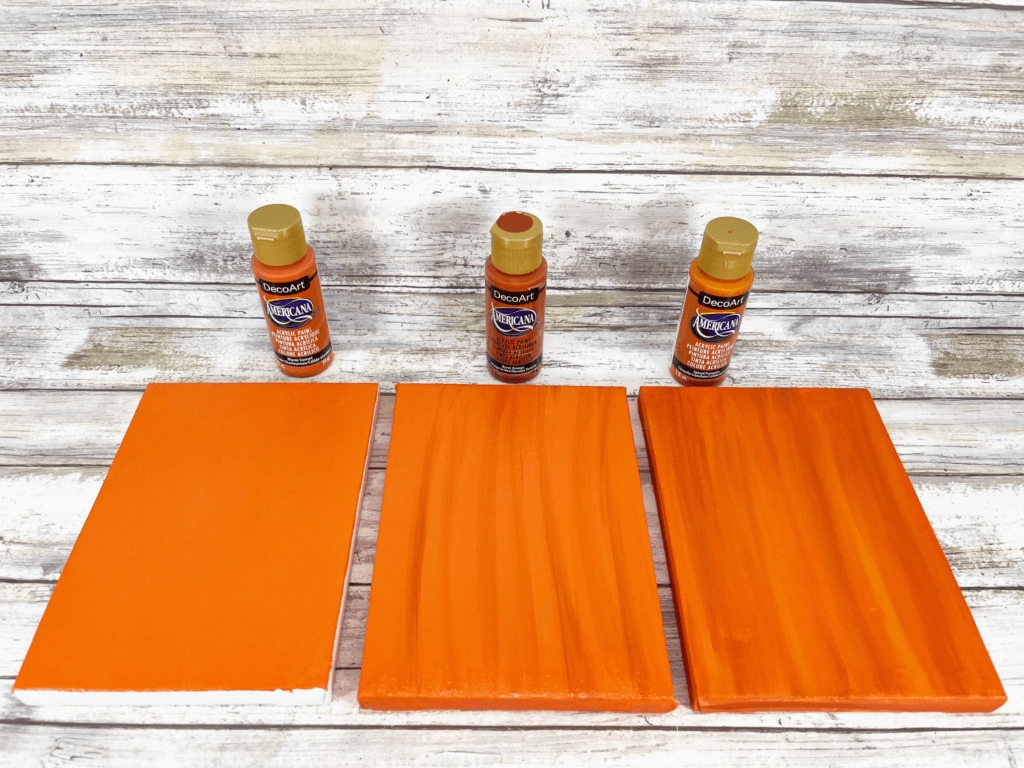
Paint all 4 canvases with medium orange acrylic craft paint. While still wet, add in strokes of dark orange and light orange acrylic craft paint. Blend until you are pleased with the color variations.
Download and print the JACK-O-LANTERN PATTERNS, and then cut out with scissors.
Flip over one canvas and trace the Jack-O-Lantern features with a pencil.
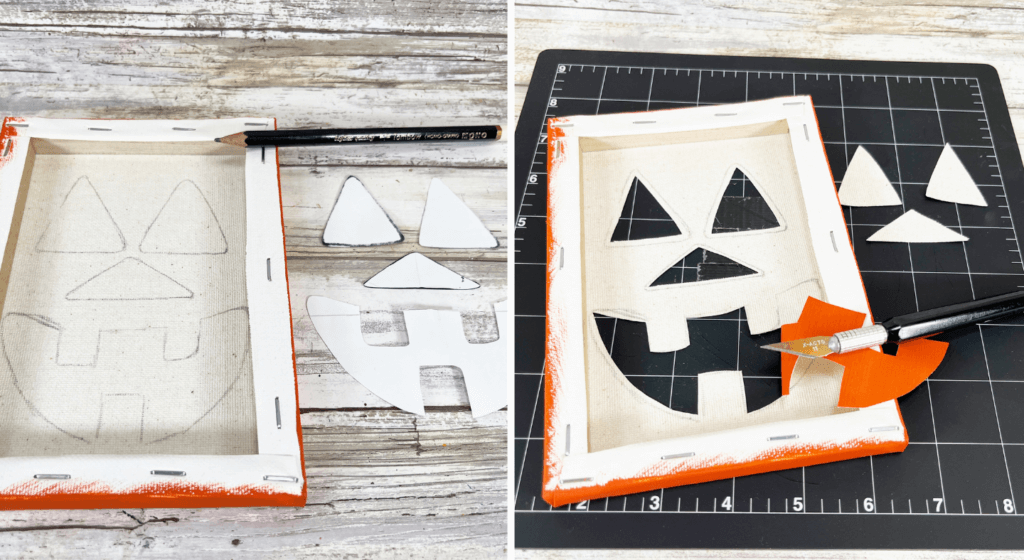
Place canvas on a self-healing mat and carefully cut out the Jack-O-Lantern features with a craft knife.
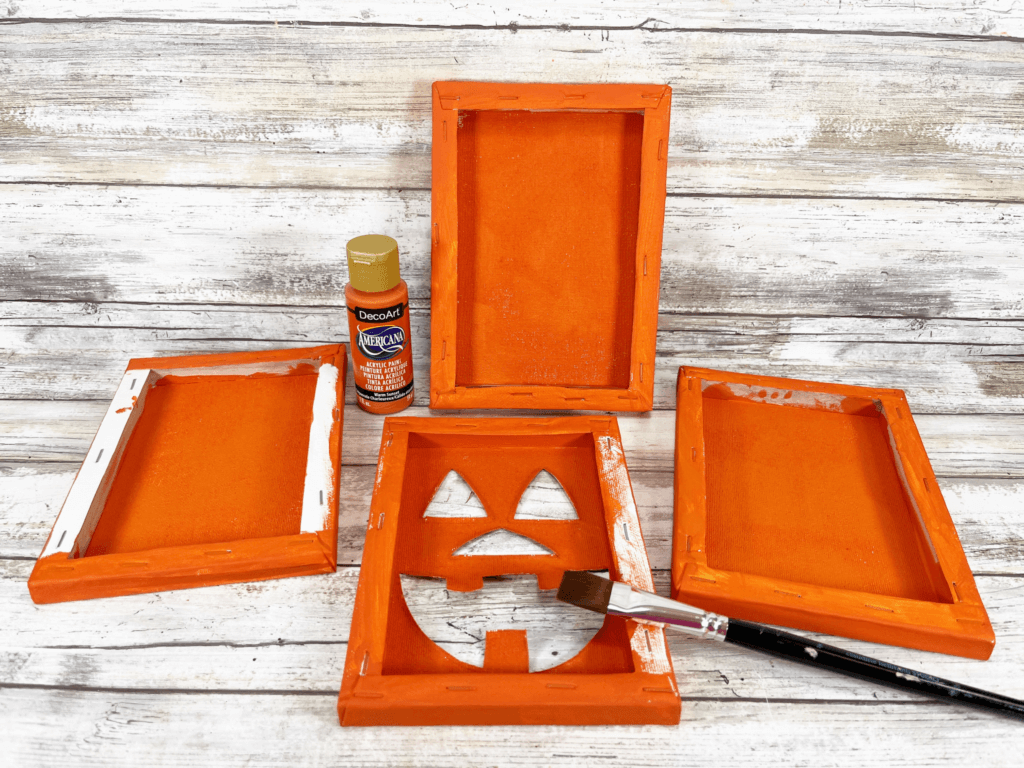
Paint the backside and edges of the four canvases with the medium orange acrylic craft paint.
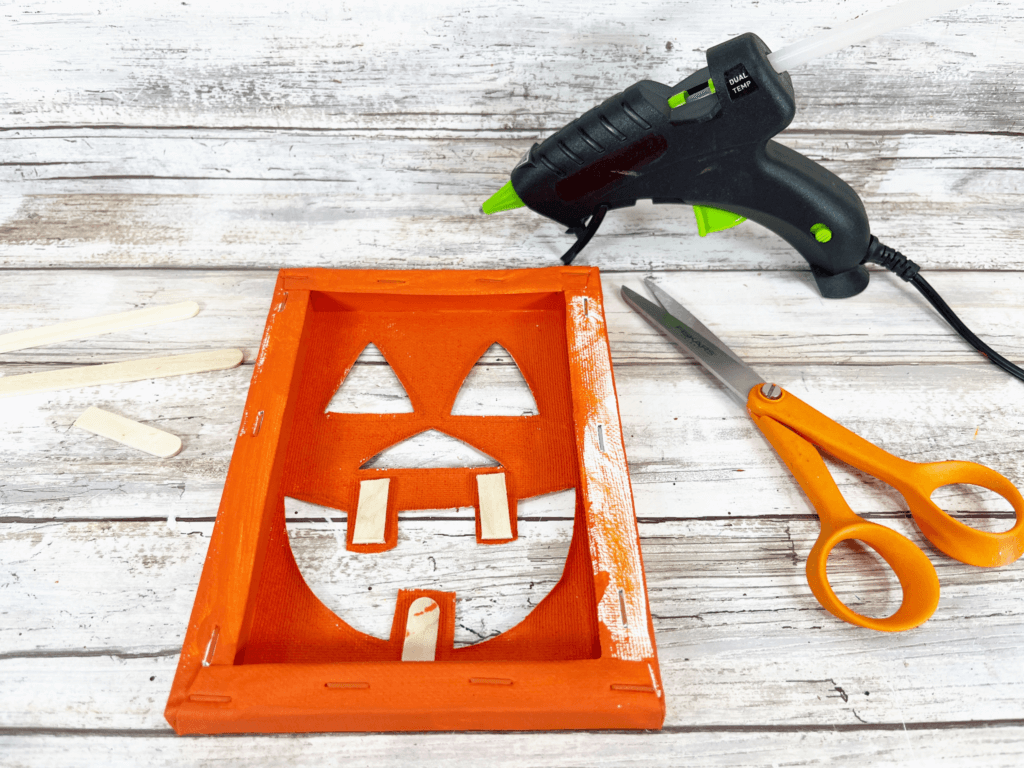
Trim a wooden popsicle stick in three pieces with scissors and attach to the back of the Jack-O-Lantern teeth with a glue gun and glue sticks.
Attach the canvases together in a rectangular shape using the glue gun. Gluing a canvas to the right and left sides of the front canvas.
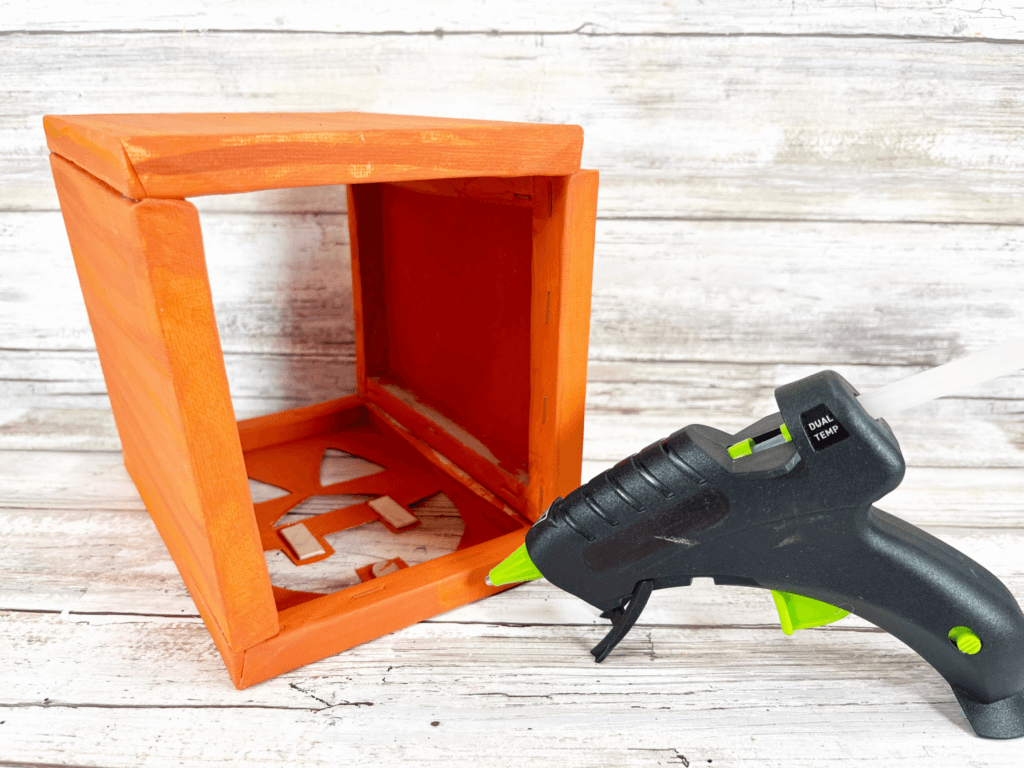
Glue the back canvas to the two side canvases with the glue gun to complete the rectangle.
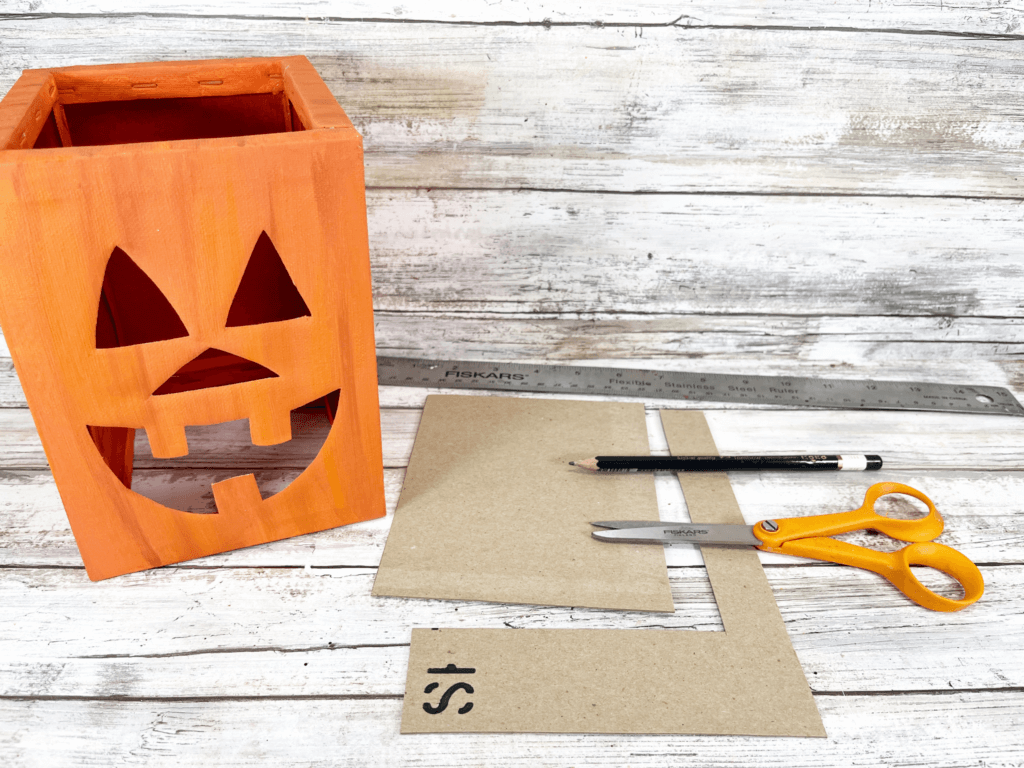
Measure and cut a piece of scrap cardboard to fit the bottom of the lantern.

Basecoat the cardboard with medium orange acrylic craft paint.
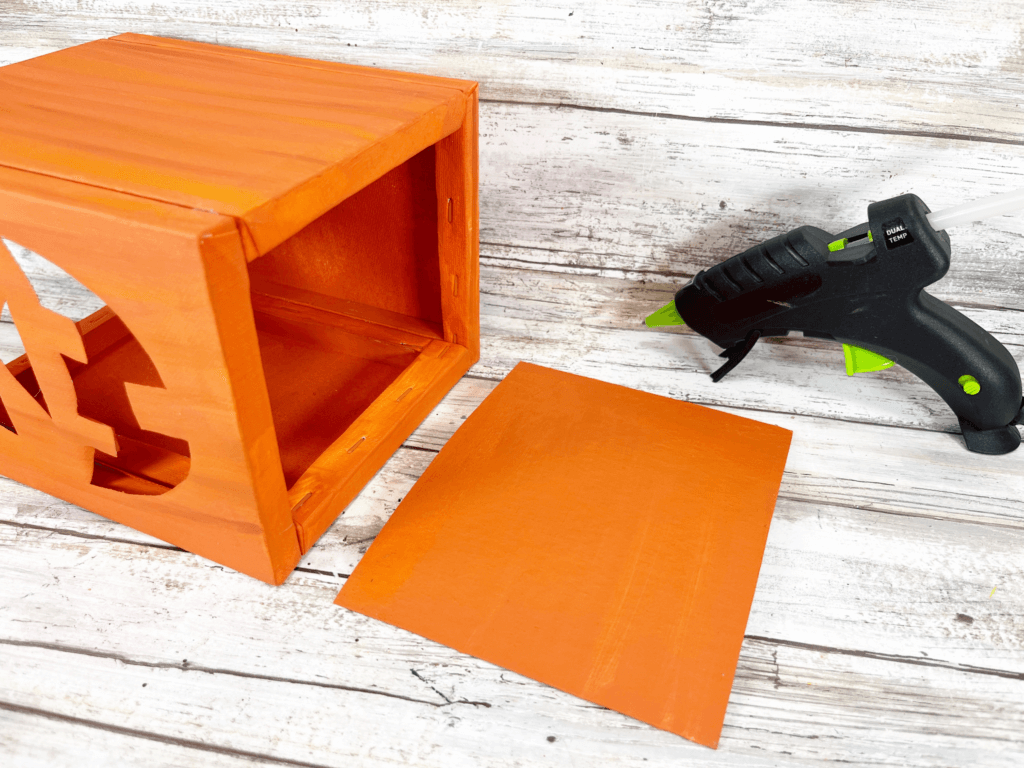
With the orange side up, attach the cardboard to the base of the lantern with the glue gun.
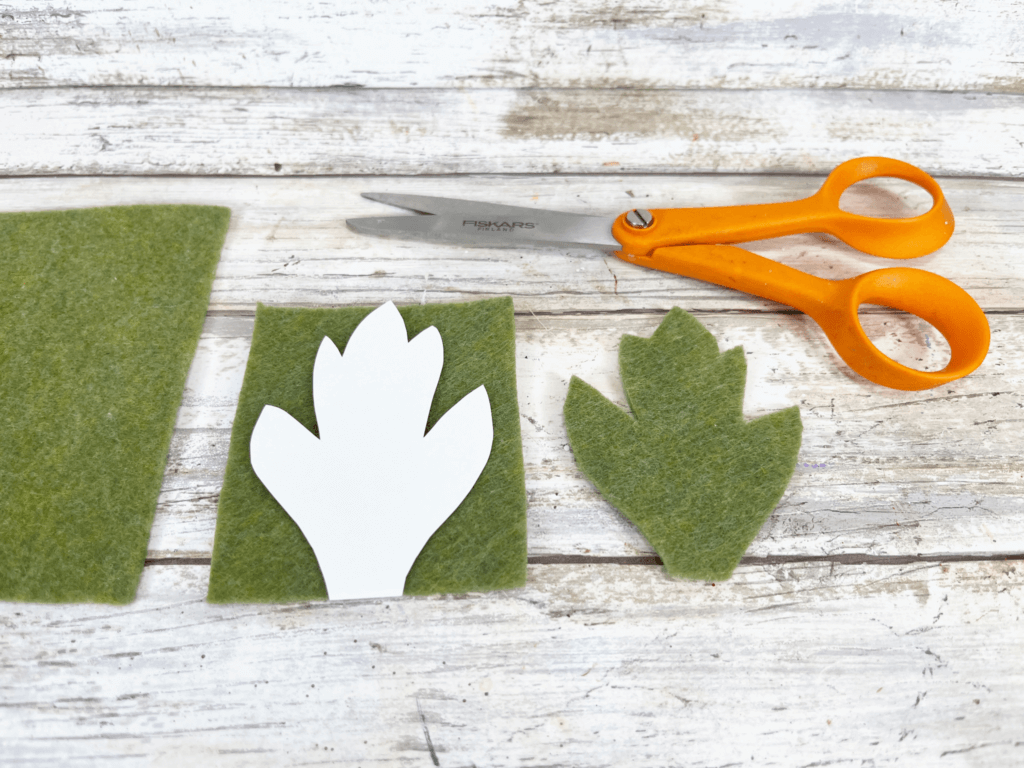
Print the LEAF PATTERN. Lay the pattern onto a scrap of olive green craft felt and cut out 2 of them using scissors.
To create a more 3-D dimension, apply a dot of hot glue at the base of each leaf and fold in half.

Measure and cut two 12” lengths of wired twine using wire cutters. Wrap around a pencil, and then slide off to create a vine. Stretch and bend the wire to create a pumpkin vine.
Attach a champagne or wine cork to the front center of the canvas with the glue gun.
You’ll need to hold onto the cork while it dries and cools, so it’s stuck in place.
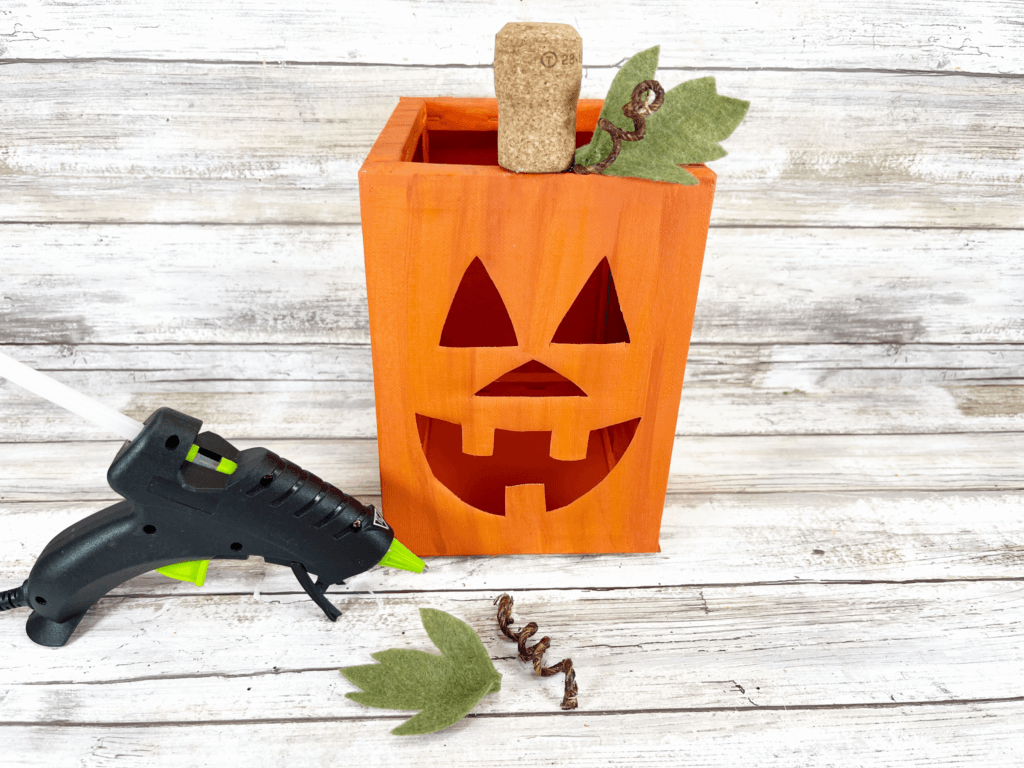
Glue the wired twine vines and the leaves to the sides of the cork stem.
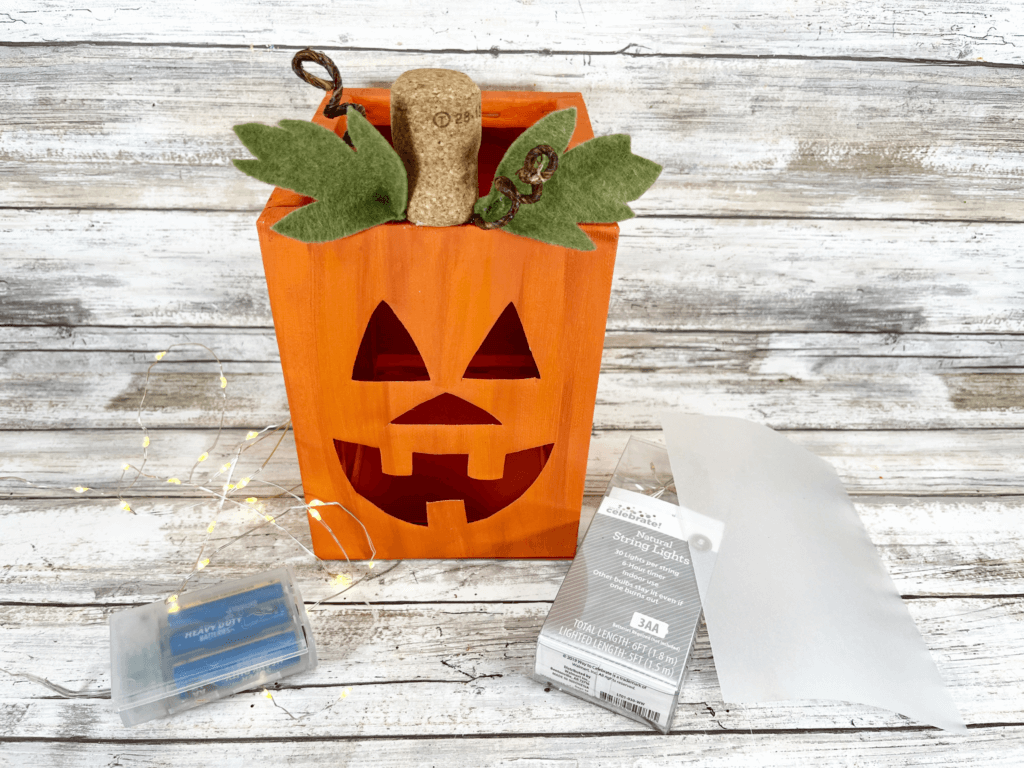
Measure and cut a piece of vellum paper 4” by 6” and place inside the lantern behind the Jack-O-Lantern face.
Place batteries in the twinkle lights and place them inside the lantern. The vellum gives the lantern a soft glow.

More Halloween Décor
- Make DIY Halloween Spell Bottle Necklaces
- How to Make DIY Vintage Halloween Ornaments
- Halloween Ghost in a Jar
- Halloween DIY: Flickering Spider Lights
- Easy DIY Scary Outdoor Halloween Sign Decorations
- How to Make a Halloween Cotton Spider Web Wreath
Canvas Jack o Lantern Pumpkin
Materials
- 4 Art Canvas - same size
- 1 popsicle stick (craft stick)
- Battery Operated White Twinkle Lights
- Batteries
- Bright Orange craft paint
- Medium Orange craft paint
- Dark Orange craft paint
- Green Scrap of Felt
- Recycled Wine or Champagne Cork
- Scrap of Cardboard
- Vellum Paper
- Wired Twine
- JACK-O-LANTERN PATTERNS
Tools
- Glue Gun and Glue Sticks – Dollar Store
- Craft Knife
- Paintbrush
- Self-Healing Mat
- Scissors
- Wire Cutters
- Pencil
Instructions
- This is a fun and easy craft that will take you about an hour to finish. Most, if not all, of the supplies can be purchased at the dollar store such as Dollar Tree.
- It's perfect to add to your Halloween home décor!
- Paint all 4 canvases with medium orange acrylic craft paint. While still wet, add in strokes of dark orange and light orange acrylic craft paint. Blend until you are pleased with the color variations.
- Download and print the JACK-O-LANTERN PATTERNS, and then cut out with scissors.
- Flip over one canvas and trace the Jack-O-Lantern features with a pencil.
- Place canvas on a self-healing mat and carefully cut out the Jack-O-Lantern features with a craft knife.
- Paint the backside and edges of the four canvases with the medium orange acrylic craft paint.
- Trim a wooden popsicle stick in three pieces with scissors and attach to the back of the Jack-O-Lantern teeth with a glue gun and glue sticks.
- Attach the canvases together in a rectangular shape using the glue gun. Gluing a canvas to the right and left sides of the front canvas.
- Glue the back canvas to the two side canvases with the glue gun to complete the rectangle.
- Measure and cut a piece of scrap cardboard to fit the bottom of the lantern.
- Basecoat the cardboard with medium orange acrylic craft paint.
- With the orange side up, attach the cardboard to the base of the lantern with the glue gun.
- Download and print the LEAF PATTERN. Lay the pattern onto a scrap of olive green craft felt and cut out 2 of them using scissors.
- To create a more 3-D dimension, apply a dot of hot glue at the base of each leaf and fold in half.
- Measure and cut two 12” lengths of wired twine using wire cutters. Wrap around a pencil, and then slide off to create a vine. Stretch and bend the wire to create a pumpkin vine.
- Attach a champagne or wine cork to the front center of the canvas with the glue gun.
- You'll need to hold onto the cork while it dries and cools, so it's stuck in place.
- Glue the wired twine vines and the leaves to the sides of the cork stem.
- Measure and cut a piece of vellum paper 4” by 6” and place inside the lantern behind the Jack-O-Lantern face.
- Place batteries in the twinkle lights and place them inside the lantern. The vellum gives the lantern a soft glow.
Come Join Us!
Liked this article and want more? Follow along on Instagram, Facebook, Twitter, Pinterest, TikTok, and YouTube!
Come over and join us on Facebook in the group Recipes, Crafts, and more with TipToe Fairy or Sewing and Crafting with The TipToe Fairy!