This shop has been compensated by Collective Bias, Inc. and its advertiser. All opinions are mine alone.
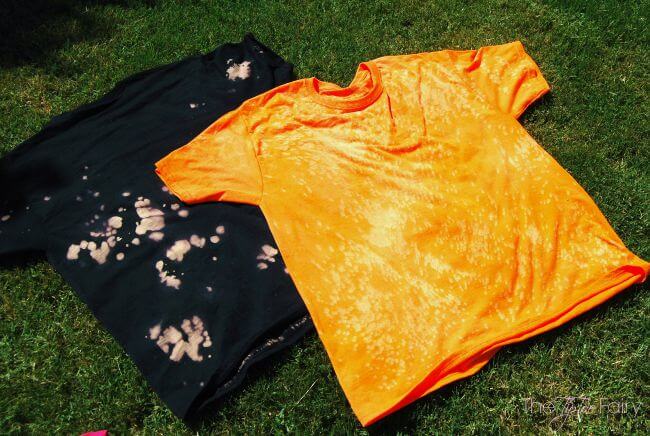
Have you ever tried reverse tie-dye with bleach? Instead of starting off with a white shirt and dyeing it colors, start off with a colored shirt and bleach out some of it. Clorox has a couple of brand new products that makes this so much fun! Clorox® Bleach Crystals™ is a canister of bleach crystals that are activated when water touches them. They also have Clorox® Bleach Packs™ that are little water soluble packets full of the bleach products. Both are the same great Clorox® Bleach power that you trust!
Table of Contents
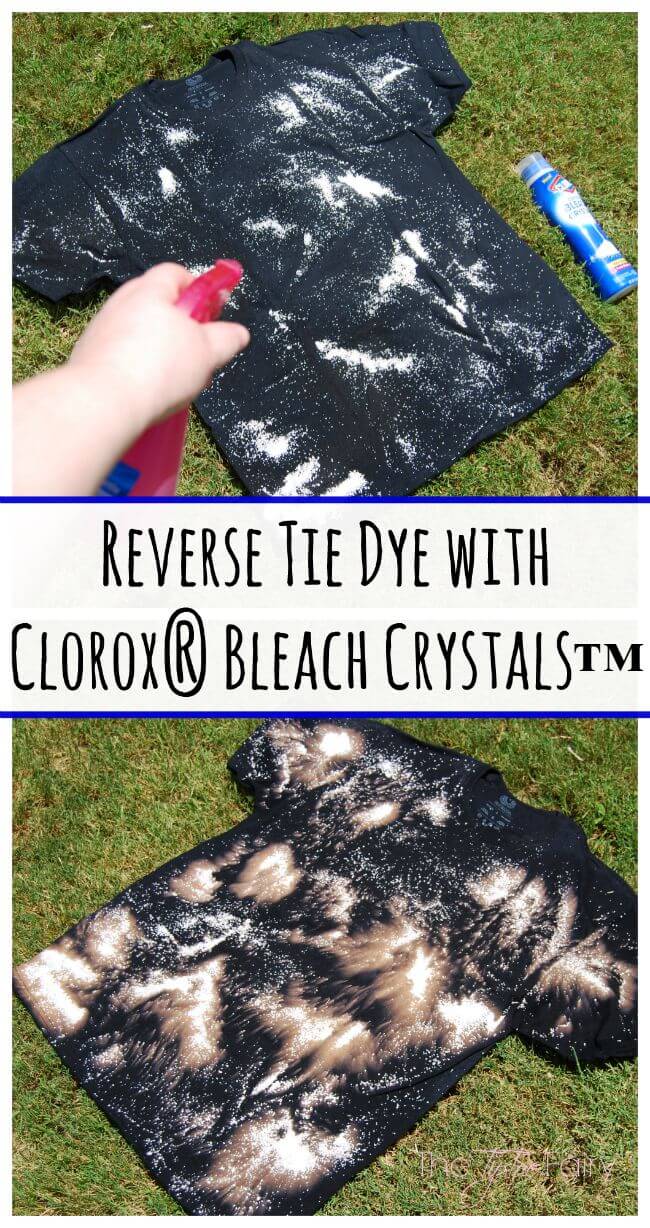
Reverse Tie-Dye with Clorox® Bleach Crystals™
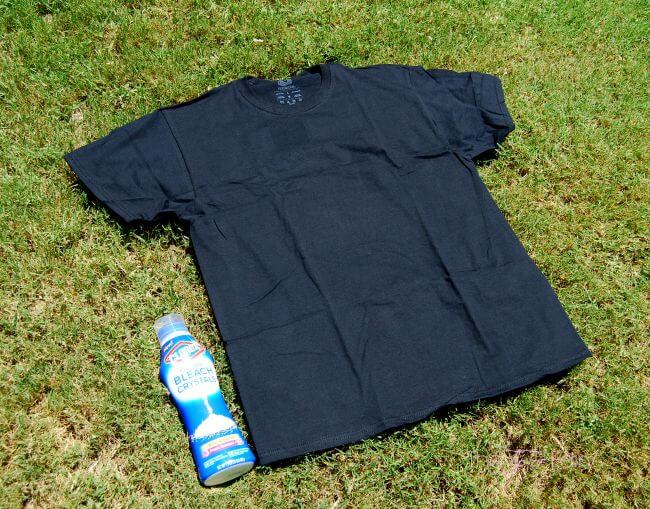
Supplies
- Clorox® Bleach Crystals
- cotton T-shirts
- spray bottle of water
1. Head outside with your supplies so you don’t worry about bleaching bleeding through anywhere.
2. Lay out your T-shirt or fabric.
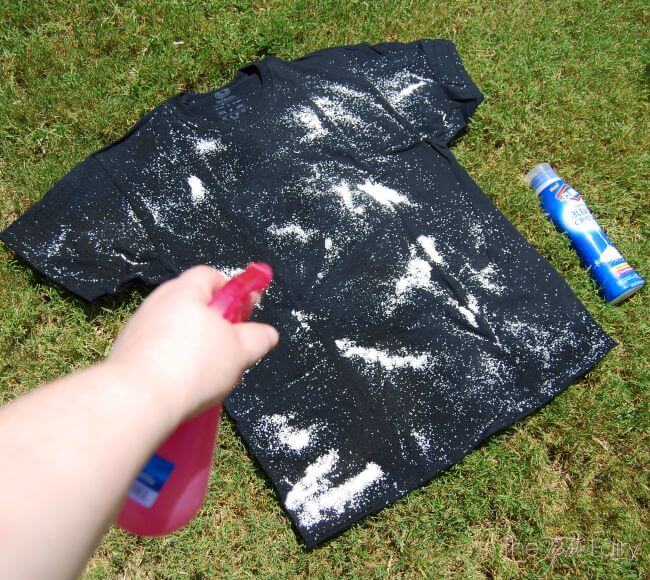
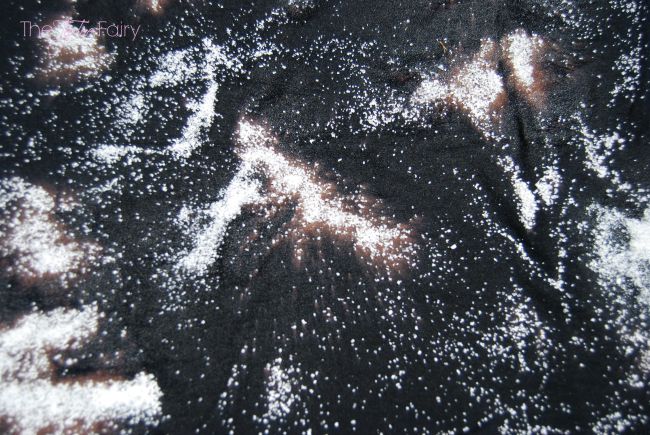
3. Sprinkle Clorox® Bleach Crystals™ all over the T-shirt. You can use stencils to create designs or just sprinkle on where you like.
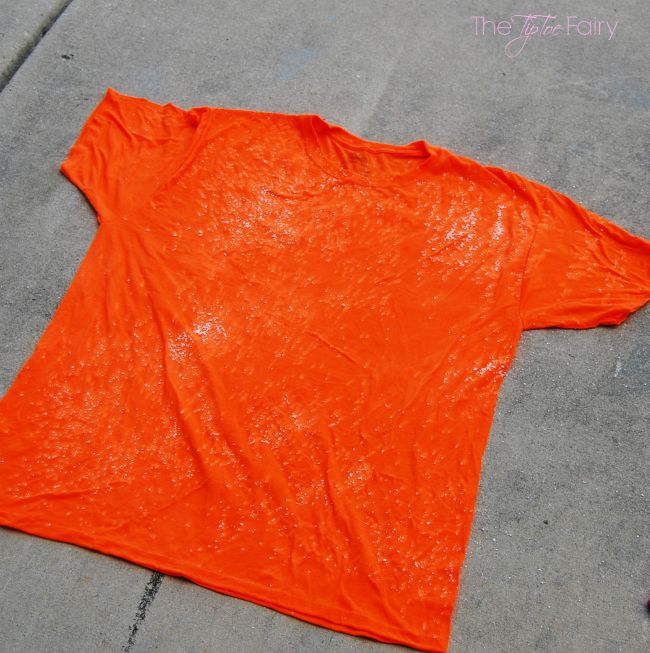
4. Using the spray bottle, spray the Clorox® Bleach Crystals™. Make sure to get them really wet so that the bleach is activated and will lighten up the color of the shirt.
5. Allow it to sit 30 minutes or less. I’ve done this a few times, and I’ve found 15 minutes is the best time. If you leave it too long, you run the risk of holes from the bleach. The first time I tried this method I left the bleach on for an hour, and that is what happened to me. Since then, I time it for 15 minutes, and they come out great!
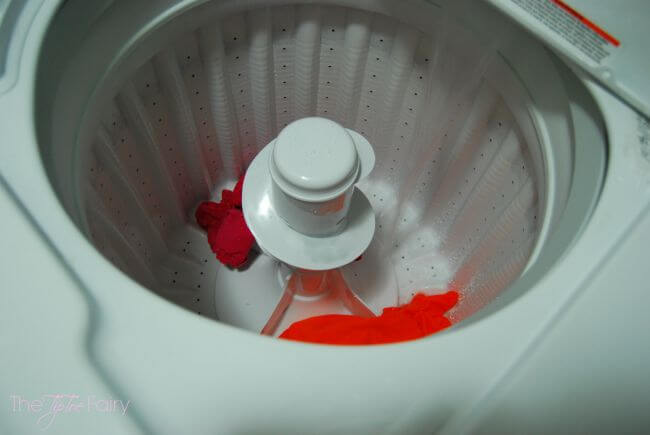
6. Once you’re satisfied with the bleach, bring the shirts inside and wash them in the washing machine to remove the Clorox® Bleach Crystals™.
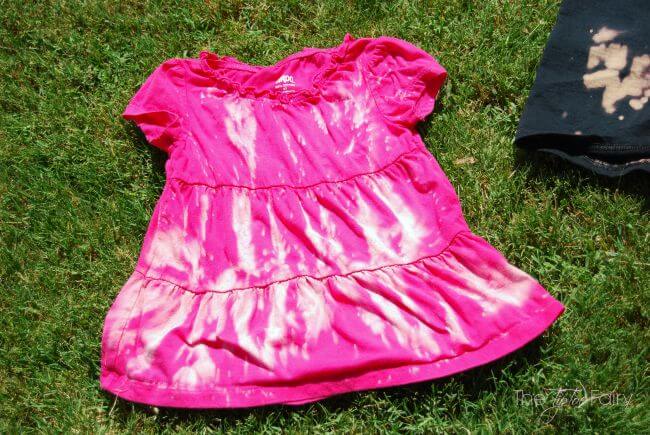
7. Next, it’s into the dryer, and you’re done!
Not only are these great for tie-dye crafting, but they are perfect for your laundry. Clorox® Bleach Packs™ provide easy “toss and go” convenience using bleach in the laundry. Both products are water activated, so they only start working when you want them to.
Looking for other dye activities? Check these out:

24 comments
NO WAY! I had no idea you can do this.
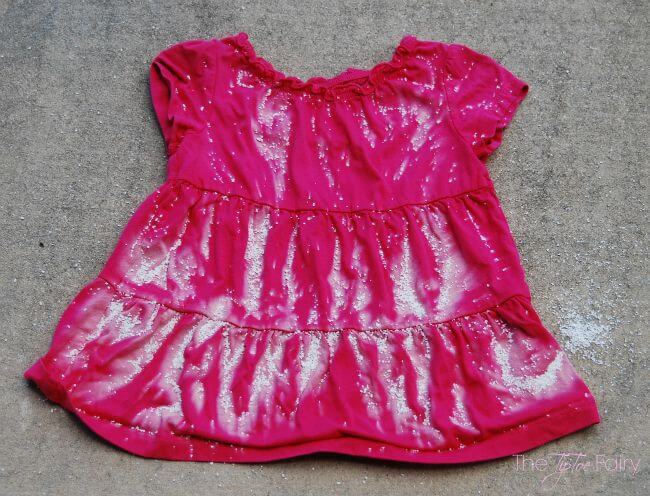
This looks SO much easier than trying to get the kids to do regular ol’ tie dyeing! And, it comes out great. I love the little pink and white tie dye dress!
Loving the sprinkling effect that this product gives to the tie dye. Great DIY congrats!
Oh wow. That is so easy. I love it.
Now that is a totally cool look. I can’t wait to try this. I have a bajillion tshirts I could use!
This is a cool idea. I haven’t tried tie dying yet. I like the idea of using bleach packs so that your not dealing with the splashing associated with liquid bleach. I’ll have to try these crystals.
wow! this is really amazing what a fun idea . now i know how to do this design. I really like it thank you for sharing
I’ve never done this. I love the way they turned out.
Loving your tie-dye pieces! The bleach crystals seem like they make the process a lot easier, and I really like the splatter effect.
You did a great job on those. I love how the pink shirt turned out. My daughter would love that.
I am so going to have to do this to a couple of shirts I have for sure. The Clorox Bleach Crystals I will have to pick up. It does look indeed so awesome. Thanks for sharing.
Do you recommend washing the colored t-shirts before sprinkling the Clorox bleach crystals? Just wanted to know since with regular tie dye shirts, they recommend washing the white t-shirts prior. Thanks!
I definitely think the bleach “dyeing” works a little better on prewashed clothing. But, it’s not a big deal if you don’t. In the photos, the pink shirt was prewashed and the black and orange were not, and I think there was better bleaching on the pink one.
Thank you so much for the helpful tip! I was looking for the quickest & cleanest way to get a tie dye shirts done and this definitely fits the bill! It’s a project for 10 middle schoolers and this is perfect with their busy schedules!
i like it thank you for sharing
I’ve got my supplies and am ready, but I have a question. Do the crystals go through to the other side or do you need to turn it over and do the back side as well?
They can go through the back side, but it won’t bleach as strong. I often put a piece of cardboard between the two sides and then do the back side separately.
Does the bleaching affect wick all the way thru to the back of the garment or do you need to do both sides?
It will a little bit. I’d recommend putting a barrier like a piece of cardboard and doing the back separately.
Should you wash shirts separate on first wash if you do more then one piece?
I washed them all together using those Color Catcher sheets.
Does this method still have the same fumes as with liquid bleach?
It does not have a smell using the granules. But, we always do this method outside because of the mess, so it could be we don’t smell it because of that reason.
Wow! This sounds less messy than using traditional liquid bleach. Thanks for inspiring me to try this project.