
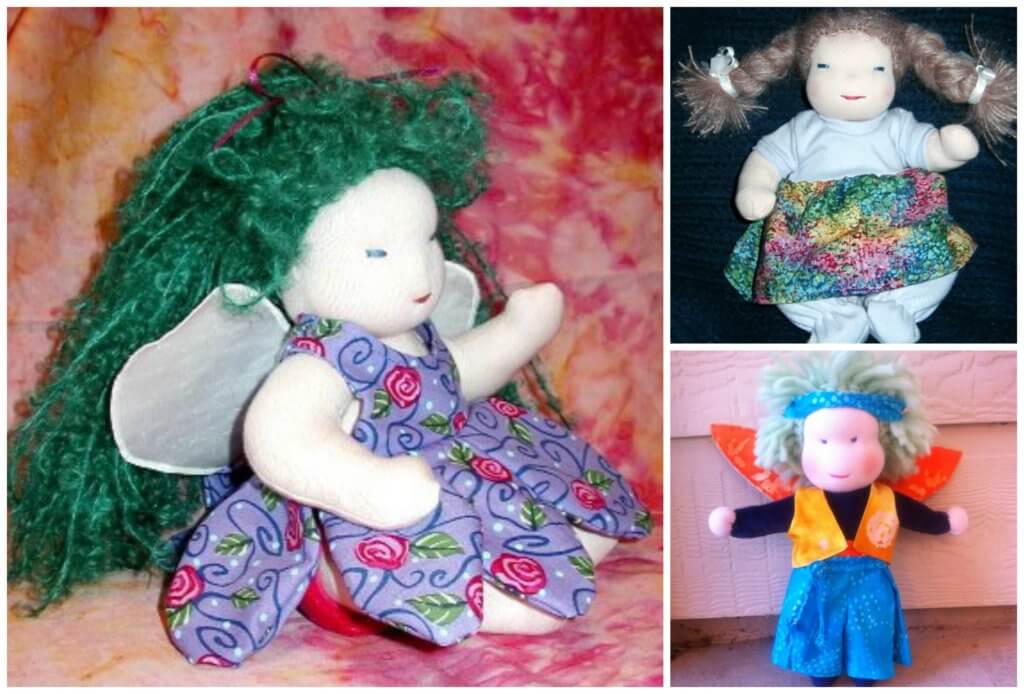
I haven’t shared this much on my blog, but I used to make dolls — specifically Waldorf Dolls. They are handmade dolls made with natural fibers and very minimal facial features. The hair is usually wool or mohair. I had a specialty in fairy and elf dolls — which reminds me, I need to share a tutorial my method for making elf-looking ears on a waldorf dolls sometime soon.
I started dyeing yarn because wool and mohair yarn are expensive, and I love boucle mohair for making doll hair. Often, you can find it in normal hair colors, but as you can tell from my photo, I like funky hair colors. So, finding curly mohair or wool yarn in those bright beautiful “fairy” hair color can be almost impossible.
I love dyeing things, and one of my favorite materials is dyeing wool yarn. It’s such a satisfying process, especially because it’s so easy.
Table of Contents
Dyeing Wool
You can use these same methods to dye yarn, roving, batting, even wool felt. Included in this tutorial are two dyeing methods – The Kool Aid method and The Rit Dye method.
Supplies
- Large pot
- Chopsticks or something small to stir with
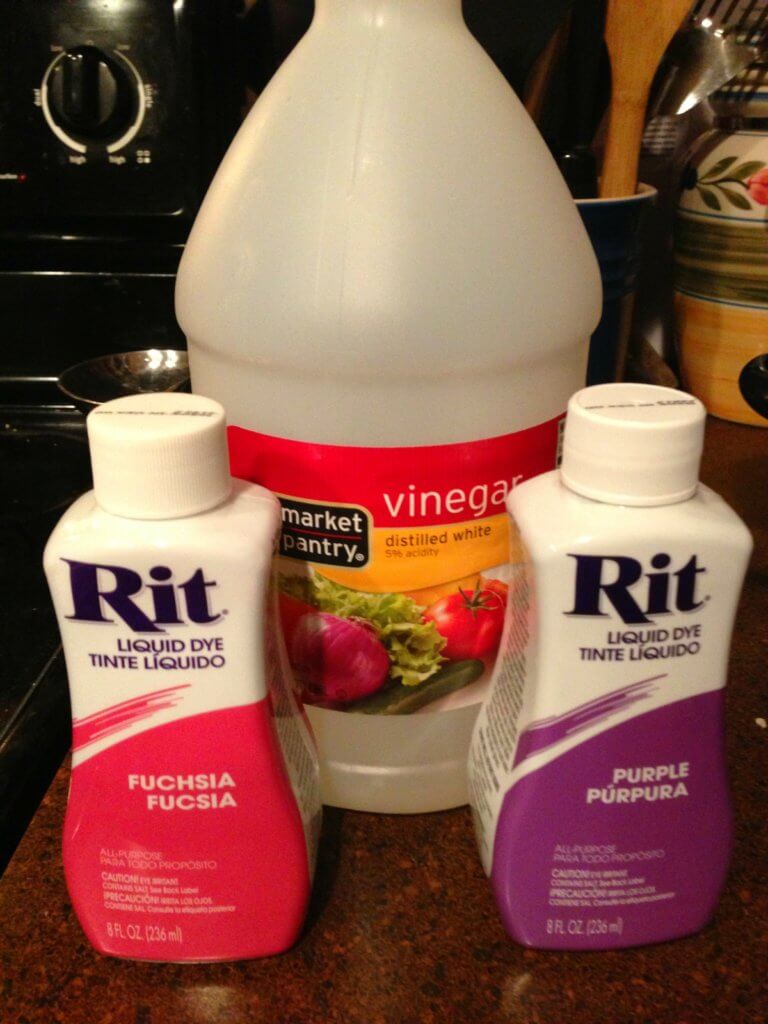
- Rit dye plus white vinegar for acidity
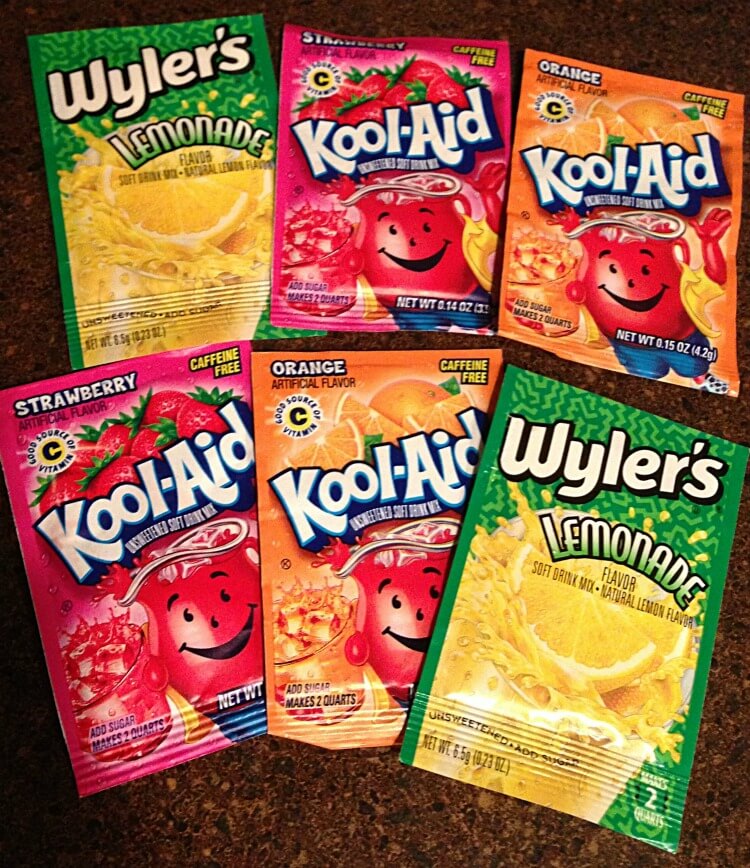
- packets of Kool Aid (the ones without sugar)
- Water
- Wool – yarn, roving, batting, felt, etc. (this needs to have a high wool content 70-100% for good results)
Directions
1. If you are using yarn, you will need to unwind it from the ball or skein. I hold my hands apart about 1 foot in width and quickly unwind it into a large circle. Then I take two scraps of yarn and tie around the top of the circle and bottom to keep the yarn together.
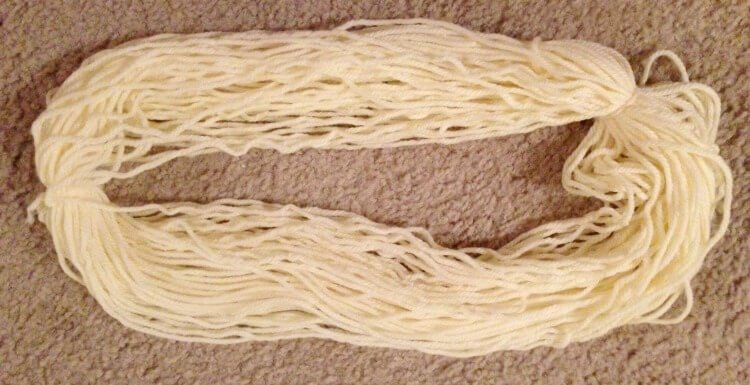
2. Thoroughly wet your yarn (don’t use hot water or it might felt) and let it soak while you prepare your supplies.
3. For the Kool Aid method, you just need various packets of the drink mix. Make sure you choose colors that when combining on the yarn will not turn into a yucky brown color. I choose yellow, orange, pink, and red.
4. For the Rit Dye method, you will need to add vinegar to your dye bath to increase acidity for good dye uptake of your fibers.
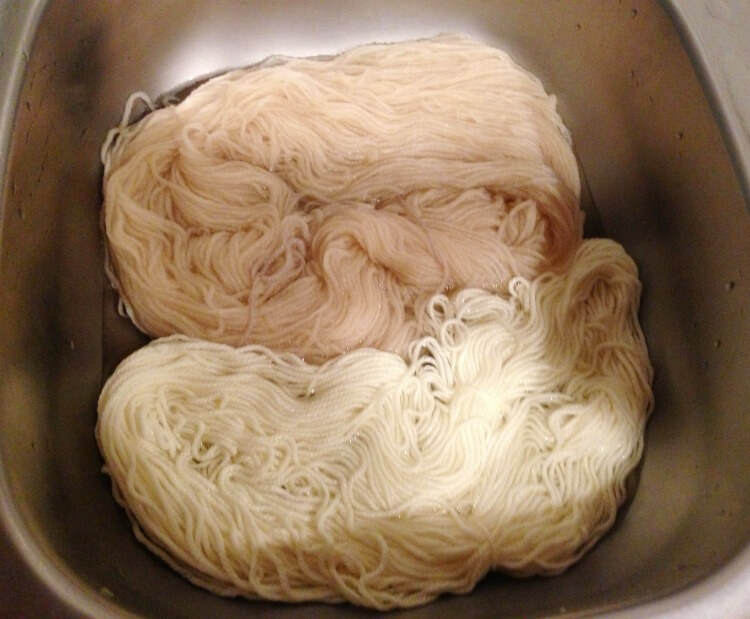
5. Add your wool to a pot and cover it with water. You don’t need to wring it out from soaking.
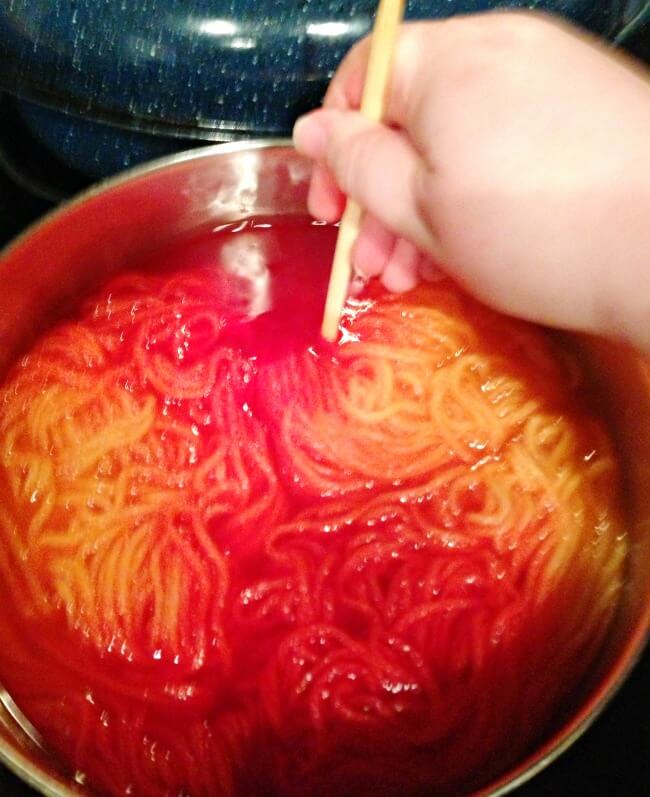
6. When adding the dye for either method, I like to think of the pot as a clock add equal parts of each dye to opposite side “wedges” of the pot.
7. Add 1 cup of vinegar to the pot for the RIT DYE ONLY (NOT KOOL-AID).
8. In this example above with the purple and pink Rit Dye, I broke the yarn up in the pot into 4 wedges. I poured about 3-4 tbs of the pink dye on the left and right. Then added 3-4 tbs of the purple dye at the top and bottom. I took my chopstick and swirled at each place I added the dye to ensure the yarn in that area would soak it up.
9. In the example with the Kool Aid dyes in red, orange and yellow, I broke it up into a clock. Starting on the sides at the 3 and 9 o’clock postions, I added lemonade, then moving to the 8, 10, 2, and 4 o’clock positions I added orange, then at the 7, 11, 1, and 5 o’clock positions I added strawberry, and finally at the 6 and 12 o’clock positions I added cherry. At each of these positions, I swirled the dye until the powder was completely mixed up. Do not swirl or stir too much so that the dyes don’t all mix together.
10. Now you will turn the burners on to medium low and watch the pots until they reach a slow boil. Do not let them reach a big rolling boil or that will mix all the dyes together.
11. During this time, the water bath in both methods will be cloudy and opaque with dye.
12. Once they have started a slow boil, turn the fire down and cook them for 30 minutes.
13. As they cook, the yarn will absorb the dye.
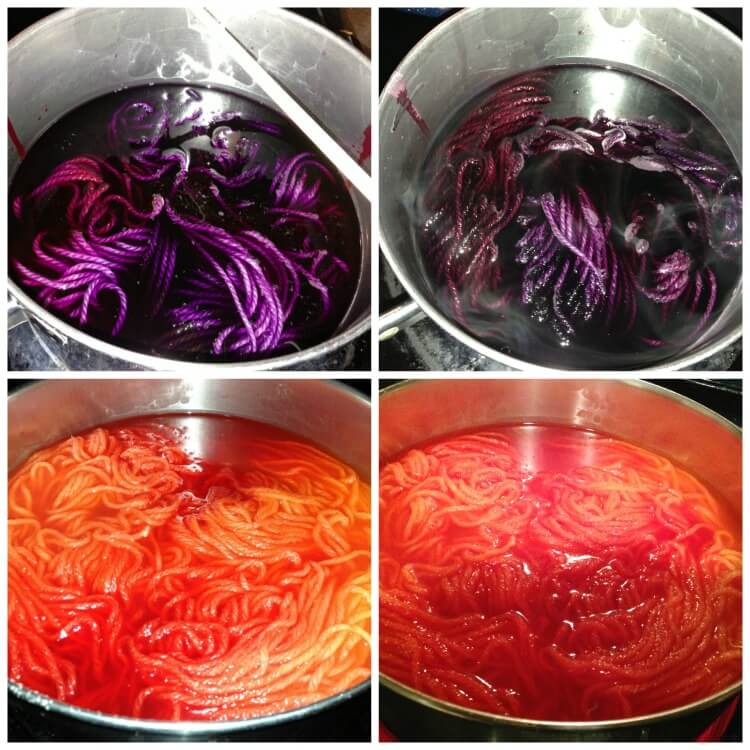
- In the Kool Aid Method, the dye will be COMPLETELY absorbed by the yarn and the water will be clear. This is when it’s done.
- For the Rit Dye Method, the water will still be the color of the dye, BUT it will no longer be opaque, but clear. You will be able to see the bottom of the pan and the wool clearly. This is when it’s done.
14. At this point, turn off the fire and allow the wool to sit in the pan until completely cool. I left mine about an hour.
**If your yarn is labeled superwash, remove your yarn as soon as you can touch it, even if it’s still hot.**
15. Once the yarn is cool, rinse it in cool water. Take a small amount of dish soap and GENTLY wash the yarn. I get a tiny tiny squirt of Dawn and lather it in my hands, then gently run my hands around the yarn. Then, I rinse it a second time to remove any bubbles and to make sure the water runs clear.
**If you use too much soap or the water is too hot, you run the risk of felting your yarn or roving.**
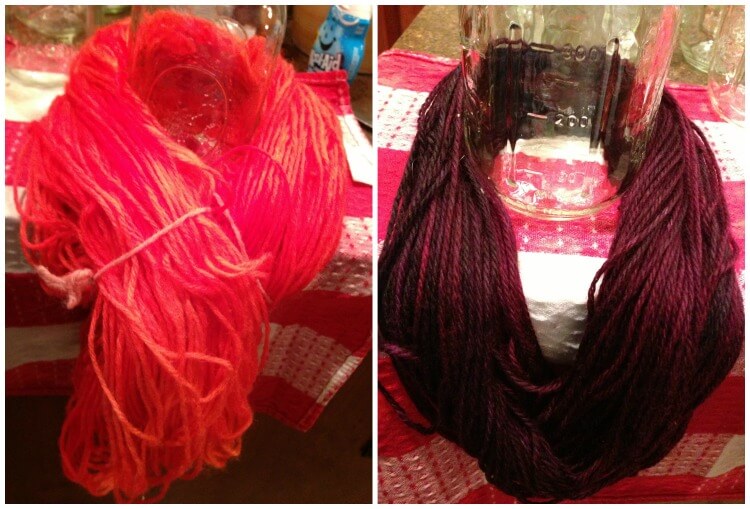
16. Next, gently wring out your yarn. Then, roll it up in a towel and gently squeeze out the excess water. Then, hang your yarn to dry. I just wrapped them around Mason jars with the towel under them and hung them off my kitchen island.
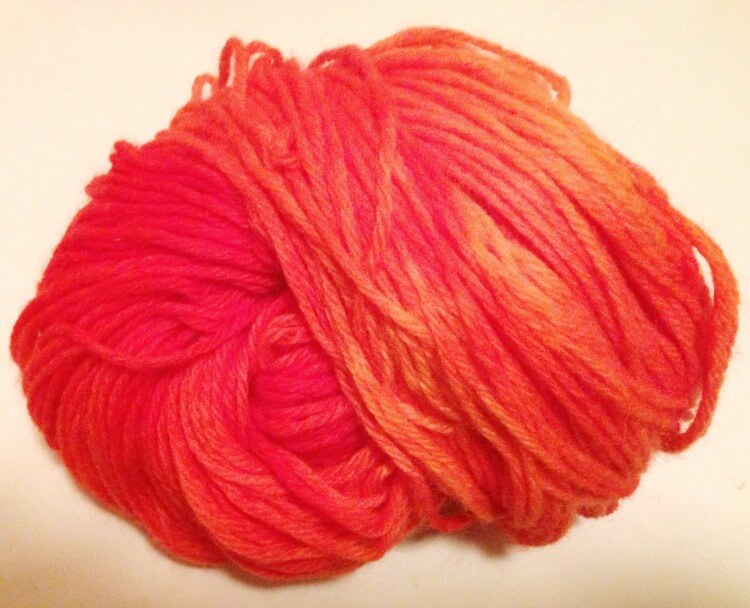
These are my finished yarns. I’m very happy with the colors. I think the orange and red one is my favorite, but I can’t wait to use both of them.

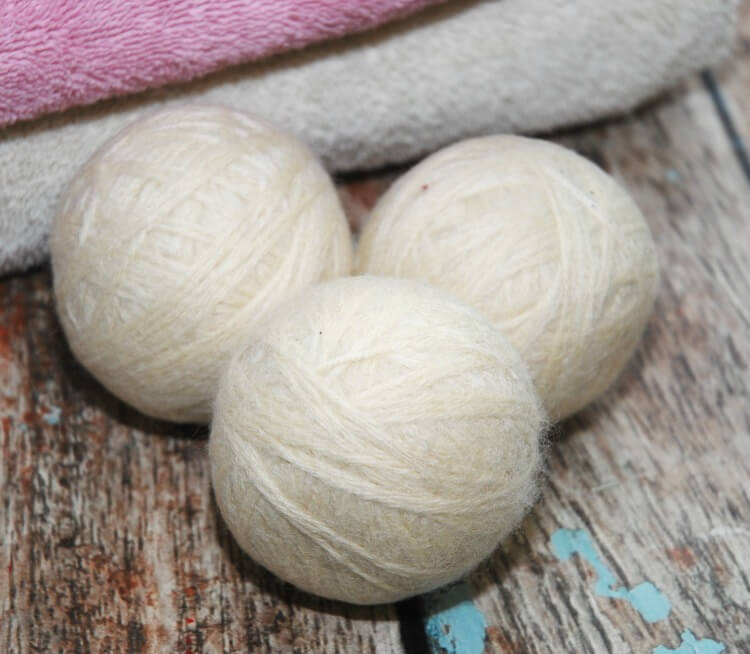
Have fun! This is something fun you can do with the kids when making wool balls. Check out this tutorial to make wool balls in the dryer!
21 comments
That is so so fun! I’ve never dyed my own yarn, but this is a great tutorial if I ever do decide to do it. 🙂 Thanks for the great tip.
http://www.simplisticallysassy.com
Wow! This is so KoOl. I never buy Kool-aid, but now I just may. Does is only dye wool, or would it dye cotton as well?
http://www.diysparks.blogspot.com
Thanks! Unfortunately, it’s much harder to dye cotton with Kool Aid. Animal fibers work best because they are protein, and since cotton is cellulose based, it doesn’t work well with Kool Aid.
Another easy fiber to use Kool Aid with is silk. Silk takes Kool Aid dyes just as well as wool.
What does work well with cotton yarn and fabric is using those refill packets of the tie dye dyes you can buy at Walmart or Joann’s, etc. I use a ziplock baggie method or the washing machine (with fabric) to keep the stains to a minimum when dyeing. I’ll write up an easy tutorial for that one in a few days.
I would love for you to share and link up at my TGIF Link Party. The party is open every Thursday night and closes Wednesday’s at midnight.
http://apeekintomyparadise.blogspot.com/
Have a wonderful week!
Hugs, Cathy
awesome! Thank you for sharing at the hop! xo
Great post – we have a sister that would love this tutorial!
Thanks for sharing on BeBetsy BRAG ABOUT IT Tuesday – just perfect! Sharon and Denise
I love how vibrant the colors are! Fantastic tutorial! Thanks so much for sharing at Mom On Timeout!
Beautiful. Thanks for sharing. Linda
Wow! You had such amazing results. My Grandmother used to use RIT dye but I have not done it myself. Thank you for the great post darlin’! I can’t wait to see what you make with it 🙂 Krista @ A Handful of Everything
This is so cool! I love the Kool-Aid pink and orange yarn! Thanks for sharing with us this week at Monday Funday!
Take care,
Trish
This comment has been removed by the author.
Today,I did my first Kool aid dye, using roving. I used Cherry, six packets, but was disappointed that I didn’t get atrue deep red. Any suggestions for a true red? Thanks,Kate
I’d recommend using Rit for a true red.
Hi, Stephanie.
This is a fabulous tutorial. Thanks so much! I dyed some wool/silk blend last night with Rit and it turned out beautifully.
Quick question…I’d love to do some dyeing with my kids and plan to use the KoolAid method. Do you know whether they dye washes out over time? I’m trying to decide what they/we/I could make with the wool they dye, whether it would be better to make something that doesn’t get washed very often (like a hat) rather than something that will get washed more regularly (like a sweater).
Thanks!
jen
Usually when I dye wool, it’s something I never wash, like yarn for doll hair or wool roving for felting, so I’m not 100% sure. Now, if you’re using something like superwash wool yarn, then it won’t dye as vibrant and as easily with Kool-Aid the way 100% regular wool will. I would probably recommend something that doesn’t get washed often like the hat since it would probably fade over time.
Hi, I was wondering is it possible to use something other than Wool with the RIT. I love the color combo you did with the fuchsia and purple. I have fell in love with that combo and it is hard to compare it to the color variations you find in the stores. Thanks
I’ve found that wool is the best at soaking up Rit. Acrylics can take some dye, but it will end up more pastel. Cotton will work, too, but I think it also ends up not as bright.
Great thanks. If you are okay with it I really want to try the combo you used. I love how it turned out.
Of course, what a great blog and illuminating posts, I definitely will bookmark your
website.Have an awsome day!
wow I never thought of using Kool-aid to dye wool. I have some wool yarn which is mandarin orange and I want to over dye. Will the Kool-aid dye cover another color or should I use Rit?
Kool-Aid will work, but you probably need a darker dye to really cover it. Just make sure you take into the account the mandarin color and what would cover it such as a cherry red.