
Don’t have an Elf on the Shelf, but you still need to remind your kids about good behavior for Santa? Make a Santa Cam Christmas Ornament, so he can check on everyone being good boys and girls! This post contains affiliate links.
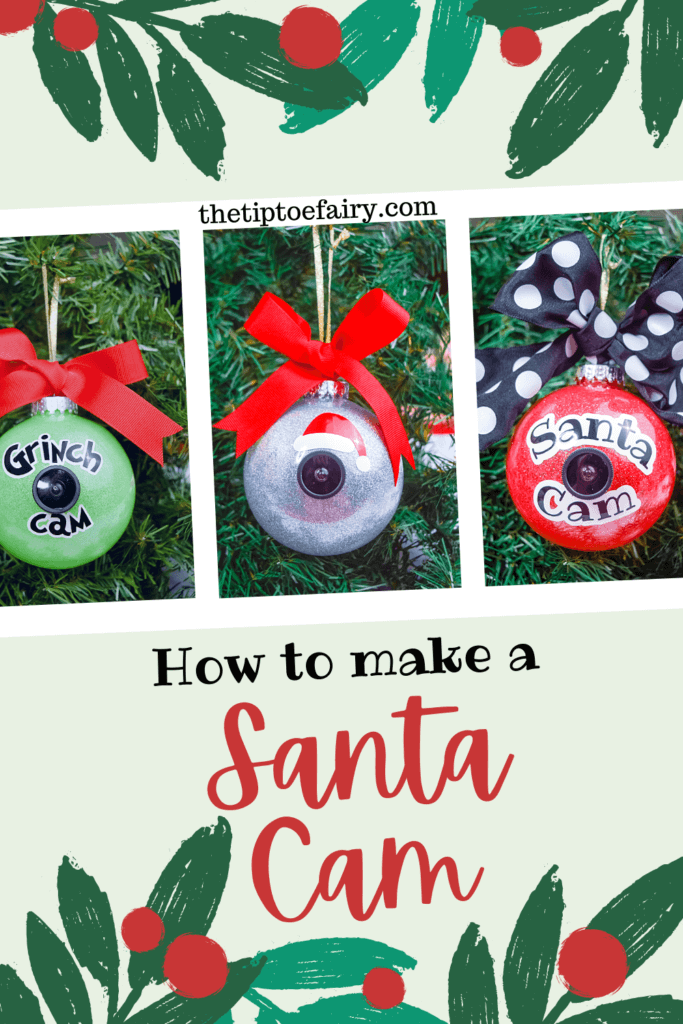
This tutorial is very easy, and we have SVG files and instructions to make both Santa Cams and Grinch Cams.
Table of Contents
What do you need to make a Santa Cam Christmas Ornament?
This doesn’t take much. You will need:
- 5 inch clear plastic ball ornaments
- fine glitter
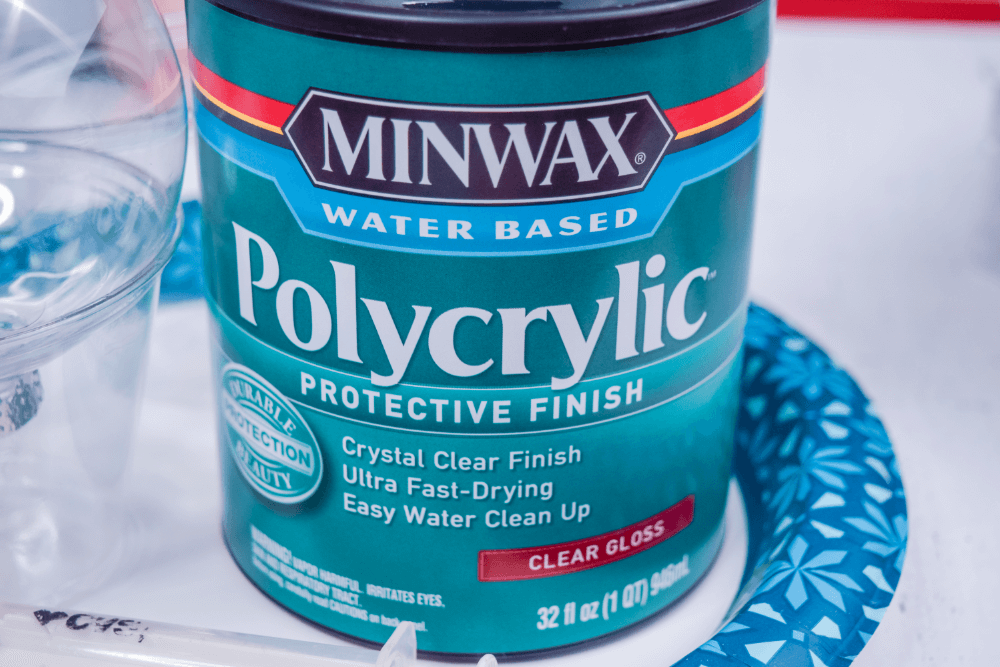
- polycrylic protective finish in gloss
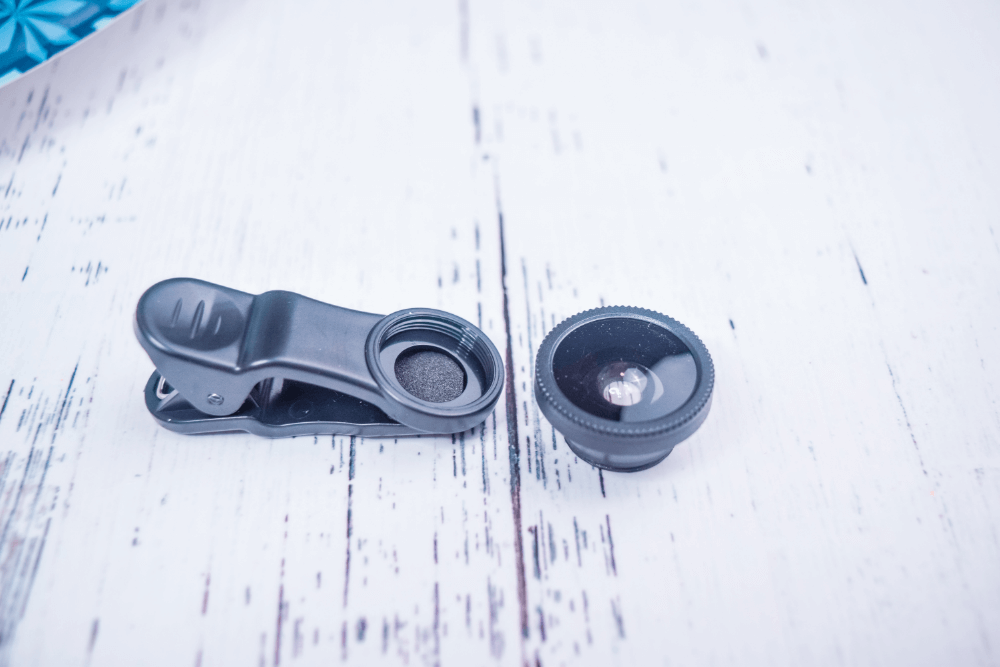
- Dollar Tree wide angle lens for smartphone
- Christmas ribbon
If you have a craft cutting machine, I have SVG files you can use to create the Santa Cam or Grinch Cam. For this, you will need:
Get the Santa Cam and Grinch Cam SVG Files
Download the zip file and get the PNG and SVG files for these Christmas cams.
No Craft Cutting Machine? No worries!
If you DON’T have a crafting cutting machine, you can still totally make a Santa Cam! You just need some alphabet stickers and/or a Santa hat sticker.
How do you make a Santa Cam Christmas Ornament?
First, we’ll make a glitter ornament. If you’ve never done this before, it seems quite intimidating, but it’s really easy.
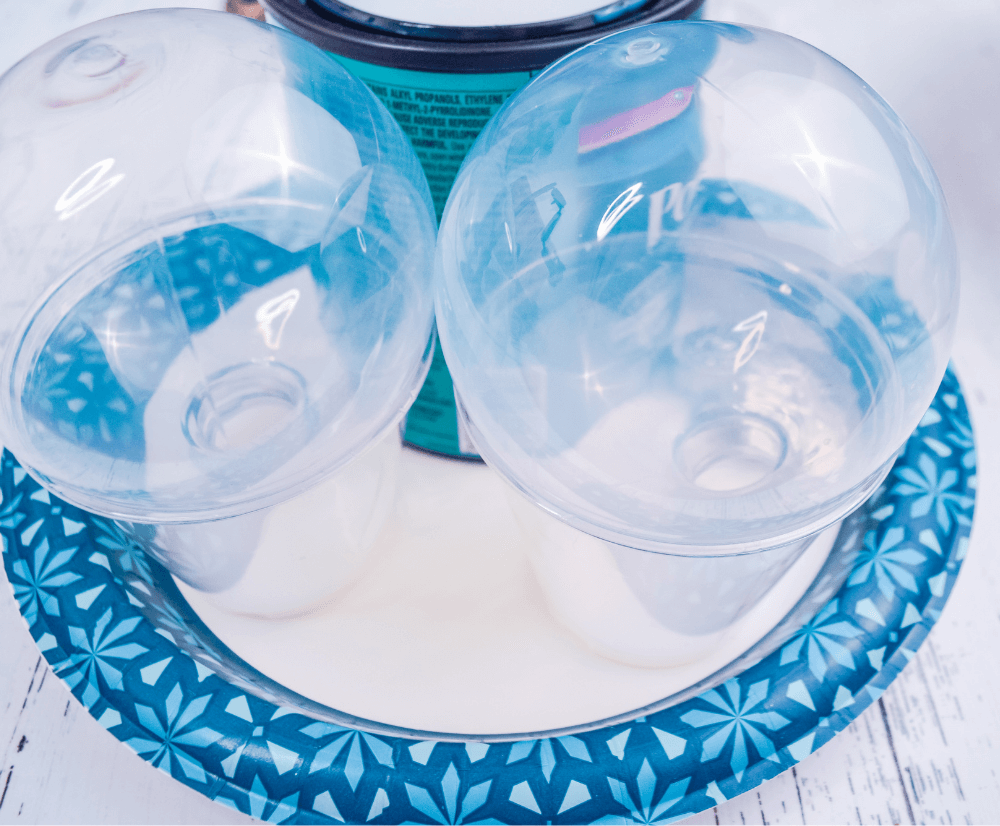
First you’ll need some disposable cups to set your ornaments on, so they can drip. I am a bit of a mess, so I do this over paper plates or newspapers as well.
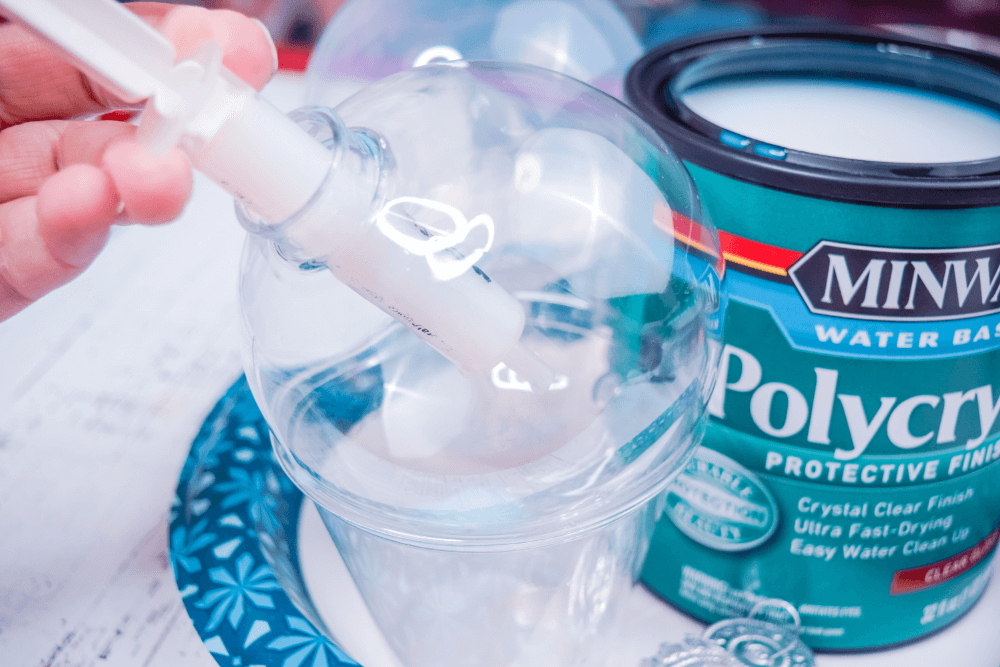
Take the tops of the ornaments and set aside. I like to use an old baby medicine syringe that holds 10 mL for the polycrylic. I fill the syringe up and just squirt down inside the ornament.
I gently swirl it and turn it until the entire ornament is covered inside in polycrylic. Then, set it upside down and allow the excess to drip out for several minutes.
I do about 3-4 ornaments in a row, so that by the time I finished the last ornament, I can start adding glitter to the first ornament.
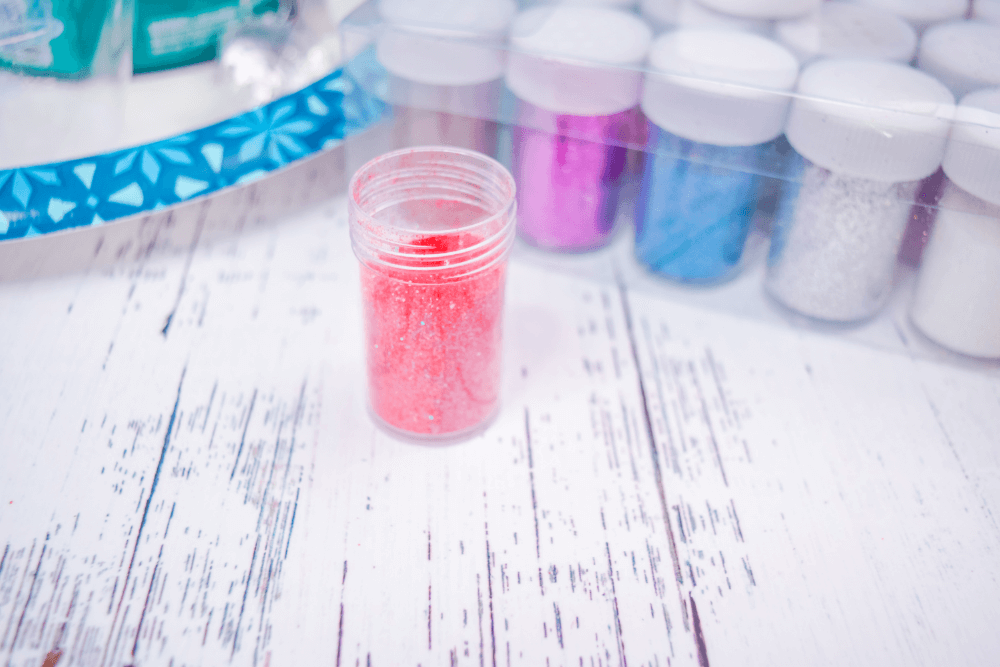
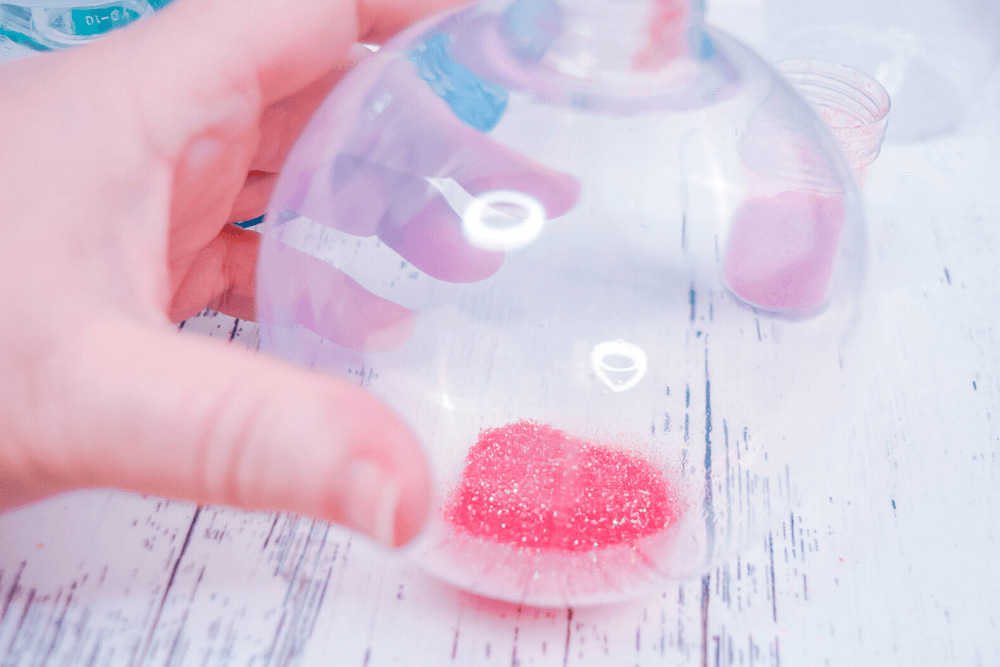
After about 5 minutes, I put about a teaspoon of fine glitter into the bottom of the ornament. Then, I cover the end completely with my palm and shake vigorously in different directions.
If it looks completely covered, I turn it upside down on another plastic cup and let the excess glitter come out.
Then, we let them dry for at least a couple hours, possibly overnight before moving on to the outside decorations.
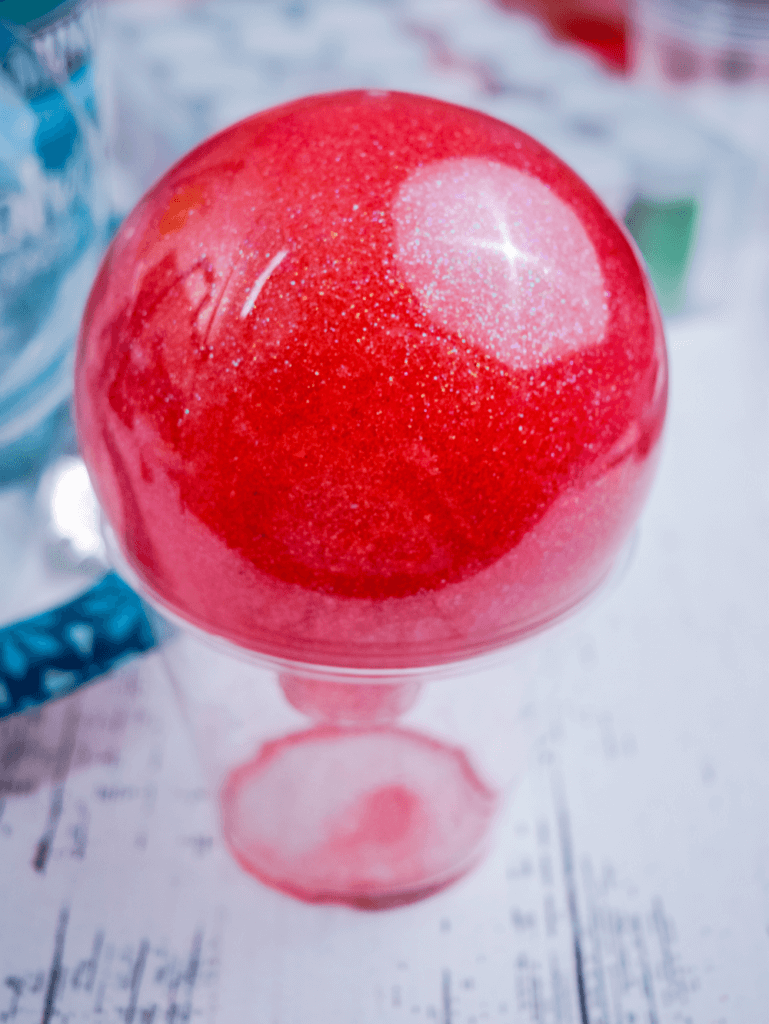
Once, they are dry, put the tops back on.

Next, it’s time to cut the SVG files with your cutting machine. I have put the SVG images all together. For the text, I created an offset to go behind the text to help it stand out on the ornament.
After you’ve printed the vinyl, you’ll need to use transfer tape to layer the offset behind the text or if you’re doing the Santa hat, you’ll need to layer the red hat behind the white hat trim and pompom.
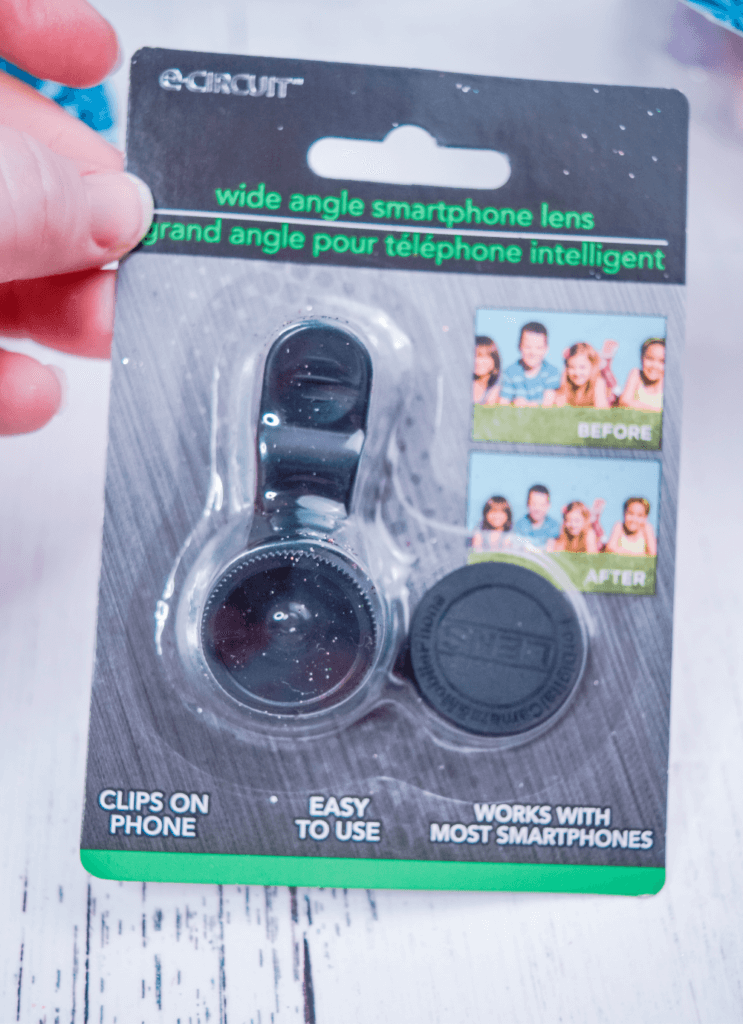
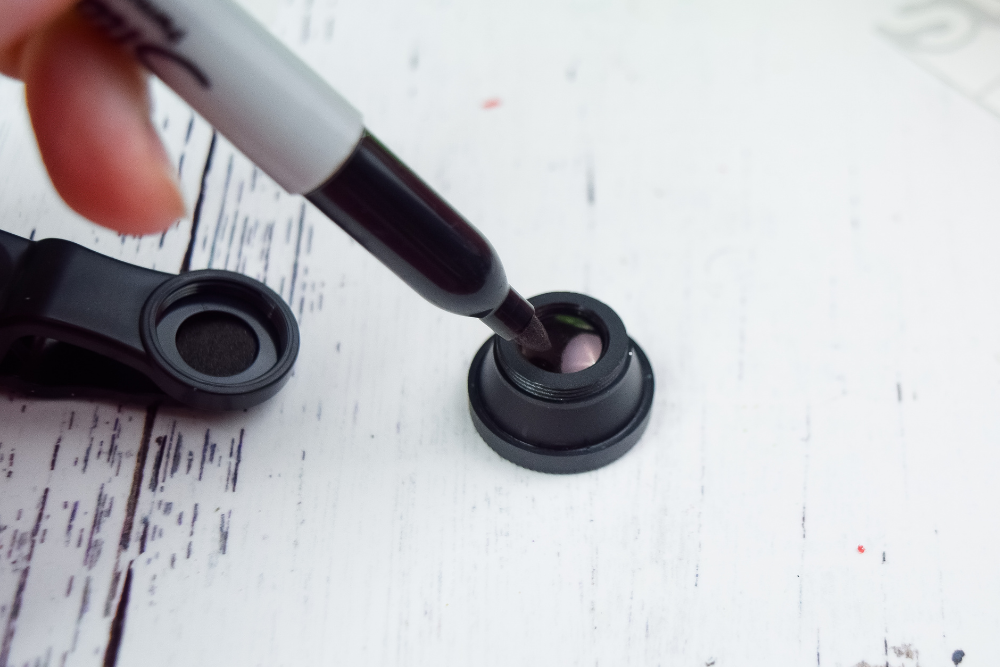
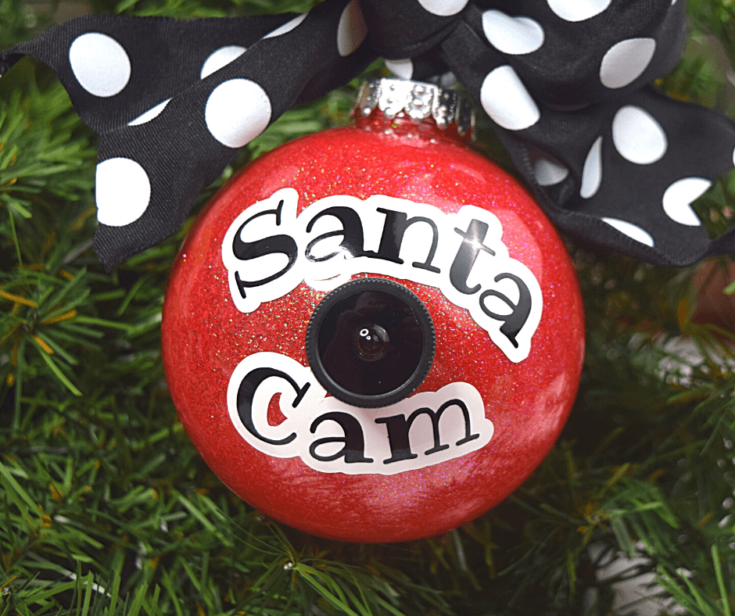
Now, it’s time for the lens. Unscrew the lens from the clip, and then flip it over so that the backside is up.
Use a Sharpie to color it black. Otherwise the glitter shines right through the lens and might not appear “authentic” to the kids.
BEFORE you put the vinyl or stickers onto the ornament and the lens, check the placement of everything so you have enough room. I applied the vinyl first so that I made sure there was plenty of room to center the lens between the words.
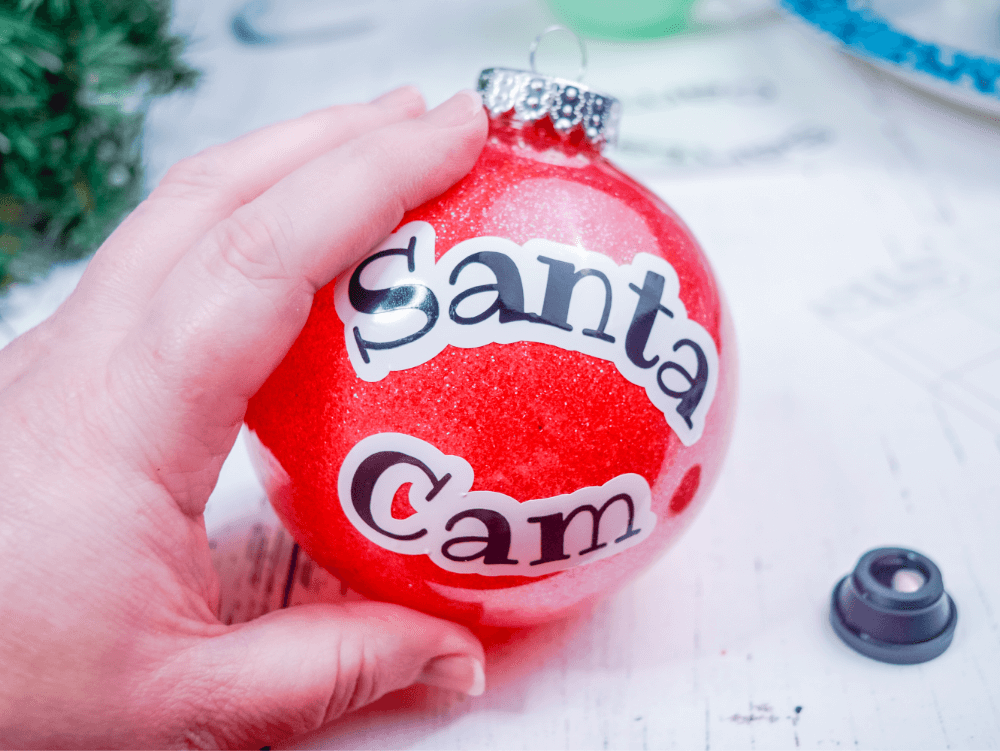
When you’re happy with your plan, add the vinyl (or stickers) first.
Then, just hot glue right around the edge of the back of the lens and center it between the text or under the Santa hat.

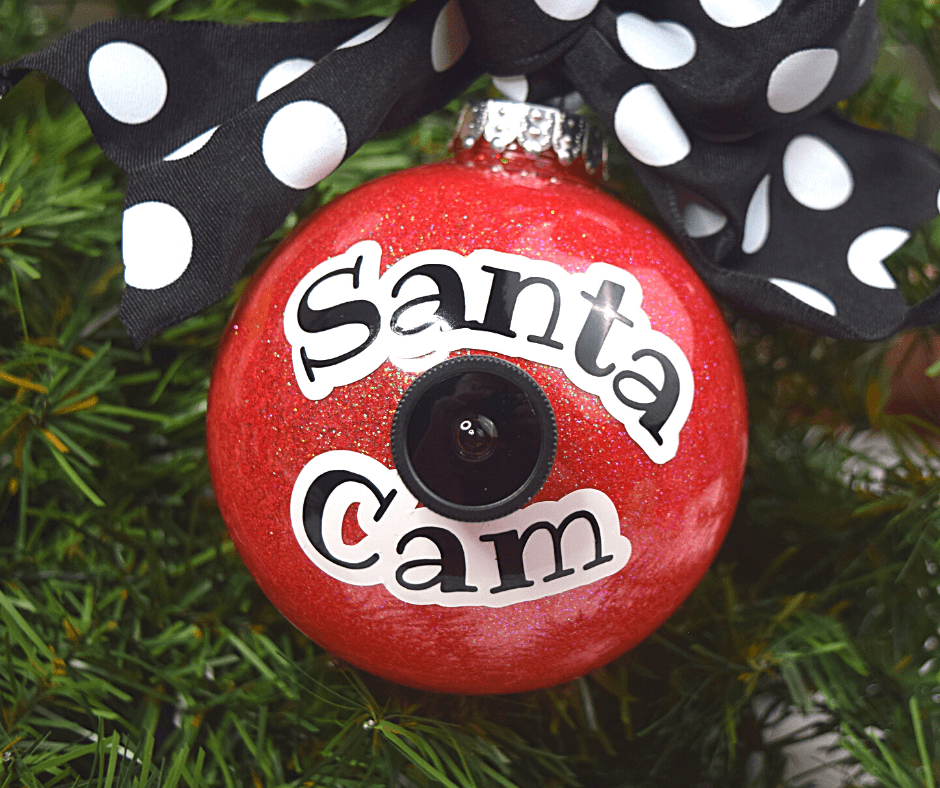
We finish it off with a pretty bow and a thin ribbon to hang it from the tree.
If you don’t want to hang it on the tree, you could also set it on a lid such as a water bottle lid or a jar lid that you’re going to throw away. That will keep it upright and not rolling over if you’re just setting it on the mantle or something.
Santa Cam, Grinch Cam, or Santa Hat Cam?
My personal favorite is the Santa hat version. It’s a little inconspicuous since it doesn’t outright say “Santa Cam” across it.
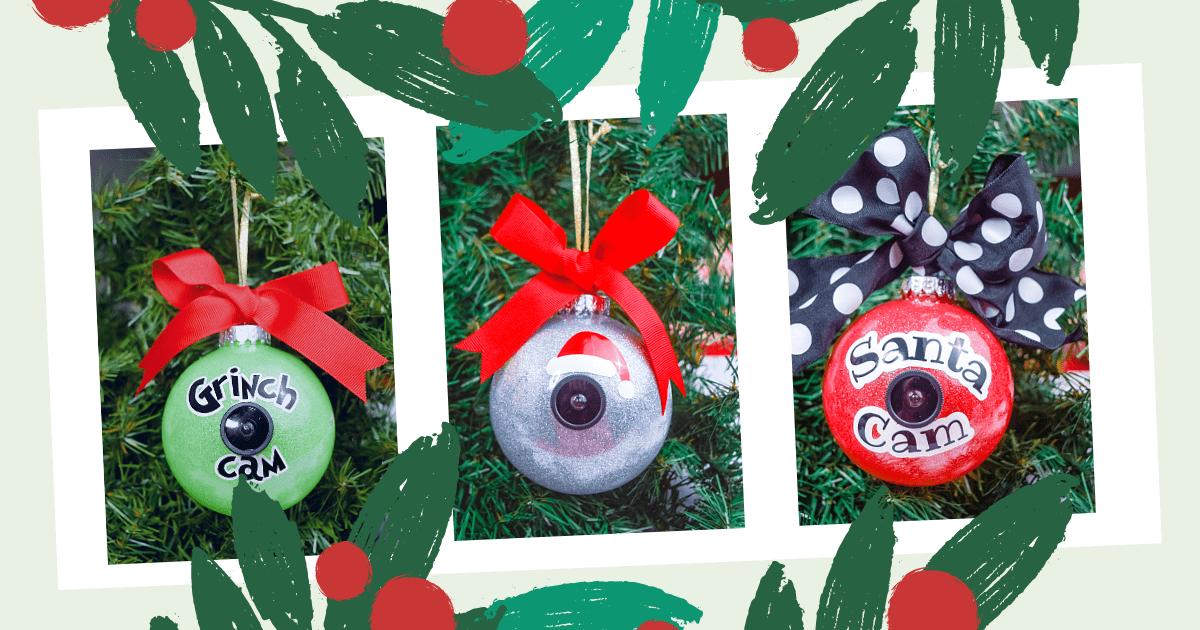
I also like the Grinch cam. We just watched the 20th anniversary edition of How the Grinch Stole Christmas with Jim Carrey. In it, he has cameras on everybody in Whoville.
More DIY Christmas Ornaments
More DIY Christmas Decor
Santa Christmas Cams
Materials
Instructions
Set out enough disposable cups for the number of ornaments you'll make, so they can drip.
Take the tops of the ornaments and set aside.
Use an old baby medicine syringe for the polycrylic. Fill the syringe up and squirt down inside the ornament.
Gently swirl and roll the ornament so that it's entirety is covered in polycrylic. Set it upside down on a cup and allow the excess to drip out for several minutes.
After the ornament has stopped dripping, pick it up and pour about a teaspoon of fine glitter inside.
Cover the end completely with your palm and shake vigorously in different directions to cover the ornament in glitter. If there are bare spots, add a little more glitter and shake in that area.
Turn it upside down on another plastic cup and let the excess glitter come out and the polycrylic needs to dry.
Wait at least a couple hours, preferably overnight.
Once dry, put the tops back on.
Cut the SVG files with your cutting machine.
Use transfer tape to layer the offset behind the text to stand out or use the transfer tape to layer the Santa hat.
Unscrew the lens from the clip, and then flip it over so that the backside is up. Use a Sharpie to color it black.
Apply the vinyl first so that there is plenty of room to center the lens between the words.
Hot glue right around the edge of the back of the lens and center it between the text or under the Santa hat.
Finish it off with a pretty bow and a thin ribbon to hang it from the tree.
Optional: Hot glue a lid from a juice jug or a water bottle on the bottom, if you want to set it on a mantle instead of hang from the tree.