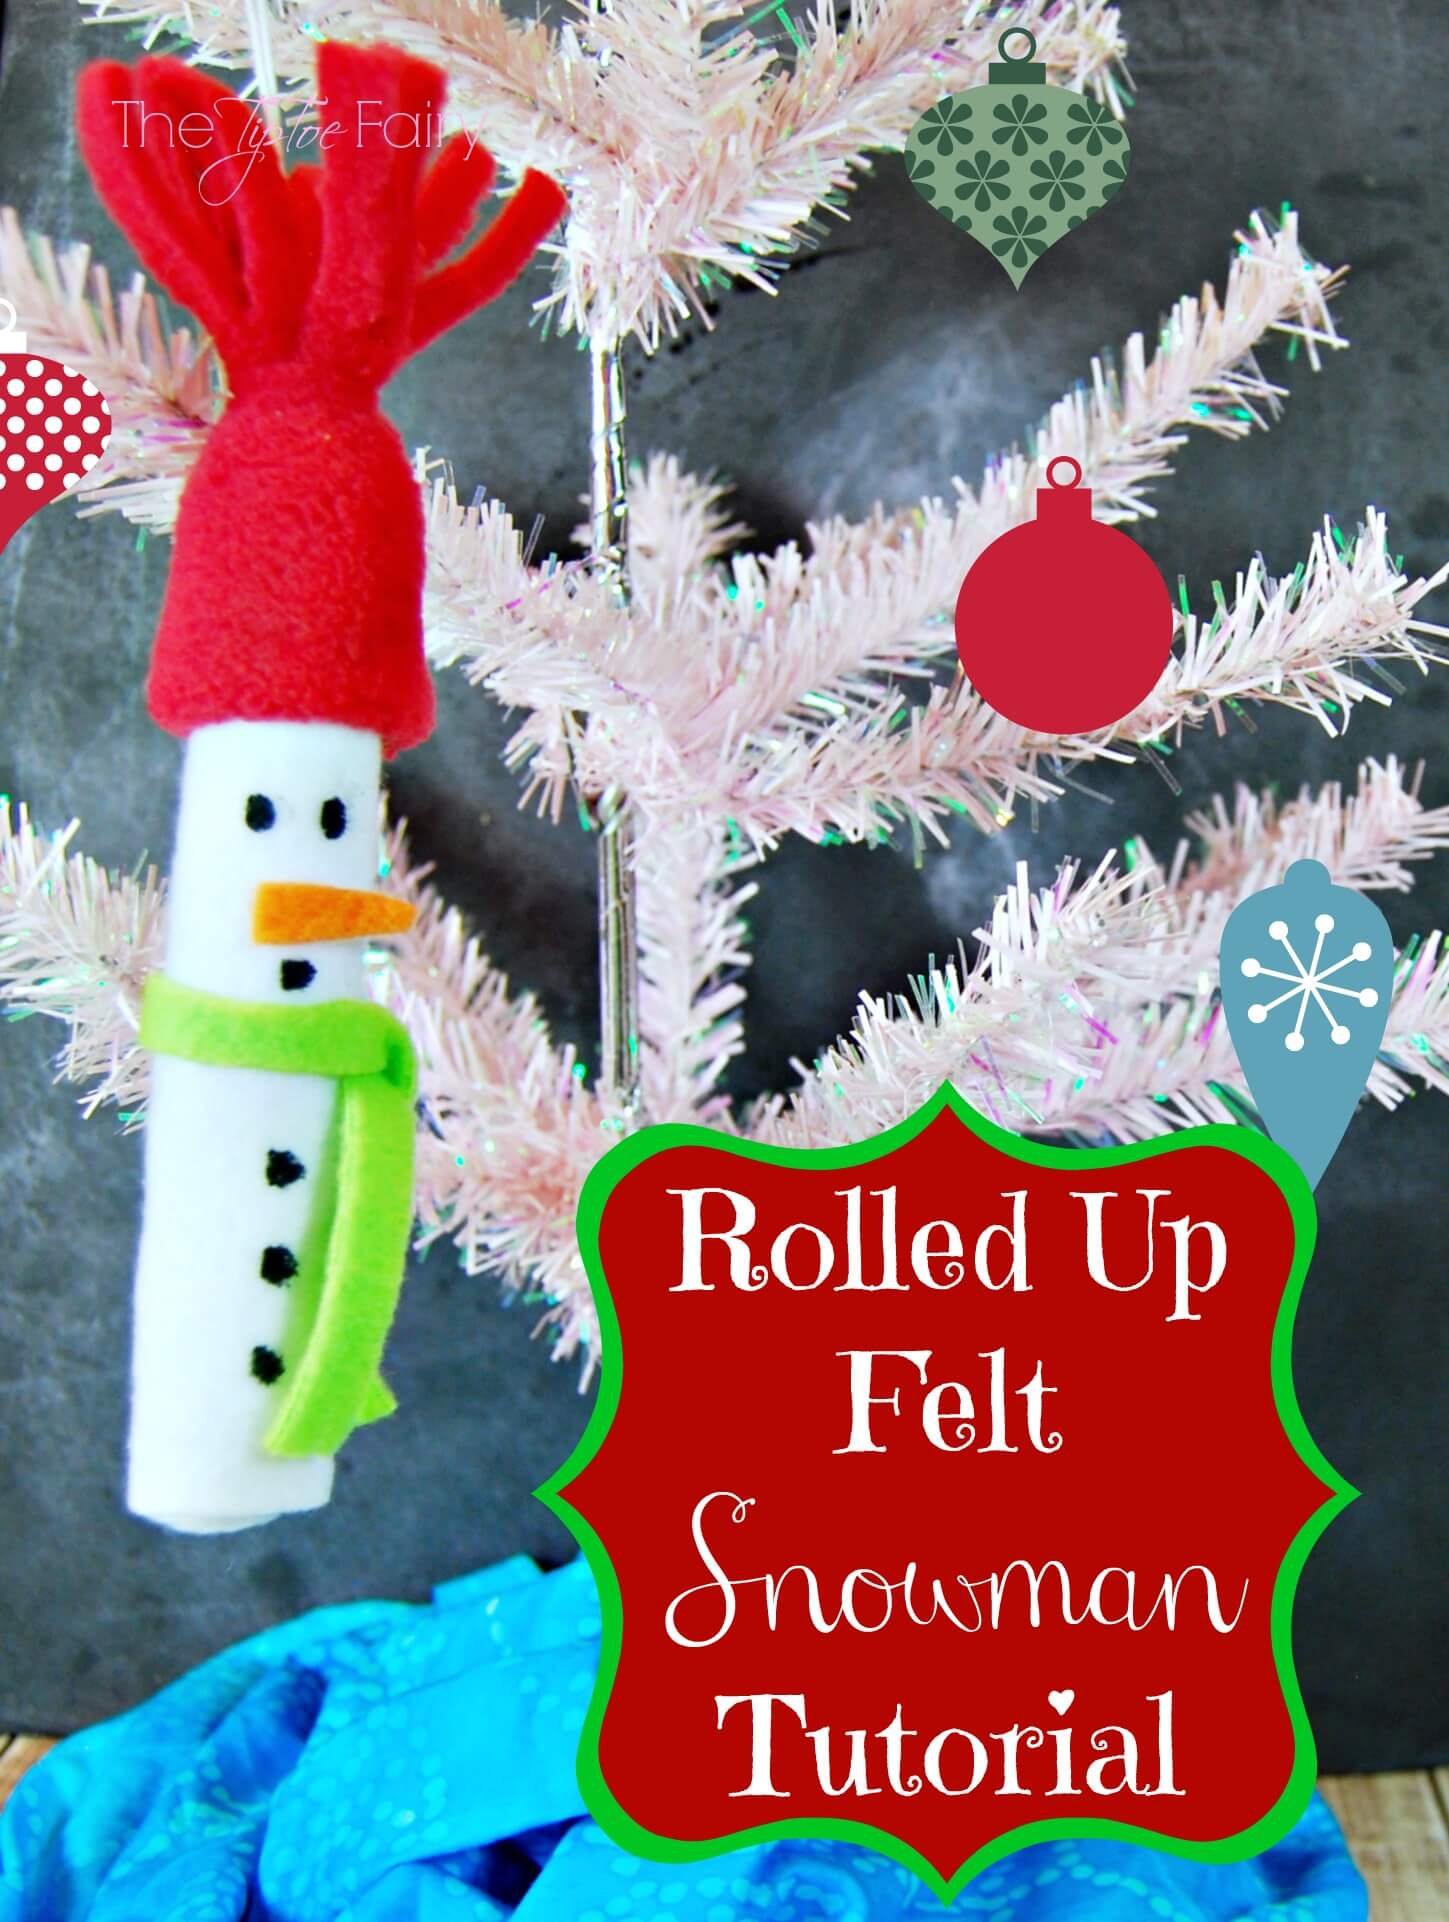
This post contains affiliate links. So who’s ready for Christmas? I love Christmas, and summer time is a great time to get a jump on it. That’s why I’m sharing this in July! Snowmen are one of my favorite ornaments. During the Christmas season my tree tends to be covered in Santa Claus and Snowmen, and then we always top our tree with a trumpet, which is a story I definitely need to tell one day.

This snowman ornament is super easy, and you can even make it NO SEW! I love sewing, but I also love being able to make something without the sewing machine, too, especially for a quick homemade gift.
Table of Contents
Rolled Felt Snowman Ornament
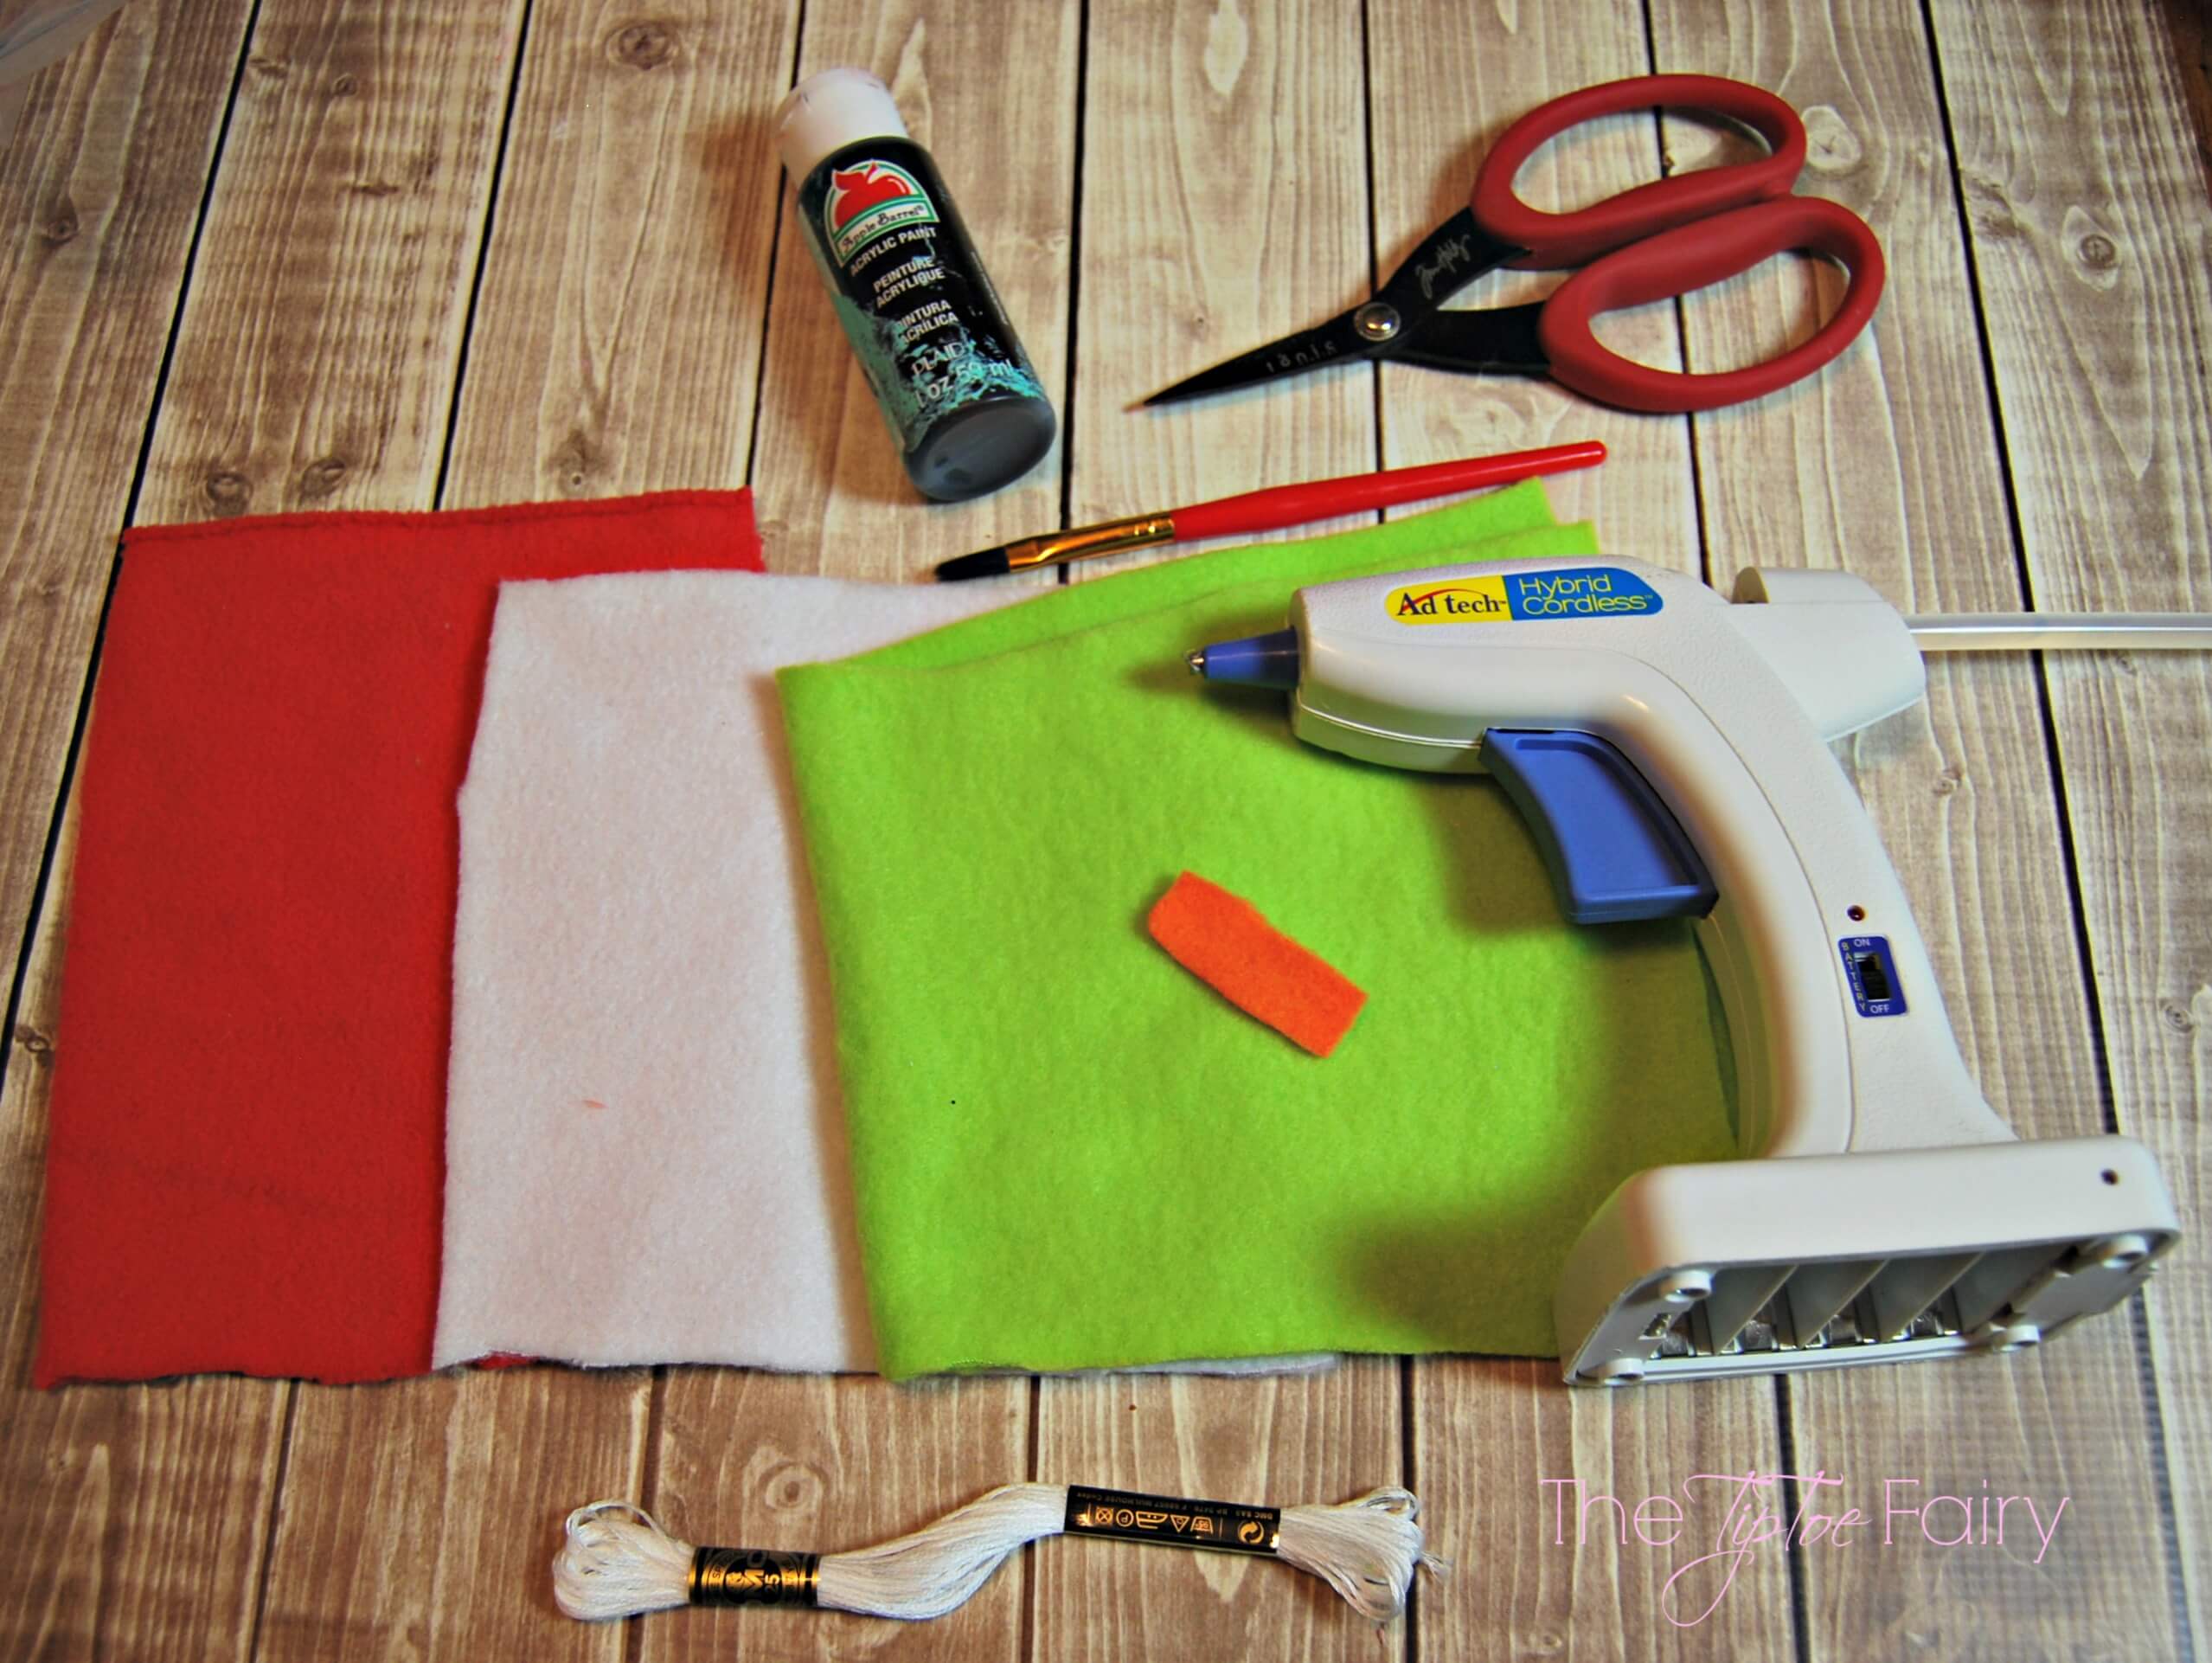
Supplies:

- Red, orange, white, and green felt sheets (or polar fleece fabric)
- 1 skein of white embroidery floss
- 1 bottle of acrylic paint in black
- glue gun
- scissors
Directions:
Above each set of directions, I’ve included a collage of pictures for easy reference.
Making the Snowman
- Cut a 6 x 6 inch square of white felt. Roll up the square tightly and hot glue the entire length of the raw edge.
- Cut a 3.5 x 3.5 inch square of red felt. Glue along one of the raw edges and then fold it over to make a “seam.”
- Then, glue along the entire seam. Lay the snowman in the middle of the red square with about 1 inch of the snowman’s length resting directly on the red felt.
- Then, with front of the snowman facing down and glued seam side up fold over the red square to form the hat. Glue the back seam of the hat just up to the top of the snowman head.
- Using a small strip of red felt, tie off the hat just above the snowman head.
- Next, cut the top of the red felt into strips down to the tie off to look like a snow hat.
Now let’s move onto the scarf.
Snowman Scarf
- Cut a strip of green felt about 8 inches long x 1/2 inch wide.
- Lay the scarf open flat and glue a small dot on the back middle and lay the snowman down on it, about 1 1/2 inches below where the hat starts. (This sections off his face.)
- Take the right side of the scarf and bring is just down to his front like the picture.
- Then, take the left side of the scarf and add a little drop of glue to wrap it around the front of his neck and bring the end straight across to the side, like the picture. Add a drop of glue just before it comes off his neck sideways.
- Next, pull up the tail of the right side to keep it out of the way, and bring the left side tail down and at about the middle of the tail add a drop of glue to the side of the snowman body and stick the left tail on it.
- Now let the right tail come back down, and it looks like the scarf is wrapped around itself.
- Make small 1/4 inch clips at the very tail ends for fringe.
Now on to the snowman’s face and finish!
Snowman’s Face and Finish
- Cut a small piece of orange into a narrow triangle shape. Attach to his face as you’d like.
- Next, just dip the tip of your paintbrush into the black paint and add two dots for the eyes, and another dot for the mouth. (Or if you’re brave, give him a smile!)
- Then add 3 more dots down the front for buttons.
- To finish off the snowman ornament, we will attach a string for hanging.
- Take an 8-9 inch piece of embroidery floss and knot the ends together.
- Next, open up the fringe of the snow hat and add a drop of hot glue and insert the embroidery floss. Make sure not to catch any fringe in the glue.
- We’re finished! Make sure to let it dry before hanging.
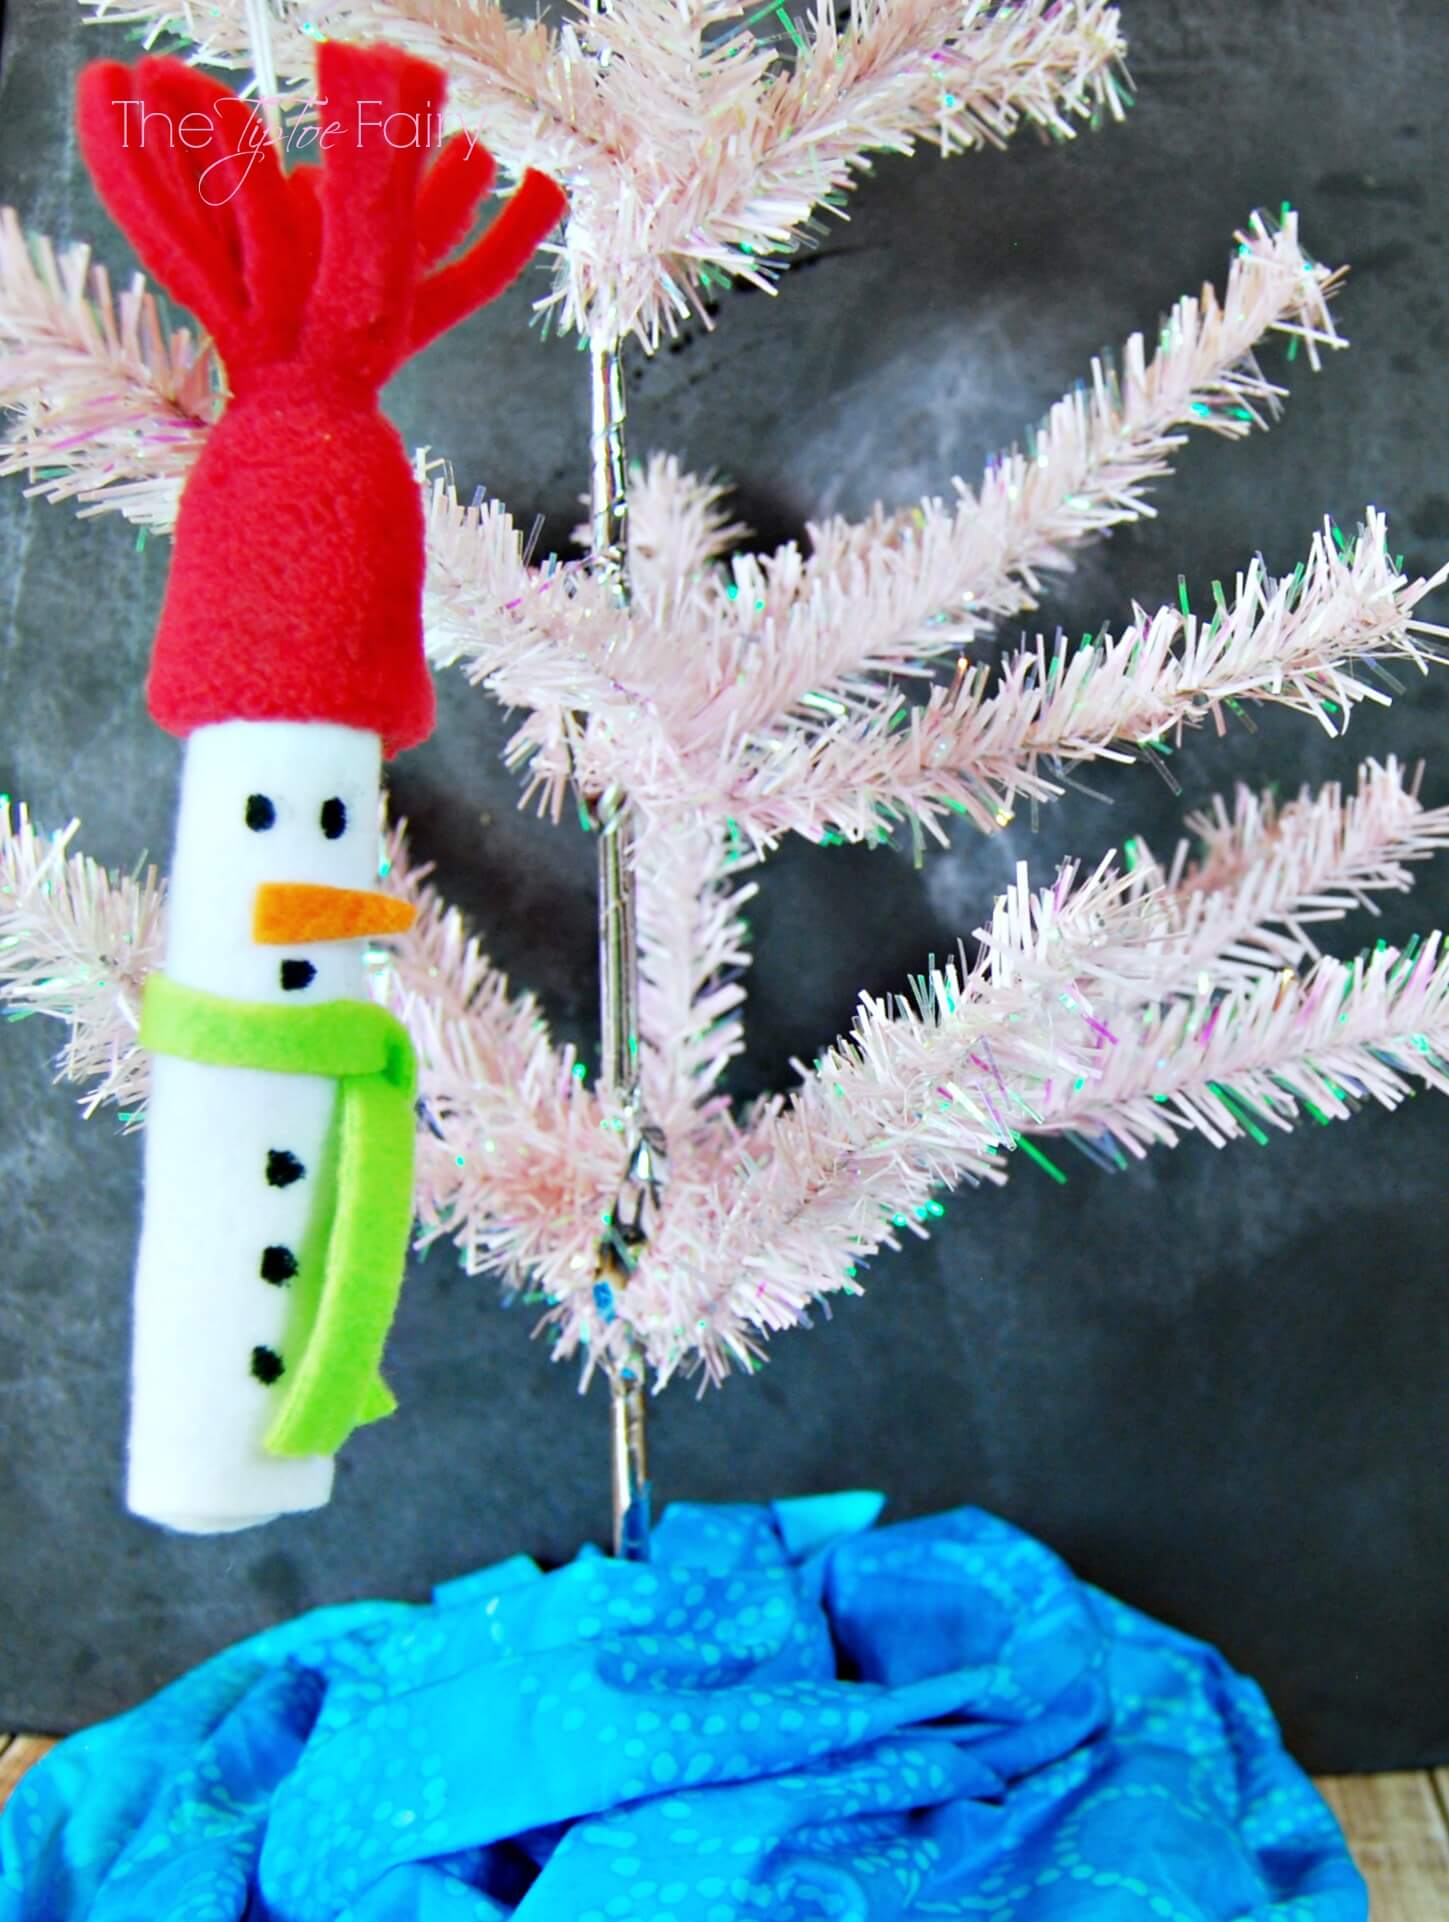
Now here’s your finished snowman. So easy and so adorable! These would be perfect for ornaments and gift decorations, or even teacher gifts. You can make this out of different fabrics. You can use felt, wool felt, and even polar fleece.

More Christmas Decorations
- Tiny Santa Christmas Ornaments
- Mini Mason Jar Christmas Ornament
- How to Make a Marshmallow PEEPS Christmas Centerpiece
- HERSHEY’S KISSES Chocolates Christmas Lights Necklace


3 comments
This is such a simple but at the same time genius idea. He’s simply adorable. Thanks so much for taking part in my Christmas series Stephanie.
lovely, i made last xmas and wraped it around cinamon…but yours looks so cute!
http://geoleoan.blogspot.gr/2013/12/xmas-ornamenta.html
So cute, my kids would love it!