Have you ever wanted to make a secret hiding place for something? Recently, I created a Halloween Escape Room, and one of the props we needed was a book to hide a clue. It was a fun little project, and I can’t wait to show you how to hollow out a book!

Table of Contents
What kind of book do you need to make a hollowed-out book?
I would recommend a newer hardback book that feels sturdy and doesn’t feel like it’s going to disintegrate.

You can find super cheap hardback books at Dollar Tree for just $1. That’s where I got mine. You could also find a cheap one at a second-hand bookstore or even a thrift store like Goodwill.
What do you need to Hollow Out a Book?
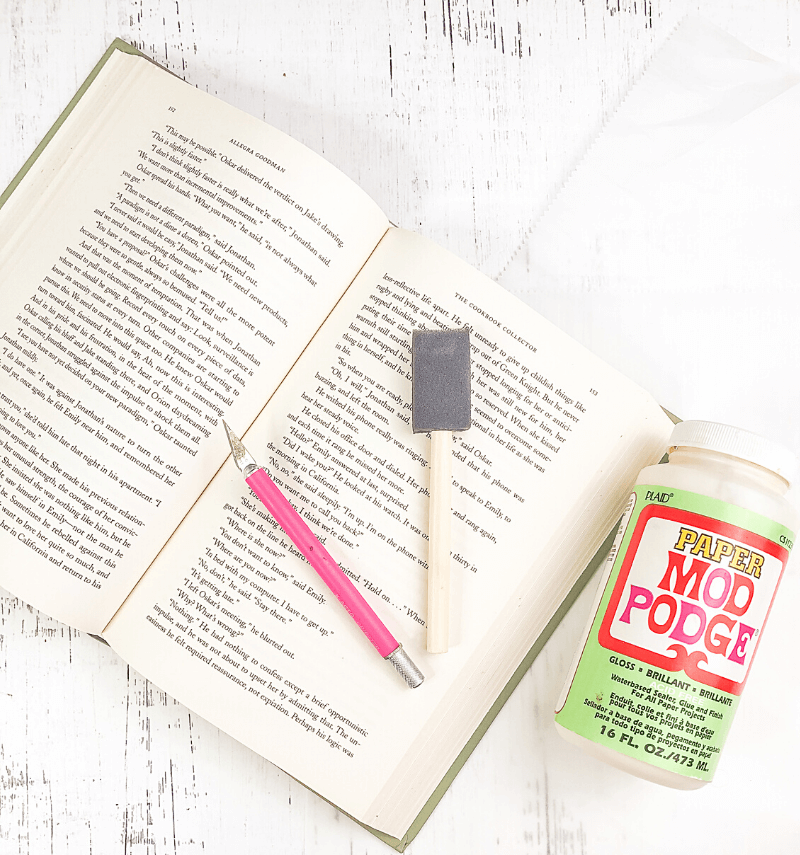
You’ll need a few things to do this.
- Mod Podge or watered down white school glue.
- Exacto knife or utility knife
- Foam brush or paint brush
- two pieces of wax or parchment paper

How do you Hollow Out a Book?
This is pretty straight forward, but I will warn you now. It’s messy! You will have pieces of book pages everywhere! I had to clean up the big pieces and then get a vacuum for the tiny slivers.
First, you will decide where you want the secret compartment to start. I recommend about 3/4 or 2/3 of the book to make it fairly deep to be able to hold something.

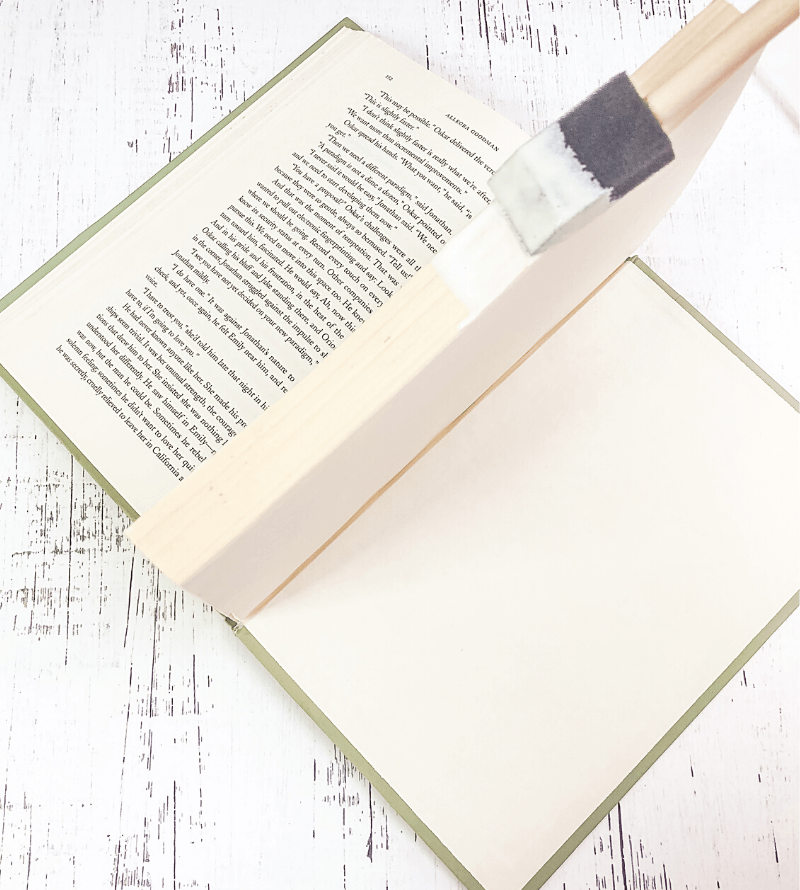
Divide the book into 1/4 of the front of the book and 3/4 of the back of the book. Then, you will hold the 3/4 of the book pages together and paint the Mod Podge or glue around the edges.
Once you’ve painted around all three edges, then slip a piece of wax paper or parchment paper between that and the book cover and lay it back down so it can dry.
Now decide how large of a compartment you want to make. I chose about the size of a 4 x 6 photo.

I recommend using a ruler and drawing the lines lightly with a pencil or using something the size you want as a guide. I actually used an old messed up photo to begin the cutting.

This is the part that does take a little time. Just begin cutting down the book pages. Follow the cutting guide you made with the first pages and just do a few at a time, until you reach the book cover.
Make sure the knife is sharp. Otherwise, the page cuts will look very choppy. I broke my blade and had to change it once while doing this.

Once the book pages are cut out of the entire compartment, apply Mod Podge to the back of the compartment and glue down it to the back book cover.
Next, apply Mod Podge around the inside cutting of the pages to hold it together as the compartment. When finished, make sure to put a piece of wax or parchment paper between the compartment and the regular book pages, so they don’t stick together while drying.
One thing I noticed was that after the Mod Podge dried on the edges of the book pages, you could definitely tell the difference in the compartment and the free pages because the Mod Podge turned them compartment pages a slightly darker color.
So, I actually held the pages together above the compartment and lightly added Mod Podge to their edges to get the same coloring.

It took just a couple of hours to be completely dry and ready to use.
This was fun to make and worked quite well as a prop in the escape room game I set up – which I cannot wait to share with you! It’s coming in just a few days!
More Secret Tutorials
If you’re looking for more super secret spy ideas. Here’s a few:
- Turn Your Drink into a Decoder
- Valentine Secret Messages
- Halloween Secret Messages
- Surprise Your Husband with Love Notes
