This is an easy sewing tutorial to make a pouch that will hold one package of baby wipes. I prefer Waterwipes for my baby’s sensitive skin, and they fit perfectly.

This pouch has little prairie points to pull apart the pouch. It also has a swivel hook to clip to your bag so you can find your wipes.
If you’re anything like me, your diaper bag is probably a black hole. This hook helps me so much.
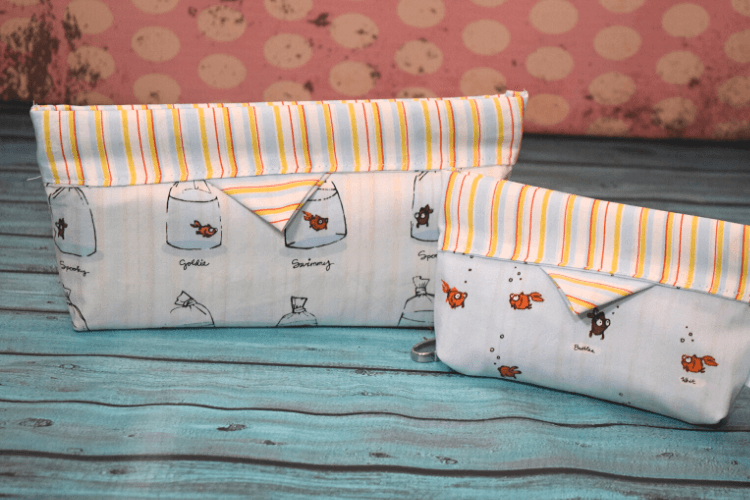
Let’s get started!
Table of Contents
DIY Baby Wipes Pouch

Supplies:
- 1/2 yd or 2 fat quarters of cotton quilting fabrics
- an old metal tape measure
- bad scissors
- electrical tape
- swivel hook hardware
Directions:
Carefully unscrew the measuring tape case. Hold the metal tape as you slowly open the casing because the tape measure can just start unwinding like crazy and will whip around! So, when you open the case, get your fingers on the roll of measuring tape and hold it wrapped up. When you take it out of the case, wrap some electrical tape tightly around it to prevent unraveling until you are ready to cut pieces.
Download the Cutting Guide
Cut the bag pieces out according to the guide you can download above.
Use a 1/4 inch seam allowance.
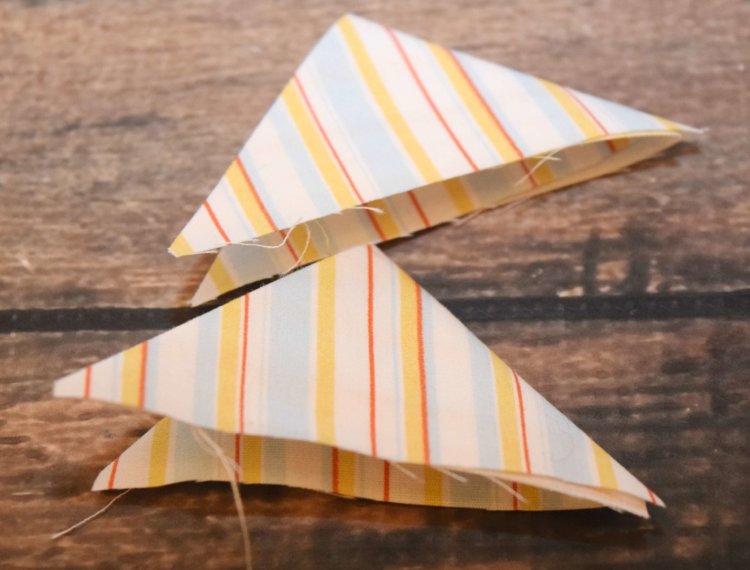
Take the 2 squares and press them in half diagonally. Then, press them in half diagonally again, so they look like the photo above. These are called prairie points in quilting. We are going to use them to open and shut our pouch. Set aside.
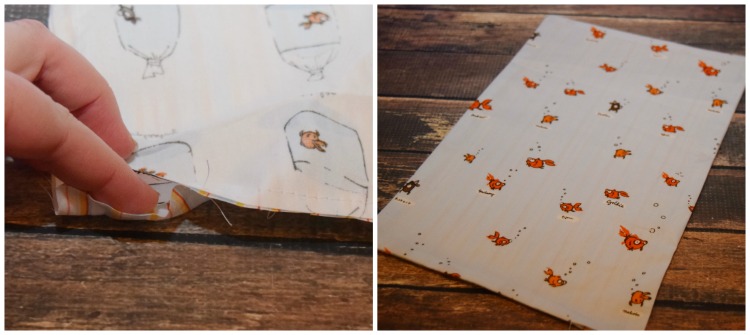
Take the two big rectangles and line them up with right sides together. Then, sew around the entire rectangle leaving about 1.5 inches open at the top of one edge so you can turn it right side out.
Turn it right side out and press. Make sure to press the raw edges of that little opening inward, so when you top stitch the casing for the measuring tape, it will be sewn shut.
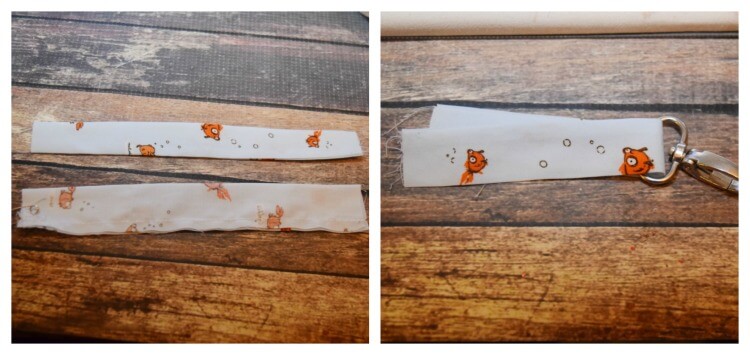
Fold the 2.5 inch x 4 inch piece in half lengthwise (press if you’d like) and sew a tube. Then, turn it right side out and press it flat.
Take the tube and insert it into the swivel hook and fold over. Set aside.
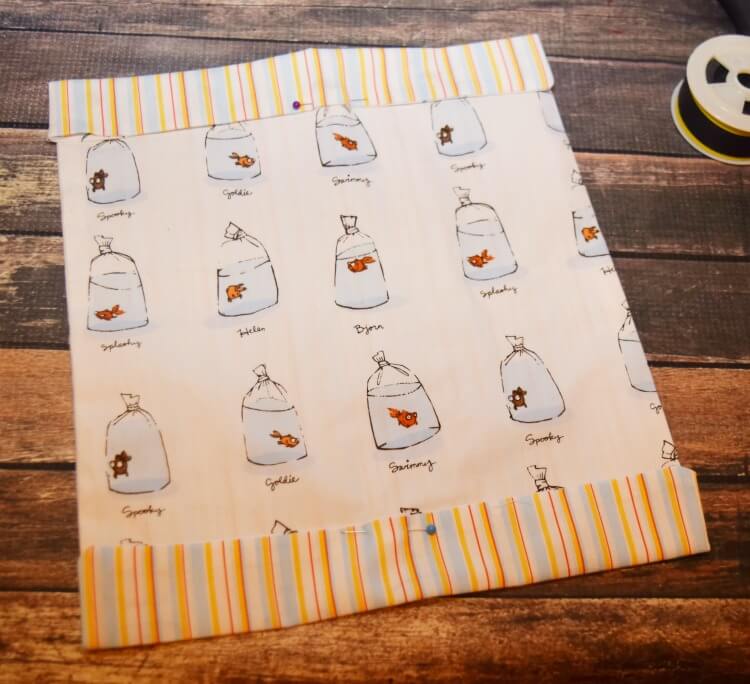
The metal tape measure is about 1 inch wide, so measure 1 1/2 inches down and fold the inside of the bag towards the outside, both top and bottom, and press. This creates a casing for the tape measure.
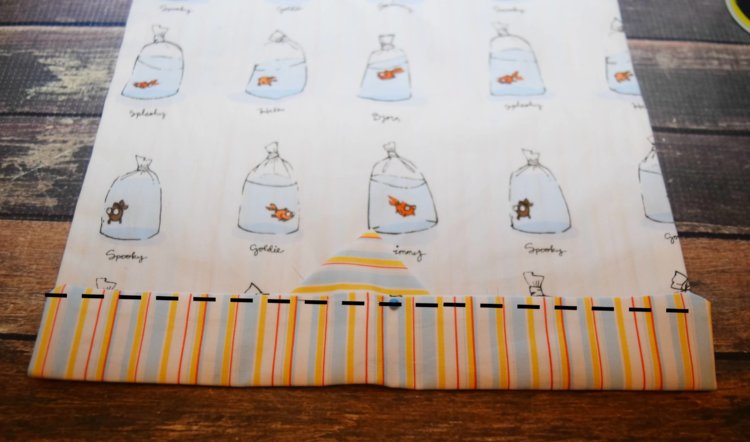
In the very middle of each casing, pin a prairie point like the photo. Then, topstitch across with a 1/8 inch seam allowance making sure to catch the prairie point raw edge. If this is the same edge that has a small opening where you turned the bag right side out, make sure to catch those raw edges, too. Do this for the second casing as well.
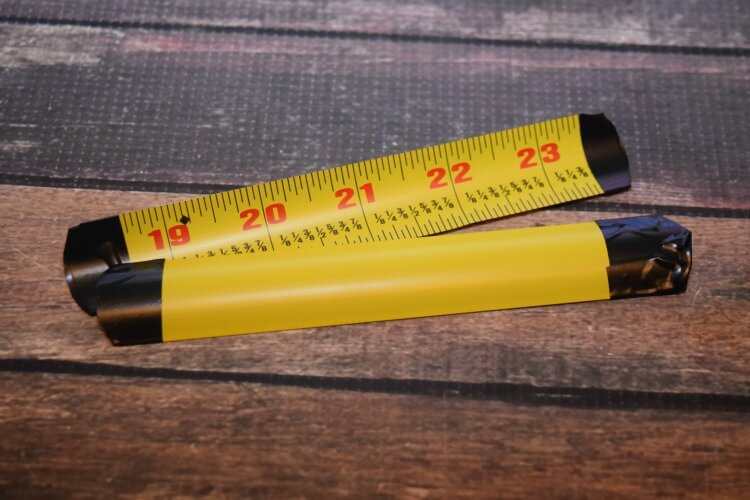
Lay the metal tape measure across the casing and measure and then cut 2 pieces of tape measure. Cut them each 1 inch smaller than the width of the casing. You’ll want about 1/2 inch of room on either side of the tape measure. Use old scissors to cut the tape measure.
Take the electrical tape and cover the ends of the measuring tape as it is very sharp. Set aside.
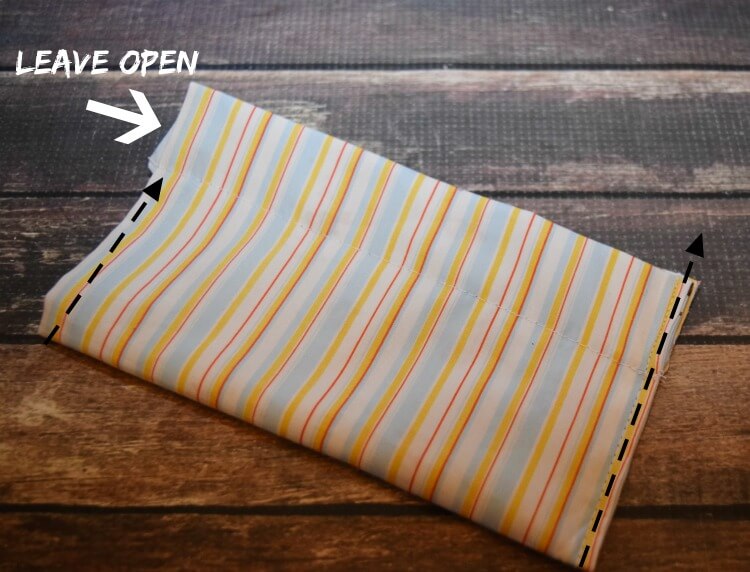
Fold the bag in half and match up the casings. On one side, insert the swivel hook strip so the raw edges stick outward.
Sew closed the entire length of one side of the bag. Sew closed the other side of the bag, but leave open the casing (to insert the metal tape measure).
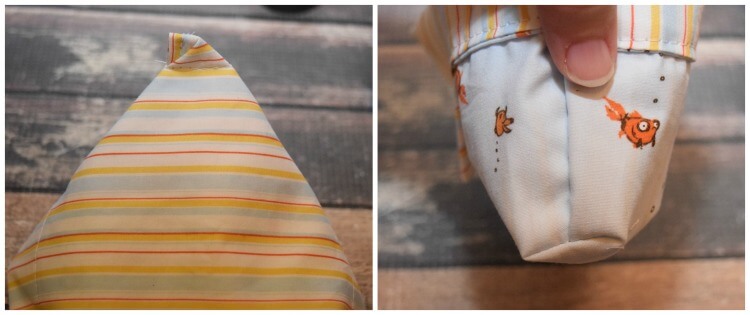
With the bag still inside out, fold each bottom edge of the bag into a point with the seam at the top of the point and measure about 1/2 inch down from the point and sew a straight line, like the photo. Do this for both sides of the bag to create a flat bottom.

Keeping the bag inside out, insert the tape measure pieces with the numbers facing out. It’s very important you insert it this way. When you flip the bag right side out, you want the numbers facing each other, otherwise it won’t snap open and close.
Line up the open sides of both casings and sew each one shut. Flip the bag right side out.
Now you can use the prairie points to easily pull open the bag. Insert your hand wipes in your bag.
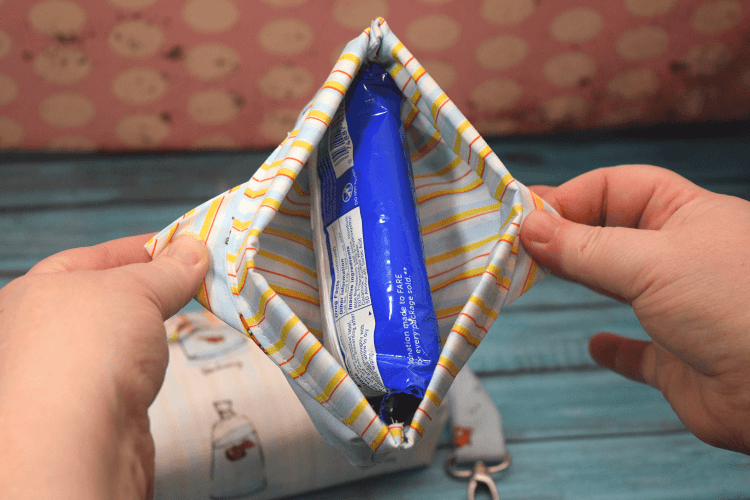
Use the swivel hook to fasten the pouch to your diaper bag, purse, backpack or even belt loop to make them easily accessible!
