nI’ve seen so many pinnings of this summer camp t shirt dress I made awhile back that I thought it would be a good idea to offer a tutorial so you can make one, too. It’s super easy. It’s basically a t shirt into a pillowcase style dress with some rosettes thrown in for good measure.

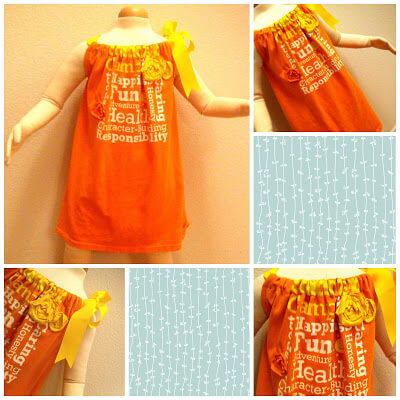
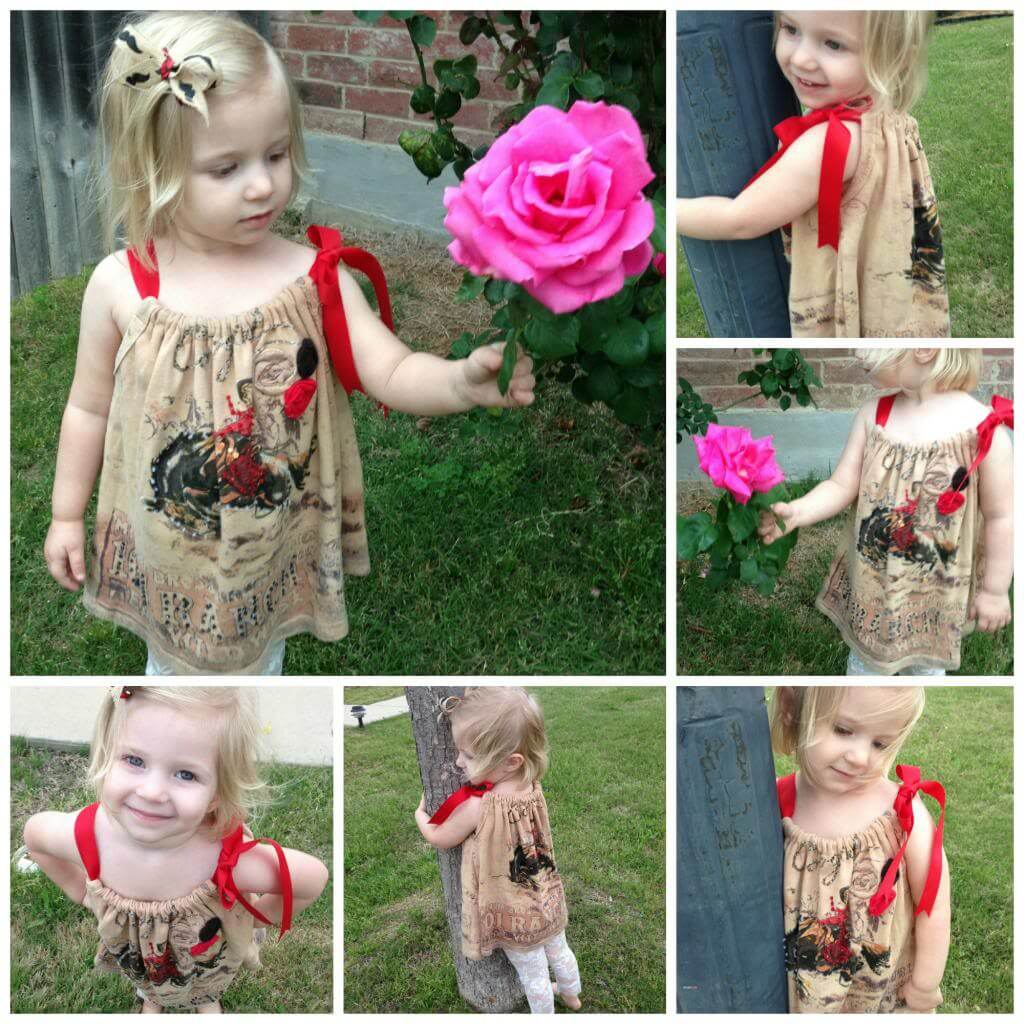
Table of Contents
T-shirt into Chic Summer Dress
- 1 t shirt
- thread to match
- 2 yds of grosgrain ribbon 1-2 1/2 inches wide
- fabric or t shirt scraps for rosettes
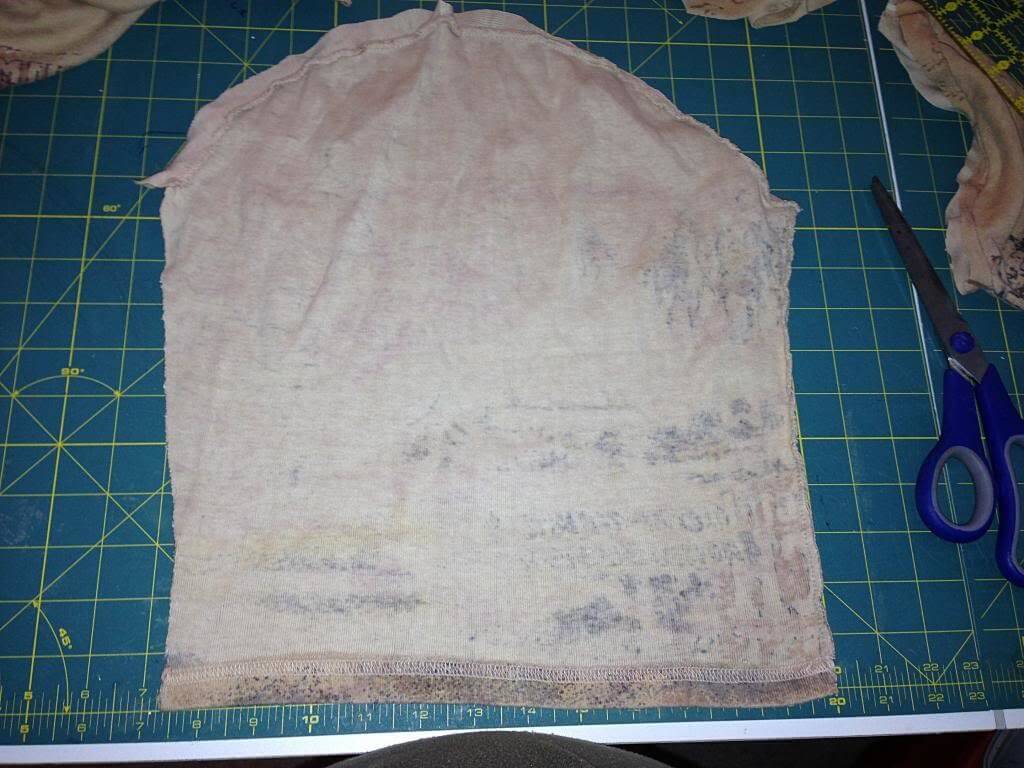
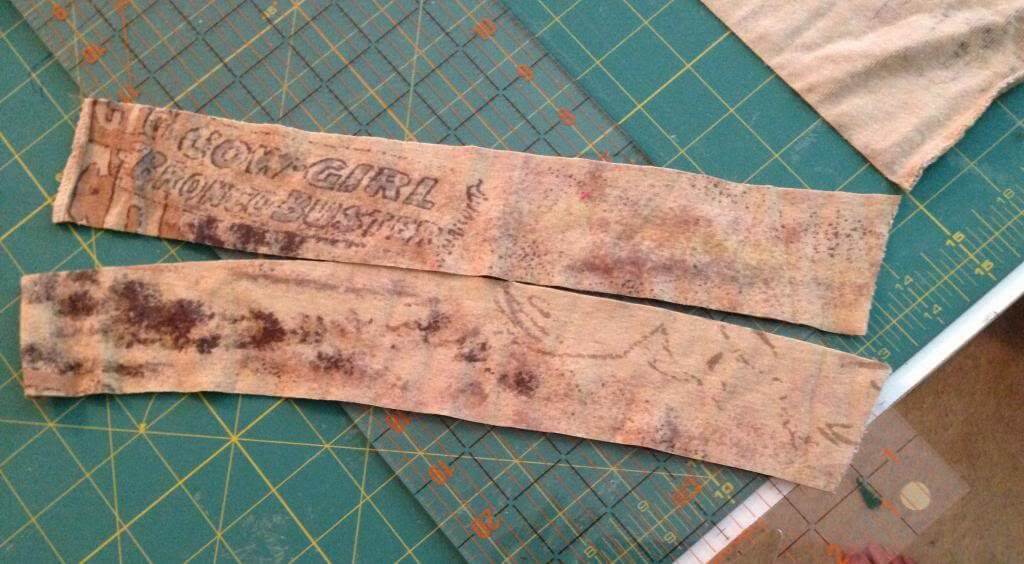
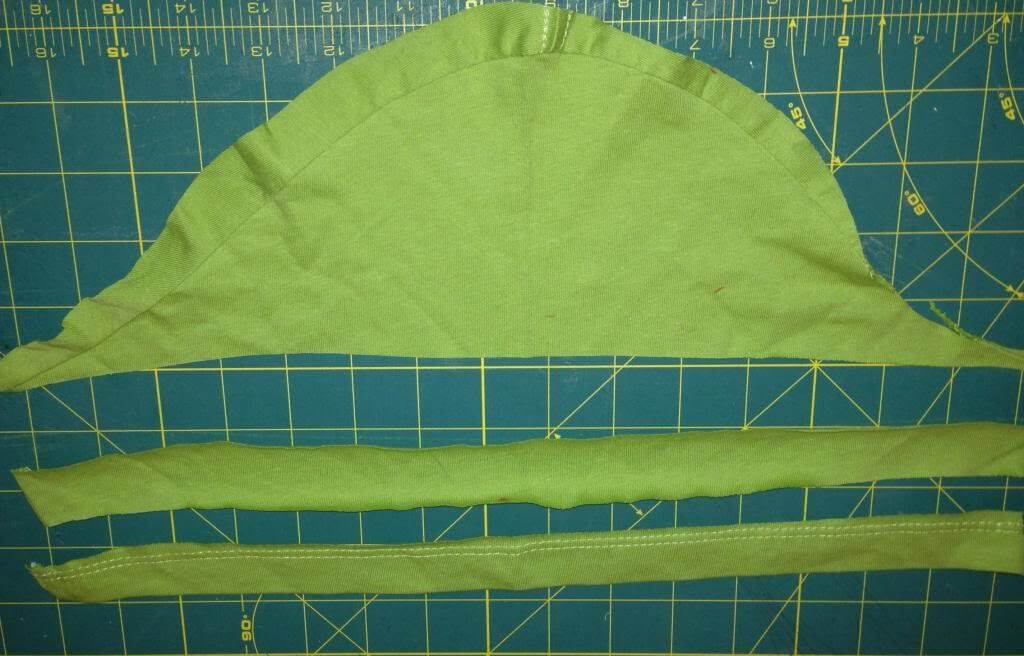
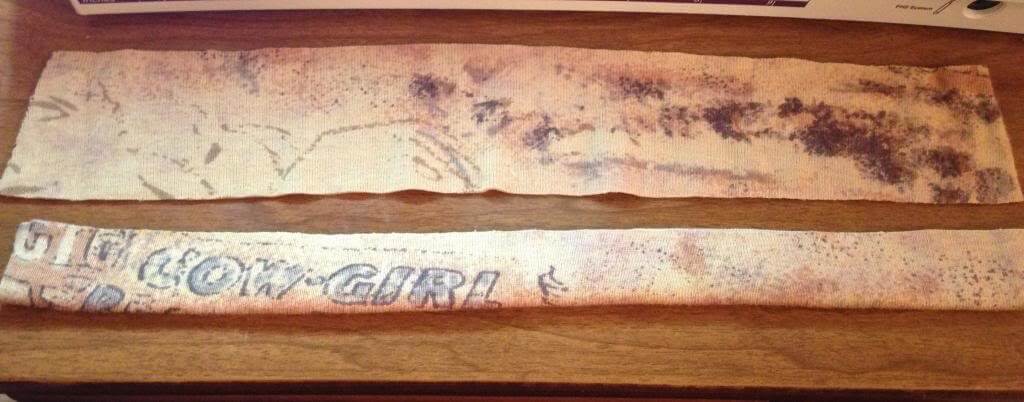
Super Easy Armhole Binding Method
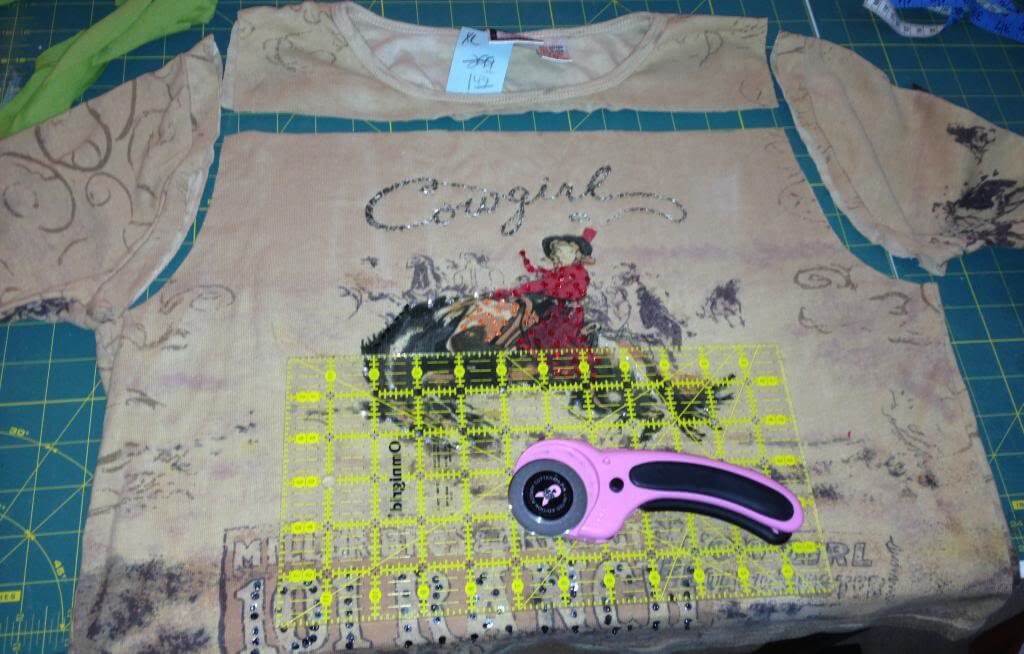
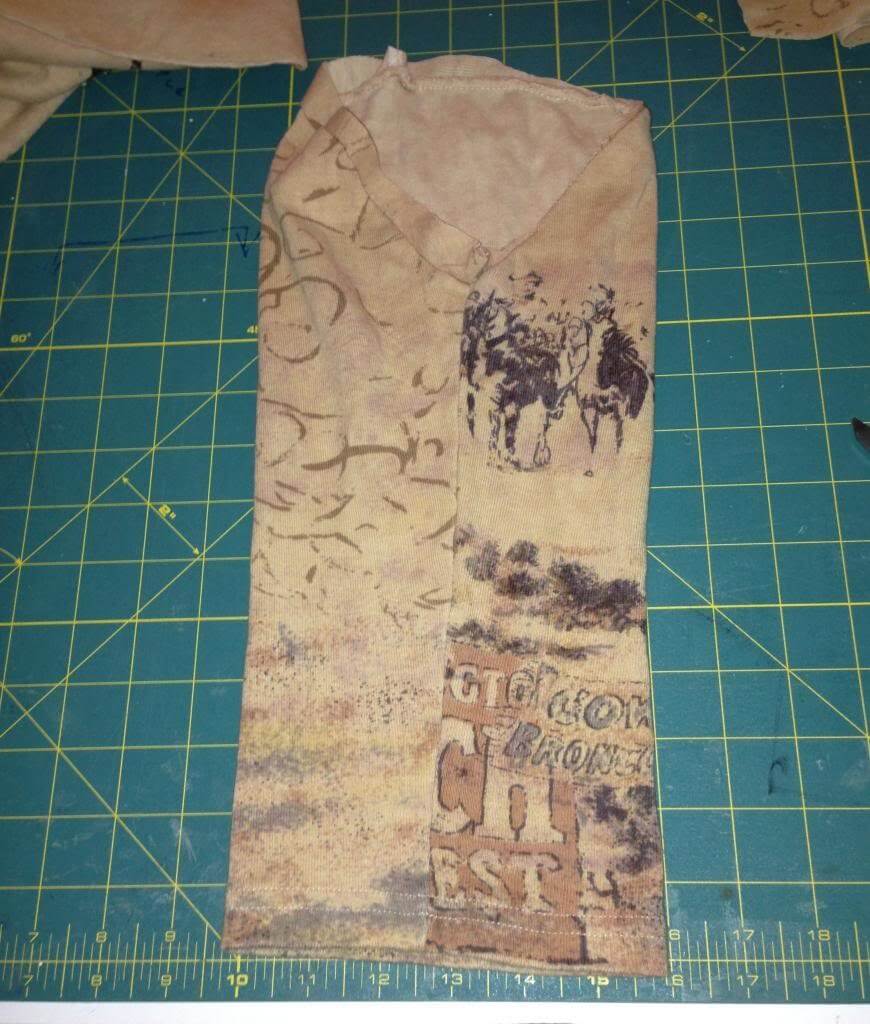
6. With the WRONG SIDE of the dress facing up, fold the armhole casing in half lengthwise with WRONG SIDES together. Line it up along the armhole edge on the WRONG SIDE of the dress. Pin it along the armhole’s WRONG SIDE. Make sure you stretch a bit as you pin because the armhole binding needs to be stretched, so that it doesn’t come out wonky.
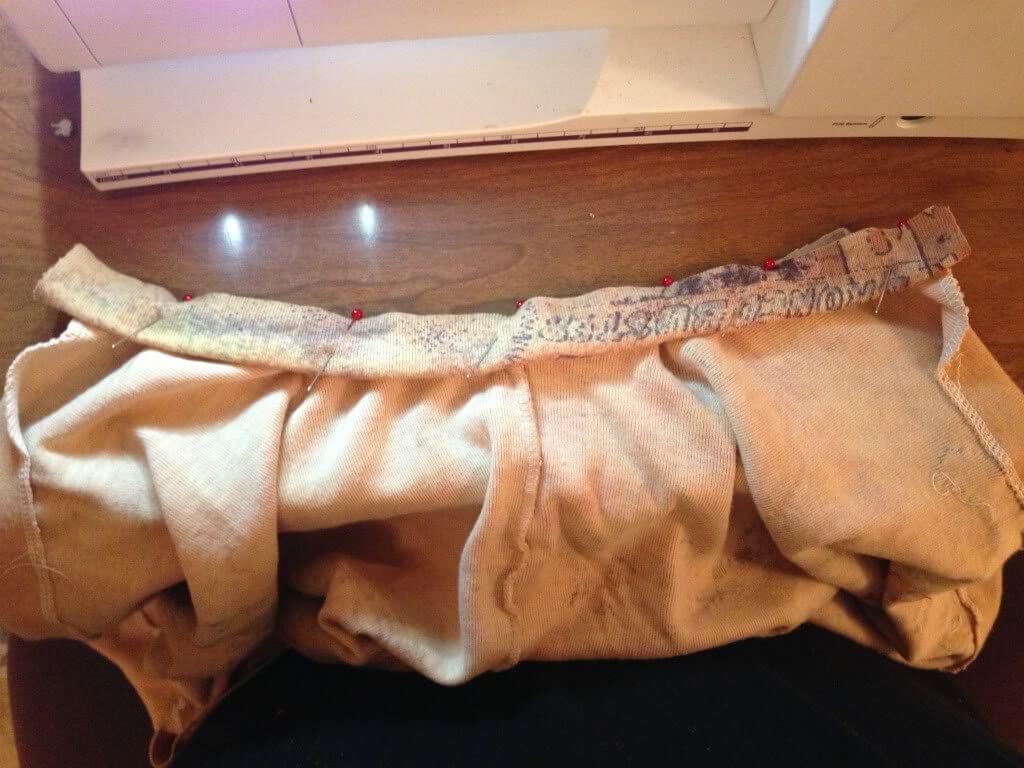
Notice how I left a little extra of the binding at the edges in the picture above. When you snip it off later, it lines up perfectly.
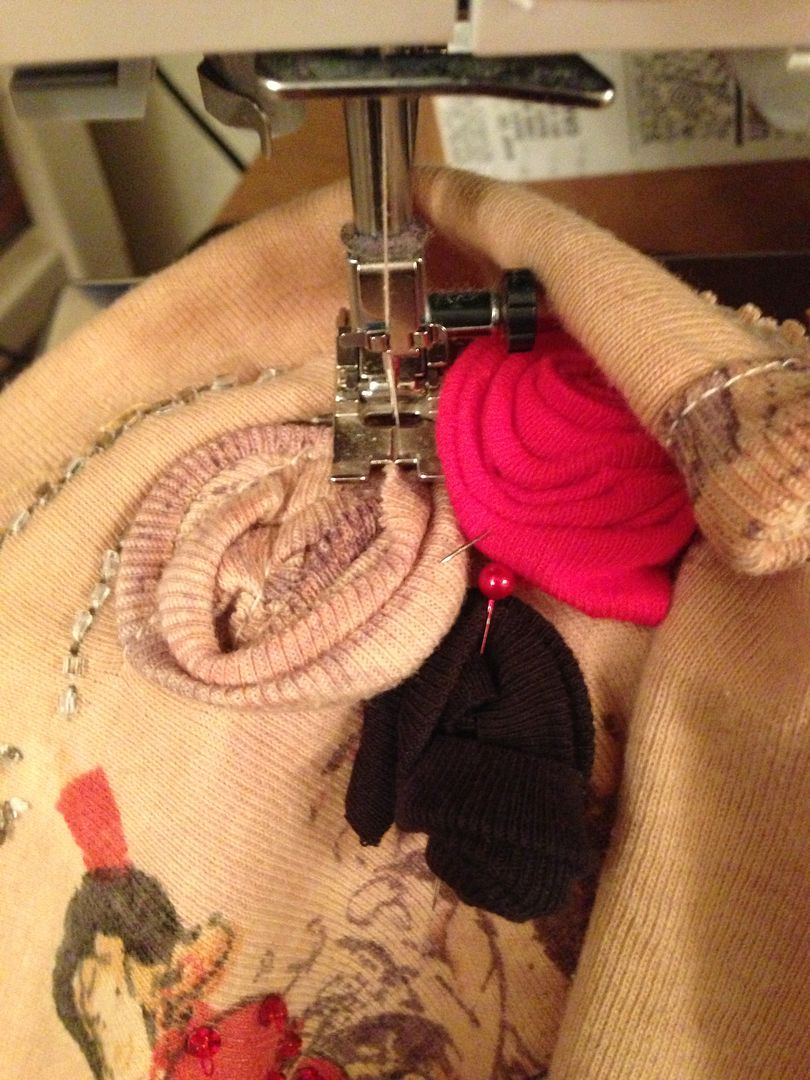
7. Begin sewing the binding along the armhole and making sure to pull the binding as you sew — not as far as it will go, but enough to give it a good stretch. If you look at the picture, you can see I’m pulling tight enough that the knit fabric is looking like a ribknit.
**If you have a serger, serge the binding on. If you just have a sewing machine, use a zigzag and then once you’re done, cut off the excess of the seam right up to the zigzag stitch.
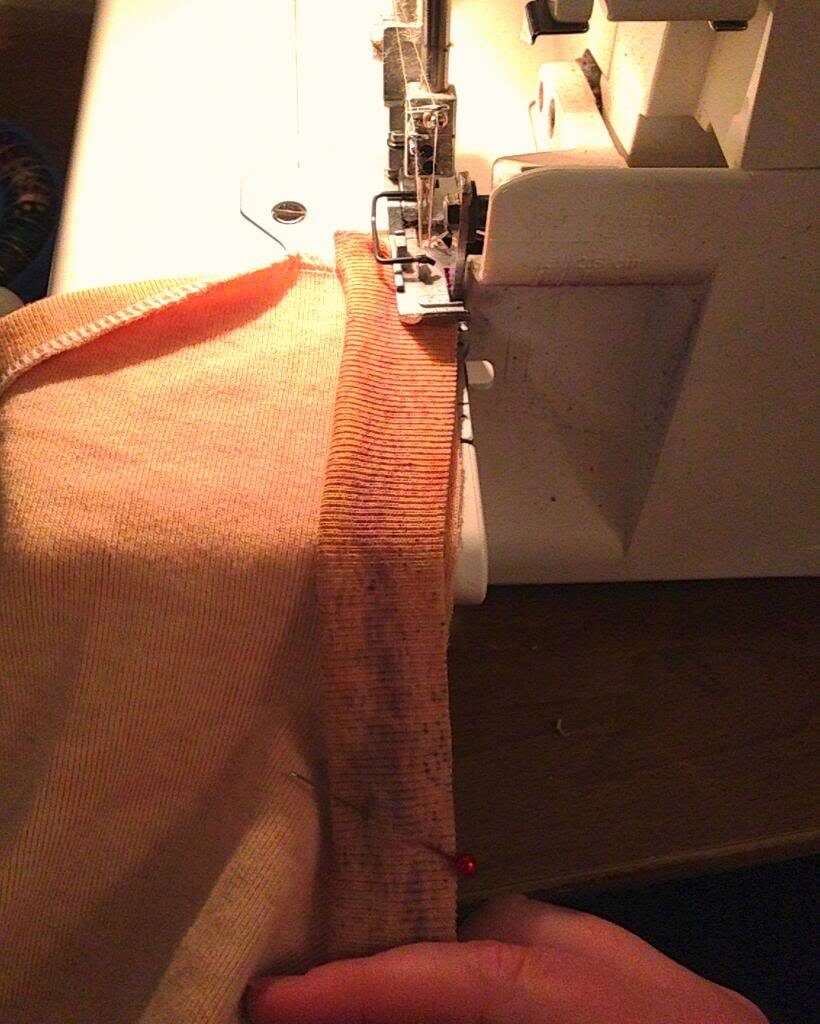
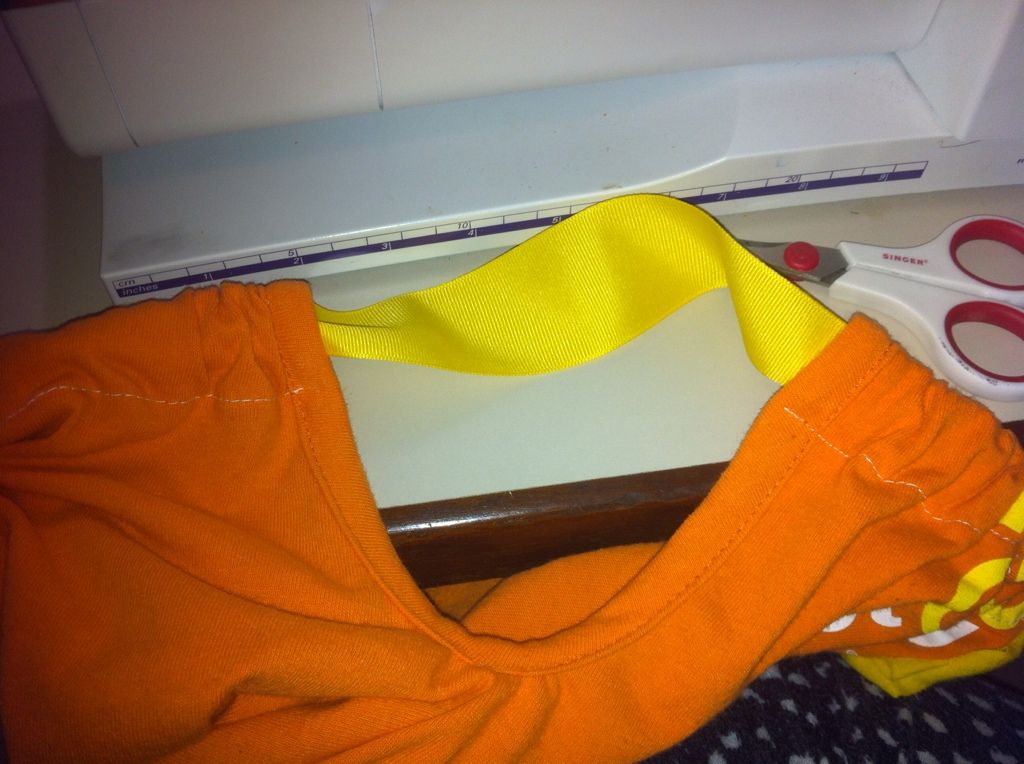
8. Once you have finished sewing the binding, flip the dress so that the right side is up, it should look like this with the seam on the right side of the fabric. It looks totally wrong, but believe me, it’s correct.
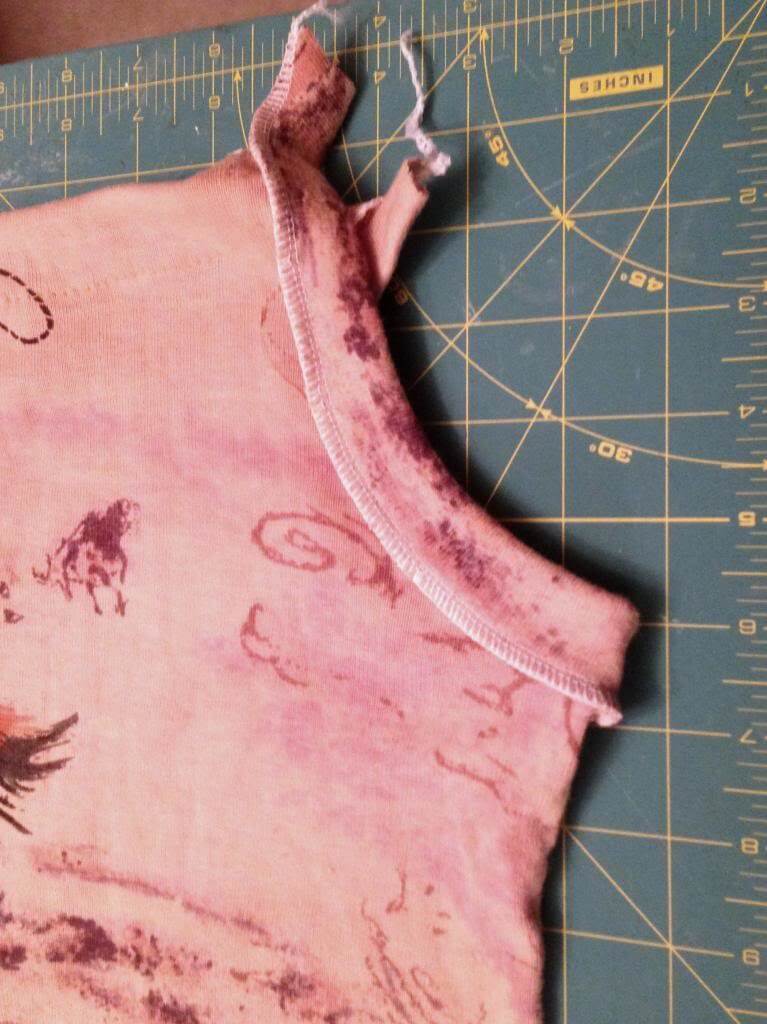
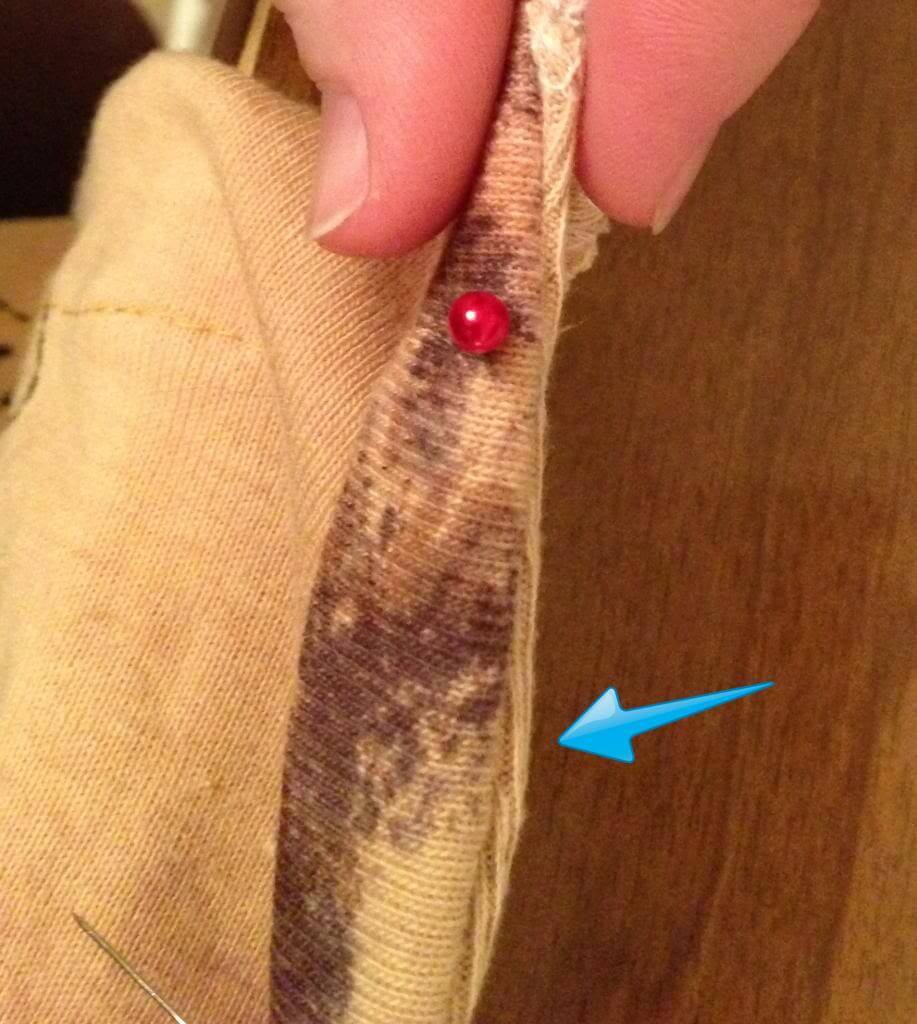
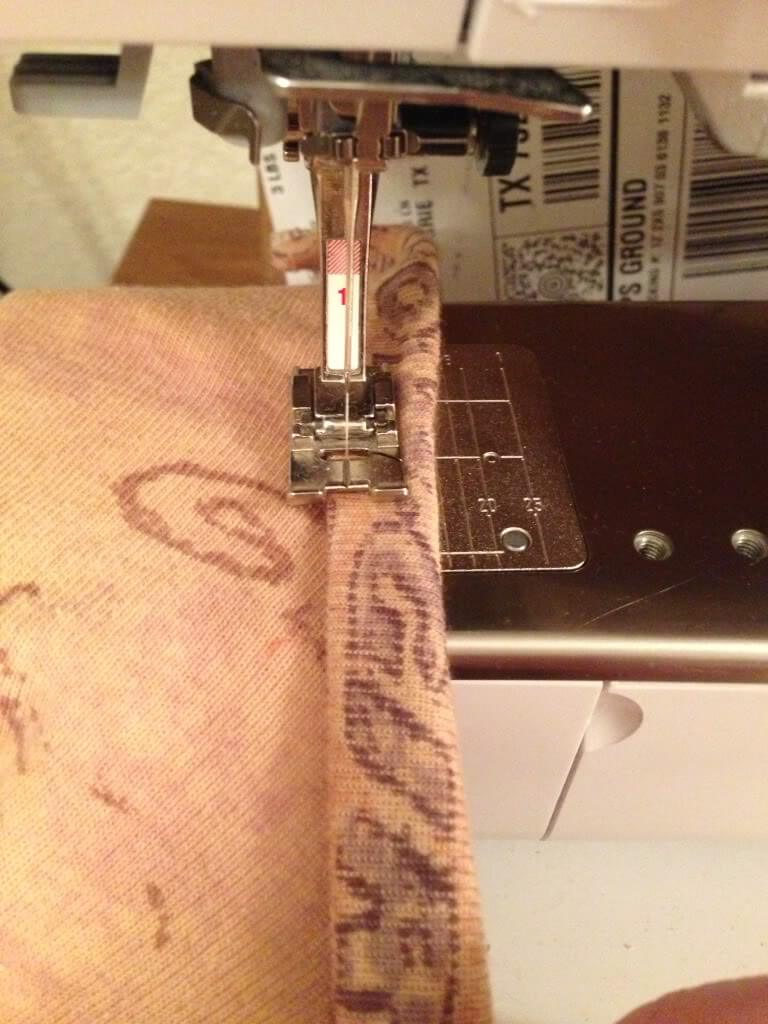
To topstitch, I line the edge of the binding up with the inner side of my presser foot as shown.
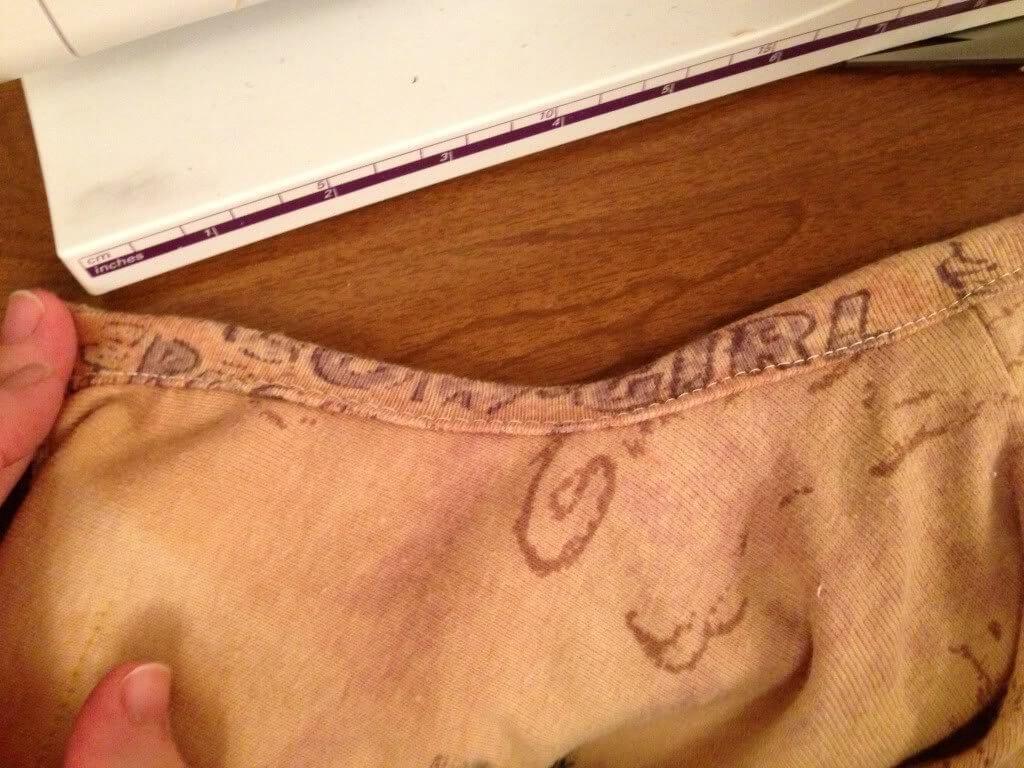
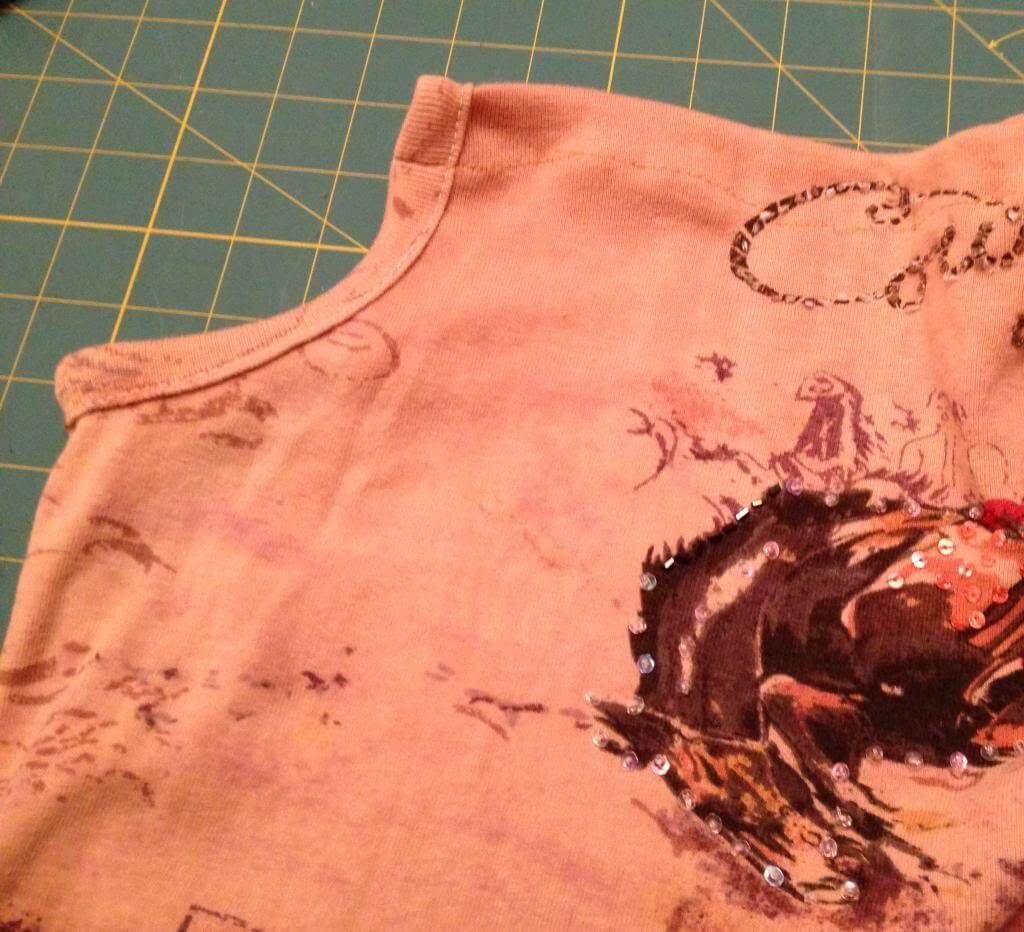
10. Once you’ve finished the armhole bindings, next you can hem the tops of the front and back as shown. I usually use about a 1 to 1 1/4 inch hem depending on the size of my ribbon.
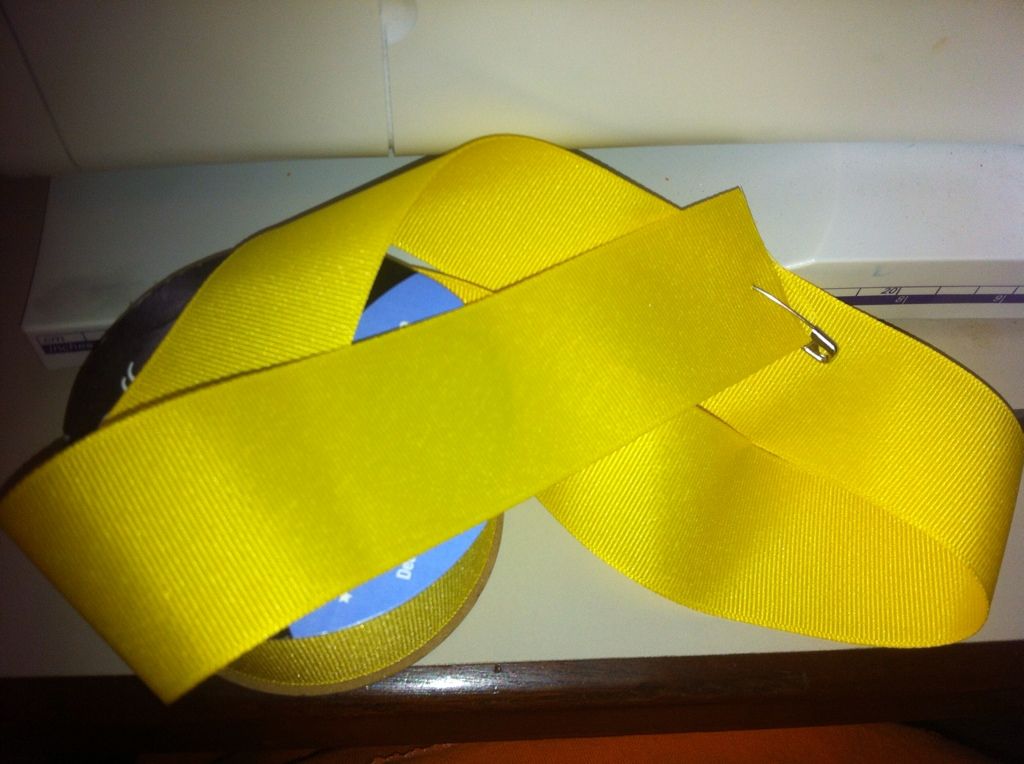
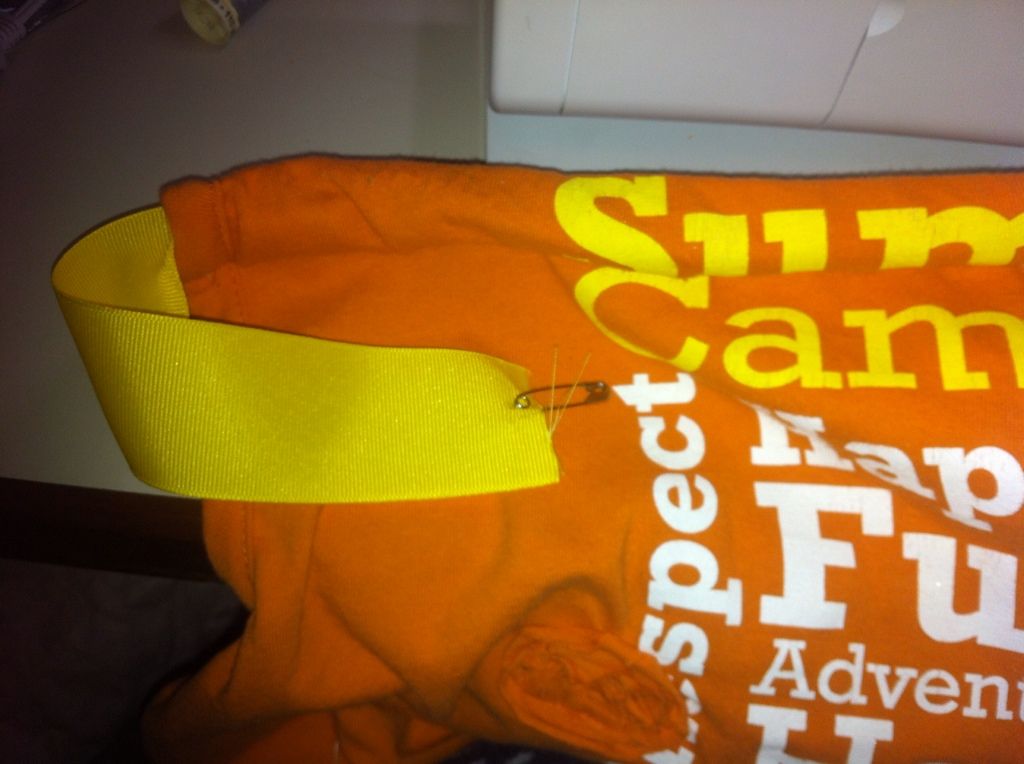
11. Next is inserting the ribbon. I use a safety pin and insert it through the front pull through, then insert it into the back and come out the other side of the back. Then, I tie off on one shoulder.If you don’t like this, you can cut the ribbon in half and insert one in the front and one in the back and tie at each shoulder. It’s really just a preference.
12. Fit problems!! So, let’s say you finish the dress and it fits like a tent or the arm holes are too hanging too low. Here is my solution. First put the dress on the child and determine how much of the armhole needs to be closed. For the dress below, my youngest is teensy for her age, so I determined that 2 inches on each side of the armhole needed to go — a total of 4 inches off each armhole.
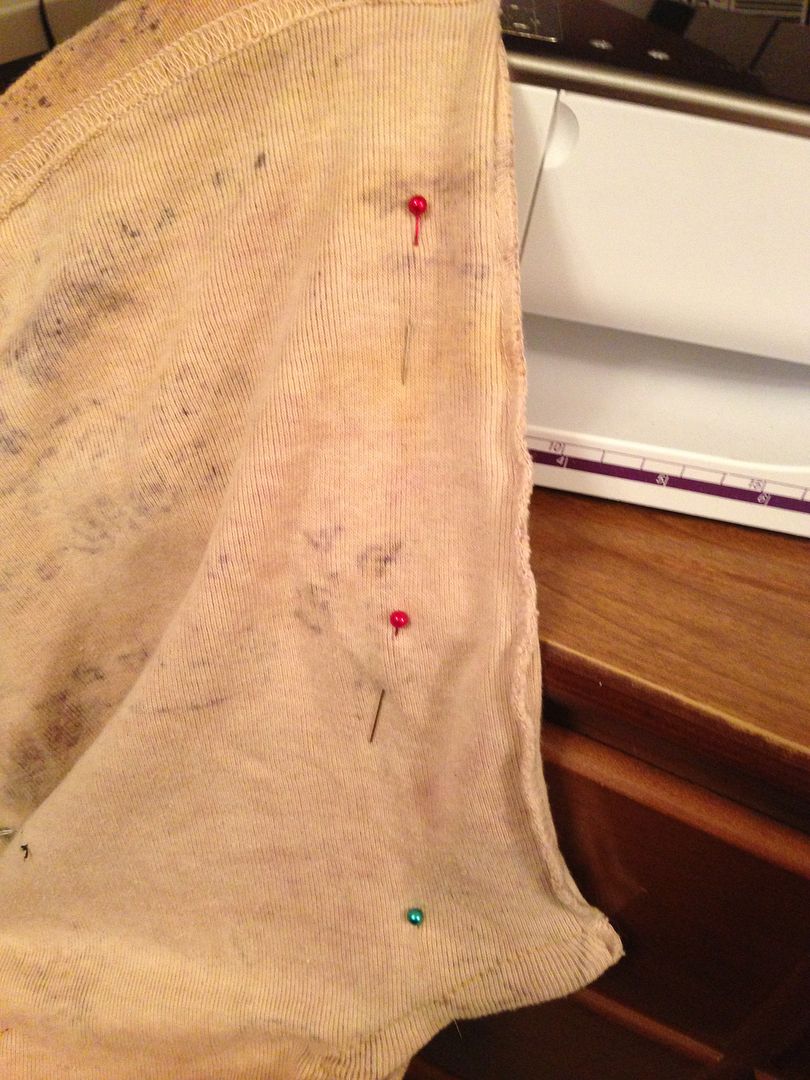
I took off the dress and then measured the 2 inches again and pinned. Then, I pinned in a diagonal line towards the side seam of the hem.
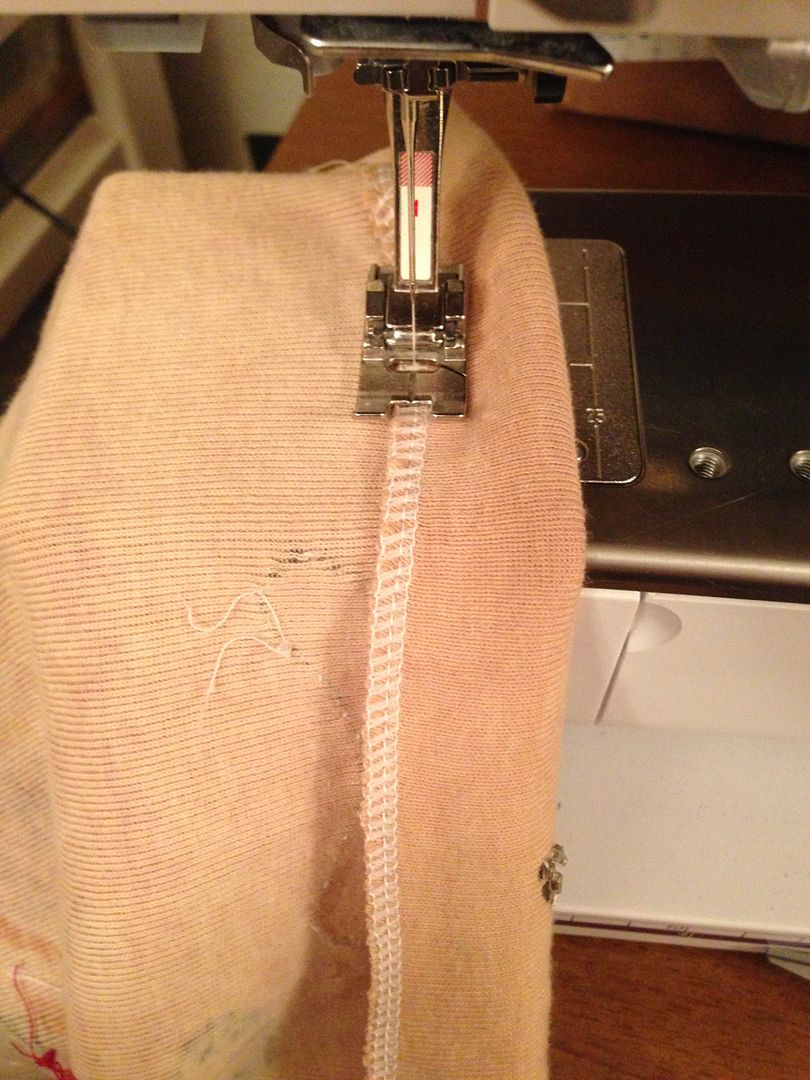
In the picture below, you can see the dress is upside down. The reason for this is because it is better to sew from the hem TOWARD the armhole. It’s much easier to start out lining up the hem than end up with a wonky hemline.
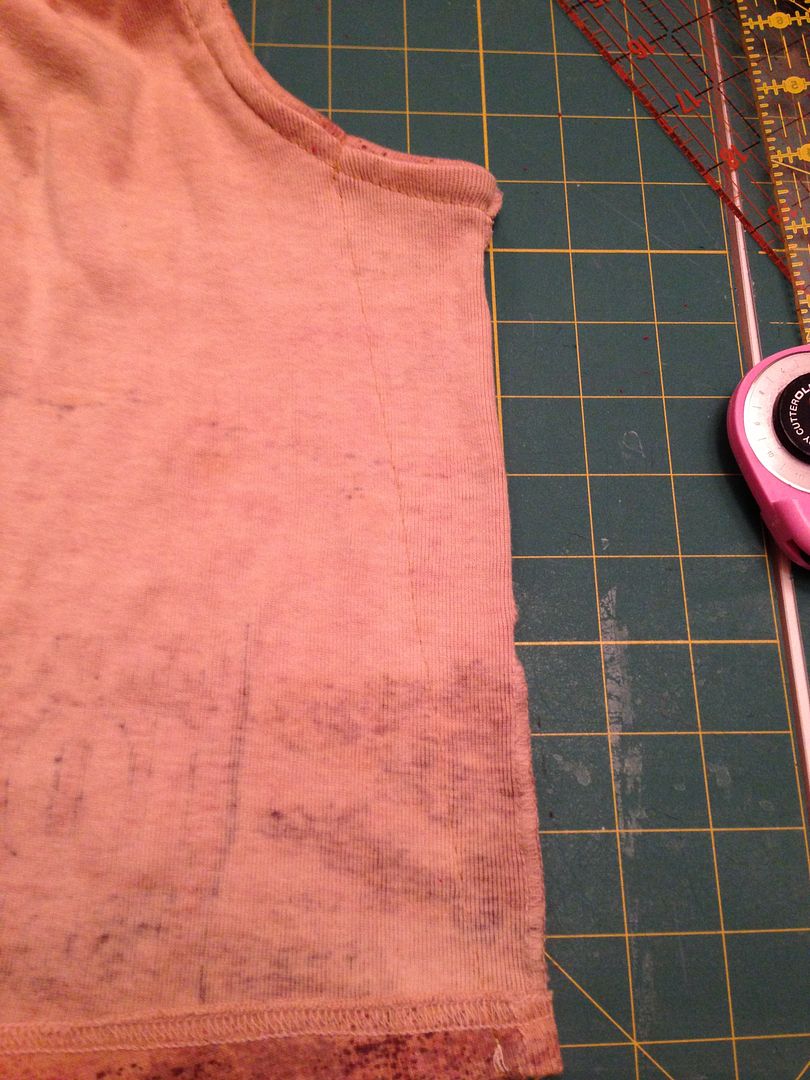
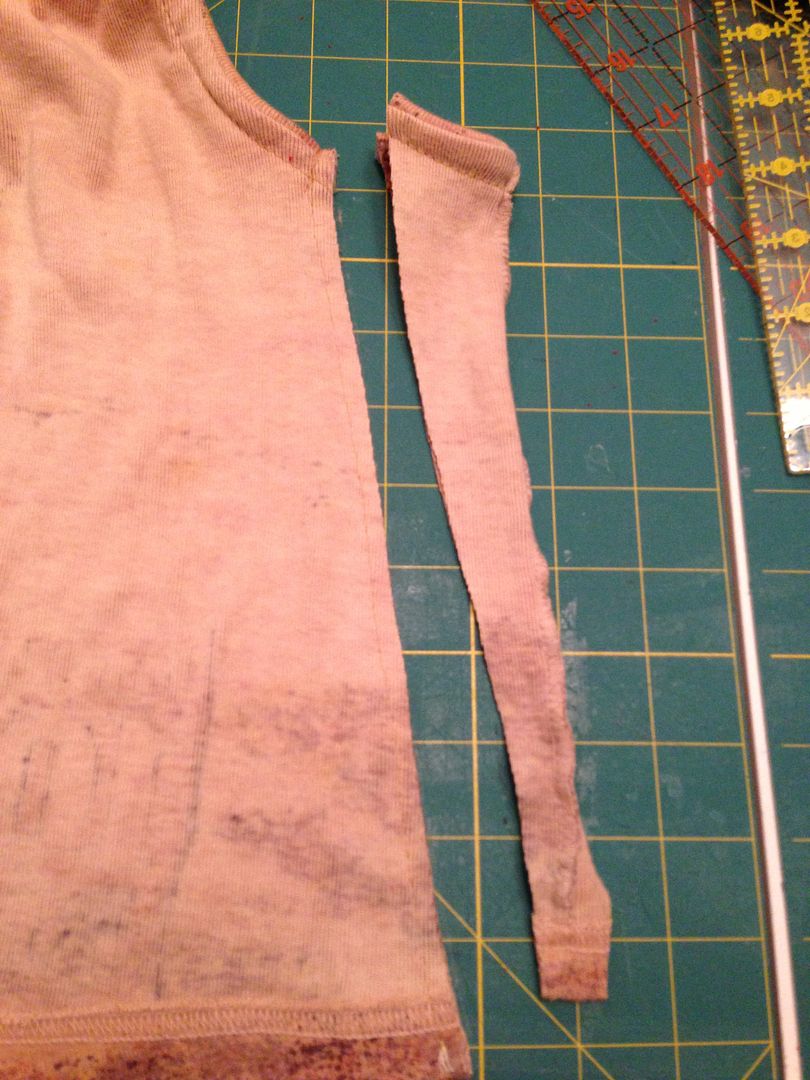
Next, starting at the hemline and heading toward the armhole, I sewed a straight stitch.


28 comments
Great upcycle, nice clear tutorial and a cute little dress!
Thanks for linking to a Round Tuit!
Hope you have a fabulous week!
Jill @ Creating my way to Success
http://www.jembellish.blogspot.com/
visiting from take a look tuesday. I love upcycling and refashions. This is great. Good instructions
So sweat dress!Maby I will tri to make it for me, becouse don’t have a girl 🙁 kisses for your sweat girl!!!
Great tutorial & so cute! This is a much more “finished” version than ones I’ve sewn before. Did you make the leggings too?
I love this tut! I wish I know how to use a sewing machine 🙁
Found your blog at mommy mondays link party.
Jei Crochet
CuteyPatutyCrochet
Very cute. I love cute summer dresses. Thank you for sharing! I’d love to have you visit me at Get Your Crap Together! We have a Pattern Party from the 1st of the month to the 10th and would love you to check it out. See you soon!
Very cute!! The problem I have is my daughters are 7 & 8 so sizing stuff for them is harder. Thanks for sharing!!
Such a great idea! And an easy one at that! Love her little lace tights too! Thanks for the inspiration. Catherine (new follower)
Cute dress!!!
Navy Wifey Peters @ Submarine Sunday Link Party
http://usscrafty.blogspot.com/2013/04/submarine-sunday-29.html
Great tutorial! New follower from friday favorites linky party 😉
Maryall @ http://handmadebymaryall.blogspot.com
Adorable! Nice tutorial & pics! Pinning to my “sew easy” board
Hello Stephanie! That model you used is such a cutie pie!! You must have so much fun sewing for your girl! That little dress and the tutorial are awesome! Thank you so much for coming over to visit my blog and sharing your creation with us!
I’m inspired! But no girls to sew for….YET!!
Blessings to you,
Doni
So cute! Thanks for sharing the tutorial!
What a great way to upcycle a tee! Thank you for sharing at our Pinteresting Party!
What a great way to upcycle a tee! Thank you for sharing at our Pinteresting Party!
What a great way to upcycle a tee! Thank you for sharing at our Pinteresting Party!
What a great way to upcycle a tee! Thank you for sharing at our Pinteresting Party!
What a great way to upcycle a tee! Thank you for sharing at our Pinteresting Party!
What a great idea! The finished product looks fabulous 🙂 Found you at Clairejustine’s creative Mondays BTW.
These are just so cute! And thanks for sharing the great tutorial. I’ve always wanted to make these. Now I have the instructions.
Heidi’s Wanderings
Such a great idea! I love the bright colors of the summer camp shirt too!
SO adorable and crafty!! Love, love, love it! Thanks for linking up to Give Me The Goods Monday! We love having you party with us! Jenna @ Rain on a Tin Roof
So adorable, and the model is just so cute!
Thank you so much for sharing this on Tutorial Thursdays Linky Party 🙂
I look forward to seeing what you share this week.
x
Natalie
Marigolds’ Loft
It looks so cute!!! Thank you so much for stopping by and linking this up at Bewitch Me & Titi! Hope to have you there next Sunday with a new awesome creation!
Hope you are having a lovely day
Hugs
Cami @ TitiCrafty by Camila
Thanks for linking up to Whimsy Wednesday! Your project has been featured this week!
http://www.ohmy-creative.com/featured-projects/diy-favorite-five-feature-whimsey-wednesday/
Also, you can add your project {or any project} to my website. I feature them on my main slider on the home page…follow this link to submit your project!
http://www.ohmy-creative.com/submit-a-project/
Be sure to stop by and grab a button…
http://www.ohmy-creative.com/grab-a-button/
This is a fabulous tutorial! I wish that I had a surger, I’ve wanted one forever. I’d really like to try doing more clothing pieces… I love it and wish I had a little girl to spoil this fun dress with 🙂 Thank you so much for linking up with me @ Great Idea Thursday’s! Krista @ A Handful of Everything
Visiting from Wednesday Whatsits party. I love this. Thanks for the tutorial. I’ll be saving and coming back soon to try. I’d love for you to visit my little blog at ww.ginascraftcorner.blogspot.com
~Gina
Good work! I always like to leave online tee shirt comments whenever I see something unusual or impressive. I think we must appreciate those who do something especial. Keep it up, thanks