
In the next week or so I’m going to have a series on wool. I just love wool — yarn, roving, batting, felted wool sweaters. If it’s wool, I probably have a stash of it. Plus, using natural fibers is a hallmark for making waldorf toys and dolls, so I’m hoping sharing my secrets will make you see how easy it is to incorporate.

I’m sure you’re thinking what the heck can I do with a wool felted ball? Or “pincushion” might be the first thing that pops in your head. And yes, this is great method to make a pincushion. I love my wool felted pincushions, I have about 3 or 4 of them.
However, this tutorial is not just for making a felted pincushion. This is also a great tutorial to get the kids involved. They can easily make these balls all by themselves.
Once you know how to make felted wool balls, you can turn these into all kinds of fun stuff. Kid toys, dog toys, cat toys. Insert a little bell inside and you’ll drive a pet crazy for awhile. My black lab LOVED these wool balls. One of her greatest pleasures in life was attempting to rib apart a big wool felted ball. It was one of the few chew toys that took her longer than microseconds to rip through.

Where to buy the supplies for making these?
I used to buy all kinds of hand dyed wool roving from this lady on eBay who spun her own yarn. She used to call it Dragon Waste. I thought that was such an cool name. It was always fun colors that felted into wonderful brightly colored marbled looking wool balls.
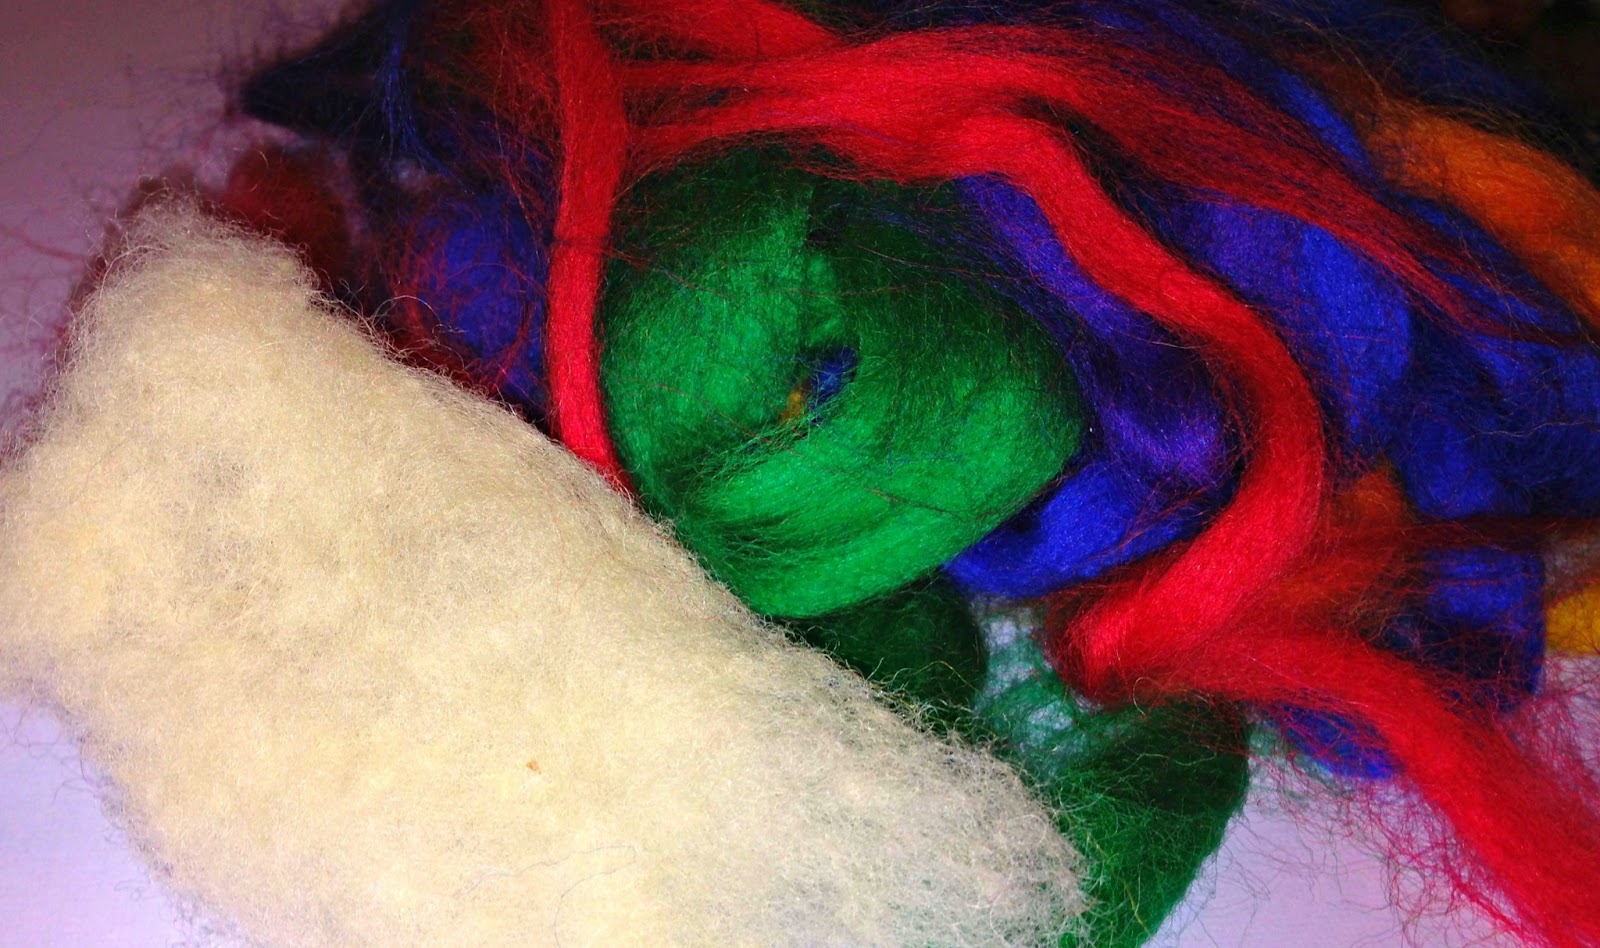
Nowadays, it’s everywhere. The brightly colored wool rovings you see in this tutorial were actually purchased at Hancock Fabrics on clearance. But you can find wool roving everywhere nowadays. I’ve seen it at Joann’s, Michael’s, and Hobby Lobby recently. I think Hobby Lobby had the most selection.

Materials
1 skein of 80%-100% wool yarn OR dyed wool roving
old pair of pantyhose or knee-highs
Washer and dryer, and a little bit of laundry soap
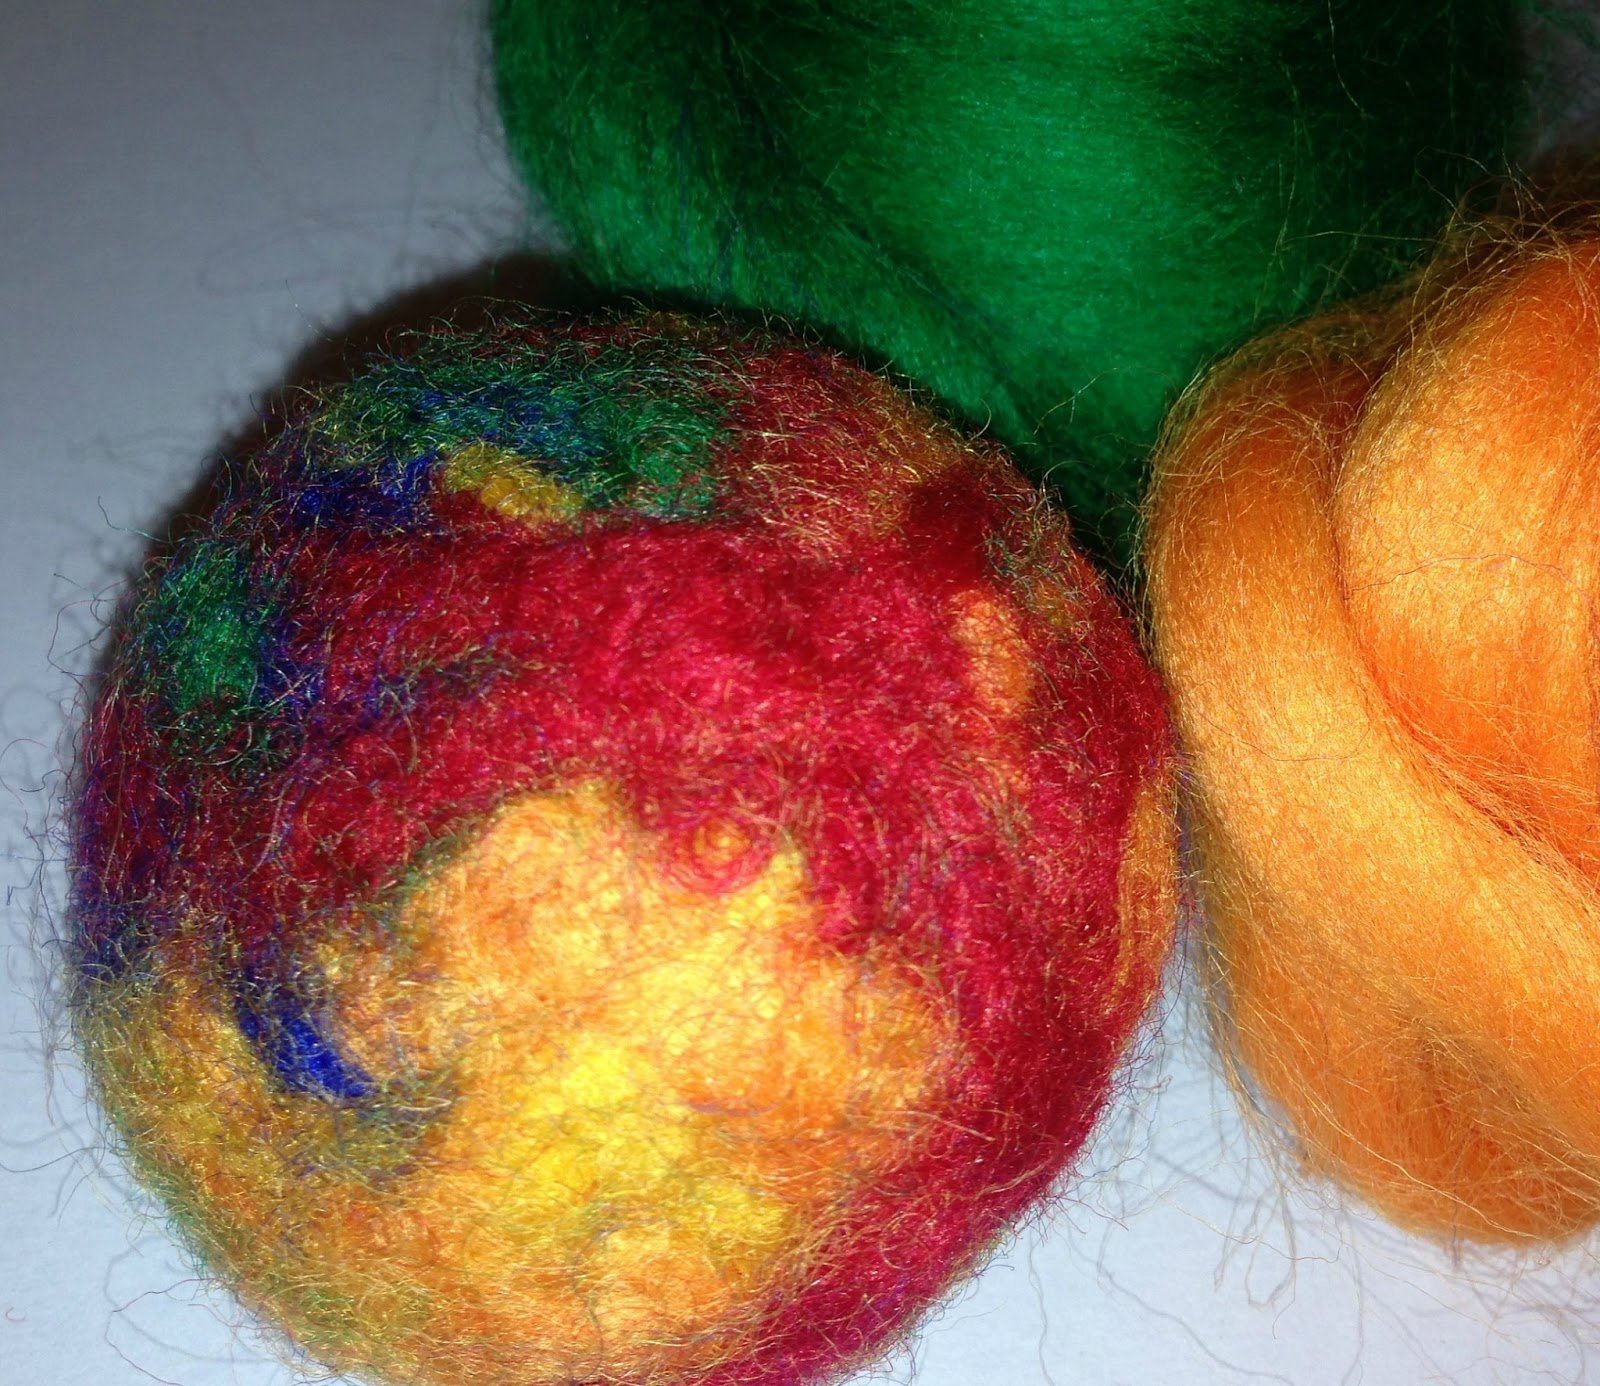
1. Use a skein of mostly wool yarn of at least 80%. Otherwise, it won’t felt. Another alternative is using wool roving. You can buy packages of various colors at craft stores like Joann’s and Hobby Lobby. I love to use the wool yarns that do have some other fibers in them because they felt so uniquely. The first picture of the pink pincushion is one of my favorite yarns — that Joann’s no longer makes 🙁 It always felted beautifully with this gorgeous watercolor/marbled kind of look from all the weird fibers mixed with the wool. I think at least 2 of my wool felted pincushions are that particular yarn.
***When using wool yarn, do not use superwash wool because it will not felt.***
Part A will be using yarn.
Part B will be using roving.
Part C will show you how to add a bell inside the ball.
A. For yarn, start by wrapping it around your fingers until you have a sufficient amount. Then, slide it off your fingers and continue moving around it to begin forming a ball. Continue winding around and around to form a ball shape. I usually wind until the ball measures 4-5 inches in diameter or until I’ve used up the entire skein.


B. If using wool roving, you can start a small ball of wool yarn if you prefer to get a nice hard center, or you can just create a ball with some wool batting. Or, if you have enough roving, you can wind it into a small ball as well for the center.

Next, you will take your center and wrap it in wool batting or roving.

At this point, separate out sections of your colored roving and begin wrapping it around the ball until you get to the desired thickness. Once again, I usually stop at 4-5 inches in diameter.


C. If you’re wanting to add bells inside your balls. Start with the bell and much like the wool yarn version, you’ll wrap the bell completely into a small dense ball. Now if you’re continuing to use wool yarn, just follow the same method for Part A. If you’re going to switch to roving and batting, move on to Part B.


2. Take a pair of scissors and cut off one leg of the tights or pantyhose. Then put the ball of
yarn tightly into the panty hose and tie a knot in the panty hose right at the ball. If you don’t tie the knot too closely your felted ball will end up with a pointy end. I usually cut about a 1 foot length of panty hose and add 2-3 balls into it at a time.

3. Set your washer to the hottest water setting and the lowest water setting and throw a little bit of laundry soap in. I usually throw in a towel or two to help keep the washer balanced.
I use about a ¼ of the laundry soap lid. Let the washer run through the entire cycle. Pull out the ball and feel it, if it still feels really, really squishy, I let it go through a second wash cycle. You want it to feel rather hard and dense.

4. Throw it in the dryer on the hottest setting for about an hour.Pull the balls out of the dryer and then carefully cut open the panty hose so you don’t cut the felted ball and pull it out. Sometimes it will be really stuck to the pantyhose, just pull firmly but slowly to get it out.


10 comments
these are amazing balls!!Very good idea!
congrats!!!
http://freestilcreatingbyvilly.blogspot.gr
These are a sweet idea 🙂
Thanks for sharing with us at Creative Mondays…
http://www.clairejustineoxox.com/
I know I won’t make these but loved your tutorial, the tights reminded me of when my mum used to pull up unions and when dried out they used to get tied just like the felt balls
Wonderful and fabulous color. Fun to play. Wish you good form soon.
So cool! What a great idea. Thanks for linking up to Give Me The Goods Monday!
Jamie @Better With Age
BEST TUTORIAL FOR FELT BALLS!!!! Thank you!! I’ve been surfing the internet for hours, to make sure I don’t buy the wrong roving, and all the while I could have been getting 80-100% wool yarn (not superwash). I’m delighted and can’t wait to start working on my garland!
You might laugh but, I made these with a cat ball that jingles inside them for my cat because she loves my yarn. My dogs love them too! (I have 4 small shih Tzu they love to run after my)!
Not at all! I had a huge black lab that loved my wool balls.
Love your ideas and wondering if you have figured out how to insert a bell in the balls so that they can be heard, I have tried but have not had the greatest results, thank you, Jeanette Paganetti
I have not figured out how to do that part yet.