This shop has been compensated by Collective Bias, Inc. and its advertiser. All opinions are mine alone.
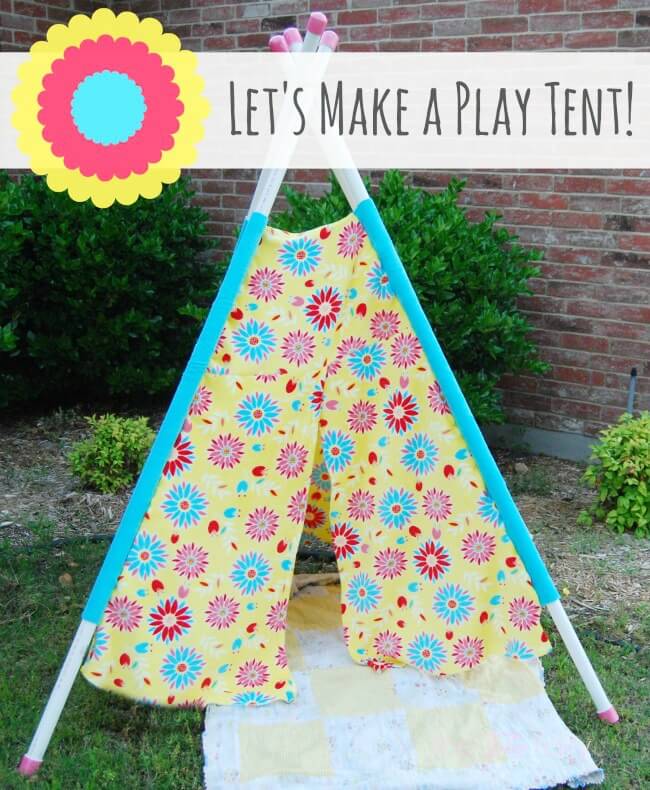
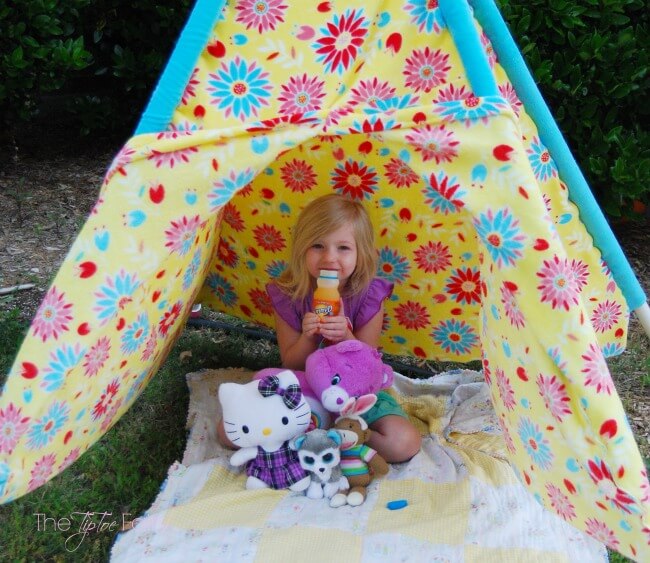
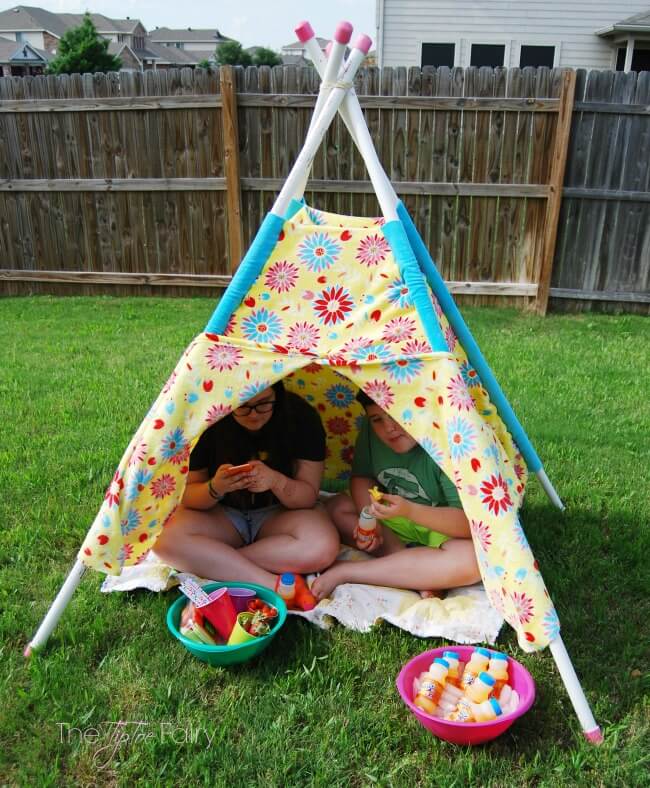
Here at The TipToe Fairy we love to have fun. I love to make things for my kids to let their imaginations go wild. One of the best things I’ve ever made them was a play tent. I’ve made various ones throughout the years, and they just love them. They put them up in the living room, their bedrooms, and often times, they take it outside for the perfect place for a little picnic.
Would you like to make a play tent? Today I’m going to show my simple method for sewing a play tent without a pattern!
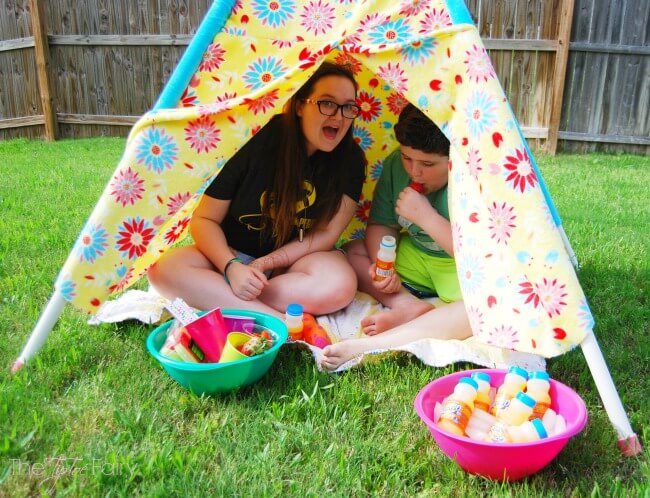
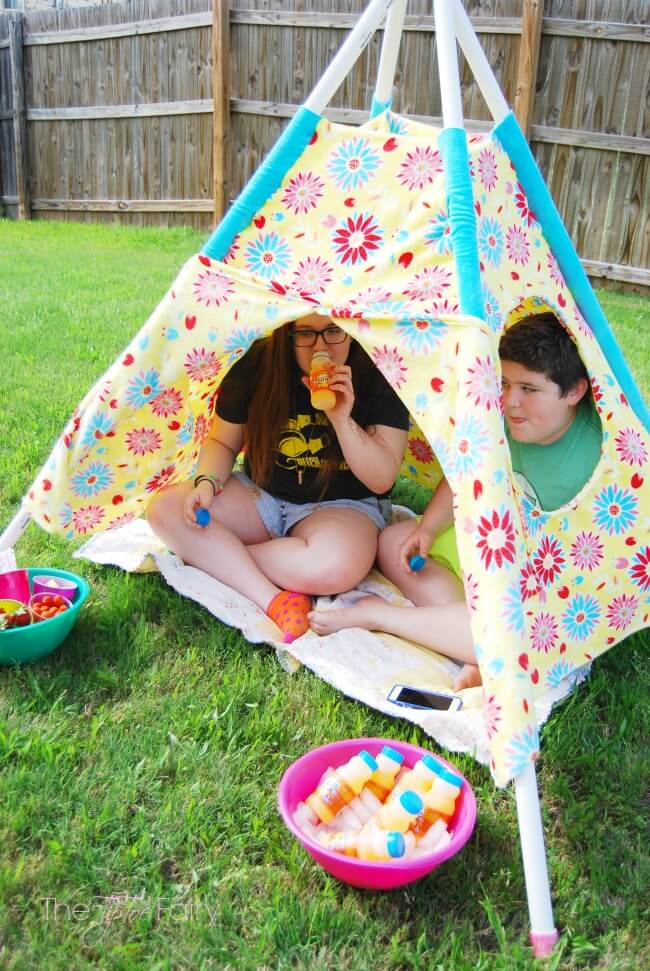
It’s been perfect weather for the last week, and they’ve been thrilled to get outside. We get one of our old comfy quilts and set up the play tent. Then, mom brings out snacks.
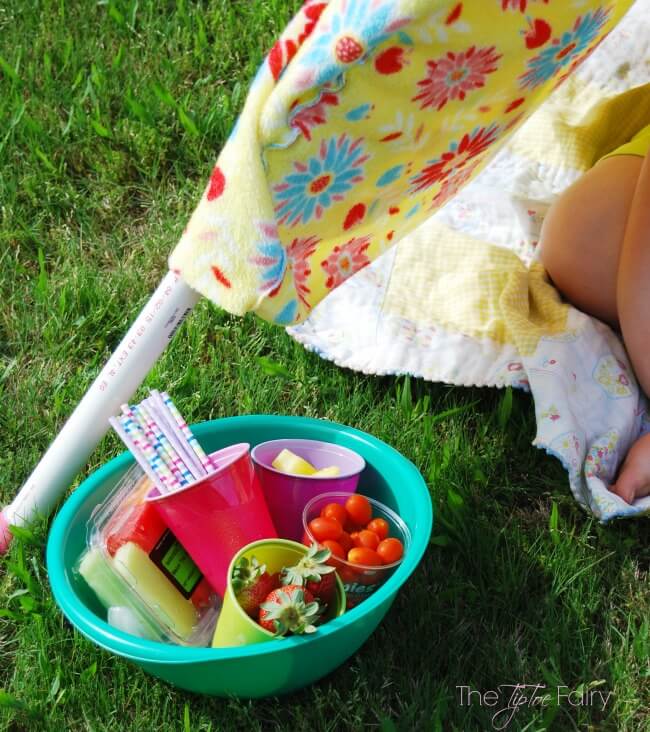
This past weekend, I packed a bowl of fresh fruit.
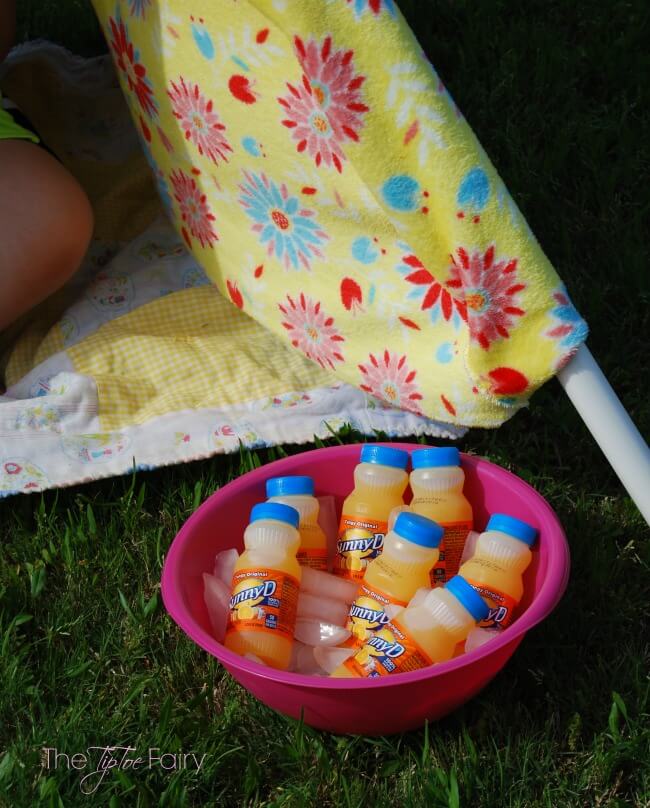
And in another bowl, I filled it with ice and brought out some SunnyD.
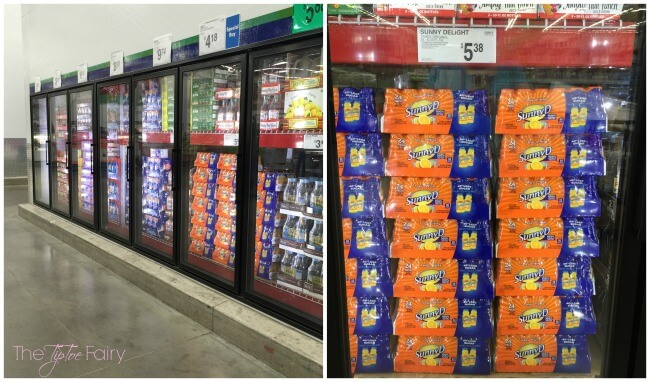
While we were shopping at Sam’s Club last week, I found 24-packs of SunnyD on the end cap of the refrigerated aisle. You should be able to find it there until July. It’s on rollback from $5.98 down to $5.38 until the first week of August.
This is a great project for even a beginner. There’s no pattern! Just measure and cut, then sew. Your kids are going to love it! My 5-year old practically lives in hers!
Make Your Own Play Tent!
Materials
4 1/2 yds 60-inch wide fabric (fleece, stretch bottom weight, etc)
1 yd coordinating fabric
4 1-inch PVC pipes – cut down to 6 ft tall
8 caps for PVC pipes
yarn, twine, or a shoelace
To make your play tent as easy as possible, I recommend using polar fleece or something similar. Fleece does not need to be hemmed, which takes the hemming step completely out of the equation.
Cutting Guide:
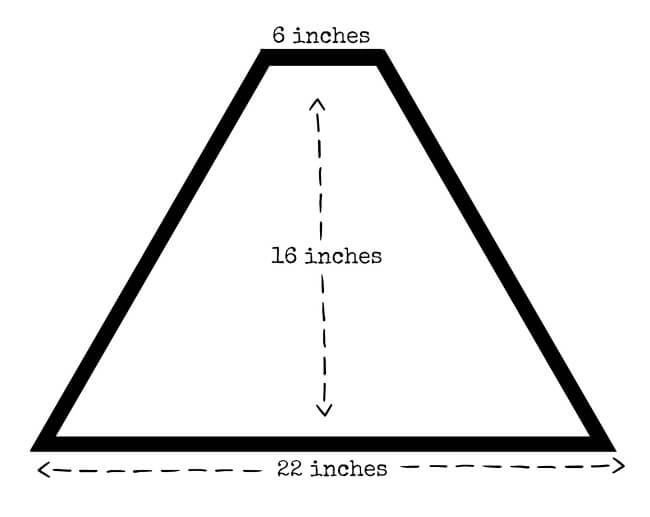
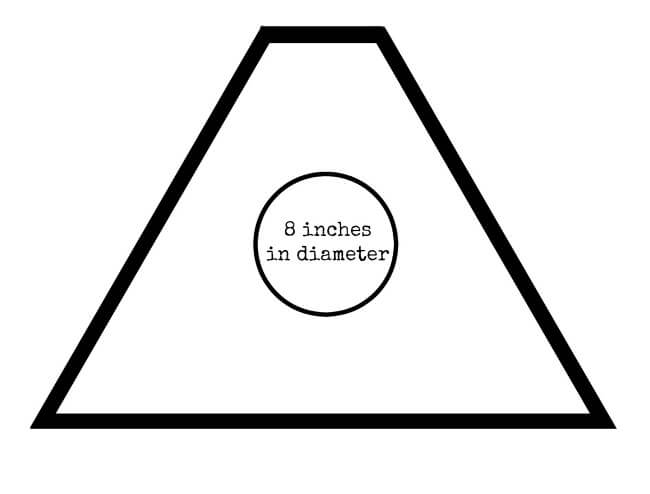
1. Follow the cutting guide and cut 3 large triangles.
2. Cut 1 small triangle this size:
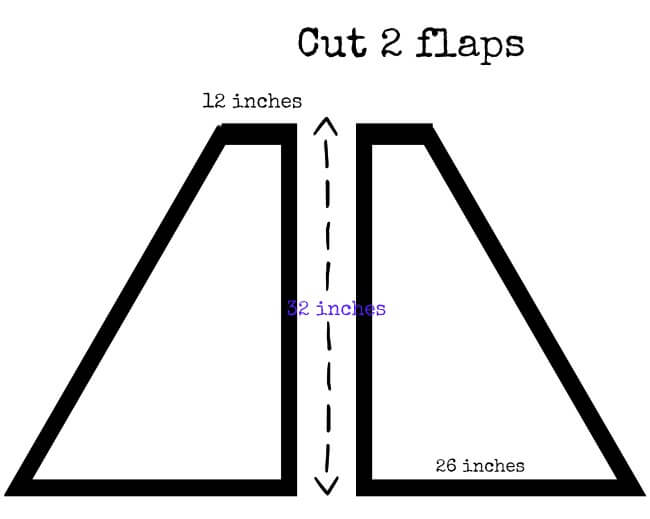
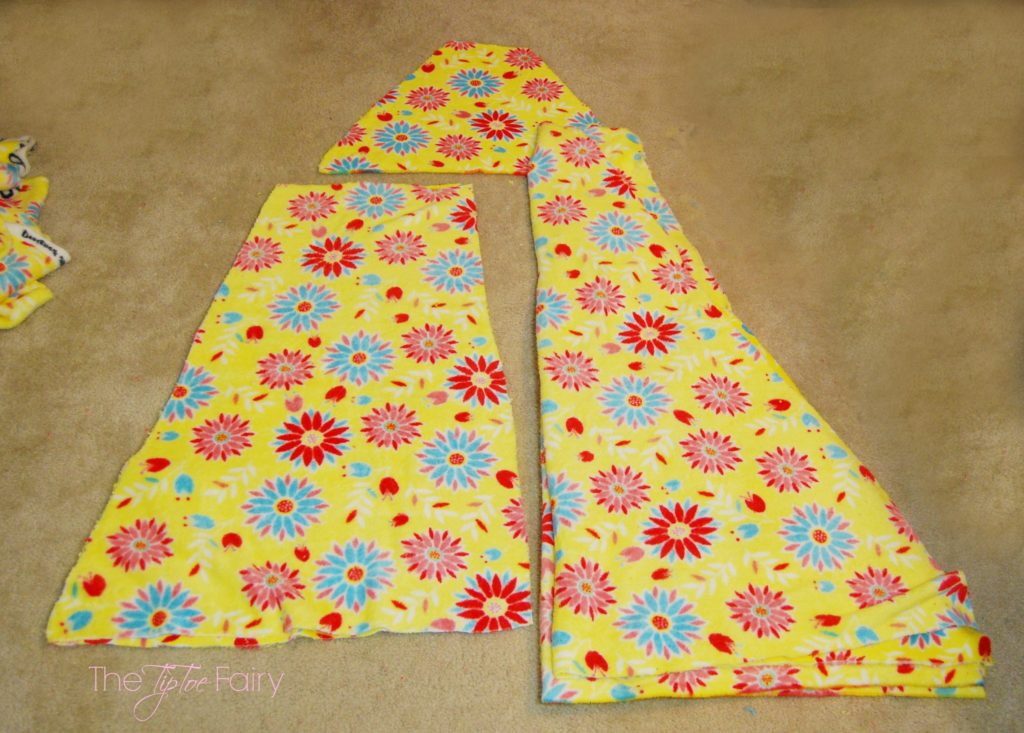
3. Cut the two flaps with these measurements:
4. From the 1-yd coordinating fabric, cut 4 strips each 6 inches wide x 43 inches long. Set aside.
Direction:
1. Follow the cutting guide to cut all the pieces of the tent.
2. Cut a circle from the last of the fabric roughly 8 inches in diameter.
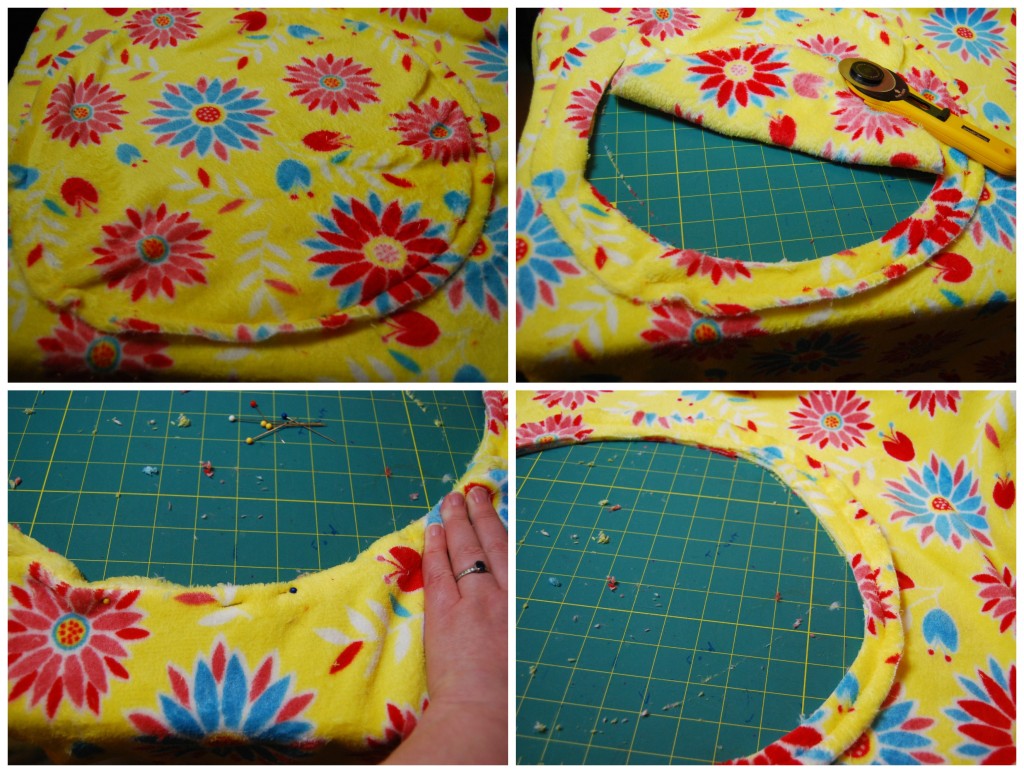
3. Place the circle in the middle on the RIGHT SIDE of one of the big triangles and pin it. Sew around the edge of the circle.
4. Next, cut the out the middle of the circle, leaving about 3/4 inch of raw edges, to create a large hole. Fold the raw edges of the circle onto the WRONG SIDE of the triangle and pin all the way around the circle.
5. Now topstitch around the circle opening twice, once near the edge, and once about 1/4 inch apart. Set aside.
6. Let’s make the front flaps. First, fold about 1 inch and hem the straight side of each of the flaps (the part will they will overlap).
7. Overlap the flaps about 2 inches and tack it right at the edge.
8. Take the small triangle, and match the bottom edge with the overlapping flaps top edge, and with RIGHT SIDES together sew a straight stitch all the way across. I do a couple of back stitches when I get to the flaps just to secure it well. Now you have the 4th large triangle made.
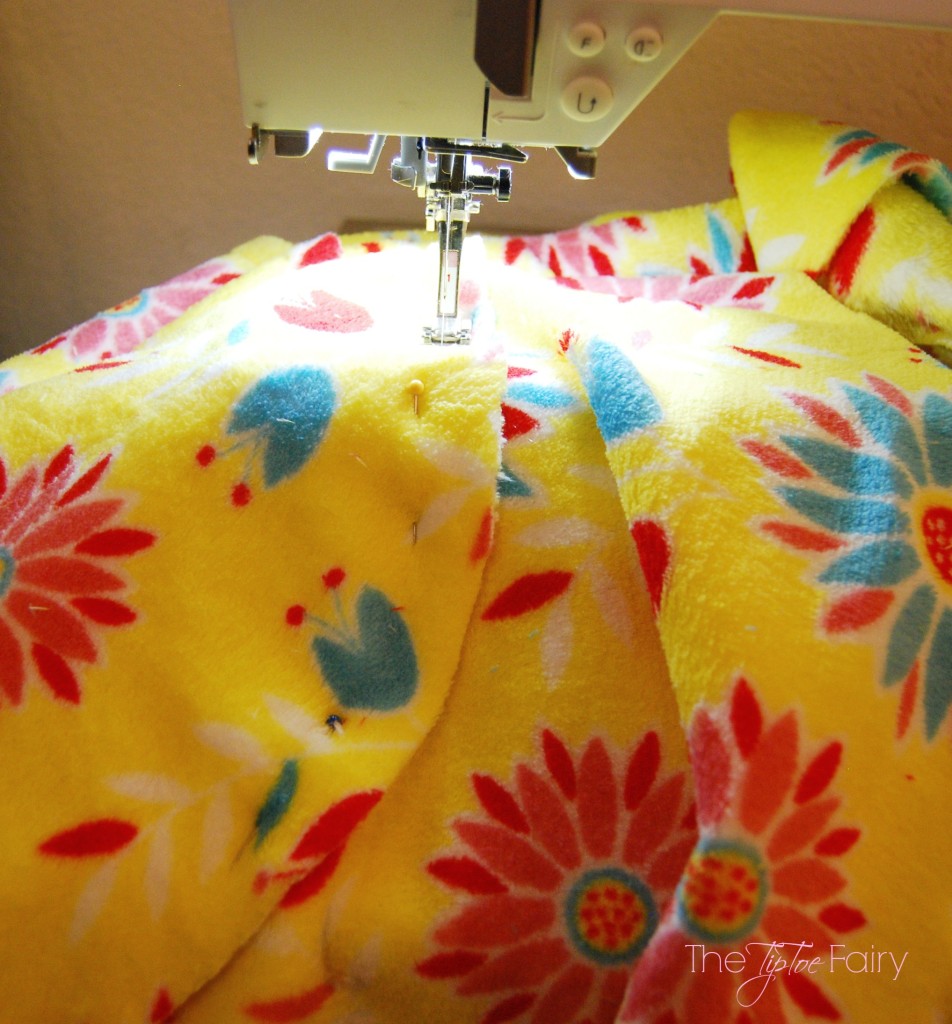
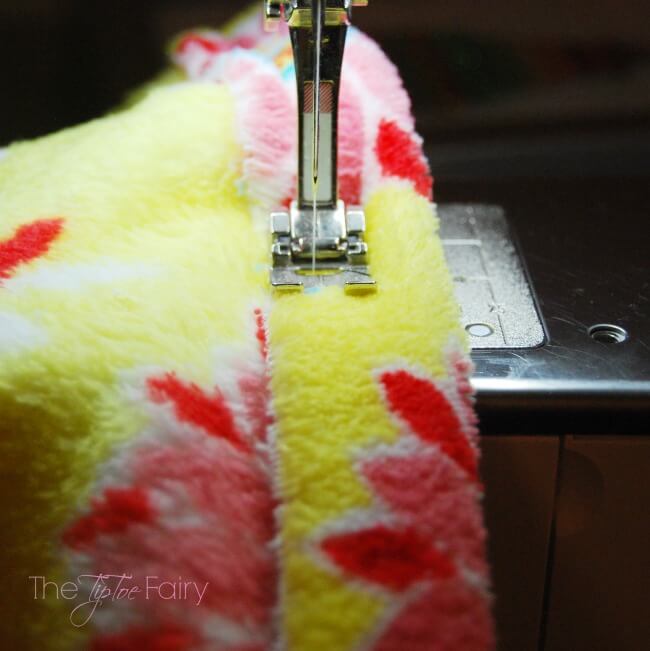
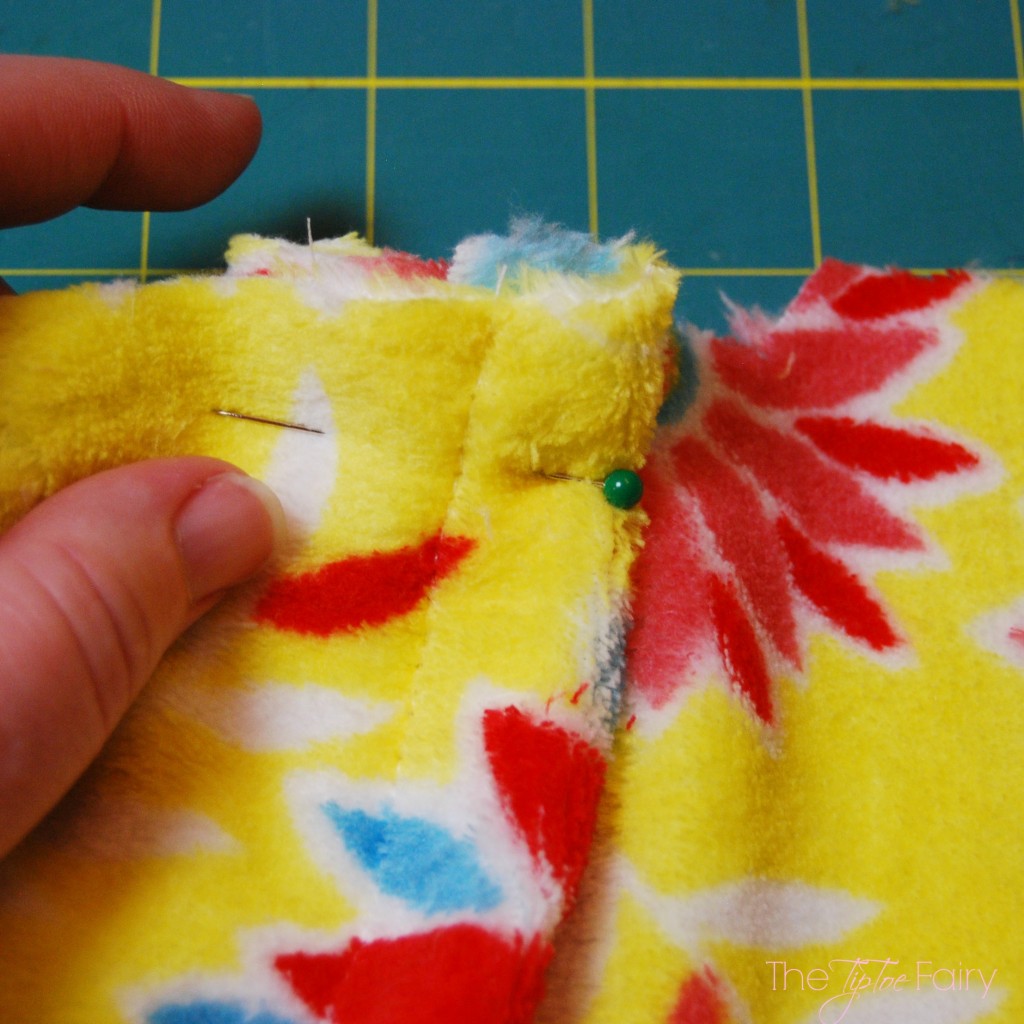
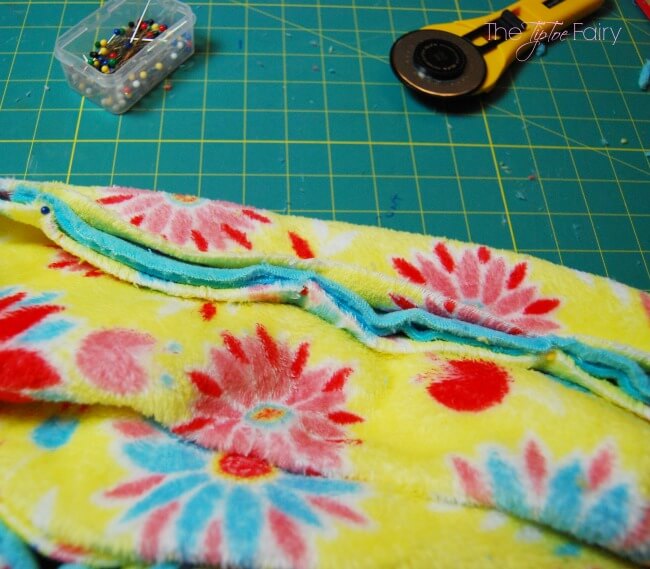
9. Now it’s time to piece everything together. Layer 1 triangle RIGHT SIDE UP. Then, take the coordinating strip and fold it in half with WRONG SIDES TOGETHER (like you’re forming a tube) and line up both edges with the edge of the first triangle. Then, take the second large triangle with RIGHT SIDE DOWN and line its edge up on top of it all. Pin along the entire length. Then, sew along the entire length. For this I use my serger. If you do not have a serger, just use a straight or zig zag stitch. Make sure to backstitch at each end.
10. Now you’ll do the same thing as above three more times until you have one big tent.
11. You’ll need 4 pieces of 1-inch PVC piping and 8 1-inch caps to go over the ends from the home improvement store. Find them in the plumbing section. They come in 10-ft pieces, and you’ll need to cut them down to 6 ft each. You can do this easily with a hack saw.
12. I spray painted my caps a pink color. You can skip this step if you’d like.
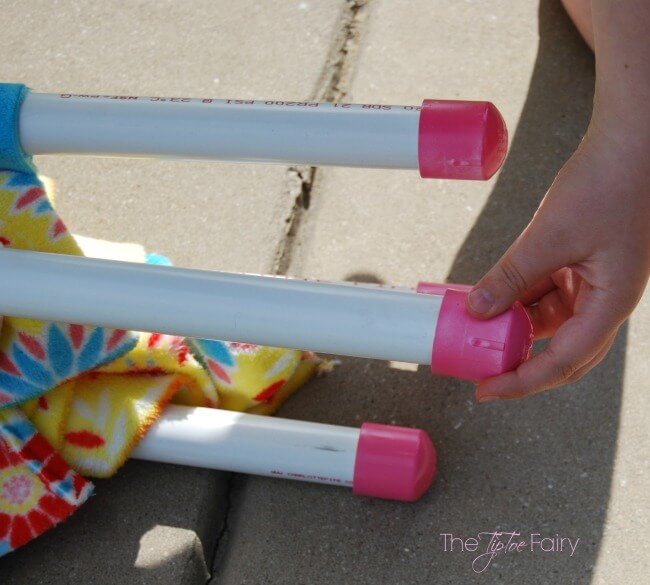
13. Once the PVC pipes are cut, then drill holes about 3 inches down from the top of each pipe. Drill so that it goes all the way through and makes 2 holes in each pipe.
14. Now it’s time to put everything together! Thread the pipes through each tube of the coordinating fabric. Then, apply the caps to the top and bottom of each pipe.
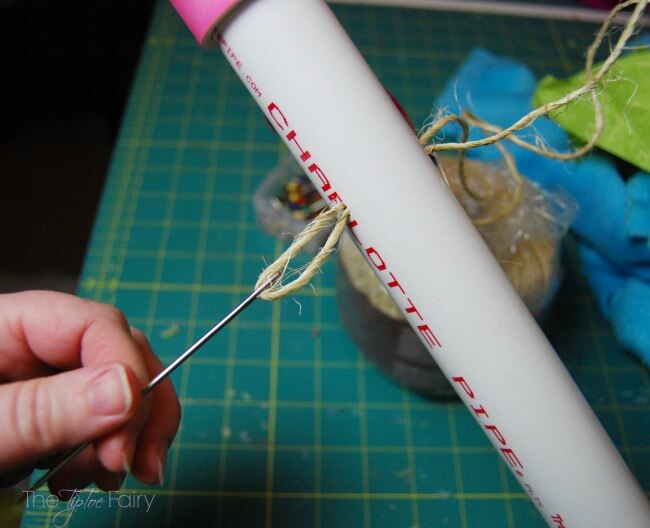
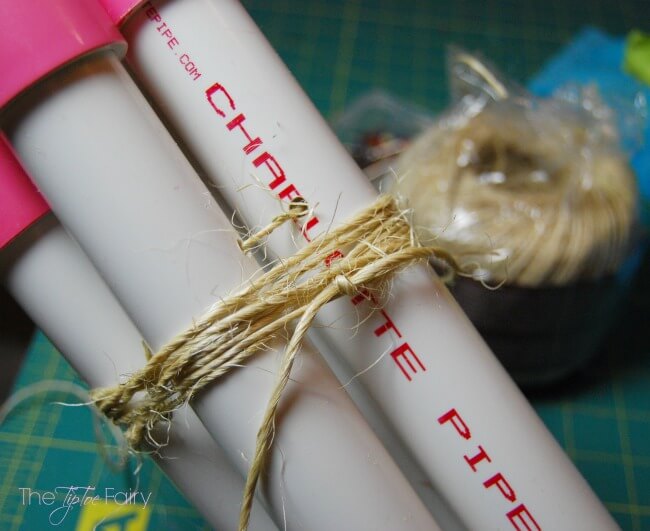
15. Next, thread a shoelace, twine, or strong yarn through each pipe. I used twine and a large darning needle. Cut the piece about a yard or yard and a half. Once you have threaded it through, pull about a foot out of the last hole. Then, wrap the remainder around and around all four poles as tightly as you can. Then, tie it off in a knot. Snip off the extra.
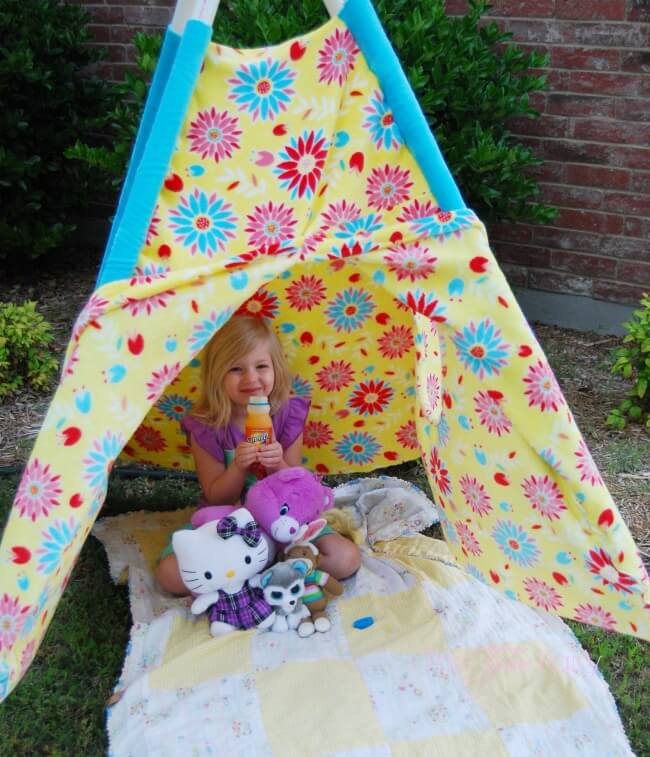
Now it’s time to set up your play tent.
Don’t forget to grab some yummy snacks and some SunnyD for a Fun in the Sun picinic! Be sure to check out more fun in the sun with SunnyD HERE. I’d love to hear your favorite!
Table of Contents




22 comments
How fun! I think my kids would LOVE that. I should make them one.
You’ve got some skills! That looks really nice! I’m not as creative as you are.
This looks like a ton of fun to do with the kids, I haven’t had Sunny D in so long!
This is a cool idea. I bet my youngest would love to have a tent. 🙂
What kid wouldn’t love that tent? It’s awesome! I can’t sew a lick, but I think I could make this. I’ll be the coolest Nana in town. 🙂
This is such a cute way to spend some time in the backyard! I always have extra plastic poles from various games and they would work well for this!
This tent is really cool and looks easy to put together. My little guys would love this!
My niece will love this! 🙂
My daughter loves her tepee that she has at her grandparents. It’s so perfect for outside fun!
My girls would love this! Now if they only had a mama that could sew!
My children would flip over this idea! Great job on the tutorial too. I am pinning this to our summer fun board!
What a really cool idea!! I would love to have my own little hideaway tent outside to hang and read so I know my kids would love this!!
I love that this little tent is portable and easy to move around! Great idea!
I love this play tent! You are seriously so creative! Do you know play tents or teepes go for $100 or more? If I knew had to sew I would do this in a heart beat! Maybe I just need to find a seamstress that would help me.
Oh my goodness, this is so much fun! Your tutorials really rock and my son would LOVE me to make him a tent! #client
This is such a cool idea. I really like the color of the tent and it seems very portable. Wonderful job on the tutorial as well. I bet kids would definitely love this for sure. Sunny D is one of my kids favorite snack. Thanks a lot for sharing this post.
Wow, this is wonderful!!
What a cute tent! Looks like you all had too much fun in the sun.
looks like they are having a blast! very cool tent. i know my kids would love that.
You are officially the DIY Queen! My Kidies lvoe playing in tents and forts but since my DIY skills are seriously lacking I just found one on Amazon LOL This is such a fun way to bring the Kiddies outside and make play memorable. Love It!
LOVE this!! Now if only I was crafty in any sense of the word :/