
This is a sponsored post on behalf of Strapworks. This post may contain affiliate links. All opinions are my own.
Last summer we rescued our sweet Boxer boy, Hank, from the pound. I can’t imagine life without him. Being a rescue, he does not like us to leave him when we go on trips, even at a fancy pet spa with swimming pools and lots of play time. So, we try to bring him with us when he can.
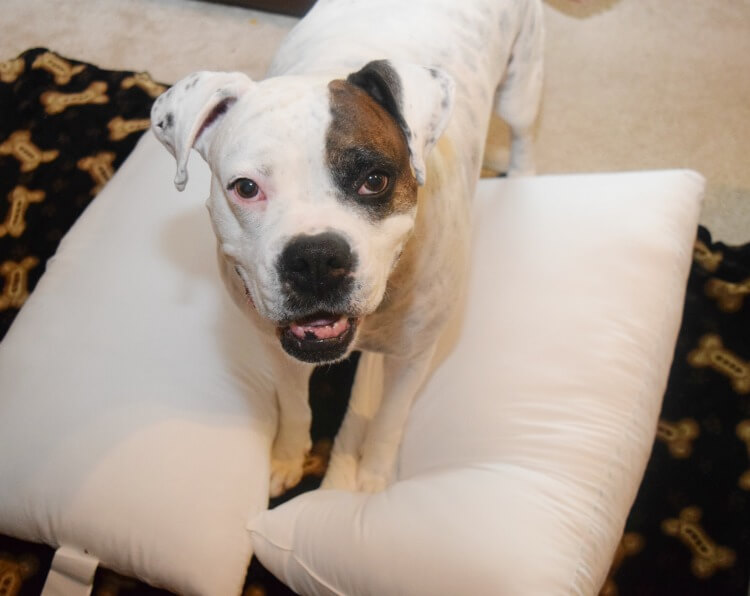
Hank, my little assistant, wanted to help make his travel dog bed.
Taking a pet to a hotel can be a challenge. Not only do you have to pack for the family, but you’ve got to pack for your dog, too. I made him a travel dog bed that we can easily fold up for packing. It’s easy to make, and the best thing is you can do it without a sewing pattern. Plus, you’ll love how it folds together with these easy magnetic buckles from Strapworks.
Strapworks is my go-to place to find hardware for all kinds of sewing projects. Check out the buckles and webbing I used for another sewing project – shopping cart cover for baby.
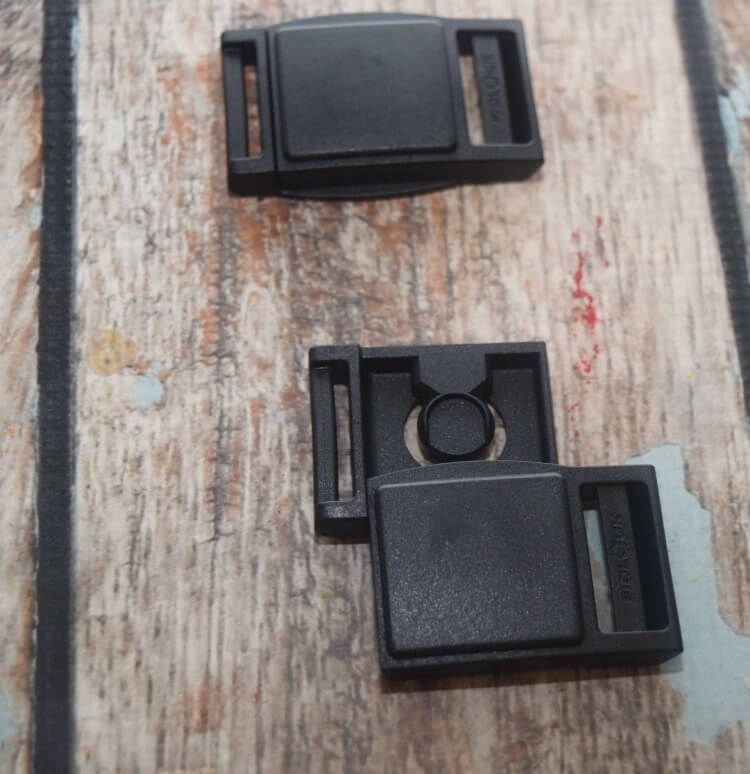
If you have arthritis or other issues, side releasing buckles can be difficult to open. See these magnetic buckles in action. They easily slide apart to open and to close them, you just need to get the pieces near each other and the clasps just fly back together due to the magnets.
Table of Contents
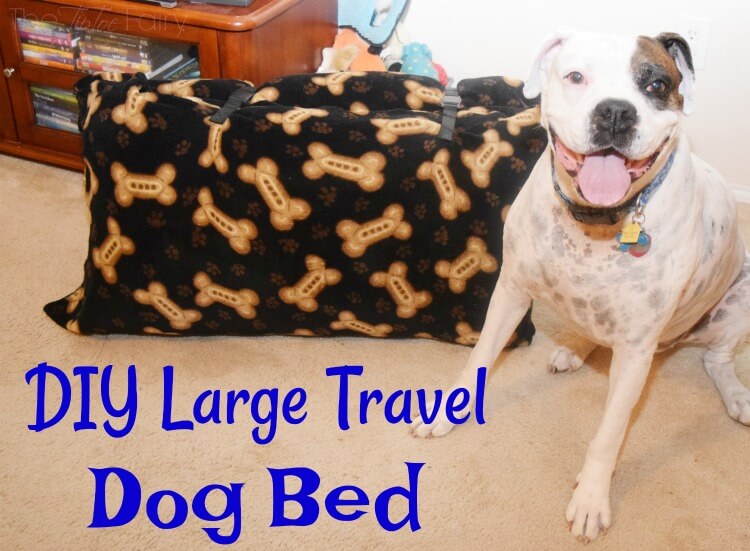
DIY Large Travel Dog Bed
This tutorial is for a large travel dog bed as my Boxer is a large dog at 80 lb. I used two king size pillows and 3 yards of fleece. However, you can create this same type of travel dog bed for a medium dog with two standard pillows and 2 yards of fleece or for a tiny dog with two travel pillows and 1 yard of fabric.
Supplies
- 3 yards of fleece fabric
- 2 1-inch Fidlock magnetic buckles
- 3 feet 1-inch nylon webbing (your color choice)
- coordinating thread
- 2 king size pillows
Directions

Unfold the fabric and refold it with the right sides together and with the cut edges together instead of the selvages.
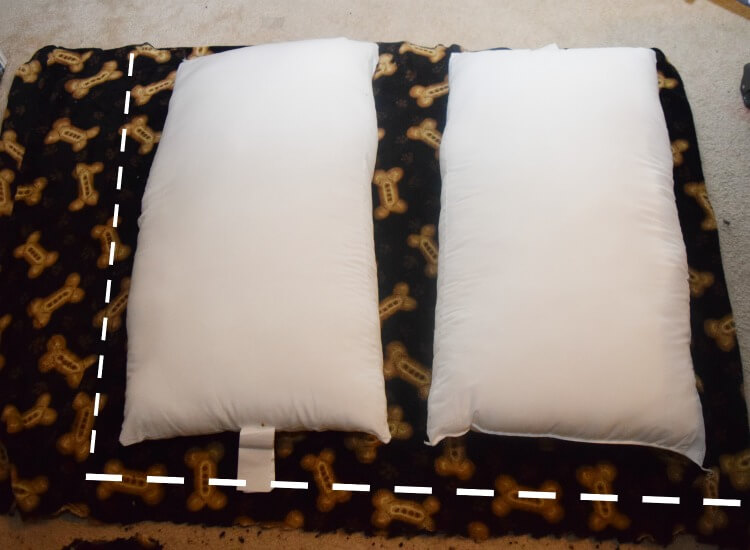
Next lay one king size pillow against the folded edge and move over about 3 inches and lay the second king size pillow next to it. Make sure to line the top edge of both king-size pillows with the selvage edges. You can totally eyeball this and not do exact measurements. I just used the pillows to determine approximately the size of the dog bed.
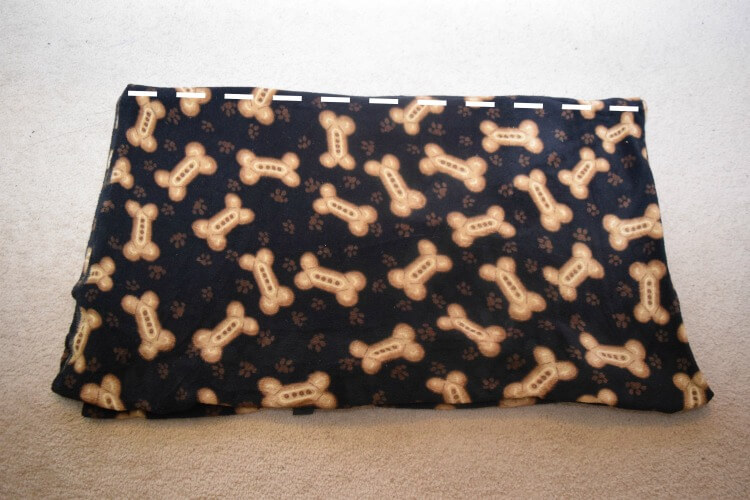
Measure over about 3 inches or so from the second king size pillow and cut straight down the fabric to about 2-3 inches past the lower edge of the pillows. Then cut straight across to the folded edge under the pillows. These cutting edges are illustrated above (approximately) with the dotted lines.
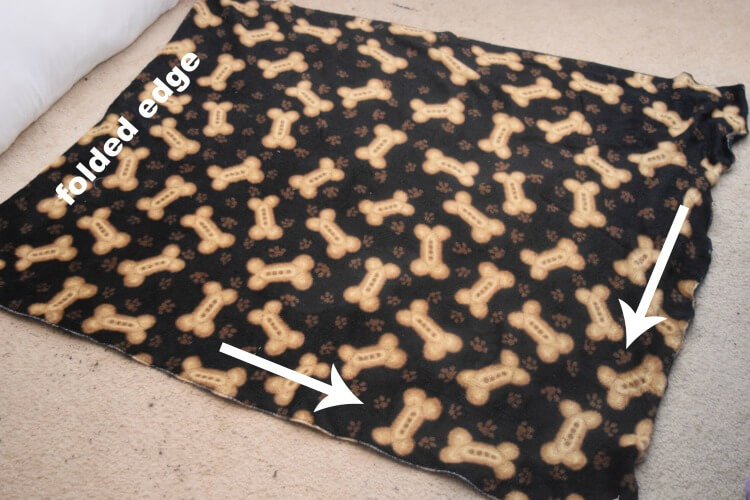
Now sew a straight stitch along both of those cut edges as indicated by the arrows above. If you have a serger you can serge these edges instead.
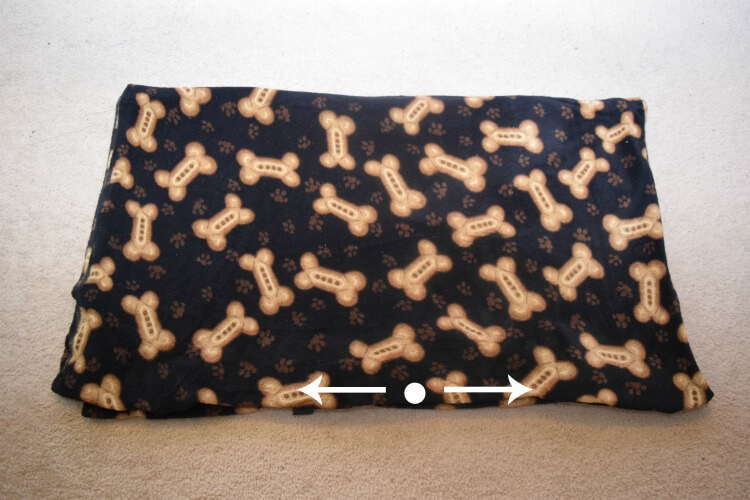
Flip the dog bed to right sides out. Then, fold it in half. Where the two halves meet together, find the halfway point (as indicated by the circle). If you notice, this circle is not completely center as it based on the halfway point of where the pillow is because the raw edge goes higher above the pillow and I want the buckles based on the pillow. Then, measure about 10 inches either way to mark the spots for the buckle placement.

This is where we will attach the buckles. Mark each of the four spots with pins. Now set the dog bed aside.
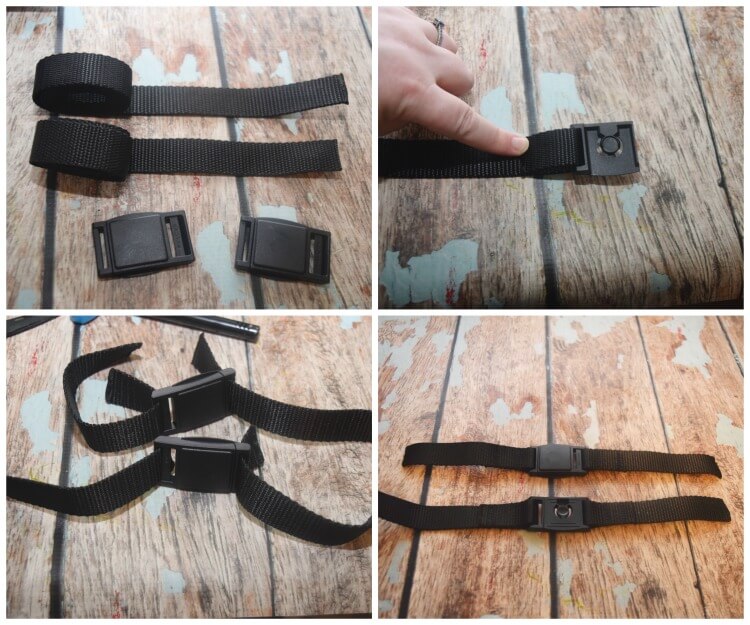
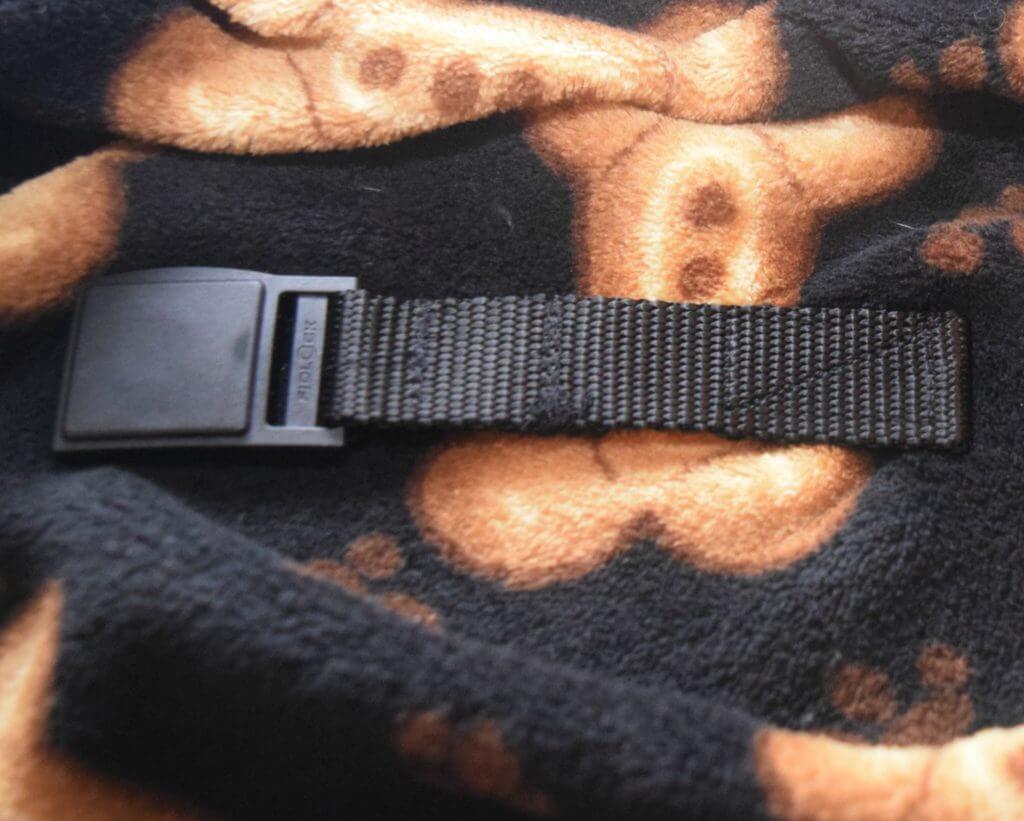
Cut four pieces of nylon wedding about 10 inches each. Insert each piece of nylon webbing into each piece of the buckles. Burn the raw edges of the nylon webbing so that it will not unravel. Then fold the raw edge underneath about 2 inches where you inserted it in the buckle and sew it closed with a square. Make sure to backstitch. You want this secure.
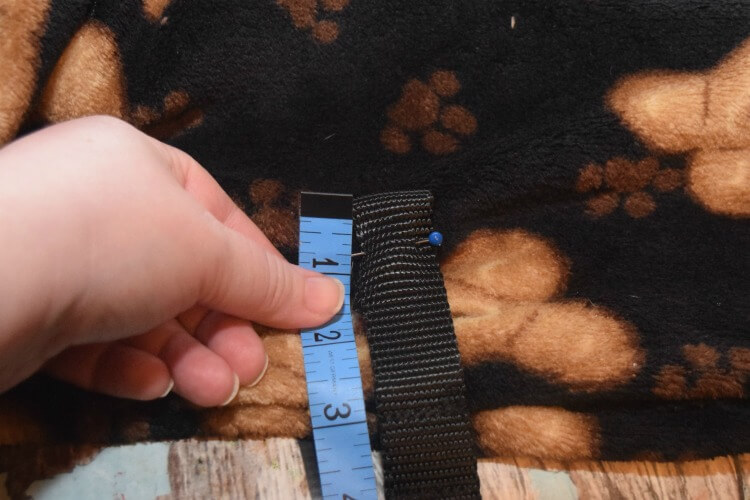
Now 3 inches below the edge on each of those four spots you marked with a pin, fold under the second raw edge of each nylon webbing and pin in place.
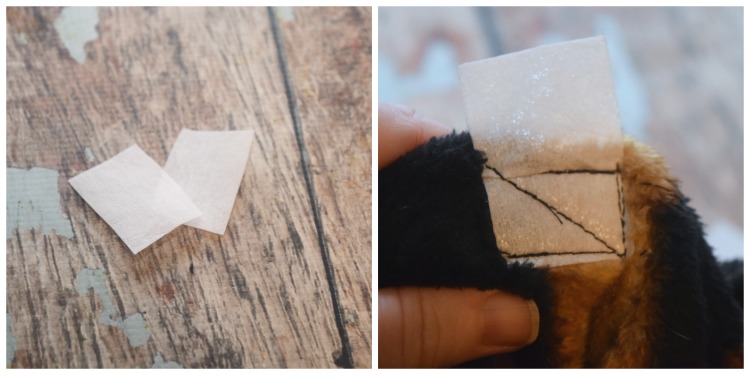 Cut a four small pieces of stabilizer. I used scraps of interfacing.
Just before you sew each of nylon webbing to the fabric, add a piece of stabilizer under the fabric. This way it’s unlikely to tear from use. Sew a rectangle with a diagonal line or X at each of these spots. You’ll do this four times, twice for each buckle.
Now fold the dog bed cover in half lengthwise again to find the very center as indicated by the dotted line. Mark with pins straight down the middle lengthwise. Sew along that line from top to bottom. This will create a separation between the pillows.
Now insert each king-size pillow into each side of the dog bed. You’ll notice you left the selvage edges unhemmed and opened. Since fleece does not unravel this is fine unless you just want a hemmed edge. Also I kept this open purposely so if you need to wash the cover you can easily remove the pillows.
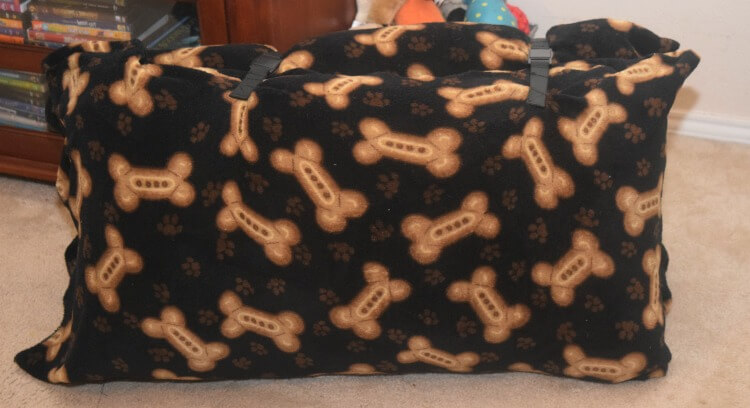
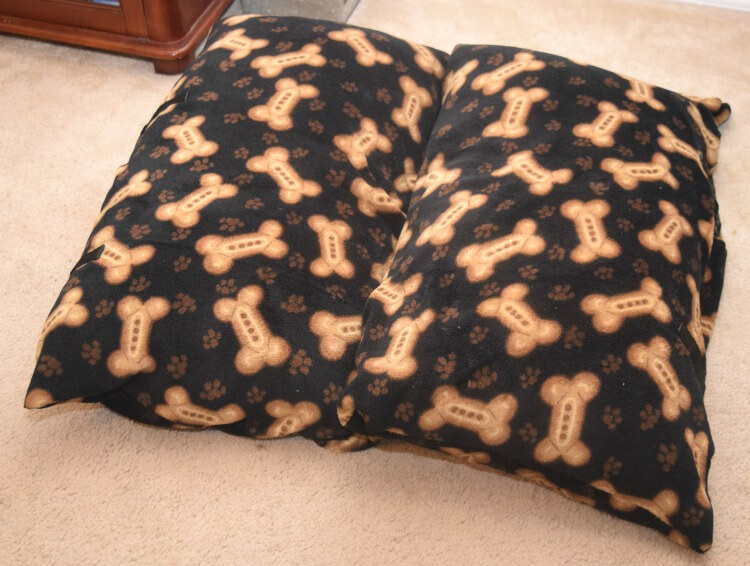
That’s it! Let your dog try out the new bed. Now when it’s time to pack the car or just store your bed just fastened securely with the magnetic buckles.
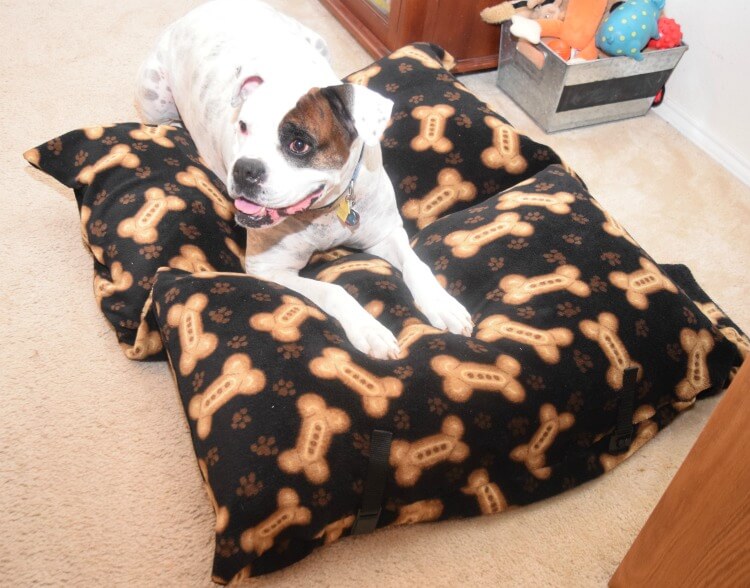
Hank loves his new dog bed. He won’t even let me put it up for later. I hope your dog will, too.
Strapworks doesn’t have just the tools for pet items like this DIY Travel Dog Bed. You can also buy leashes and collars as well — even personalized collars! Check out this bungee leash available:


17 comments
Wow, you’re so crafty! This looks like a really comfy bed. I’d almost take one to the beach for ME to use at naptime.
Love this! Take it with you anywhere you go and it’s a design you like and not have to pick because it’s all they have. Nicely done!
This is such a great idea!! I usually just take my dog’s bed with me when we travel but I have left it somewhere before and she was NOT happy with me…oops!!
This is amazing! The perfect way to making traveling with your dog a little bit more compact! Saving this for later!
What a pretty dog bed! Your fur baby seems to love it! I am not very crafty but these are easy to follow steps. I might be able to pull this one off.
That is a great DIY dog bed! I’m sure your dog will enjoy sleeping on it since it looks pretty comfy!
Very cute! I love the easy way of making it especially the cloth design. I’d love to have it for our dog and US
This is such a smart idea. What a great way to keep the pup comfy even on the go. This is perfect for my friend who has two dogs.
This is a genius DIY, I don’t have a large dog, but I totally want to make a downsized version for my little guy!
I love this so much. So clever! I have two fur babies and hate leaving them at home. I will definitely have to try this for our next trip. Can’t be that hard for someone with poor sowing skills like myself.
What a wonderful idea for those of us who travel a lot. My dog will just love this!
This is so precious! He looks so happy to have this bed!! I wonder if it would work for cats too?
What a great way to make these bags. We travel with our pets often and are in need of something like this!
This is so neat! Your dog is adorable and looks so happy relaxing on his cozy bed!
Very cool and excellent instructions. My dog will love it
That is flat out awesome!
Great post! I love it! I found it the Practically Functional Round Up Friendly Search engine and included it in my Doggy DIY Roundup. I hope you like it and get lots of traffic! Be sure to check it out. https://www.boreidesign.com/2018/05/dog-crafts-tutorial-diy-treats.html