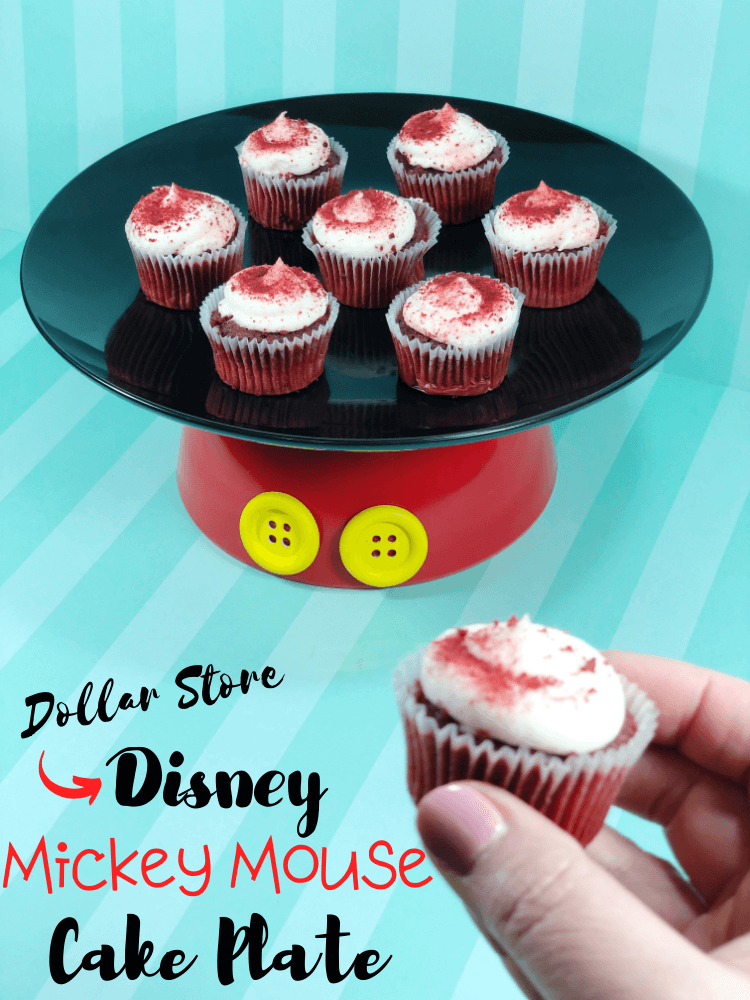
Do you love Disney and Mickey Mouse? Or maybe you’d love a Disney themed Smash Cake photo session for your almost 1 year old? Then, you are going to love this easy DIY Disney Mickey Cake Plate. This post contains affiliate links.
I just love Smash Cake photo sessions. When my youngest turned one, we did one with her in a pink theme. Here’s a shot from her session. It’s one of my favorite photos from her birthday session.

Table of Contents
Make a Themed Cake Plate for a Smash Cake Session
Did you take your baby to get a Smash Cake photo session? They weren’t really a “thing” until I had my fourth baby. There was a lady in a local Facebook group who has booking smash cake sessions for super cheap, so I decided to do it.
I was so glad we did it. Her photos came out beautifully.
I didn’t even think to make a themed cake plate until a year later. What’s nice about making a themed caked plate like this Mickey Mouse version is that you can go cheap on the cake and have just a plain cake to show off the cake plate.
How to make a DIY Mickey Mouse Cake Plate
It takes just a few supplies and a less than 15 minutes to put it together. You can find most of these ingredients at dollar stores. Just follow along the tutorial below.
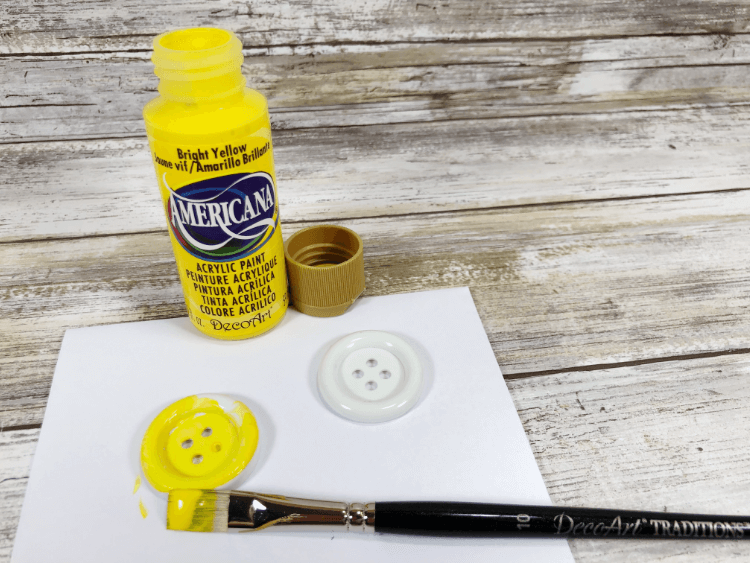
In my example, I could only find white buttons, so we painted them with craft paint. However, I would look for yellow buttons first. If you do end up needing to paint, I would also recommend using a glossy yellow spray paint for quicker painting.
The spray paint might be a bit more expensive, but it will save time, dry fast, and you won’t need to worry about brush strokes.
You don’t have to just stop at this one layer. You could do a two-layer or even a three-layer cake plate to hold Disney treats for a Disney party.
Mickey Mouse Treats
These Mickey Mouse Donuts would be so fun to display on this cake plate!
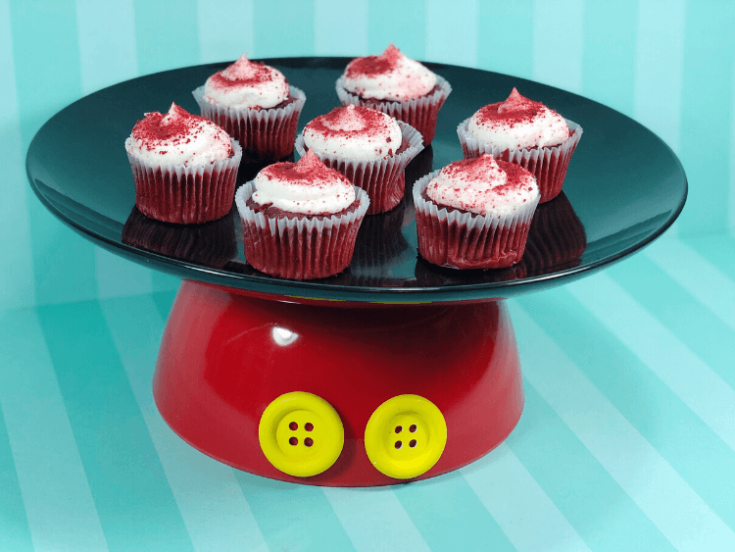
Dollar Store DIY Disney Mickey Mouse Cake Plate
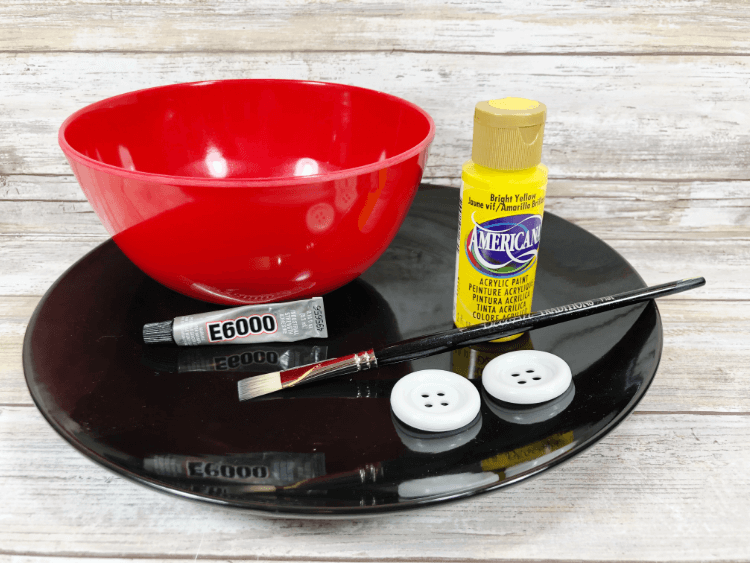
Materials
- Dollar Store Dinner Plate – black
- Dollar Store Bowl – red, hard plastic
- Buttons – white, 1 ½” round with 4 holes
- Craft Paint – yellow
- Paper - scrap
Tools
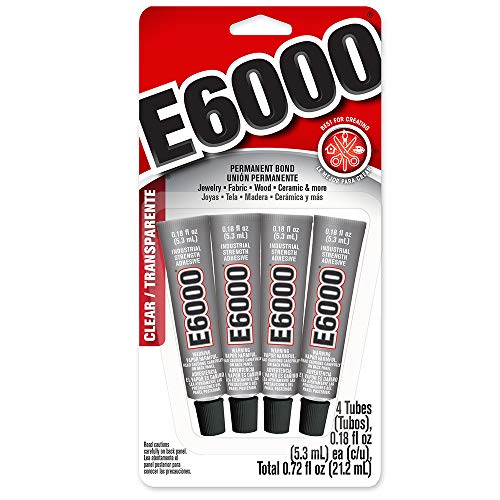
- E6000 Adhesive
- Paint Brush
- Ruler
Instructions
Wash plate and bowl and then dry completely.
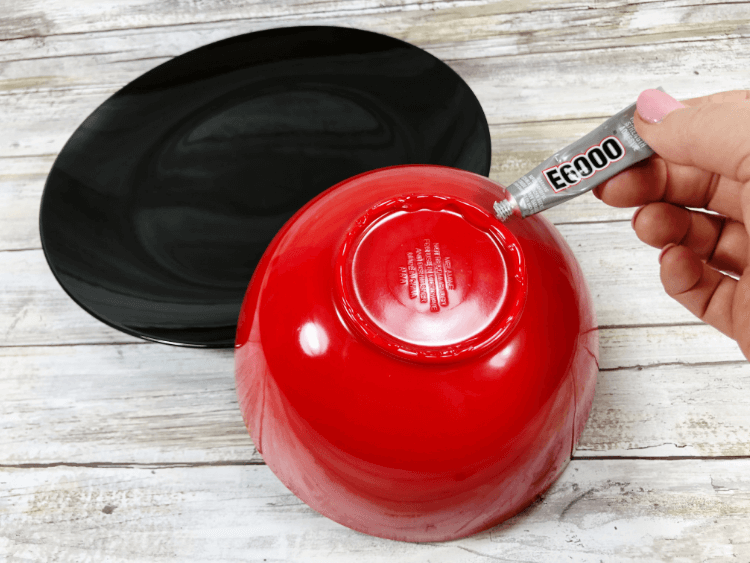
Apply a bead of E6000 adhesive to the bottom rim of the bowl.
Position bowl onto the bottom center of the plate.
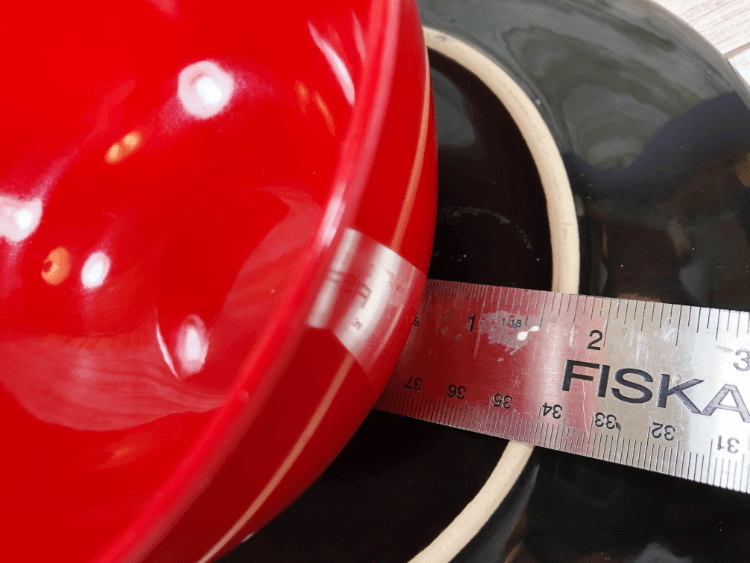
Measure around the perimeter of the plate to make sure that the bowl has been placed in the center.
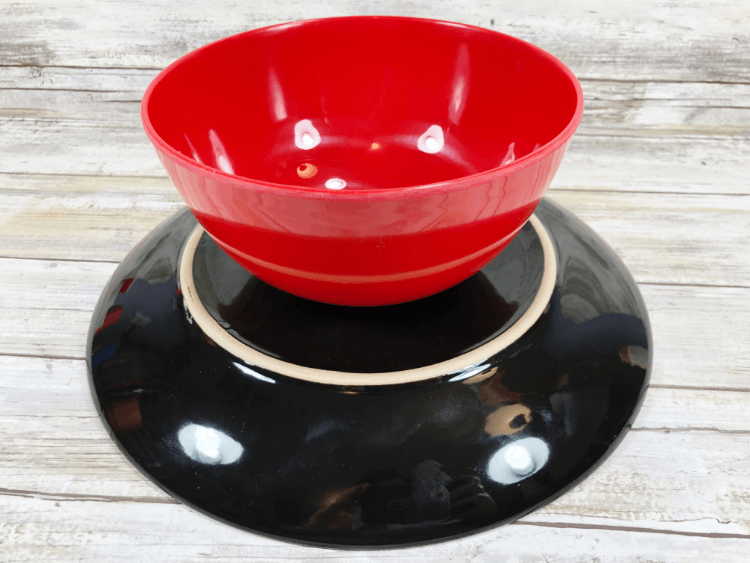
Set aside, overnight, to allow the adhesive to set completely.
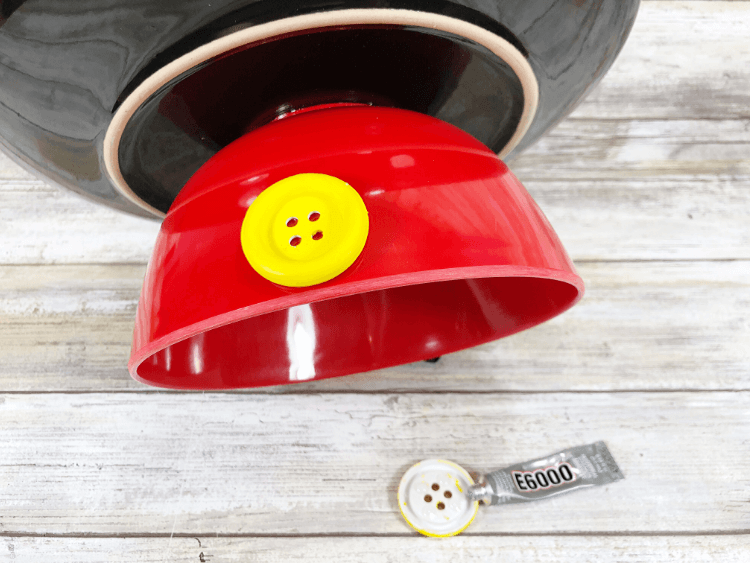
Once dry, turn pedestal over and attach buttons to center bottom with E6000 adhesive. Set aside, overnight, to allow the adhesive to set completely.
Notes
If you cannot find bright yellow buttons, Use white buttons and paint several coats of yellow craft paint, allowing to dry between coats.
Purchase a package of multiple little tubes of the E6000 Adhesive instead of one large tube as they are easier to use for smaller projects.
Recommended Products
As an Amazon Associate and member of other affiliate programs, I earn from qualifying purchases.