Don’t you just love all the fun stuff at the Bulleye’s Playground in Target? Before every holiday, I head over to see what fun stuff is there and usually find the best things. This post contains affiliate links.
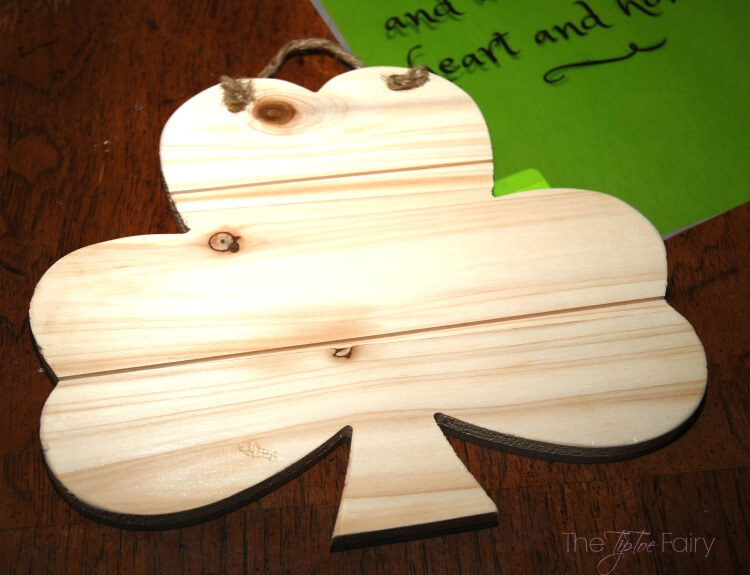
Yesterday, I found this three-leaf clover just in time for St. Patty’s Day, and it was only $3! I had just the idea.
Table of Contents
How to make a St. Patrick’s Day DIY Irish Blessing Wall Hanging
I love to put out a little decor here and there for different holidays. When I found this wooden clover, I realized I have never had any kind of decor for St. Patrick’s Day.
Get the File
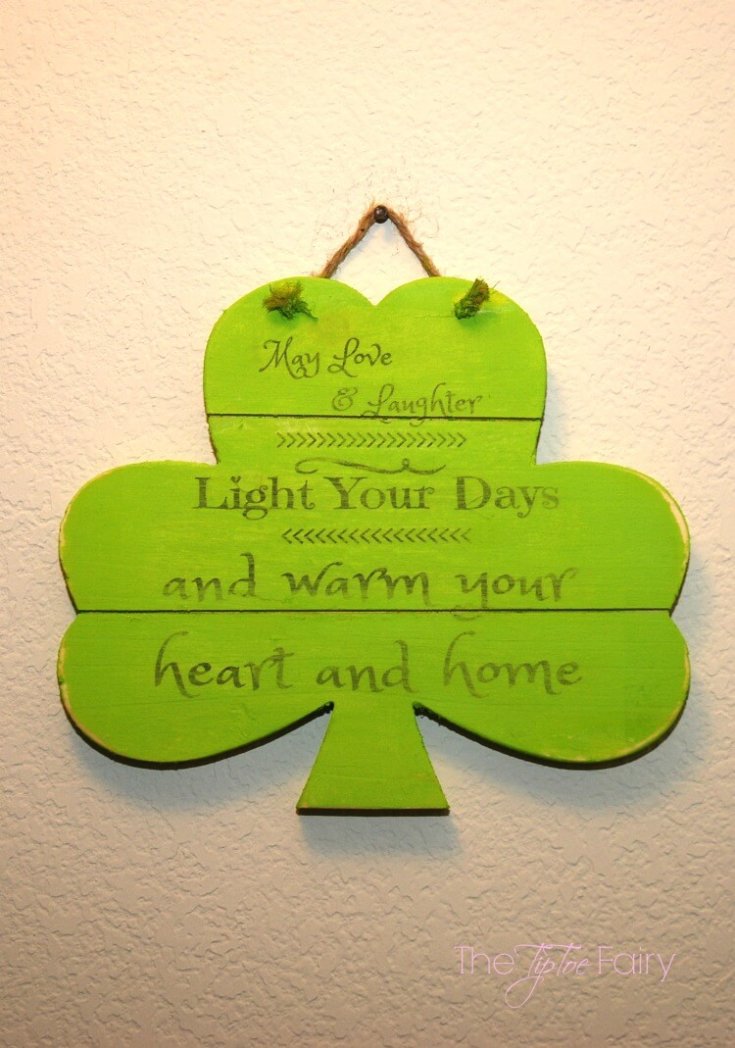
St. Patrick's Day DIY Irish Blessing
Materials
- Plain white tissue paper cut to 8 x 10 size
- 1 piece of computer paper 8.5 x 11 size
- Green craft paint
- Matte Mod Podge
- Hairspray
- Adhesive spray - 505 Spray
Tools
- Sandpaper
- Paint brushes
Instructions
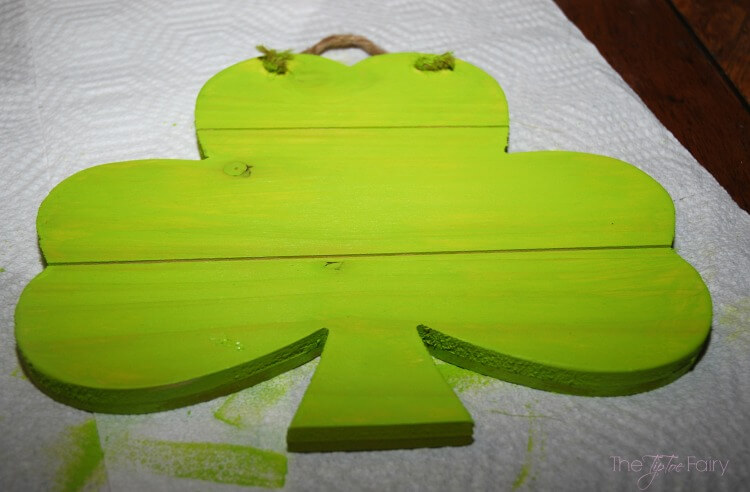
Paint the clover with the green craft paint and allow to dry.
Cut a piece of tissue paper to the same size as the 8.5 x 11 inch paper.
Use the spray adhesive to spray the paper and lay the tissue paper over it, make sure it's smooth against the paper.
Print the free printable on the paper/tissue combo.
Spray the tissue with hairspray to make the ink stay on the tissue paper. Then, gently dry it with a hairdryer.
Remove the tissue paper from the paper backing.
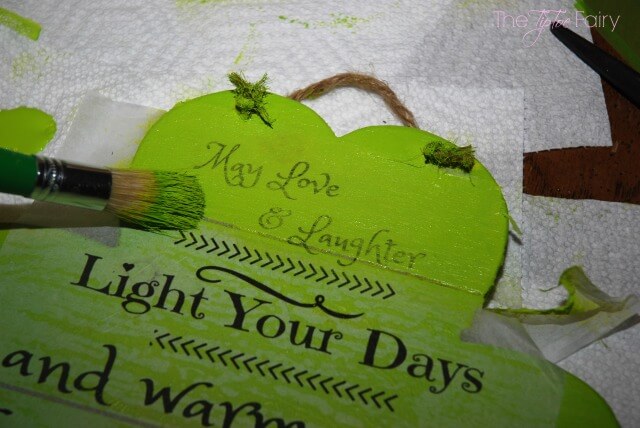
Paint on a thin layer of matte Mod Podge on the clover.
Lay down the tissue paper and smooth it out as best as you can with your fingers starting from the middle.
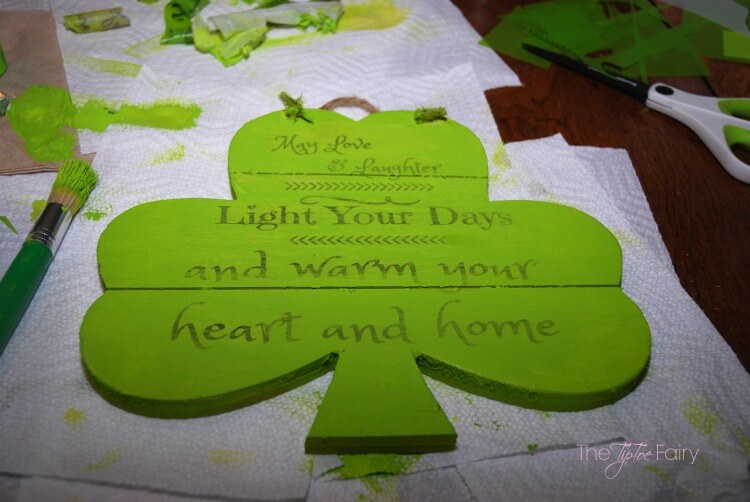
Paint a layer of green paint over the tissue paper. The tissue will easily tear at the edges of the clover plaque. Let it dry for a couple hours.
When it's dry, pull off any excess tissue hanging off the sides.
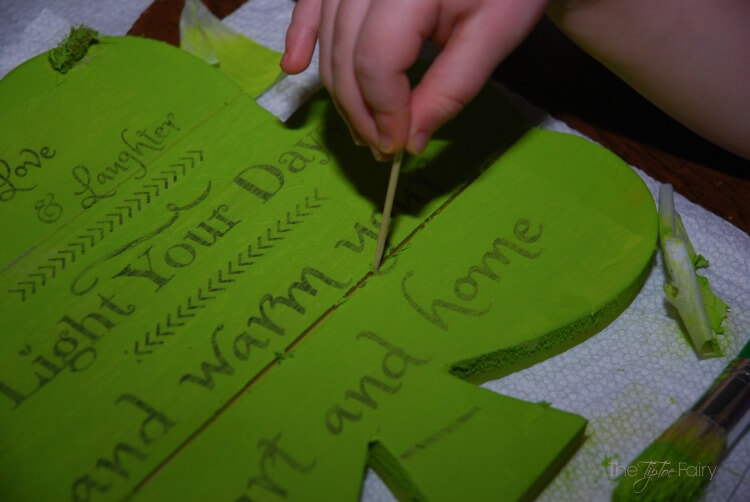
If your clover has the shiplap look, take a toothpick and run it through the lines to get any tissue paper stuck there.
Take a fine sanding block or sandpaper and run it over the whole clover to remove any wrinkles of tissue paper.
Then, go over the edges of the clover to make them look distressed.
You're done!
Recommended Products
As an Amazon Associate and member of other affiliate programs, I earn from qualifying purchases.
How to Print on Tissue Paper
It took me some trial and error, but I found this was the easiest and best way to print on tissue paper. You can use just a regular piece of white tissue paper cut to the 8.5 x 11 size of the paper.
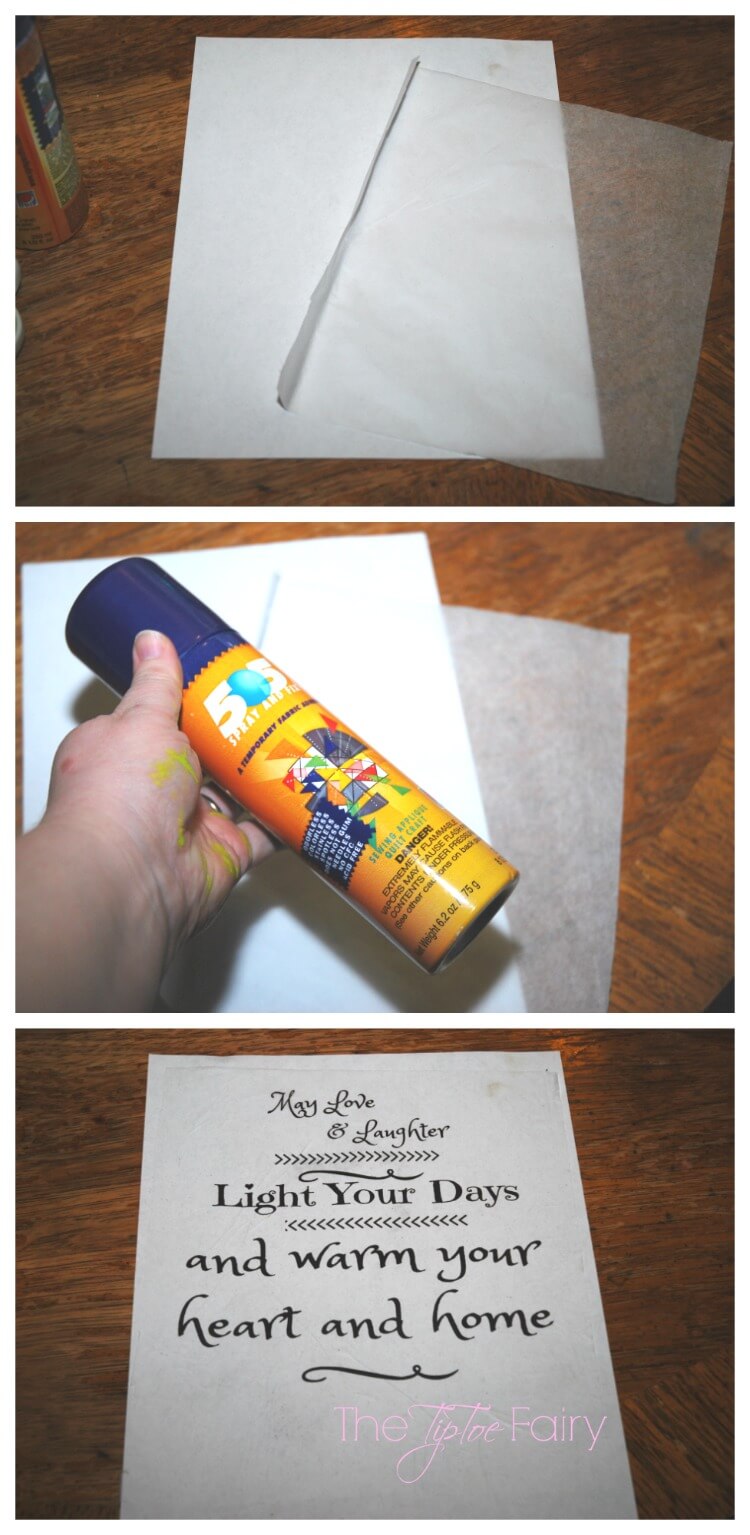 I used a fabric adhesive spray that is repositional. It’s called 505 spray and usually used for fabric applique. You simply spray it on and can reposition the fabric. I found it works great for tissue paper. It is expensive, but it lasts forever. I’ve literally had the same can for years and years.
I cut the tissue paper to be just a little smaller than a regular sheet of paper. Then, I sprayed the regular paper and carefully smoothed out the tissue paper. Then, I just ran it through the printer like normal.
TIP: To get the ink on an inkjet paper not to smudge when you add Mod Podge or paint, etc — spray it with hairspray. I chose to use 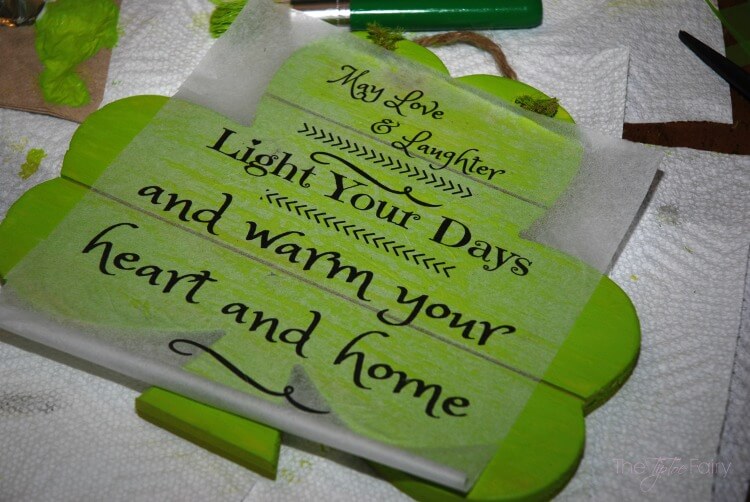
Remove the tissue paper from the paper backing. At this point my paint was still a little tacky, so I painted on a thin layer of Mod Podge, and then I put down the tissue paper. Smooth it out as best as you can with your fingers starting from the middle.
Paint a layer of green paint over the tissue paper. The tissue will easily tear at the edges of the clover plaque. Do this all over the plaque to hide the tissue paper. Then, let it dry for about an hour.
Tear off any excess of the tissue paper around the edges. Then in those little edges between the wood, I just used a toothpick to remove the excess tissue paper.
I wanted to add a little distressing to it, so I ran a smoothing sanding block all over the clover. I used the sanding block to sand down any wrinkles in the tissue paper, and I used it to smooth out any edges of the tissue paper.
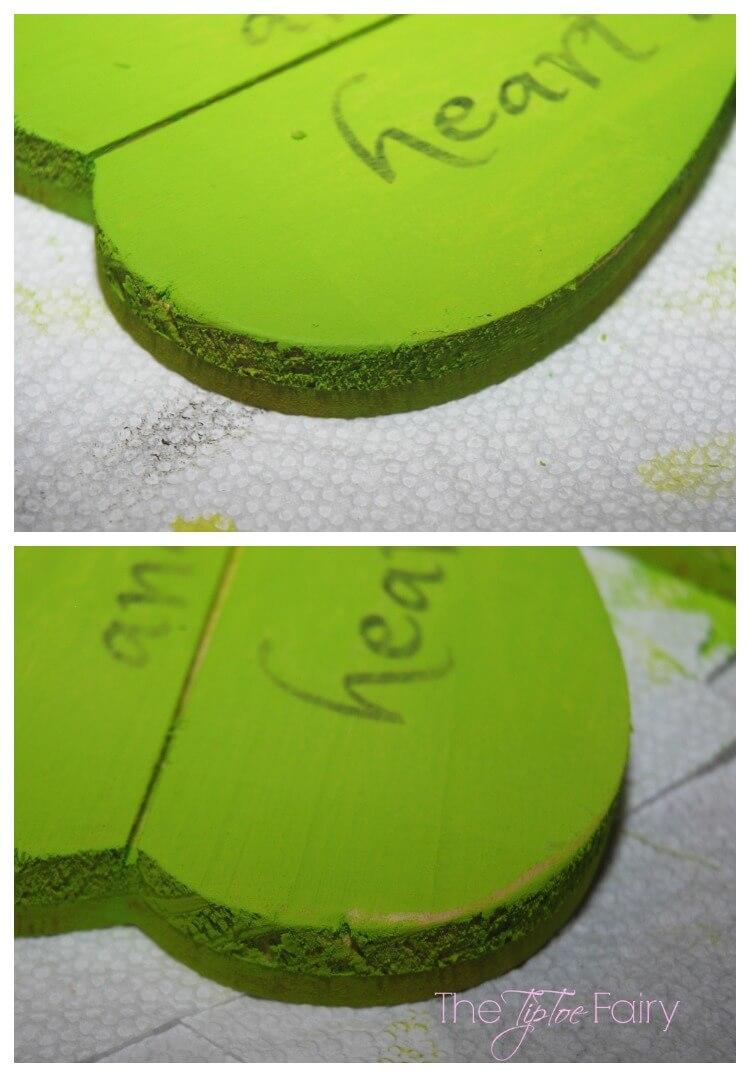 Next, I went around the edges of the clover to distress it a bit.
Then it was ready to hang up.
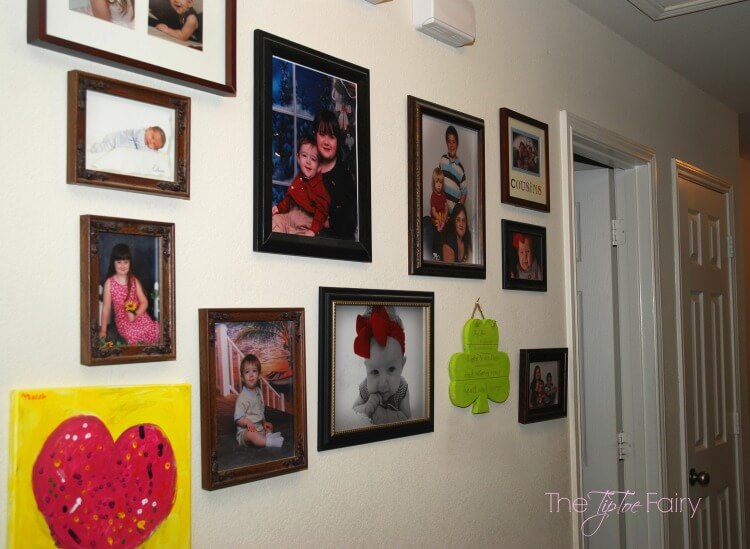
I love this little plaque because really you can keep it up year round. It doesn’t just scream St. Patty’s Day. I’ll be adding to my wall of family photos in the hallway.





16 comments
Oh my! What a lovely craft to do, the kids would enjoy making that as well. Without a doubt. Thanks for sharing this lovely idea!
This would be PERFECT for my Irish friend. I can’t wait to make this and give it to them!
That’s a cute DIY project., I’ve never celebrated St. Patty’s day before.
Oh how cute. I absolutely love how it came out 🙂
That is TOO CUTE! I love how you showed all of the steps. I think it looks easy enough that even I could make one! Thanks!
I love the saying on there. This turned out really nice.
That is so darn cute! I love your wa of family portraits and pictures.
I love it totally! That is really perfect for St. Patrick Day, by the way congrats to your new blog design love it.
This is real nice! Love this project. Makes a perfect St Patrick’s day decor.
This is the cutest project. My daughter would love it. She’s into anything where she gets to paint!
This is awesome, I’m going to have to try this for the boychild. He loves crafts and it’s a good way to teach him about other cultures.
How fun! I had no idea you could do something like that. I will have to try it with my kids this weekend! Thanks
What an awesome DIY craft! Perfect for my front door.
This is such an awesome project! I’d love to do something like this one of these days.