
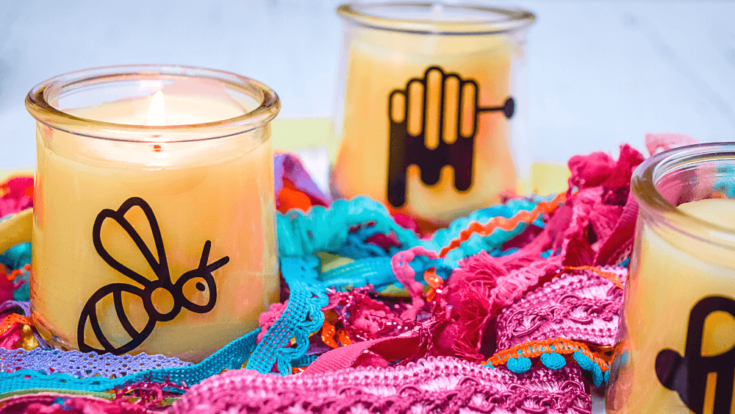
I saved a bunch of my Oui yogurt jars, bought beeswax pellets and made gifts this past holiday season. I made Oui Yogurt Jars Beeswax Candles. This post contains affiliate links.
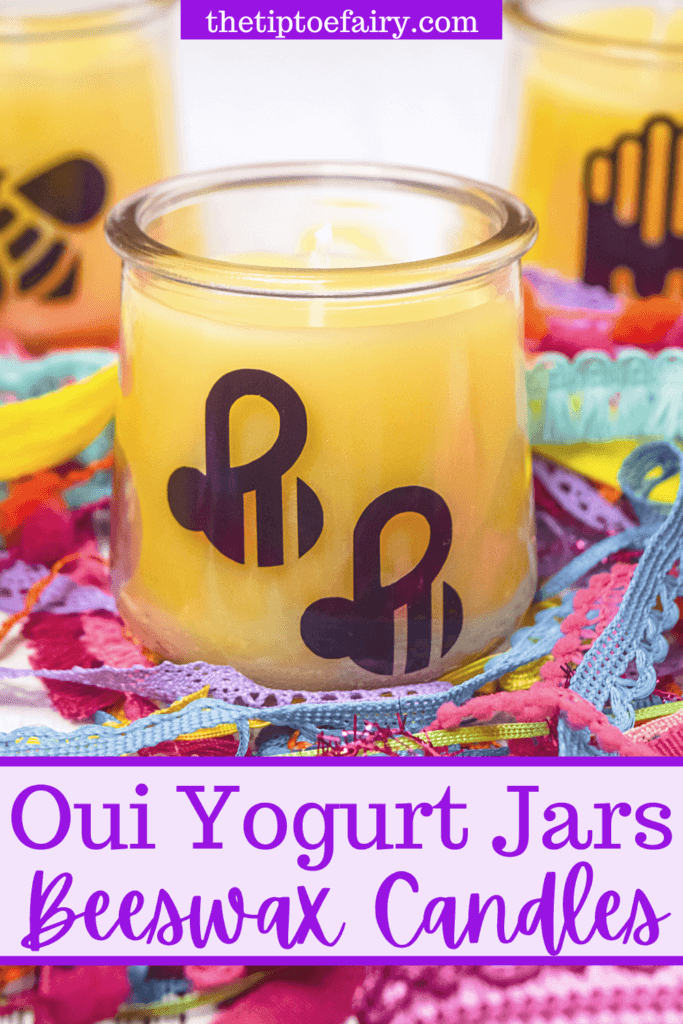
It was surprisingly easy to do, and I loved how they came out. I didn’t add any essential oils or scents and just allowed the sweet smell of beeswax.
I loved them so much, I just had to keep a set for myself.
Table of Contents
What do you need to make these upcycled jar beeswax candles?
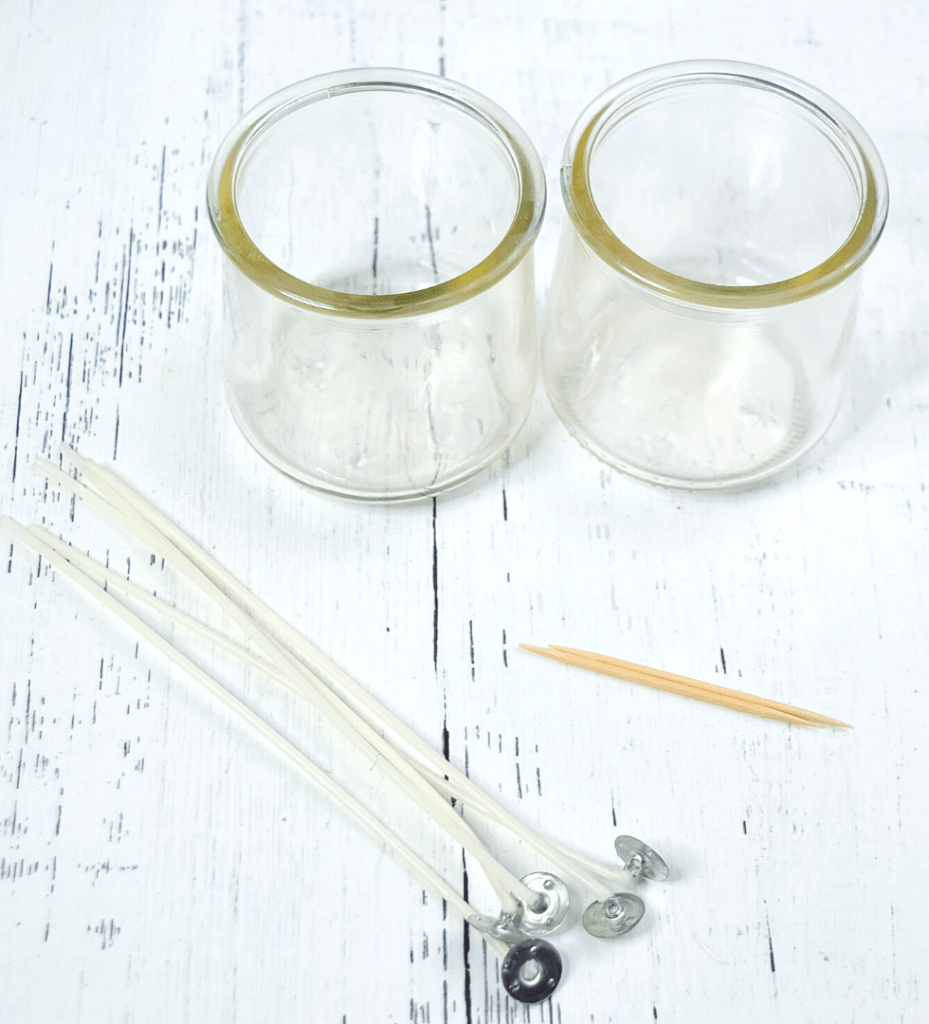
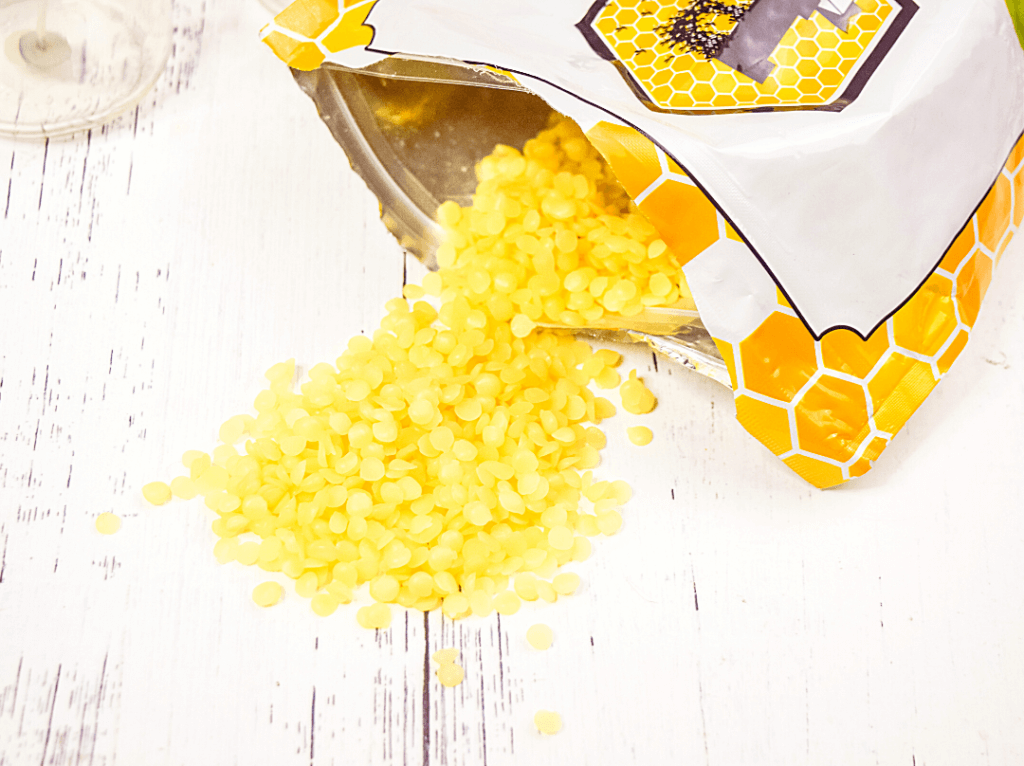
I purchased beeswax pellets as well as 6-inch wicks, and used some of my recycled Oui yogurt jars. I also used toothpicks to hold the wicks, and an old pot and mason jars to melt the beeswax.
I was told the best beeswax is made in the USA, so that’s what I chose. It cost more, but I wanted good quality beeswax that was only 100% beeswax.
How do you remove the labels on the Oui yogurt jars?
I have tried a few different ways, but the most successful and easiest for me is to use Goo Gone.
I pull the labels off, and then, I add a few drops of Goo Gone over the stickiness on the jars as well as a paper towel and scrub them off. Then, I wash them in hot soapy water to remove the Goo gone.
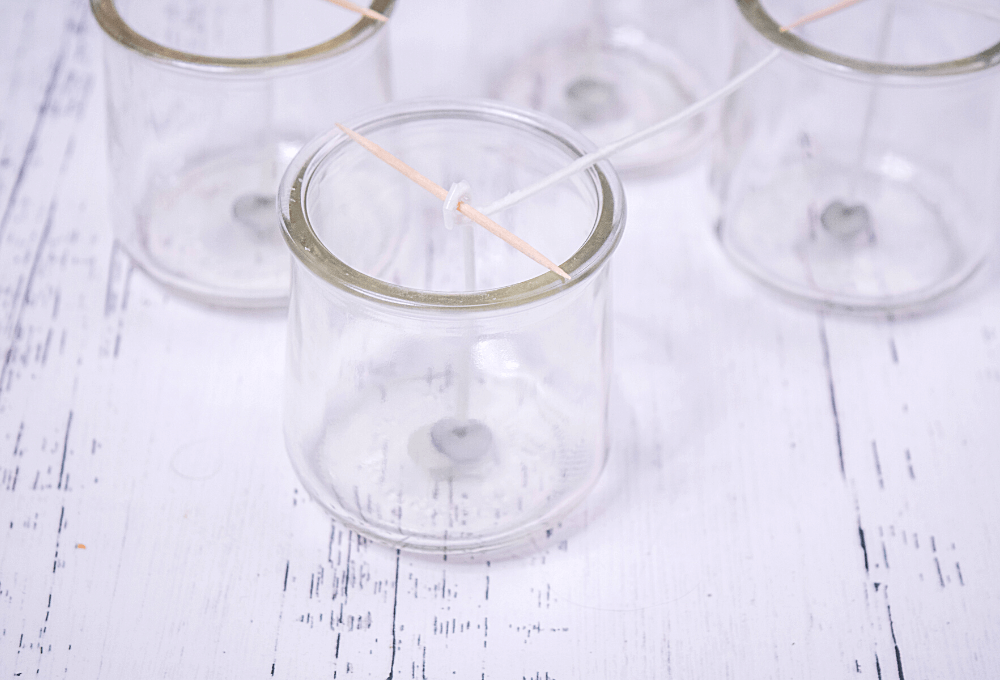
How do you get the Oui yogurt jars ready for the beeswax?
I placed a wick in the middle of each jar and then rolled the top of the wick down to the top of the Oui jar.
(We added the vinyl stickers after the candles cooled.)
How do you melt the beeswax pellets?
I researched the best ways to melt beeswax, and it seemed the microwave was not the best way to do it. So…I decided to go with a make-shift double boiler method.
Everything I read said to not use your regular pots and pans for melting beeswax, so I picked up an old pot at the thrift store.
Then, I filled the bottom of the pot with a couple inches of water and placed pint-size mason jars with about 1 cup of beeswax pellets each and let them melt over a medium high heat.
Then, I used a potholder to pick them up by the edge and pour them into the prepared Oui yogurt jars. Be careful when you do this, so you don’t get burned!
I fill each yogurt jar a little under the lip. I just eyeball it. Make sure they are on a flat surface where they won’t be moved.
It’s very important you also make sure they are not near the hot pan as they cool. I had a couple sitting on the stove 6 inches from the pan, and they didn’t cool evenly.
How do you finish the Oui Yogurt Jars Beeswax Candles?
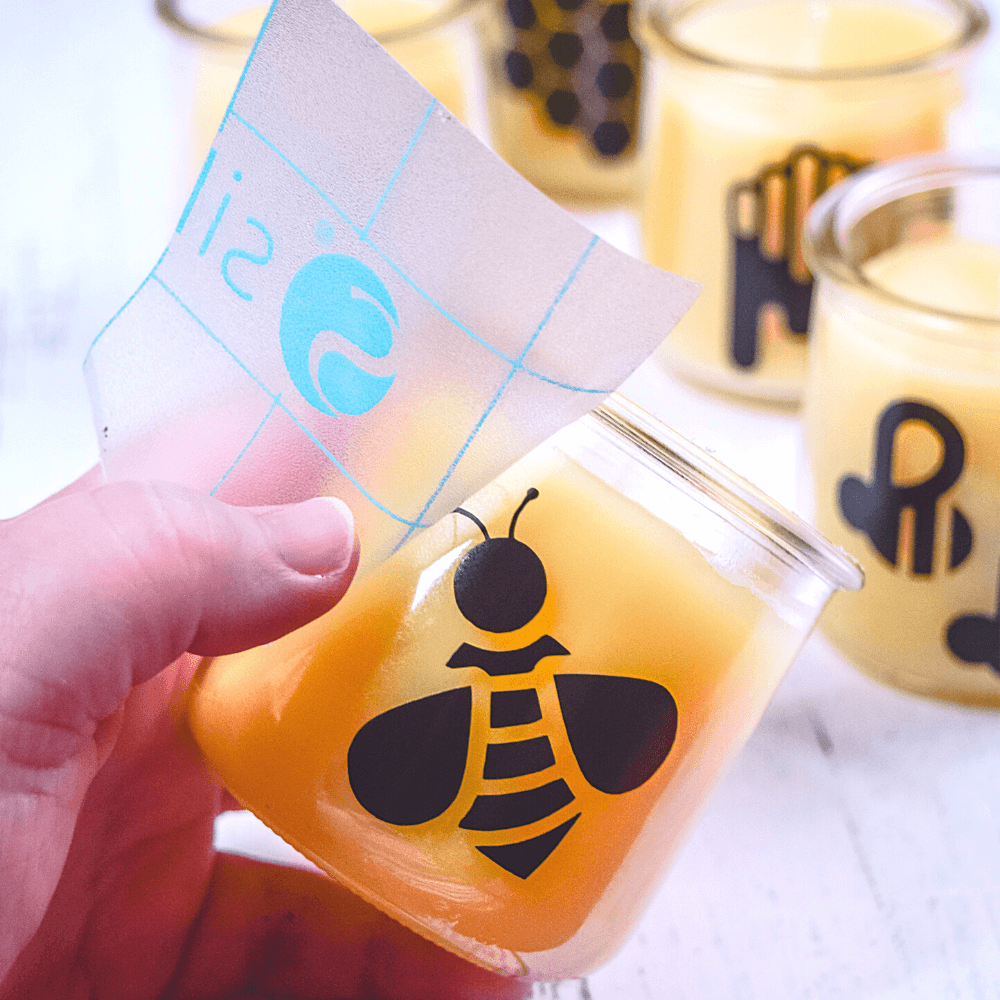
You can leave them as is, or add some cute vinyl stickers made with your Silhouette or Cricut.
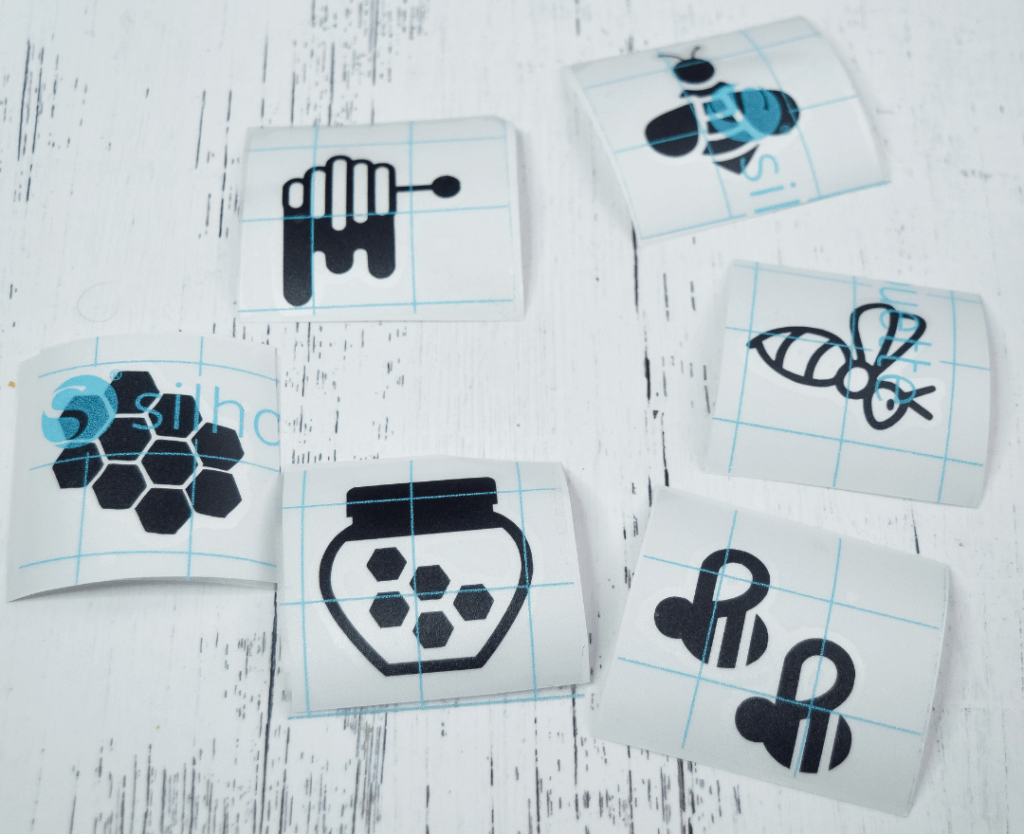
I made this set of “BEE” stickers to go along with the beeswax candles and you can download them.
You’ll need transfer tape and adhesive vinyl. We chose black vinyl, but you can use just about any color you’d like.
Get the SVG files for the Beeswax Candle Stickers
Recycled Oui Yogurt Jars Beeswax Candles
Materials
- 7 Oui yogurt jars - cleaned and labels removed
- 2 lbs beeswax pellets
- 6-inch candle wicks
- toothpicks
- black adhesive vinyl
- transfer tape
- Silhouette or Cricut
- SVG files
Tools
- old pot
- old mason jars
Instructions
- After eating the yogurt wash the yogurt jars.
- Remove the labels and clean the stickiness from the yogurt jars.
- Place a wick in the center of each jar and roll up the excess with a toothpick that lays across the top of the jar.
- Fill a pot with about 2 inches of water and put it on medium high heat.
- Put a cup of beeswax pellets into each pint size mason jar and place them in the water and let the beeswax gradually melt.
- Carefully take each mason jar of melted beeswax with a potholder and gently pour the beeswax into each yogurt jar. Leave about 1/2 inch of space at the top.
- Allow the jars to cool for a couple of hours.
Recommended Products
As an Amazon Associate and member of other affiliate programs, I earn from qualifying purchases.

