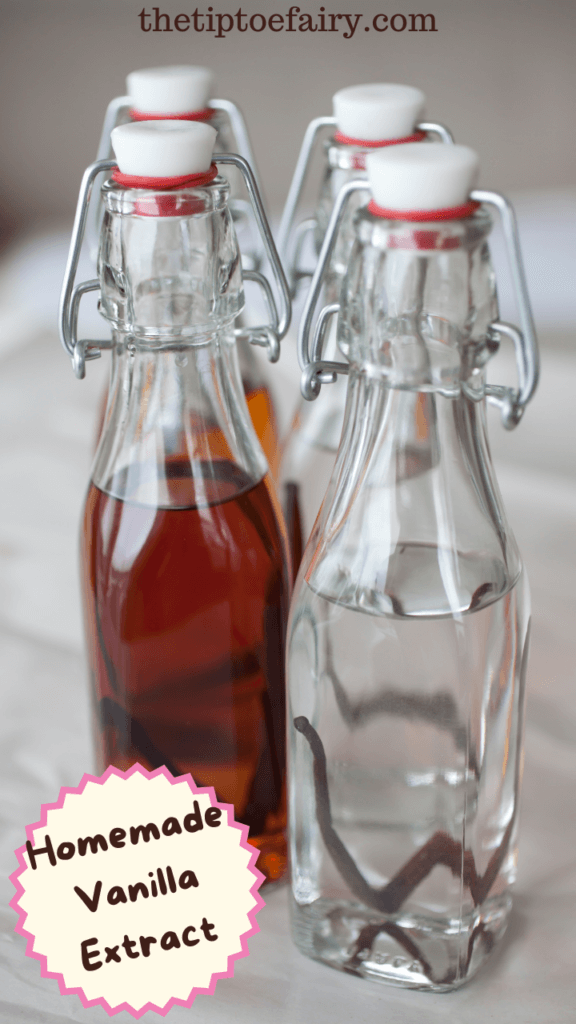
You only need two ingredients to make Homemade Vanilla Extract – Vanilla Beans and Alcohol (Vodka, Rum, or Bourbon). If you start now, this is the perfect homemade gift to give someone who loves to cook or bake for the holidays.

You can let the beans infuse for 3-4 months (or as little as 8 weeks), but for the best flavor, I like to wait at least 6 to 12 months.
Even if you’re not making it as a gift and just for yourself, homemade vanilla is cheaper and better tasting than store bought. Plus, as you use the vanilla, you can top off the bottle with more alcohol and have a never-ending supply.
Table of Contents
Why should you make Homemade Vanilla Extract?
Vanilla extract is an extremely common ingredient in many of our baked goods. It can be pretty amazing because just 1 teaspoon of vanilla can completely turn a good dessert into an amazing dessert. It’s needed for so many recipes, like vanilla cupcakes, vanilla buttercream, and even Vanilla Lavender Limeade.
It’s definitely more cost efficient to make it at home, since the price changes. Plus, you can control the strength of its flavor. Good vanilla is very expensive, and store bought vanilla is often imitation made with artificial ingredients or it’s weaker vanilla because they cut back on how much vanilla they put it in the bottles.
What Do You Need for Homemade Vanilla Extract?
You need two ingredients – alcohol and vanilla beans. But, you also need glass bottles you can seal closed with a lid and most likely a funnel.
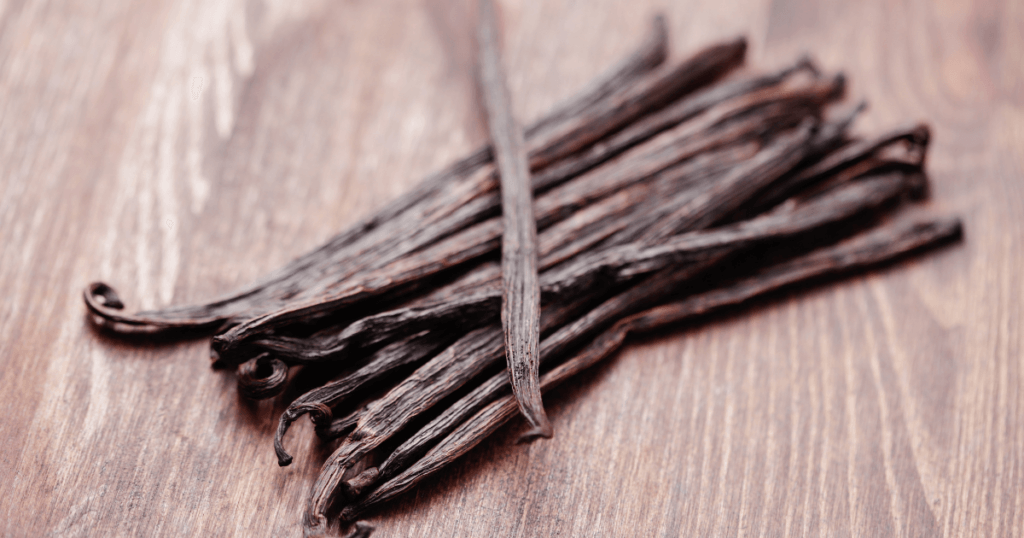
- You’ll need about 4-6 vanilla beans per bottle.
- These are the glass bottles I like to use for making vanilla extract.
Download FREE Homemade Vanilla Extract Labels
Download the labels above and attach to the bottles when you’re ready to give your homemade vanilla extract as gifts.
You can remove the beans or keep them in the bottles for gifting. It’s your choice. I recommend keeping them, so that your recipient can keep topping off the bottle with more alcohol to keep their vanilla extract going. It’s the gift that keeps on giving!
How do you make Vanilla Extract?
All you’re doing is pouring the alcohol over vanilla beans that have been slit open and letting the infusion age over time.
I use the ratio of 4-6 vanilla beans per 8 ounces of alcohol.
I put the bottles in the pantry (out of direct sunlight), and I like to give them a shake once a week. It’s so simple.

Vanilla Beans
- You can find vanilla beans at most major grocery stores in the spice aisle. You can also find them online. I like to buy mine online because the price tends to be cheaper for a larger amount to make when giving homemade vanilla extract as gifts.
- Vanilla beans are often labeled “Grade A” and “Grade B”.
- “Grade B” are specifically sold for extracting purposes and tend to cost more.
- I’ve always made my vanilla with Grade A beans and it tastes great, so I recommend using either.
Alcohol
- Use 80 proof alcohol.
- Vanilla extract is most often made from vodka, but you can use bourbon, brandy, or rum instead. I have made vanilla extract from vodka as well as rum. I think the rum one is wonderful. I’ve also heard amazing things about bourbon vanilla extract, though I haven’t made it myself.
- Also, I wouldn’t buy expensive alcohol, the cheap stuff will do just fine for making your vanilla extract because the flavor is coming from the vanilla beans, not the alcohol.
- Don’t use flavored alcohols like flavored vodkas because those synthetic flavorings can affect the vanilla flavoring you’re infusing.
Glass Bottles or Jars with Seal
- I like to make my vanilla in 8 oz bottles. These bottles have a good seal with a swing top, and they are perfect for gifting.
- You can sterilize the bottles. I typically run them through the dishwasher on the sanitize cycle.
Funnel
While a funnel is optional, I totally recommend it. In fact, this set of glass bottles comes with one.
The Waiting Game (6-12 months)
The longer it sits and the darker it gets, the better homemade vanilla extract tastes. It can take patience, but the wait is totally worth it. You can start using after 8 weeks, but if you wait 6 to 12 months, it’s amazing.
Can you make a non-alcoholic vanilla extract?
Alcohol is typically used to because it’s the most efficient way to extract the flavoring, You can use glycerin to make non-alcoholic homemade vanilla extract, but I have personally never done it. I did find this method for doing so. You can also find a few more if you search online.

Homemade Vanilla Extract
Ingredients
- 4-6 vanilla beans
- 8 oz alcohol (vodka, rum, brandy, or bourbon)
Instructions
- Slit open one side of the vanilla bean pod.
- Insert 4 to 6 slitted open vanilla beans into a glass bottle that will hold 8 oz of liquid.
- Add 8 oz of an 80 proof alcohol (vodka, rum, bourbon, or brandy)
- Close the bottle.
- Place the bottle out of direct sunlight and shake it up once a week.
- Allow it to sit for at least 8 weeks before use, or preferably 6 to 12 months.
Notes
- Use homemade vanilla extract exactly as you would store bought.
- Top off your vanilla extract with more alcohol as you use it, to keep using it over and over again.
- Since the vanilla bean pod is slit open, there will be vanilla beans in your vanilla extract and you may see them in the food you're making with it. It's a wonderful and delicious addition!
- It's best to wait 6 to 12 months to use your vanilla extract. The darker it gets and the longer it sits, the more potent it is to flavor your baked goods!
Nutrition Information:
Yield:
48Serving Size:
1 teaspoonAmount Per Serving: Calories: 11Total Fat: 0gSaturated Fat: 0gTrans Fat: 0gUnsaturated Fat: 0gCholesterol: 0mgSodium: 0mgCarbohydrates: 0gFiber: 0gSugar: 0gProtein: 0g
Any nutritional information on thetiptoefairy.com should only be used as a general guideline. This information is provided as a courtesy and there is no guarantee that the information will be completely accurate.
Come Join Us!
Liked this article and want more? Follow along on Instagram, Facebook, Twitter, Pinterest, TikTok, and YouTube!
Come over and join us on Facebook in the group Recipes, Crafts, and more with TipToe Fairy or Sewing and Crafting with The TipToe Fairy!
