I am by no means an expert in photography. In fact, when it comes to photography, I feel pretty meek, and it seems everyone else knows more than me. But, I just hate not having good light, and I cannot justify buying expensive lights. Don’t you hate it when you have the perfect recipe for your blog, but there’s no natural light to get those great shots for your photos? It’s raining or cloudy or 10 o’clock at night, and you need light! Gosh, this has happened to me so many times.
Well, I created a solution, and you can get all the supplies in one Walmart shopping trip (if the fabric lady is actually there to cut fabric 😉 ) And, it will cost you less than $30 for one light or $50 to make two lights. I made 2 lights at the same time. The only additional supplies you need are another lampshade and another clamp light. There’s enough of everything else to make two lights.
I was watching a YouTube video to get ideas for better lighting, and I noticed the big professional soft lights looked like lamp shades with fabric zippered over them. My first idea was to use something like tracing paper to cover, but I felt that might not be sturdy enough and could possibly rip. Then, I decided to use a bright white polyester lining fabric (not too thick) over a lampshade, and it worked!
The lampshades are easy to set the lights flat, but I also like how using a clamp light makes it easy to clamp the light on something like a kitchen chair back or anything!
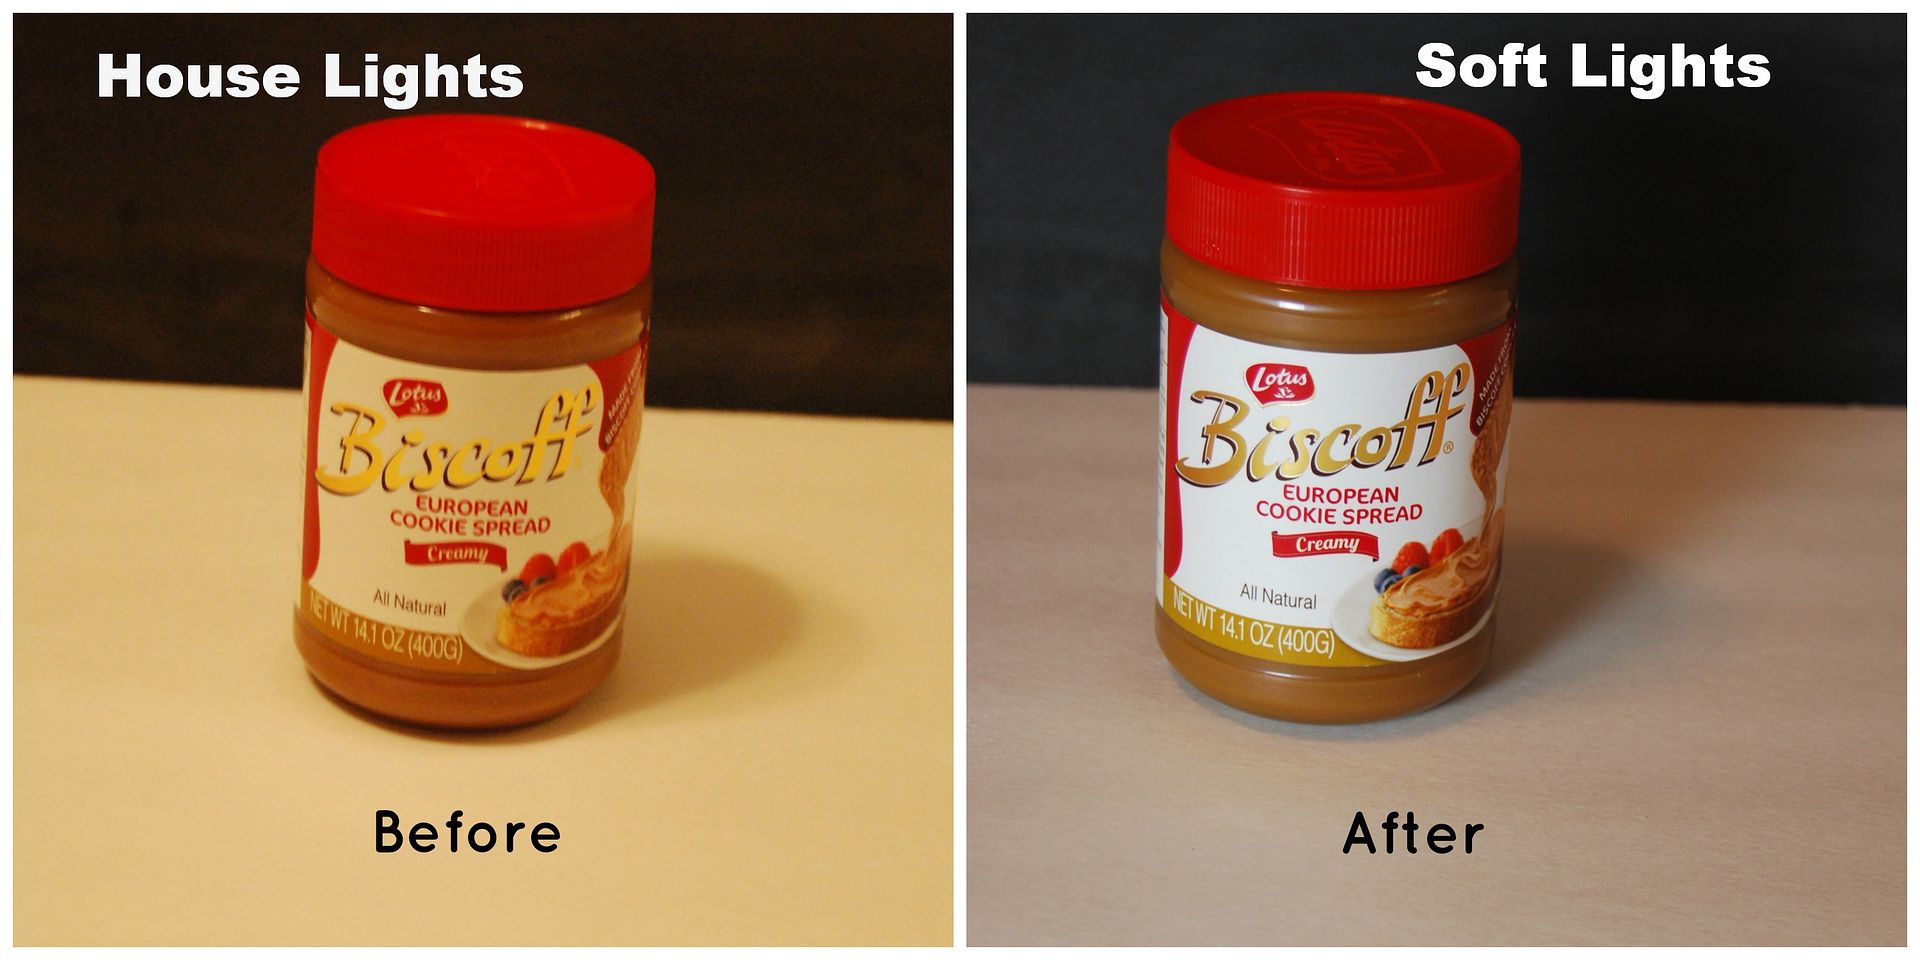
Here’s one example I took after the lights were made. The left picture is at night without any natural lighting and just my room lights on, and that’s a lot of room lights — like 10 lights going at once. It’s very yellow. The second picture is taken with the new lights I just made. It’s definitely crisper and whiter.
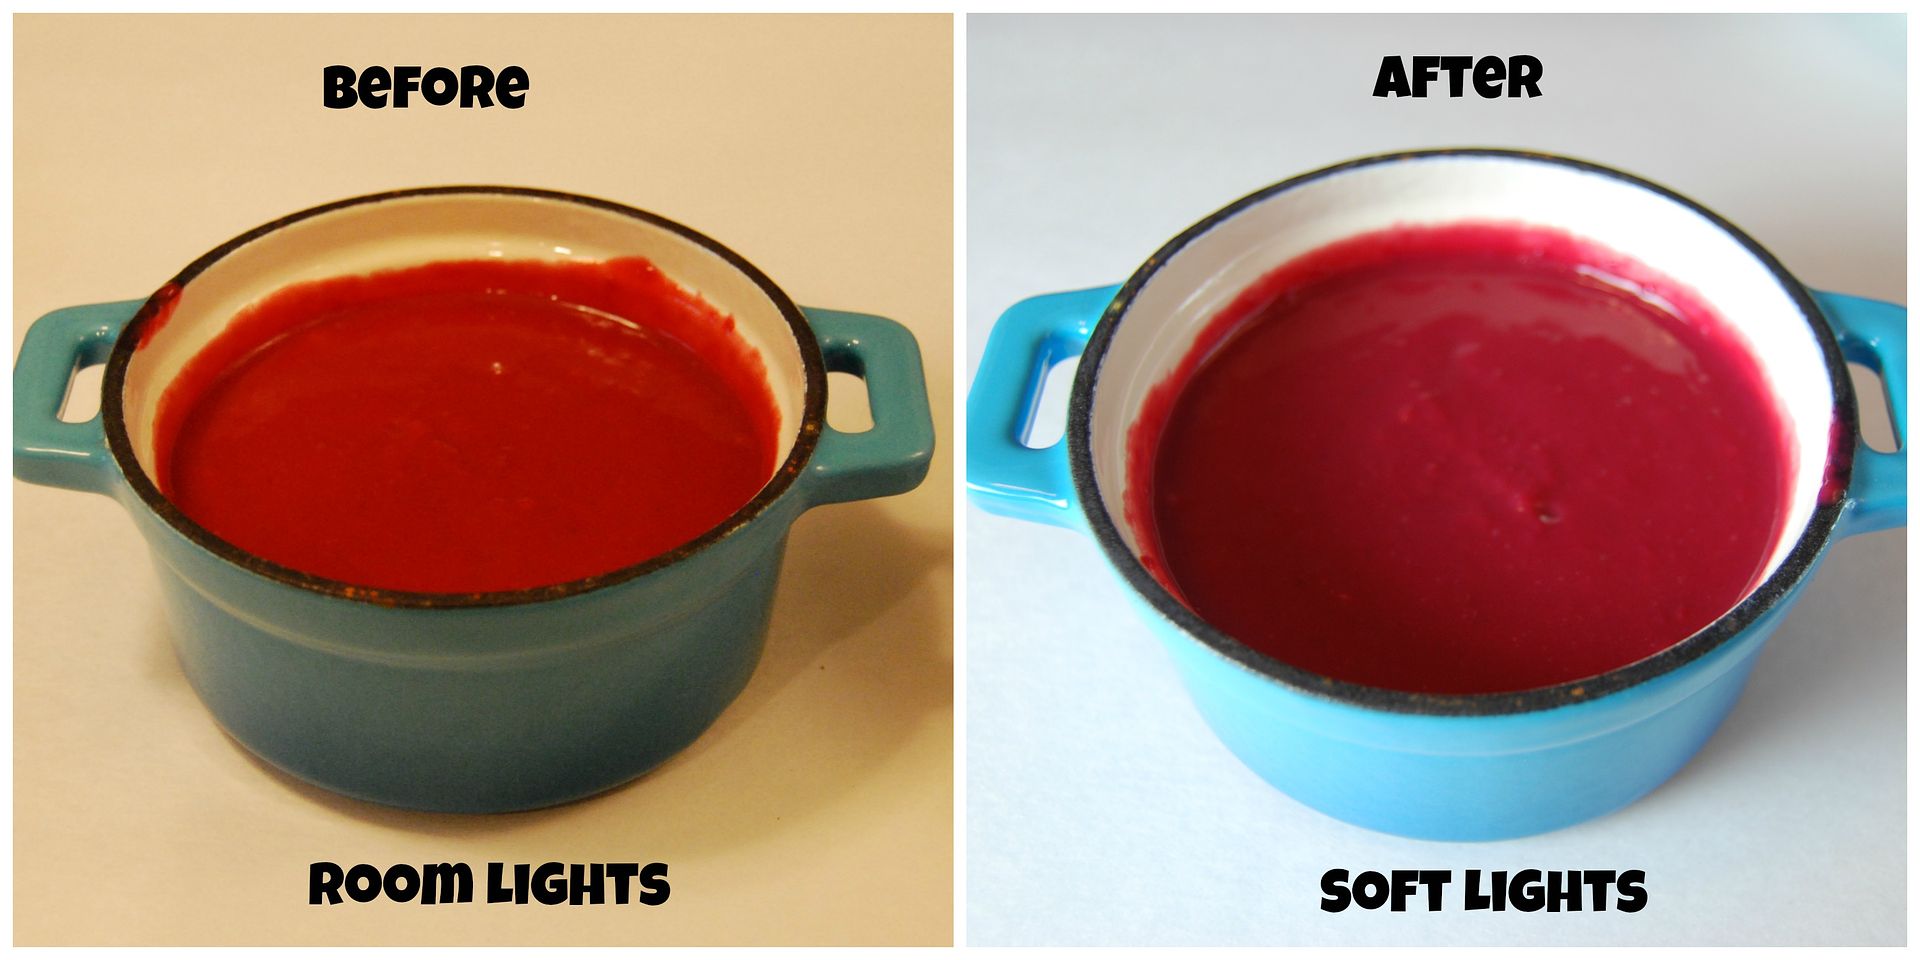
Here’s another with actual food. This is my Raspberry Curd. I just love how it looks with my new lights! Look at the turquoise pot. Doesn’t it just POP with color?
Now, let’s get started!
Supplies
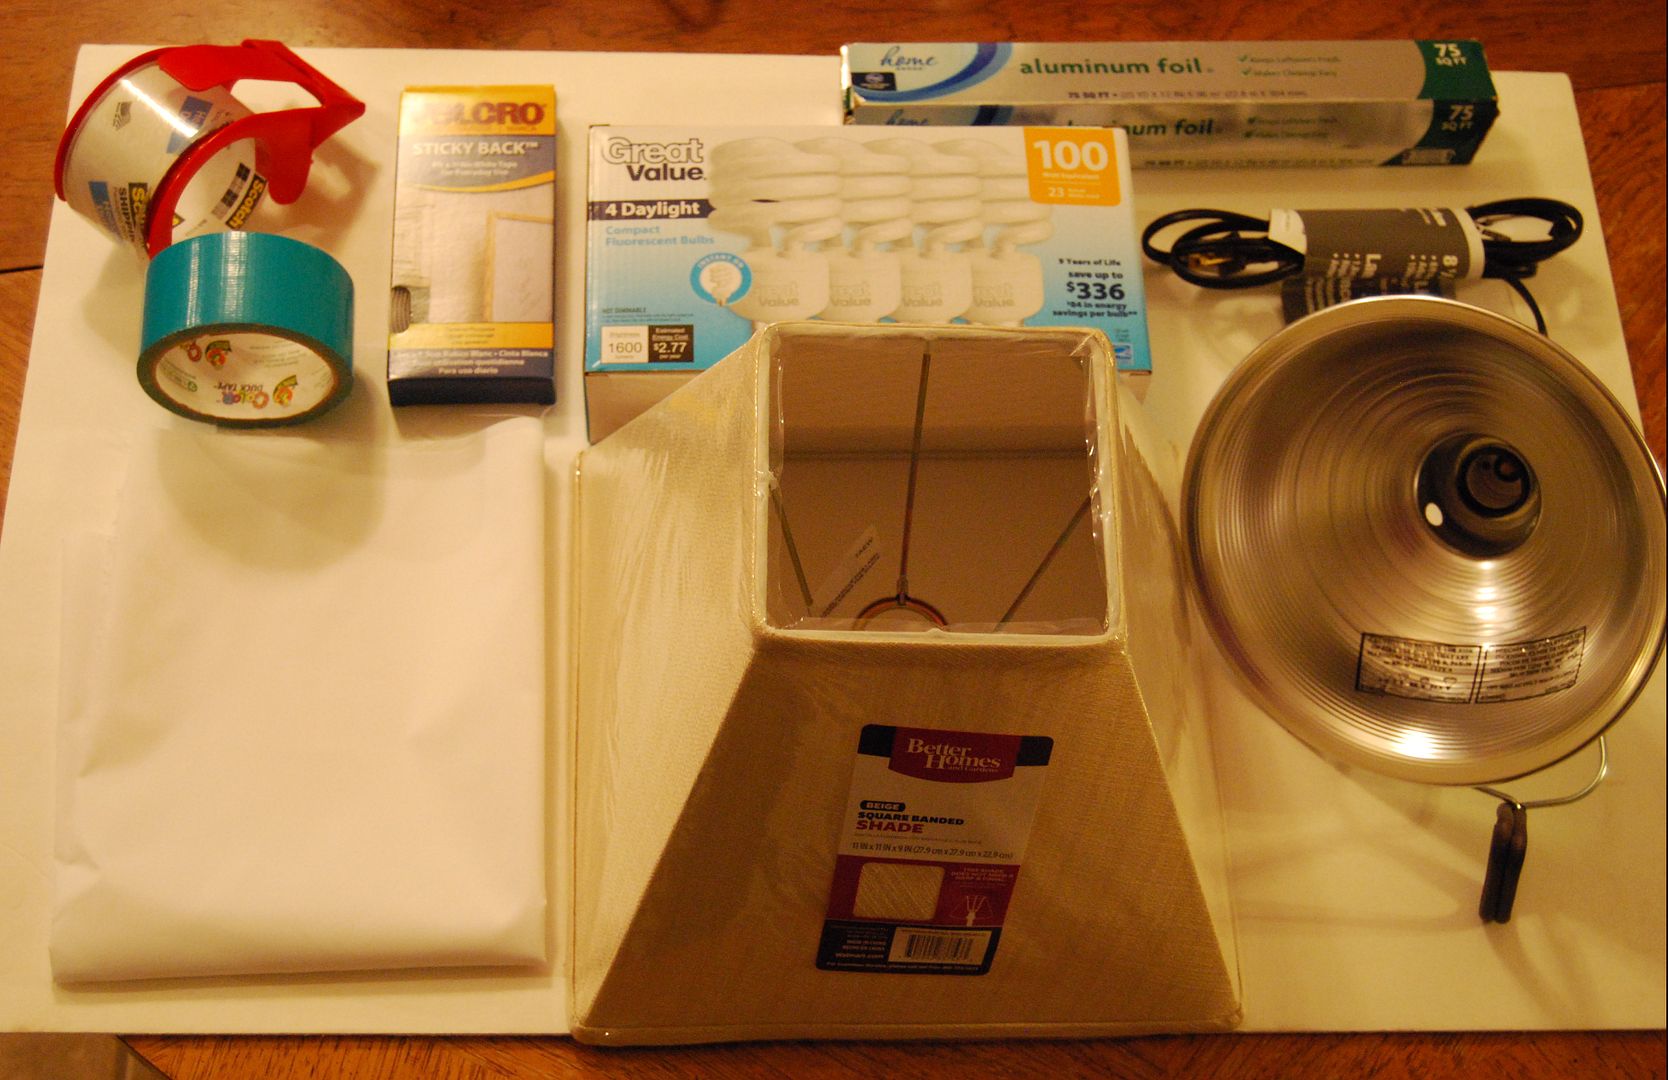
- 8-inch clamp light – $10
- 11-inch square lamp shade – $10
- Sticky hook & loop tape (Velcro) – $3
- Duct tape – already had
- Clear packing tape – already had
- Aluminum foil – already had
- 1/2 yd of white fabric lining – $2.40
- 100-watt compact fluorescent – (about) $4
- Exacto knife – already had
Directions:
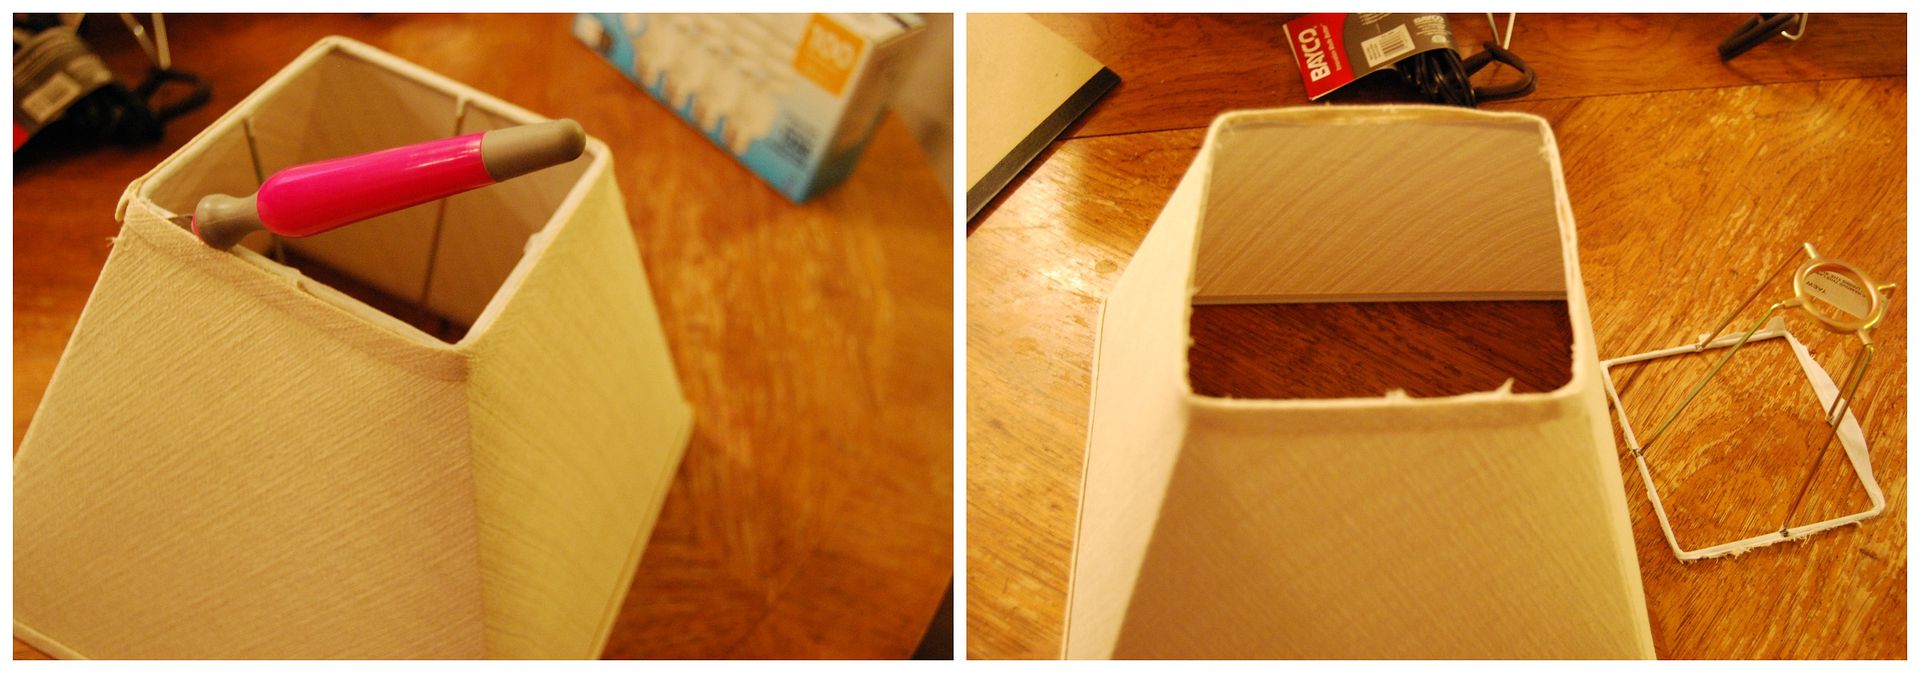
1. Using the Exacto knife, carefully cut the frame metal frame off the lampshade and remove it.
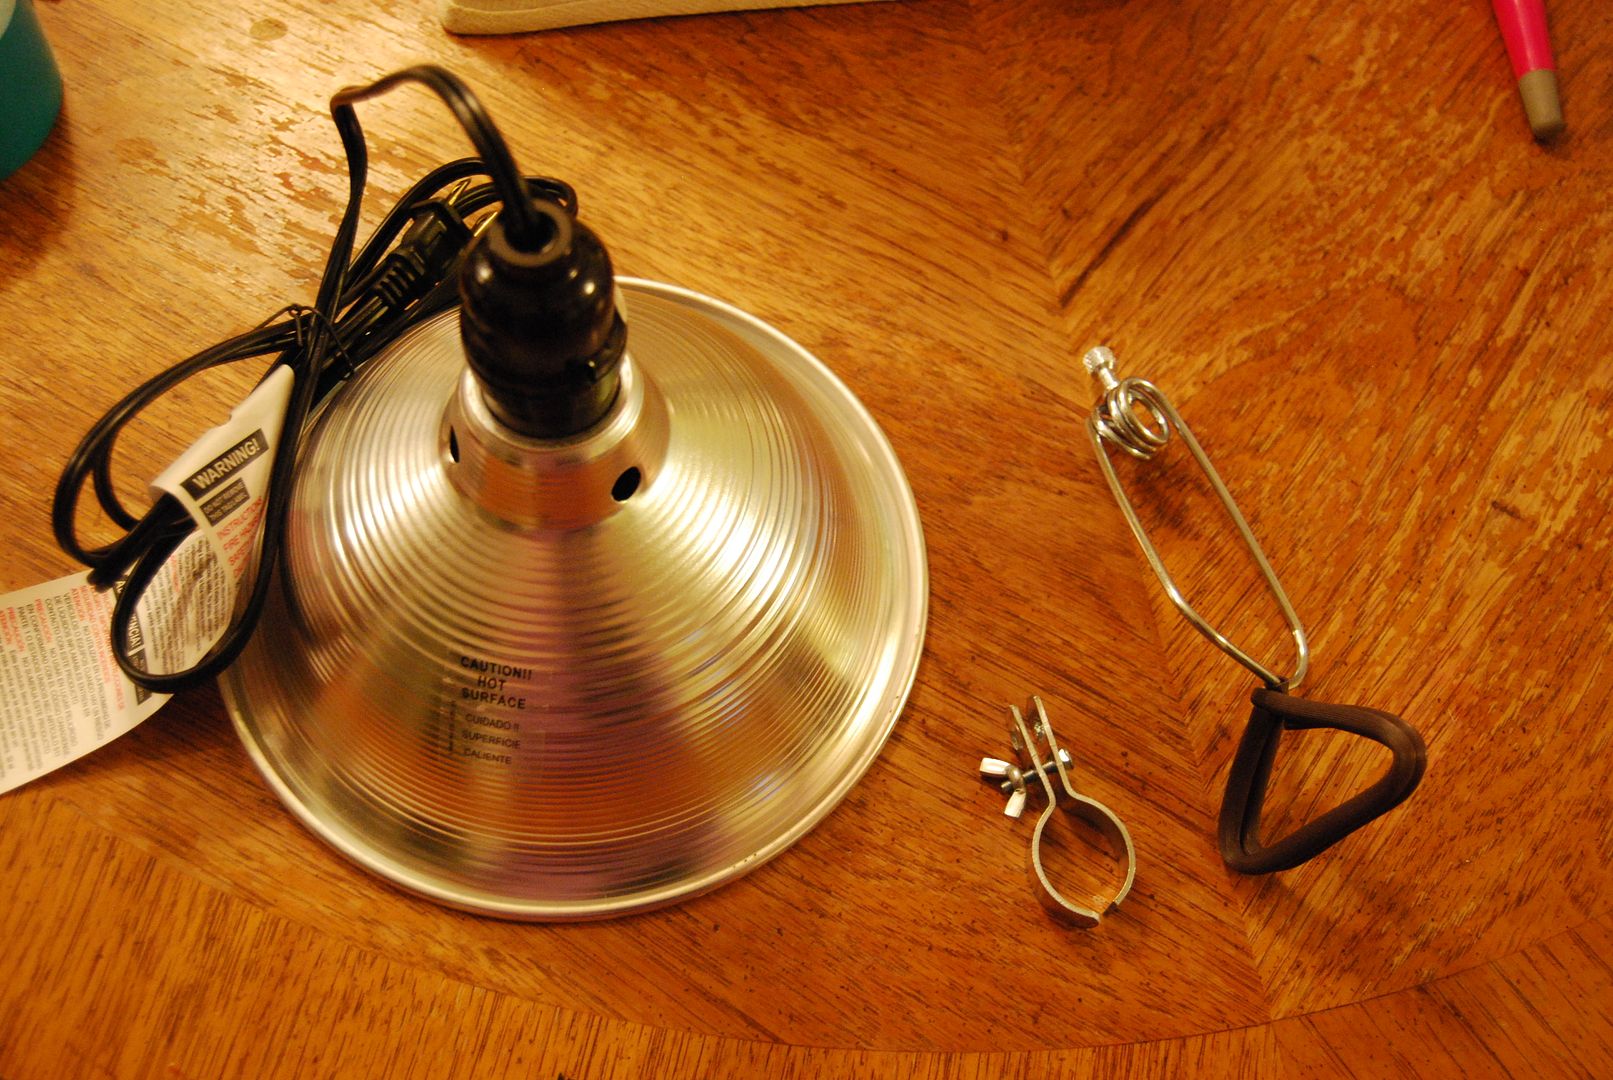
2. Remove the clamp from the light. (Don’t lose the parts, as it will go back on shortly.) And, go ahead and screw in the light bulb. I chose 100-watt Daytime bulbs.
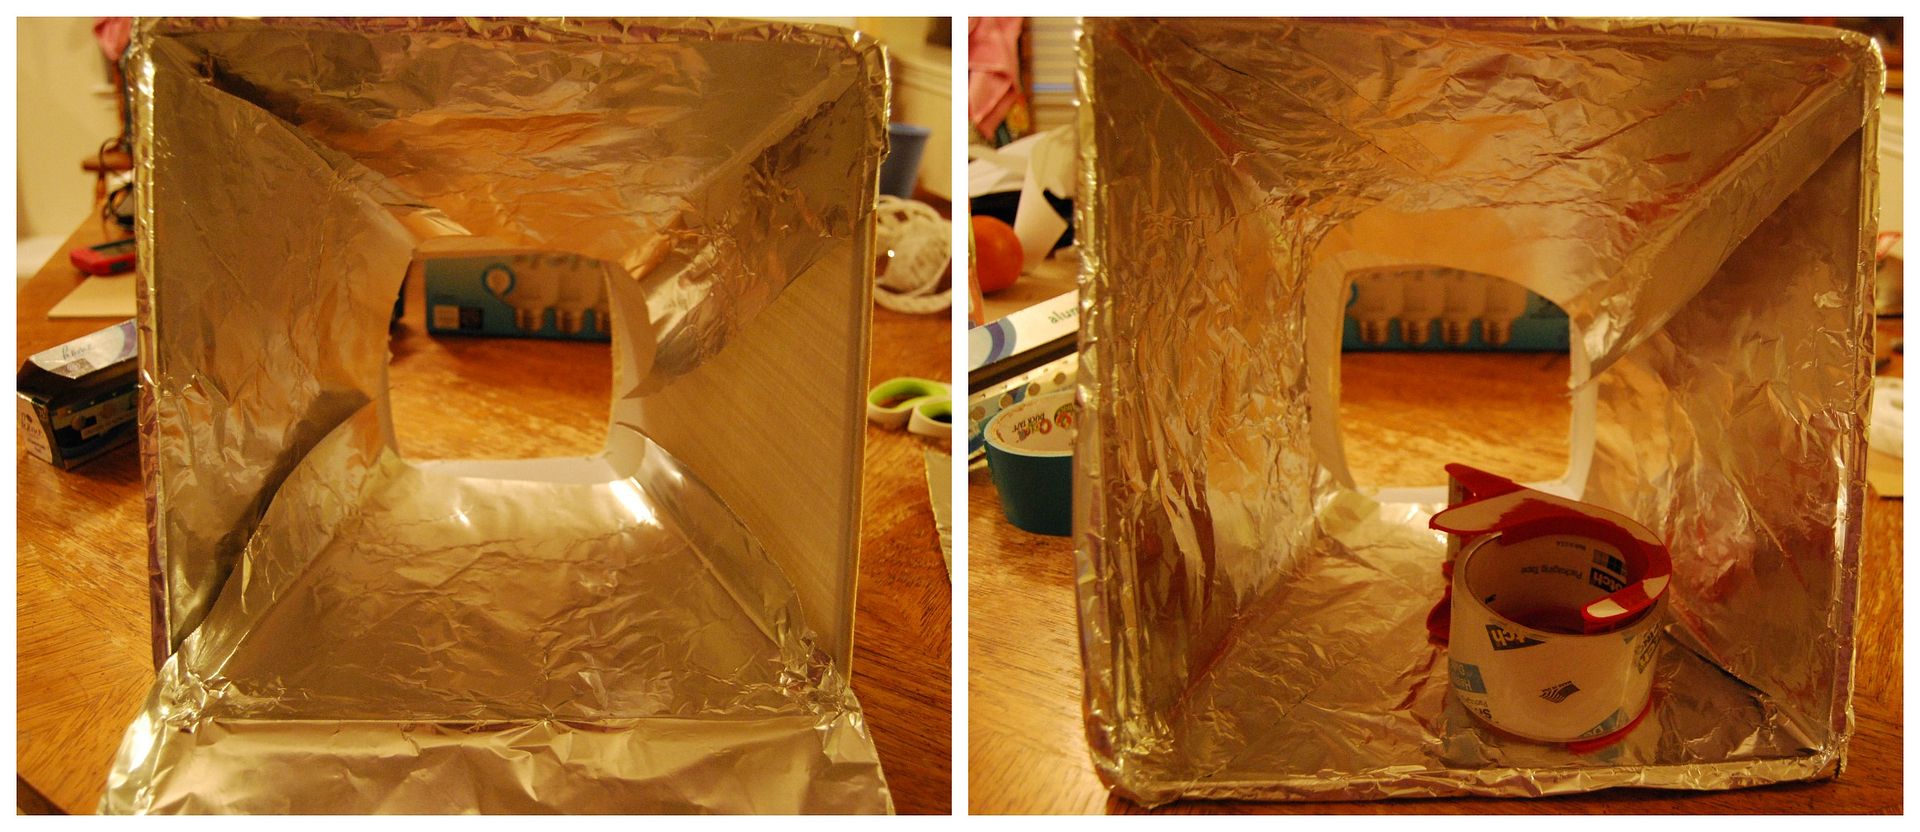
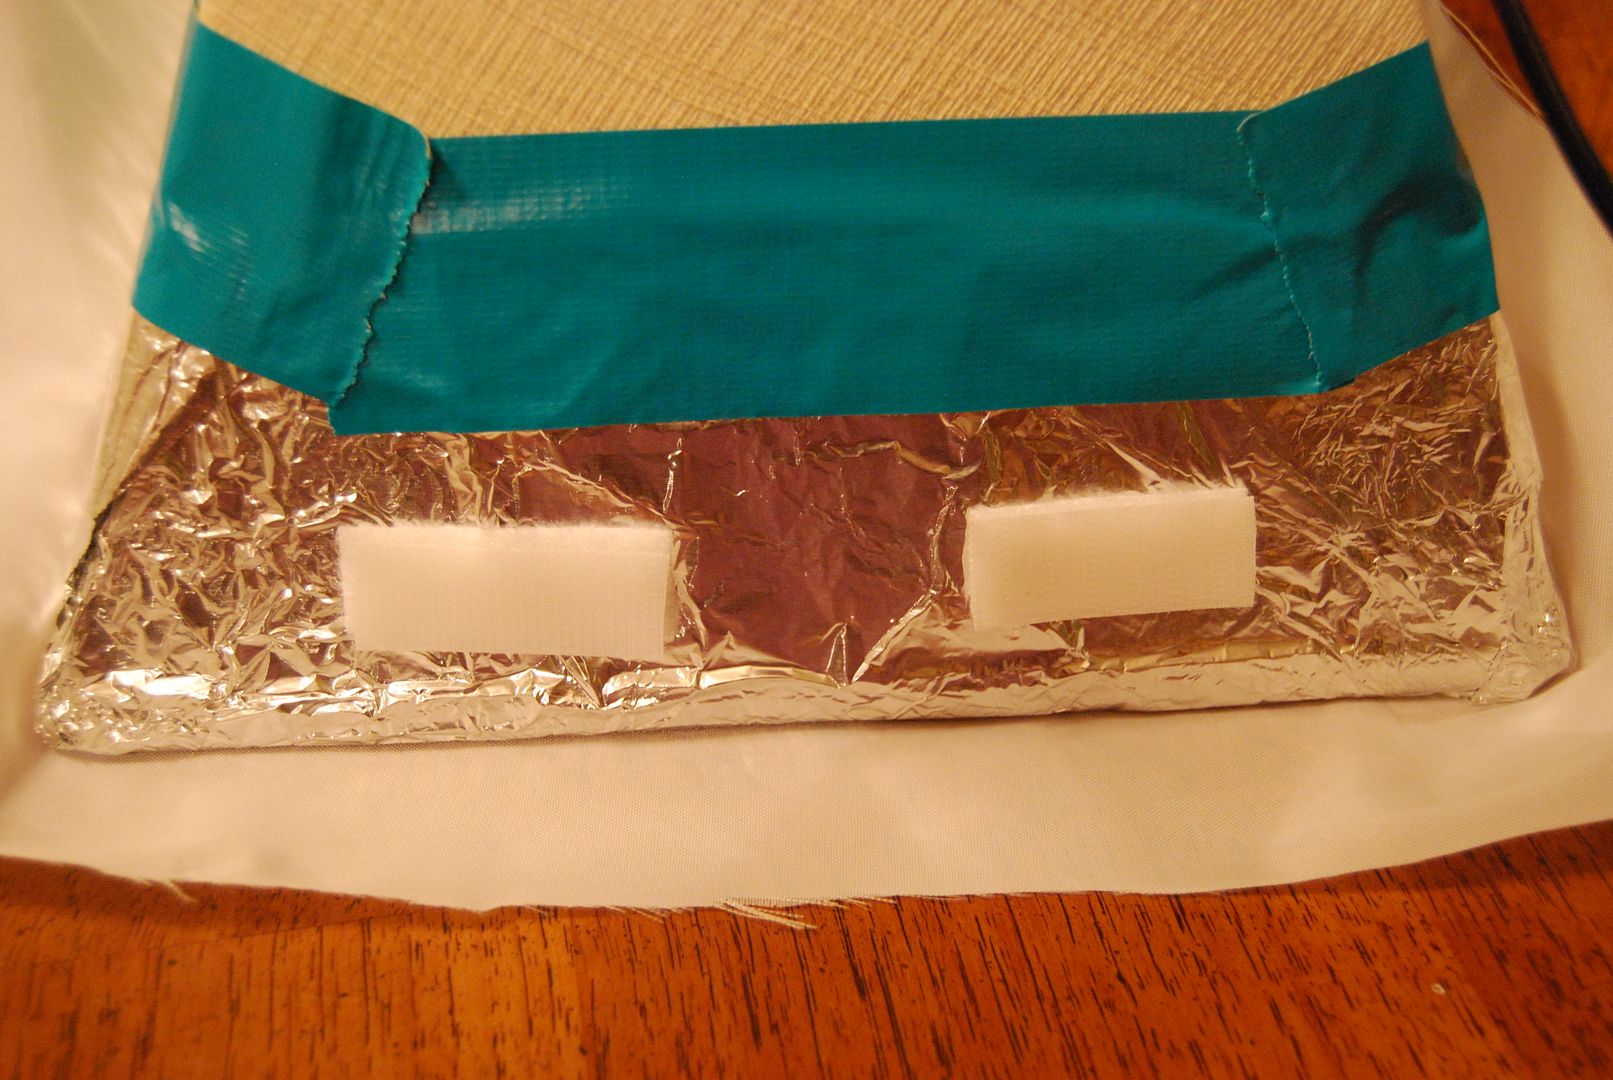
3. Line the inside of the lampshade with foil. Make sure it goes up high enough so that when the light is placed inside, the foil goes up past it. Make sure to have about 2-3 inches of the foil past the base of the lampshade to fold over to the outside. Use duct tape to secure it to the OUTSIDE.
4. On the INSIDE of the lampshade, tape the foil together with clear packing tape.
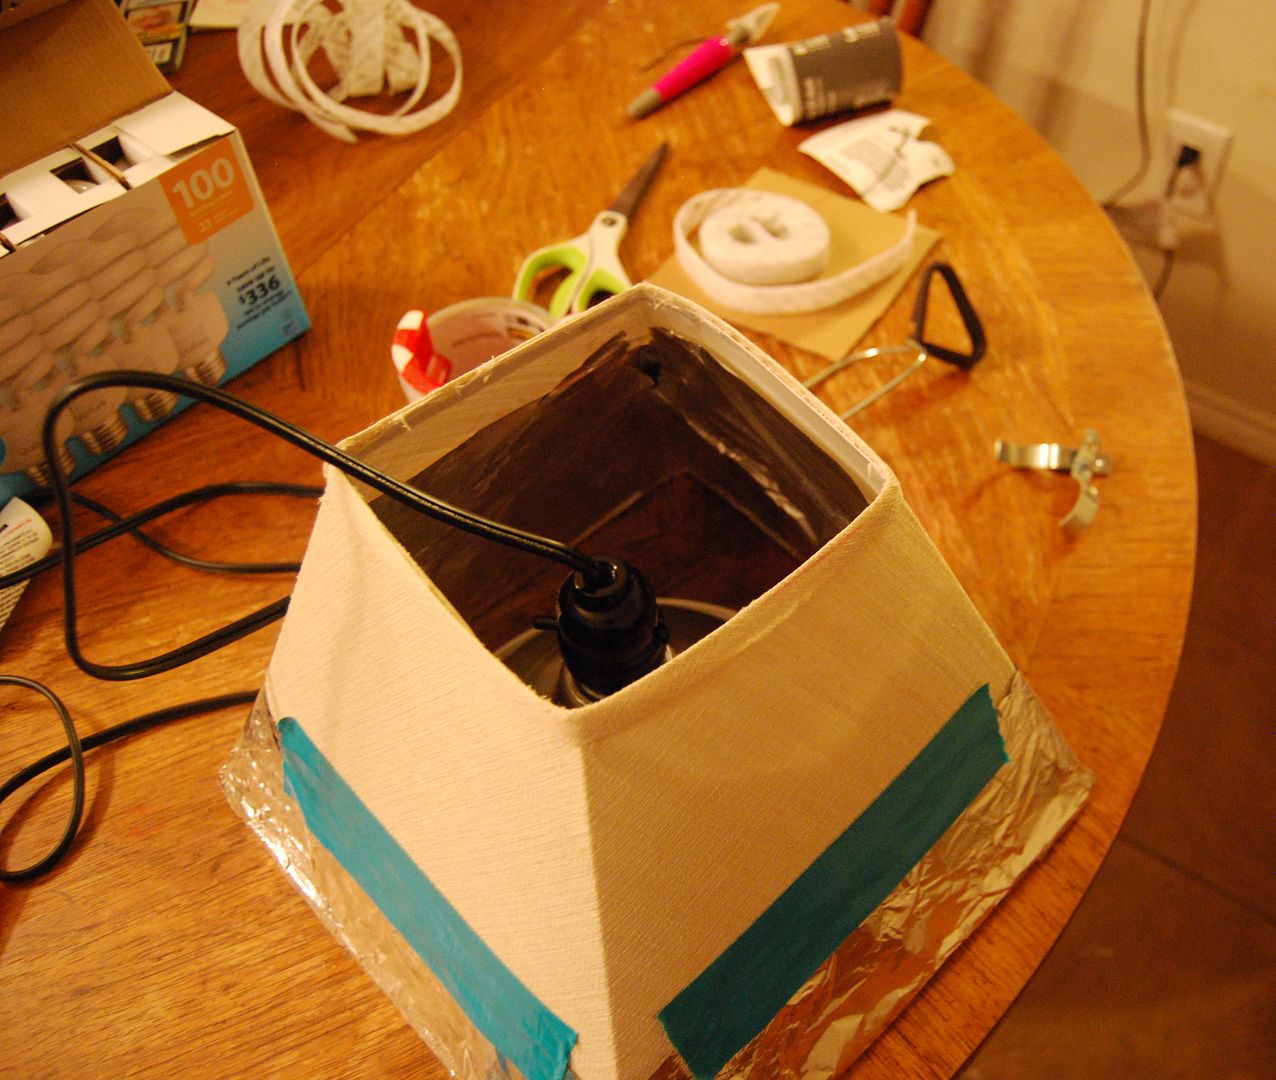
5. Insert the light into the lampshade.
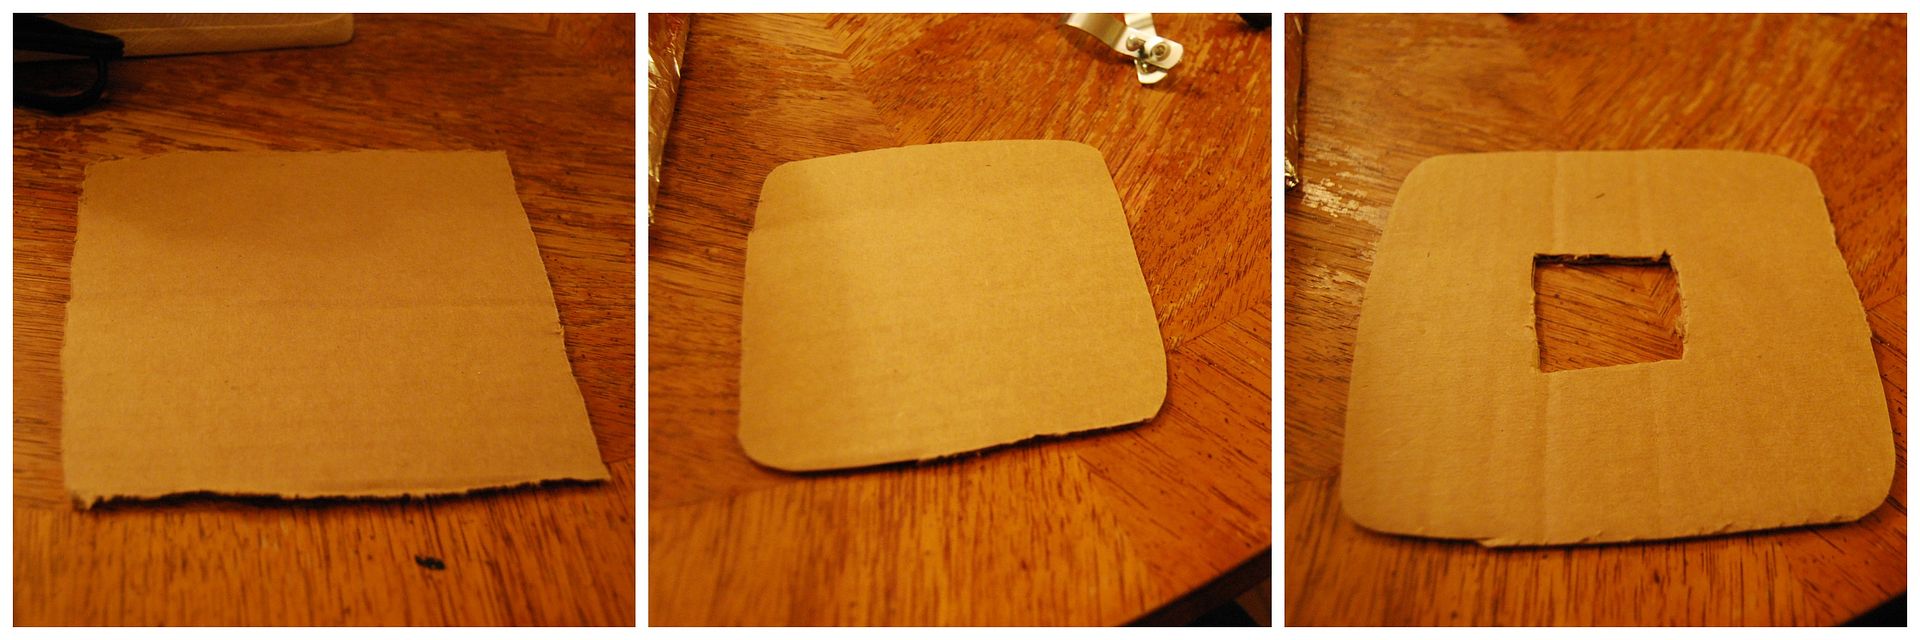
6. Cut a piece of cardboard from a box that size of the top opening of the lampshade. Round the edges so it fits snuggly to the edges.
7. Using the Exacto knife, cut the middle out of the cardboard for the lamp base to fit through.
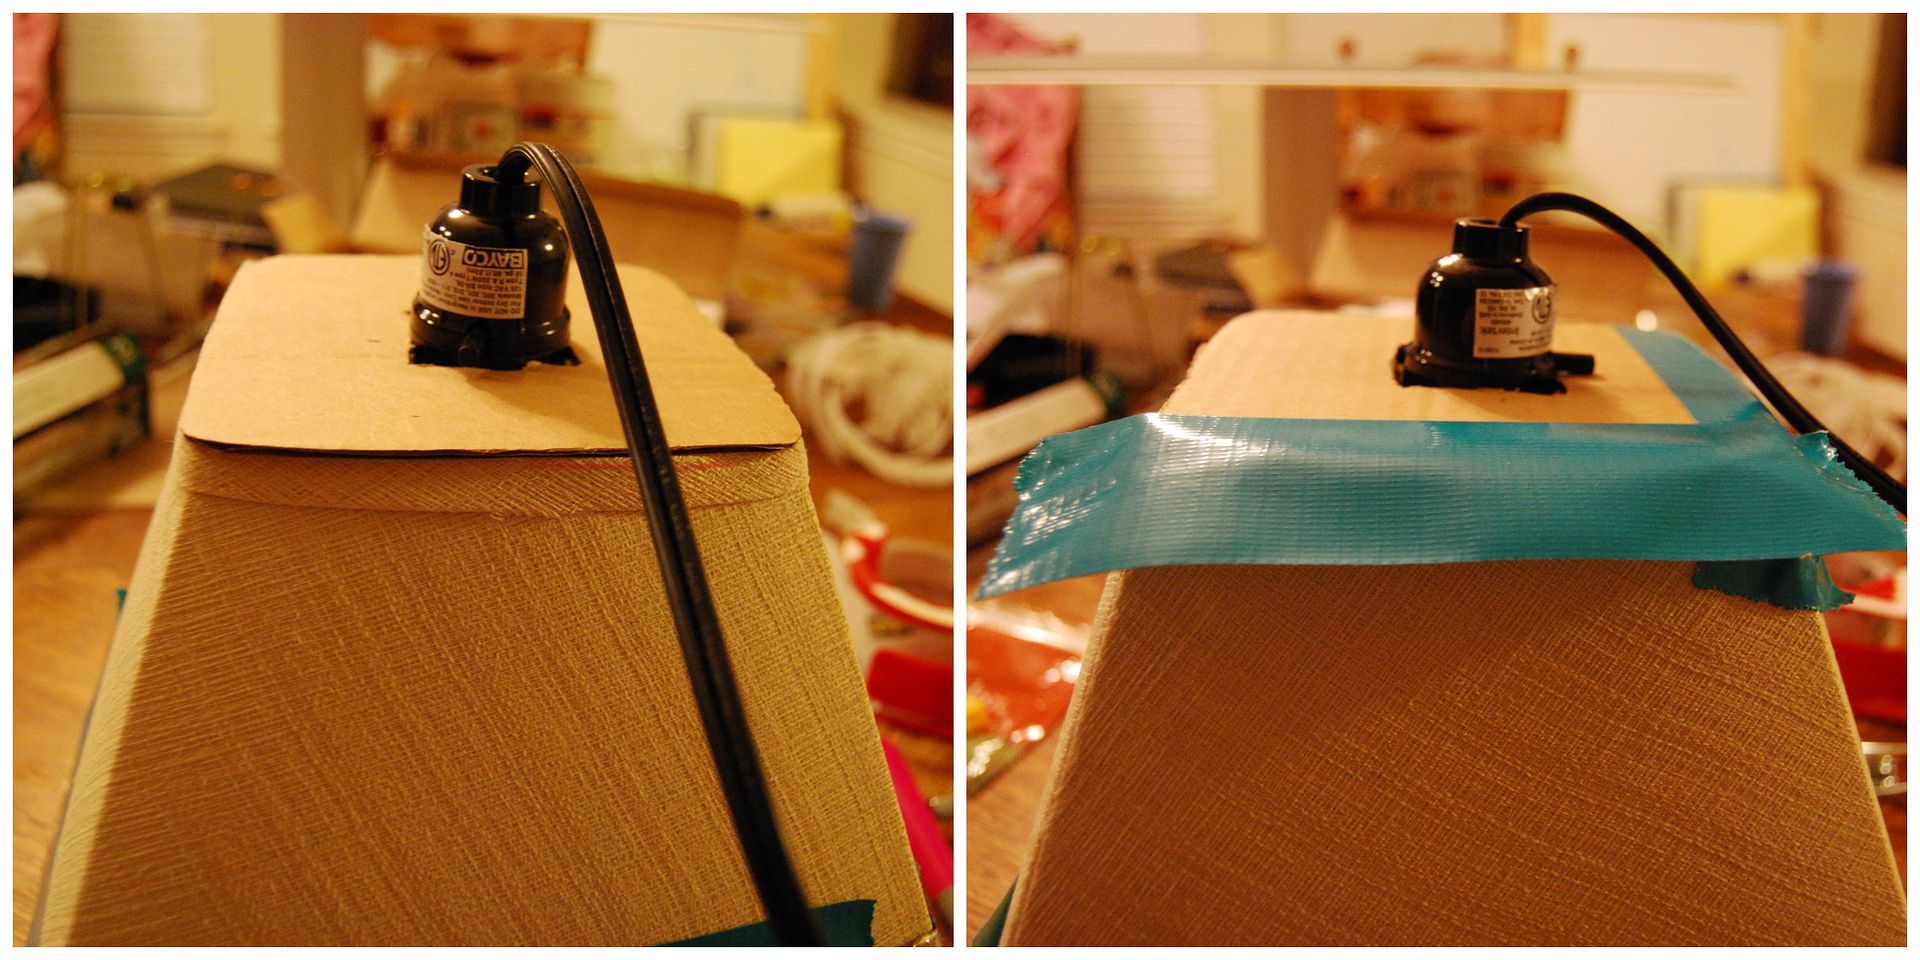
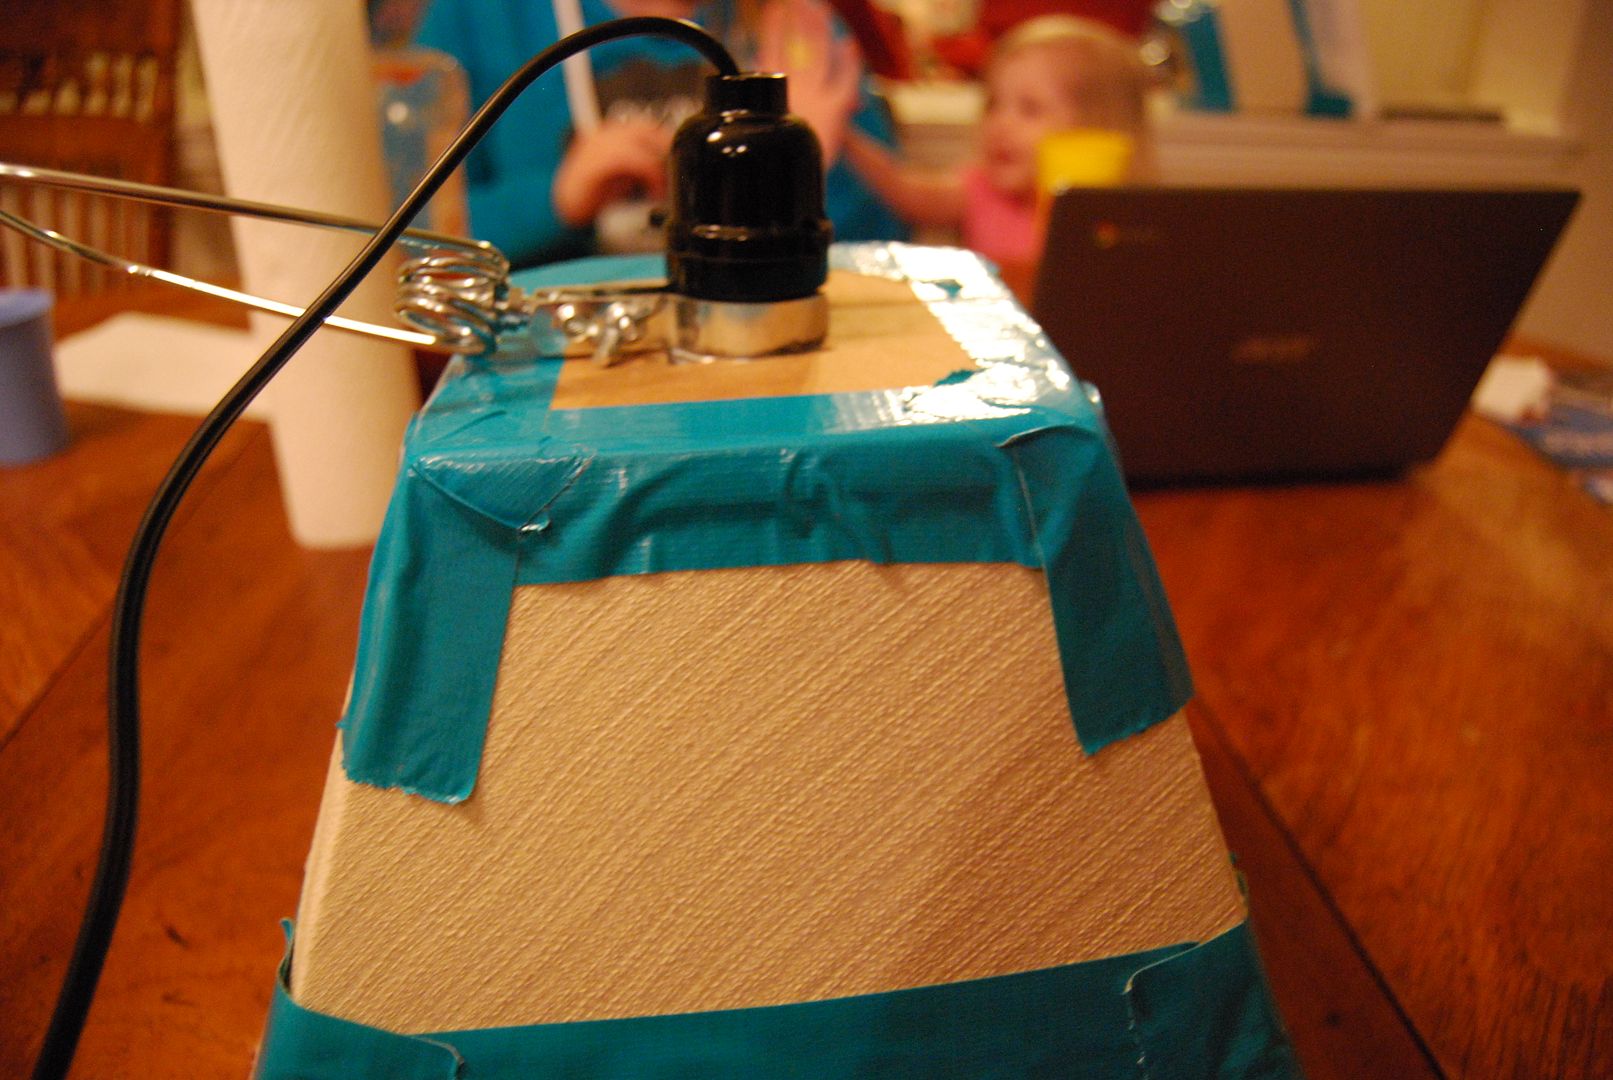
8. Pull the lamp base through the cardboard, then duct tape the cardboard to the lampshade.
9. Pull up the lamp base, and reattach the clamp. Make sure it’s secure as this is the lamp’s support in the lampshade.
10. Cut 8 pieces, each 2 inches long, of both the hook side and the loop side of the Velcro.
11. About 1 inch from the bottom of the lampshade base, place the loop pieces — two on each side of the shade.
12. Cut a square piece of the white lining fabric about 2 inches larger than the lampshade base. If using an 11-inch lampshade, cut a square approximately 13 x 13 inches.
13. Place the 8 hook pieces of Velcro on to the 8 loop pieces of Velcro. Then, pull the fabric up and press it hard to stick the sticky side of the Velcro to it. After attaching the first side, switch to the opposite side and pull the fabric as tight as possible before attaching it to the sticky side of the Velcro. This might take a second pair of hands. Check the fabric on the bottom to make sure it’s very taut before moving on to the other sides. Do this for the other two sides as well.
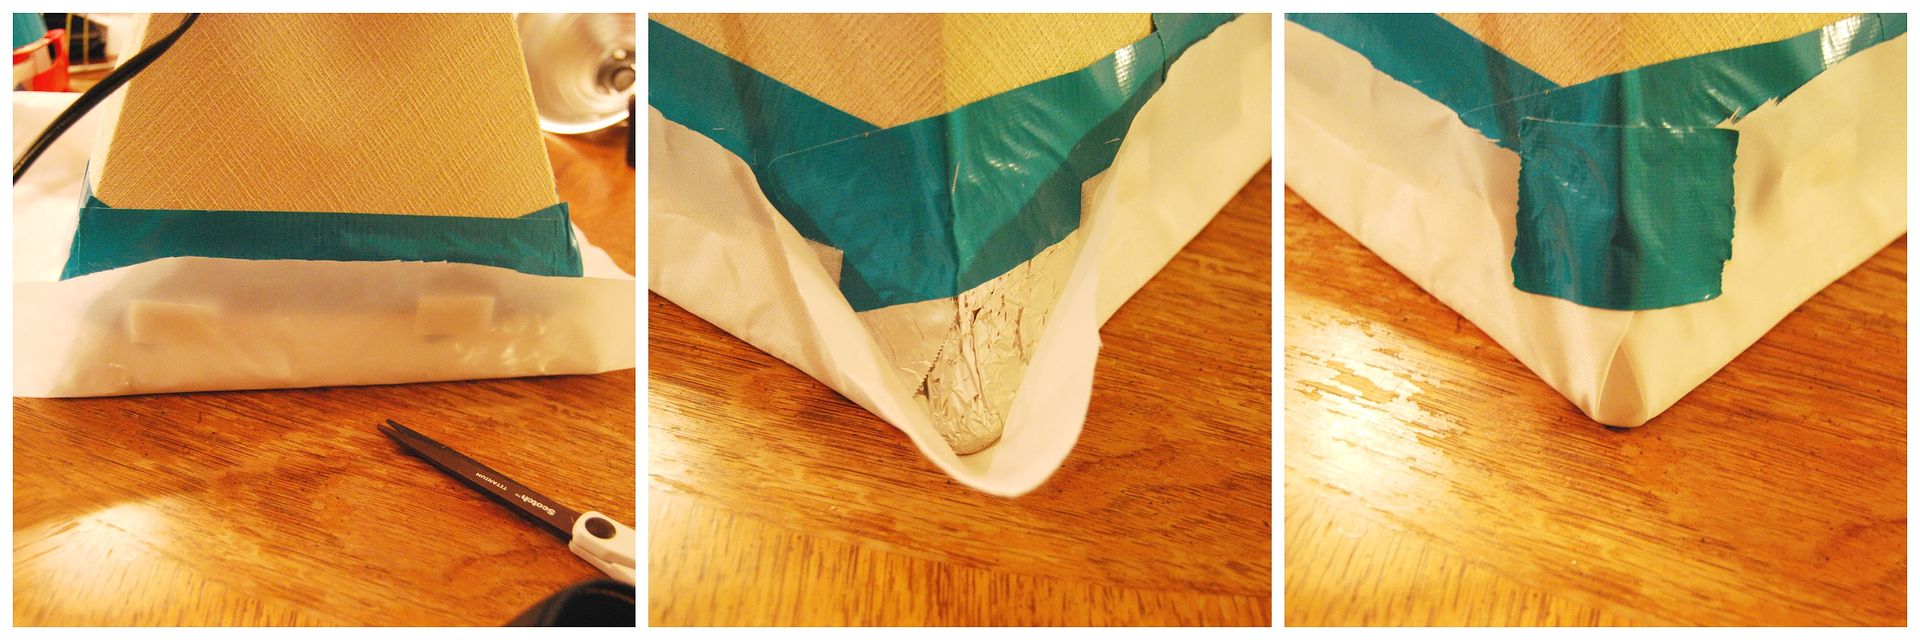
14. Fold the corners of the fabric at each corner of the lampshade and tape closed.
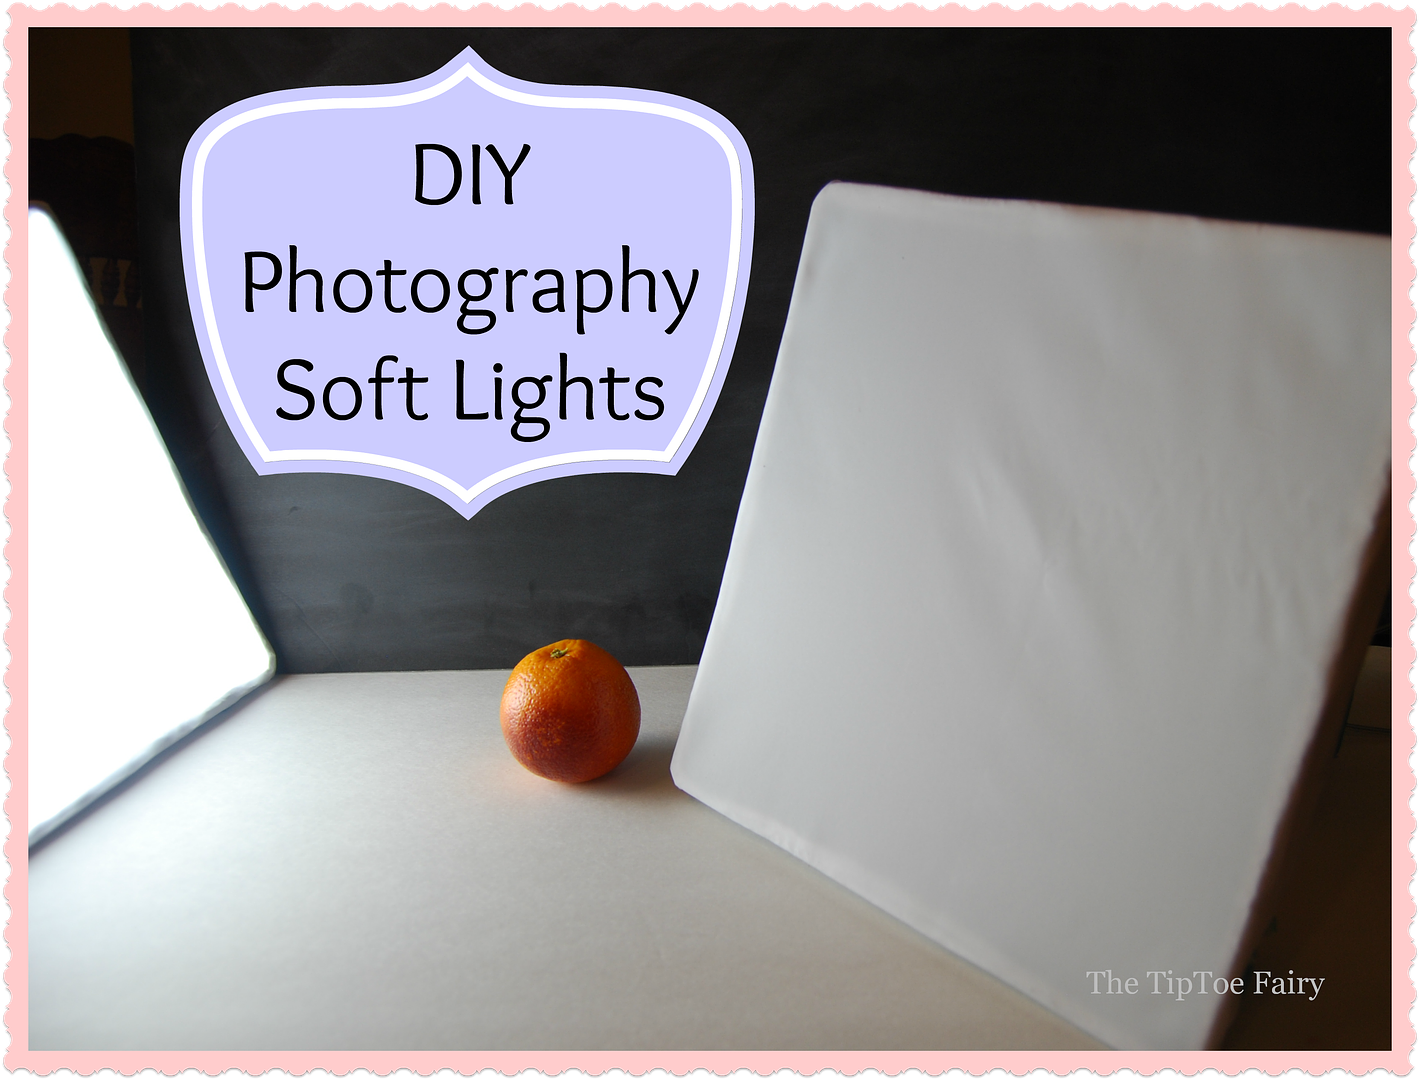
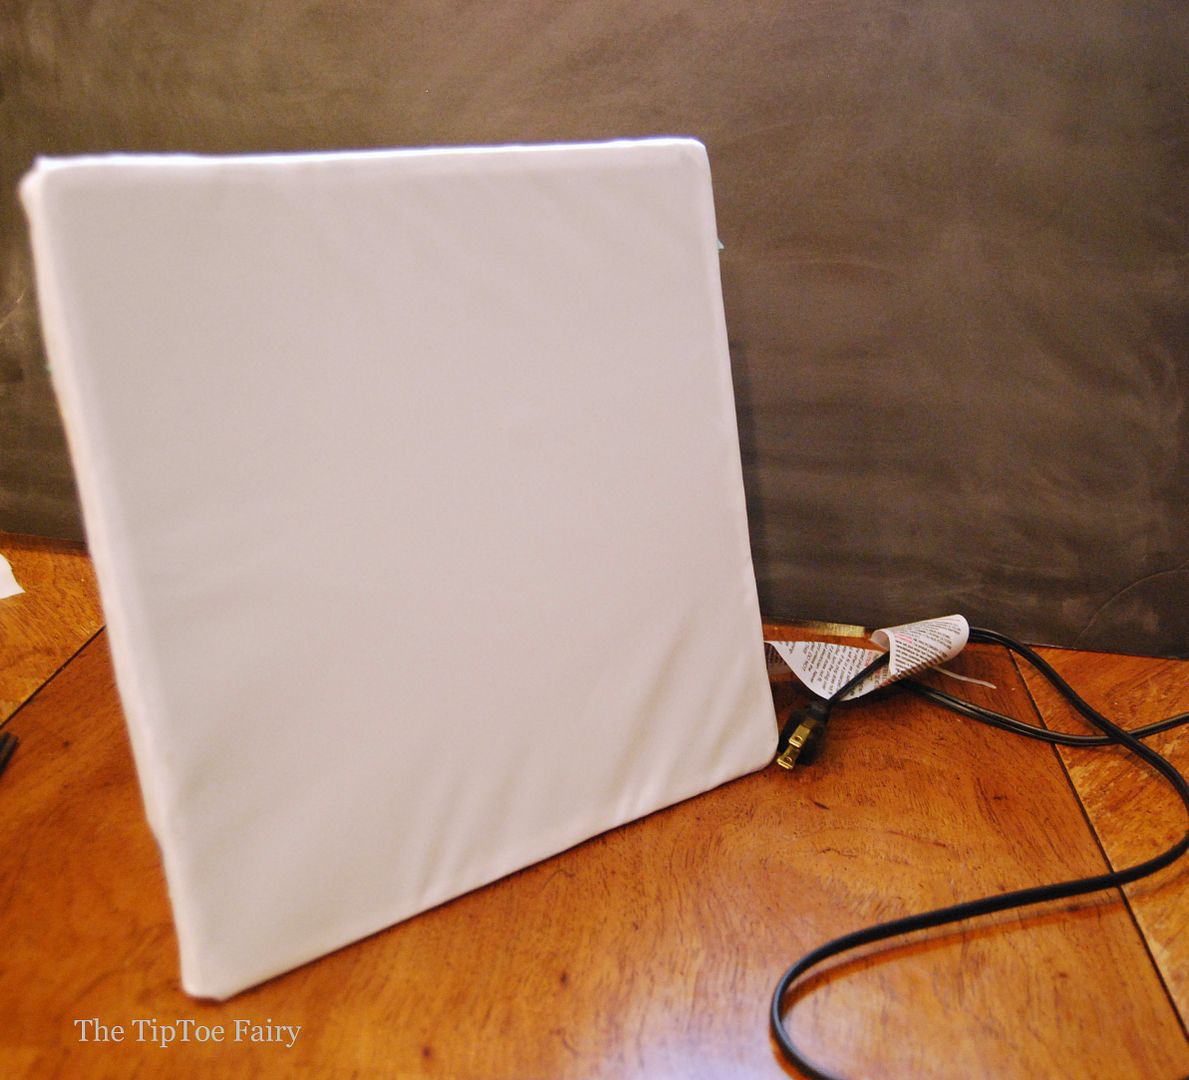
Now your new Photo Soft Light is done!
Stay tuned for later this week. I will have a post to make your own reflector to catch the light and reduce shadows! Super easy, too!

31 comments
I have been looking all over for a tutorial like this! Thanks for sharing. Do you have any more tips about photography?
Thank you for this post!! I have been wondering how to do this for my blog! Definitely saving this!
Very interesting; thank you for sharing.
You did an amazing job i must say! Brilliant :))
Fantastic idea!!
I have been trying to decide if I should by soft box lights for my blog and videos but they are so expensive. Thank you so much for this great idea!!
Woow ! Amazing.
Thank you so much for sharing this, I’ll make one.
I’m in the same situation as you were. I needed better lighting for my food photos. I created a large light box with a cardboard box, an old sheet, and poster board. I really like your light. It would be great for prep shots and other things. I’m looking forward to trying it.
I am popping over from the Foodie and Crafters Link Party.
This is AMAZING! Definitely doing this! So glad Pinch of Yum referred me here! Pinning!
Best DIY ever!! It took me 20 minutes per and I made two. Love this so mich. Can’t wait to put them into use! Thank you so much!
I’m so glad it helped you! I love my new lights.
That is fantastic! I’ll be looking for old white sheets and lamp shades at thrift stores so I can make one!!
This is EXACTLY what I needed! Thanks for sharing!
This is awesome. I know what this weekend’s project is!
THANK YOU! I love it and need to make it like yesterday!
This is simply BRILLIANT – thank you for this!!!
This is exactly what I was looking for thanks for sharing.
I’m really struggling with the lighting. Unfortunately I usually cook in the evening and the light is not enough for me to take good photos for my food blog.
I have a question. Is a white sheet will do the job? Is there a special dedicated fabric? I do not mind investing a little more money to get quality results.
Yes a sheet will work fine. I used polyester lining because I liked how “bright white” it was, but any white fabric should work just fine.
Thank you so much for this post, Stephanie!! I know what I’ll be doing next weekend!!! Way to be frugal!!! Thanks again!!
I saw your post and made this light in the same day. So far so good, your directions were great and I am looking forward to using it! Thank you for posting!
I’m so glad! Good luck! Sometimes I can get away with just one, but when I’m shooting food, especially, I found I needed a second one.
That’s exactly what I’m finding as well; found your tutorial today and made a modified version of this based on what I had on-hand (basically just used a styrofoam cooler instead of a lampshade). I can’t BELIEVE how closely this replicates natural light! Thank you so much for sharing the idea; I’m off to make a second one!
Thank you so much for your post, it was so easy to follow and it worked absolutely perfectly! You saved me from having to drop $100+ for my portfolio pictures!
I’m so glad! I use mine all the time.
This is my biggest issue – such a great post to DIY lighting! Thank you!
Thanks for the info. It looks pretty easy to do. Now I have a new project for my husband. 🙂
Wow – thank you for such a detailed ste-by-step guide! I was just about to order a light but I’m inspired to make my own now and save £££s! Loving your blog 🙂
I totally made this yesterday and it’s totally amazing! Thank you for sharing this!
Found you via Pinch of Yum. You’re a blessing to us all! Thanks, so much!
I love your ideas and your writing style! It’s so easy to get lost reading through your blog. This one was really really helpful, I’m a relatively broke photography student, and will definitely consider using this for one of my shoots later this semester!
Thank you so much for sharing this great article with us, Stephanie! I could really use soft light for my blog pictures.