When I first started blogging, I didn’t think about backgrounds or a lot about the pictures I was taking. It can be a bit embarrassing to look back at some of those pictures.
As I progressed with pictures in my blogging, I started pulling out scrapbook paper and card stock for backgrounds. But, that can be a bit small at only a size of 12 x 12 inches, especially as you start to add props in your pictures. And, it tends to not hold up to constant use.
Then, I progressed to foam boards, but in solid colors, that can be a bit boring. I found a couple of ways to change it up and make my own DIY photo backdrops, so it looks less like a foam board and more like an awesome background for photos.
One technique is an Elmer’s glue technique for getting a crackle look. It gives this rustic, shabby look that I love. The other is a used chalkboard look. I love the chalkboard look because the photos can be edited with text that looks like chalk writing.
You can do both for less than $10. I even used the same foam board, so that one side is the crackle finish and the other is a chalkboard. I just flip it over depending on what I need.
First, is the Elmer’s glue technique. It doesn’t just work on furniture and toys, it works on foam board, too!
Table of Contents
Glue Crackle Finish
Supplies
- 1 black foam board
- Small paint roller or paint brush for paint
- paint brush for glue
- Bottle of Elmer’s school glue
- acrylic paint
1. Use a black foam board OR prepaint the foam board with another color that will show through the cracks. I just used a black board and the cracks show black.
2. Paint the glue all over the board. The thicker the glue, the bigger the cracks.
3. BEFORE the glue dries, when it’s still tacky, begin painting the color over it. Work quickly as the glue dries fast.
4. Allow to dry. As the paint dries, cracks will begin to form, and they will get bigger as it dries.
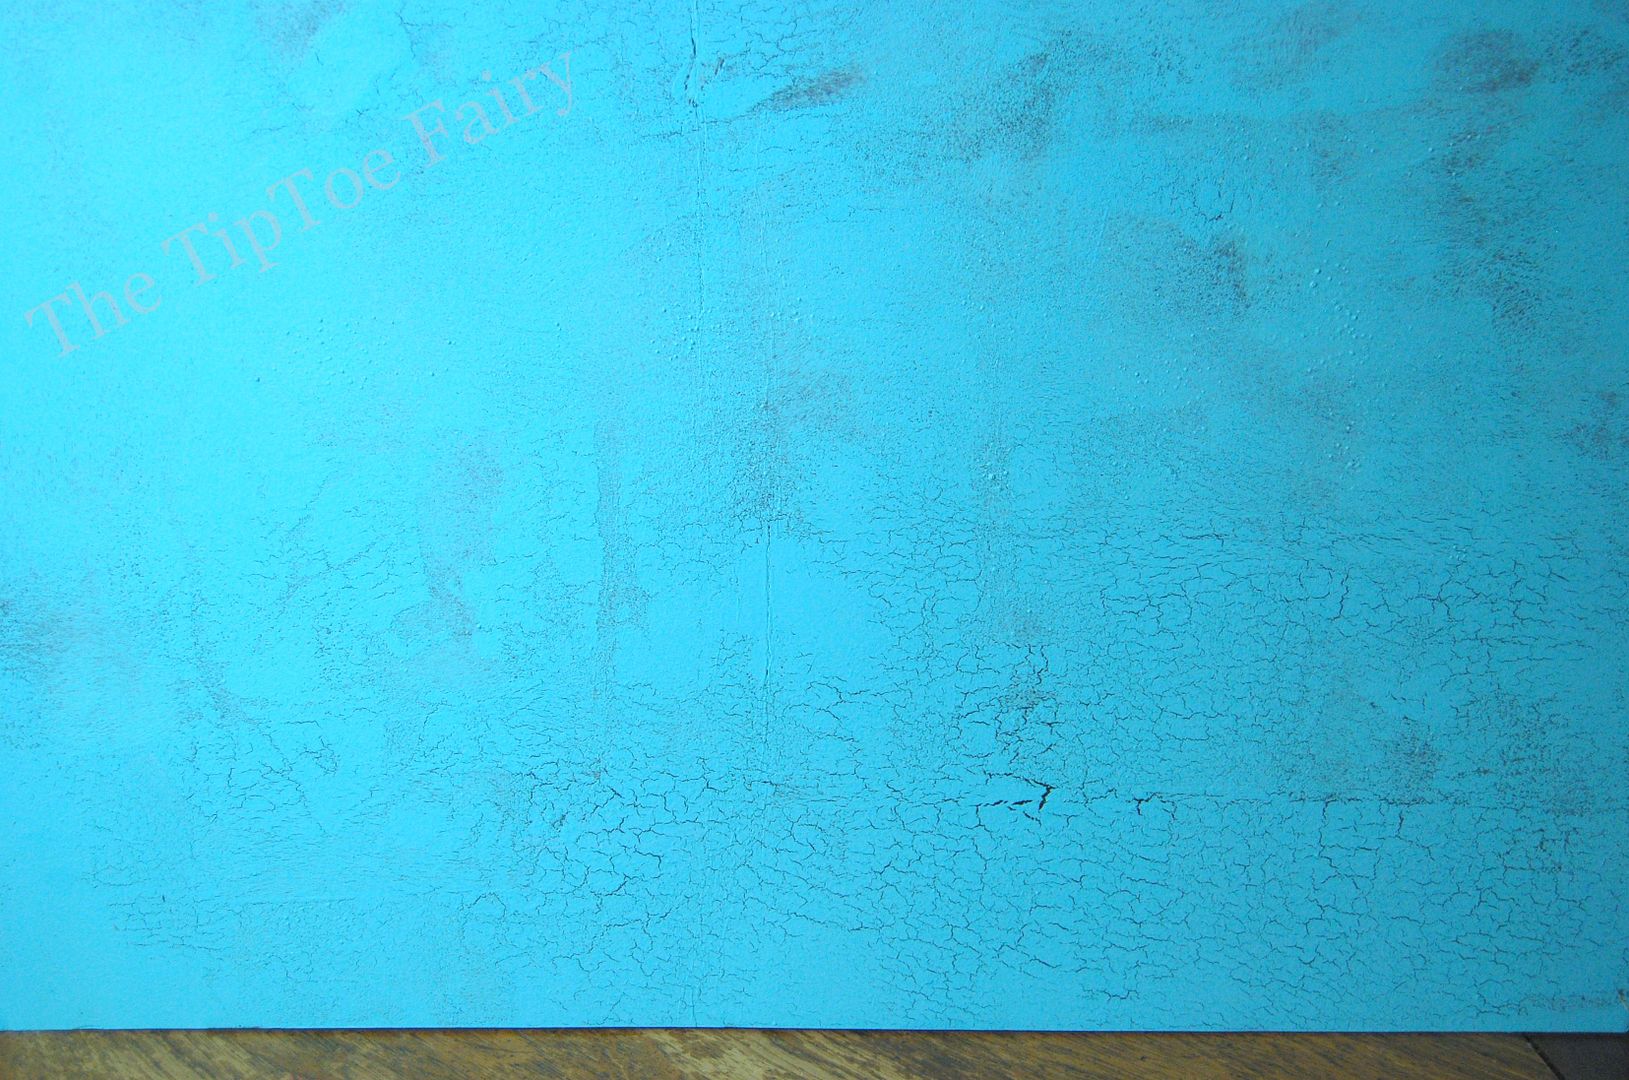
Here’s the finished backdrop.
The second technique is so easy, it will take you about a minute to do – really!
Faux Chalkboard Foam Board
- 1 black foam board
- a piece of chalk
- a paper towel
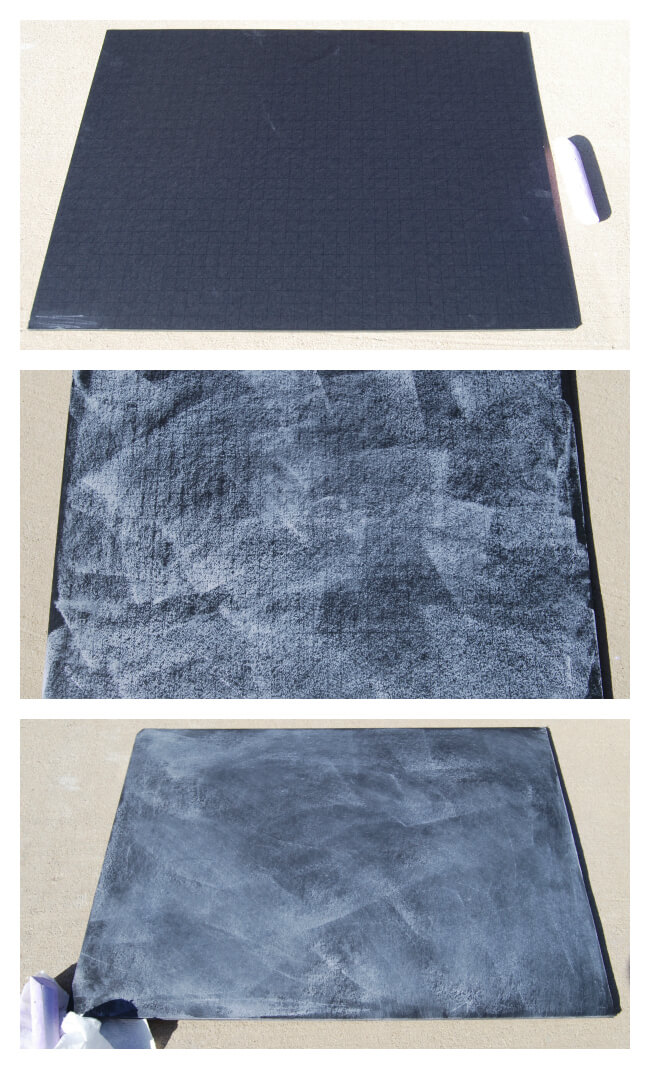
1. Take the chalk and using its side, rub it all over the foam board. Don’t leave anything uncovered.
2. Then rub the excess chalk off with a paper towel.
3. That’s it!
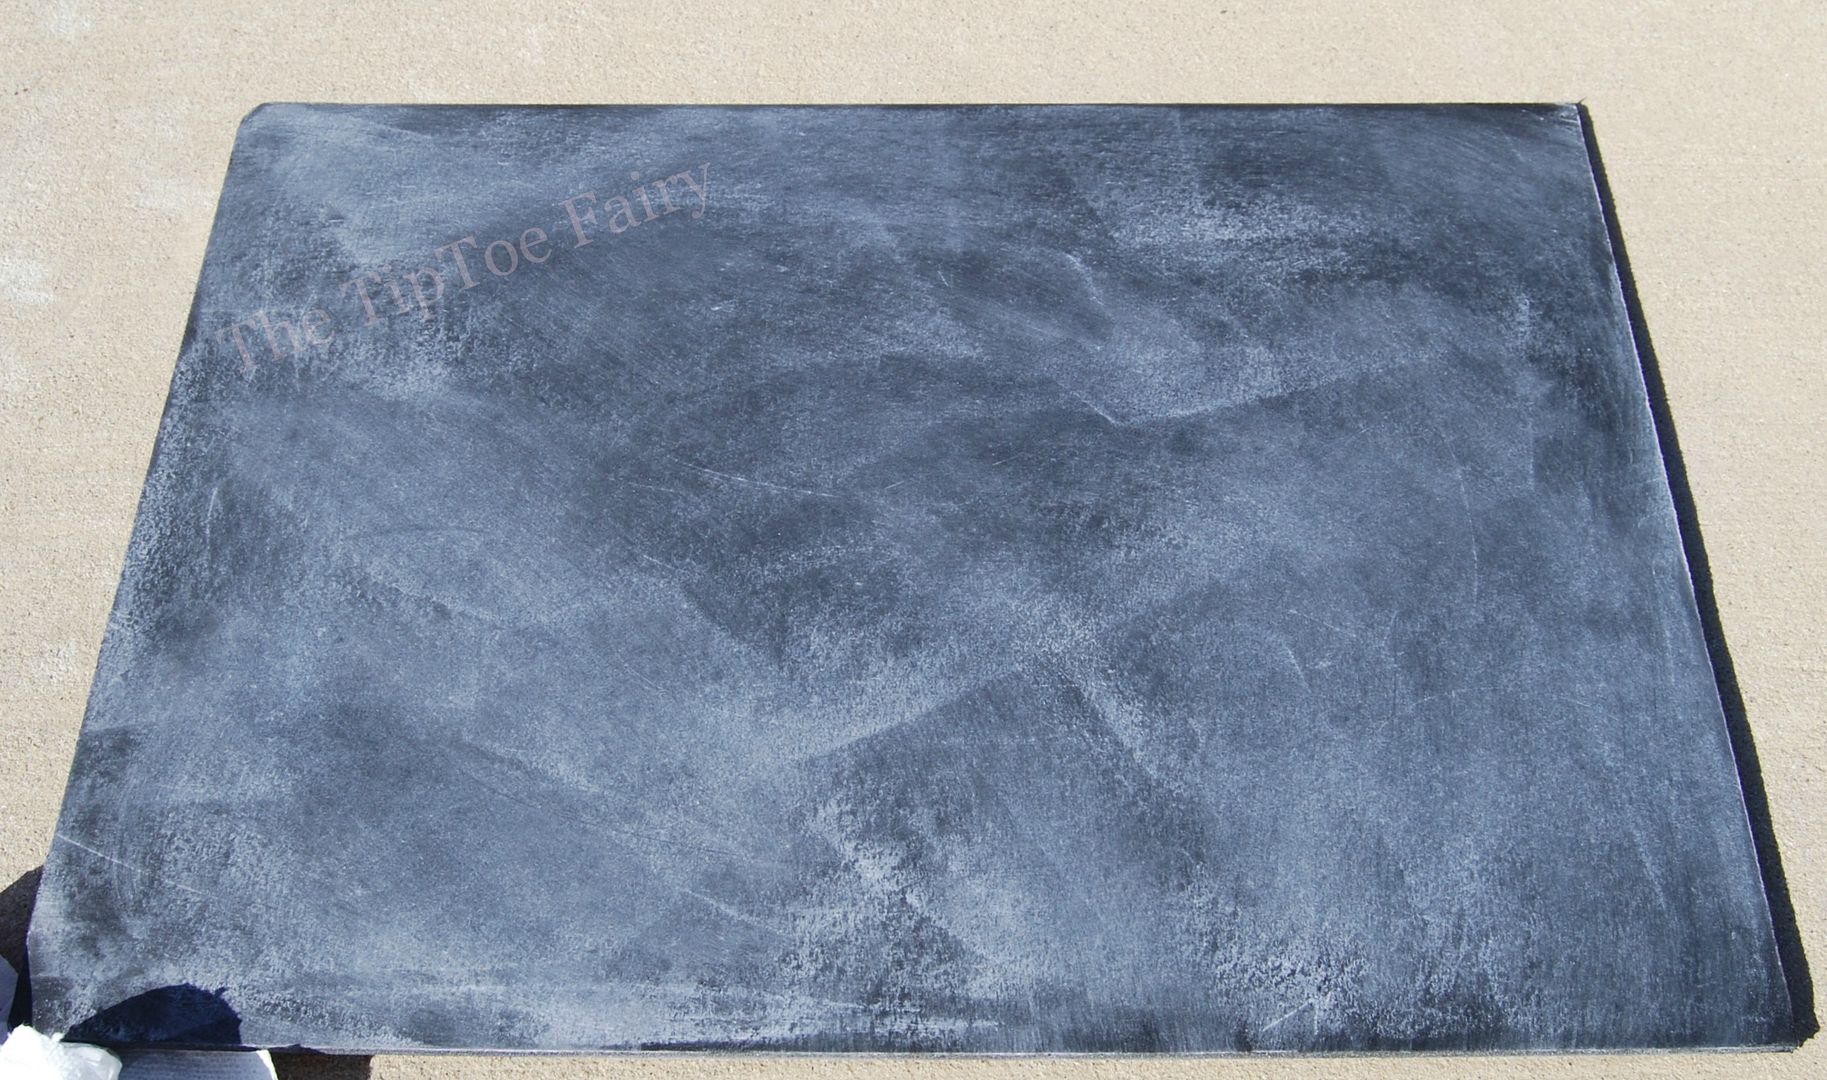
This is the finished backdrop:


15 comments
Great idea! Just added to StumbleUpon. I was lead here for one of your other posts.
Great tips! Pinning! 🙂
This is perfect timing for me. I am in that stage of upgrading my photography and starting to be a bit embarrassed at my older photos. I just bought some foam board, but have been a bit bored by the plain white, and I wasn’t quite sure what to do next. Great tips! Thanks! (Pinning & Stumbling)
What great ideas! I love that if you did one on each side of a board, you could double your options, or halve the number of things you have to store. Either way, you win!
I am so glad I found your blog through Texas Women Bloggers! You sound like a woman after my own heart–we share all of the same hobbies/interests! I am a new follower. 🙂
Also, I love these tips. I cringe when I look back at my first photos, as well, and am always looking for new ways to make my pictures more interesting. These ideas are simple and pretty.
Amber @ http://www.applestoapplique.com
So Clever!! Loving this:)) I need to update my backgrounds;))
Thanks for sharing!!
Pinned!
Love these quick and easy tips. I never really thought through the fact that food pics aren’t just about the food. Looking at other people’s settings for their photos have made me realized just how important the setting is. Now I know a great place to start.
I have done the same thing with the card stock and scrap book paper. I’ve also built a (too small) light box and bought a lamp to use with it. I really like this tip because both backdrops look great.
Thanks! I love the space saving, too. I actually do this to my foam boards that are plain black or white when they get stains on them from food or bent to hide the flaws, lol.
Do you have any pictures of things that you’ve used the backdrops for? I’d love to see what they look like in actual photographs.
Hi Britni! The one I did yesterday for Asian Marinated Zucchini was with this turquoise backdrop. https://thetiptoefairy.com/2014/02/asian-marinated-zucchini.html
I also have some a crafty one coming up soon that will have it too.
For the chalkboard one, I have a cake pop recipe coming this week that will be with it.
I have even thought about creating backgrounds for my crafting pictures. Thanks for the great ideas!
These are great ideas, I really nice background makes such a difference to photographs, thanks fosharing.
Crafty Chic
These are such great ideas! I can’t wait to try them out for myself. Thanks for sharing! Pinning 🙂
These are great ideas, thank you for putting them on here. Love how cheap it is to make these backdrops – I can get foam board at the dollar store and the other stuff I already have laying around the house.