
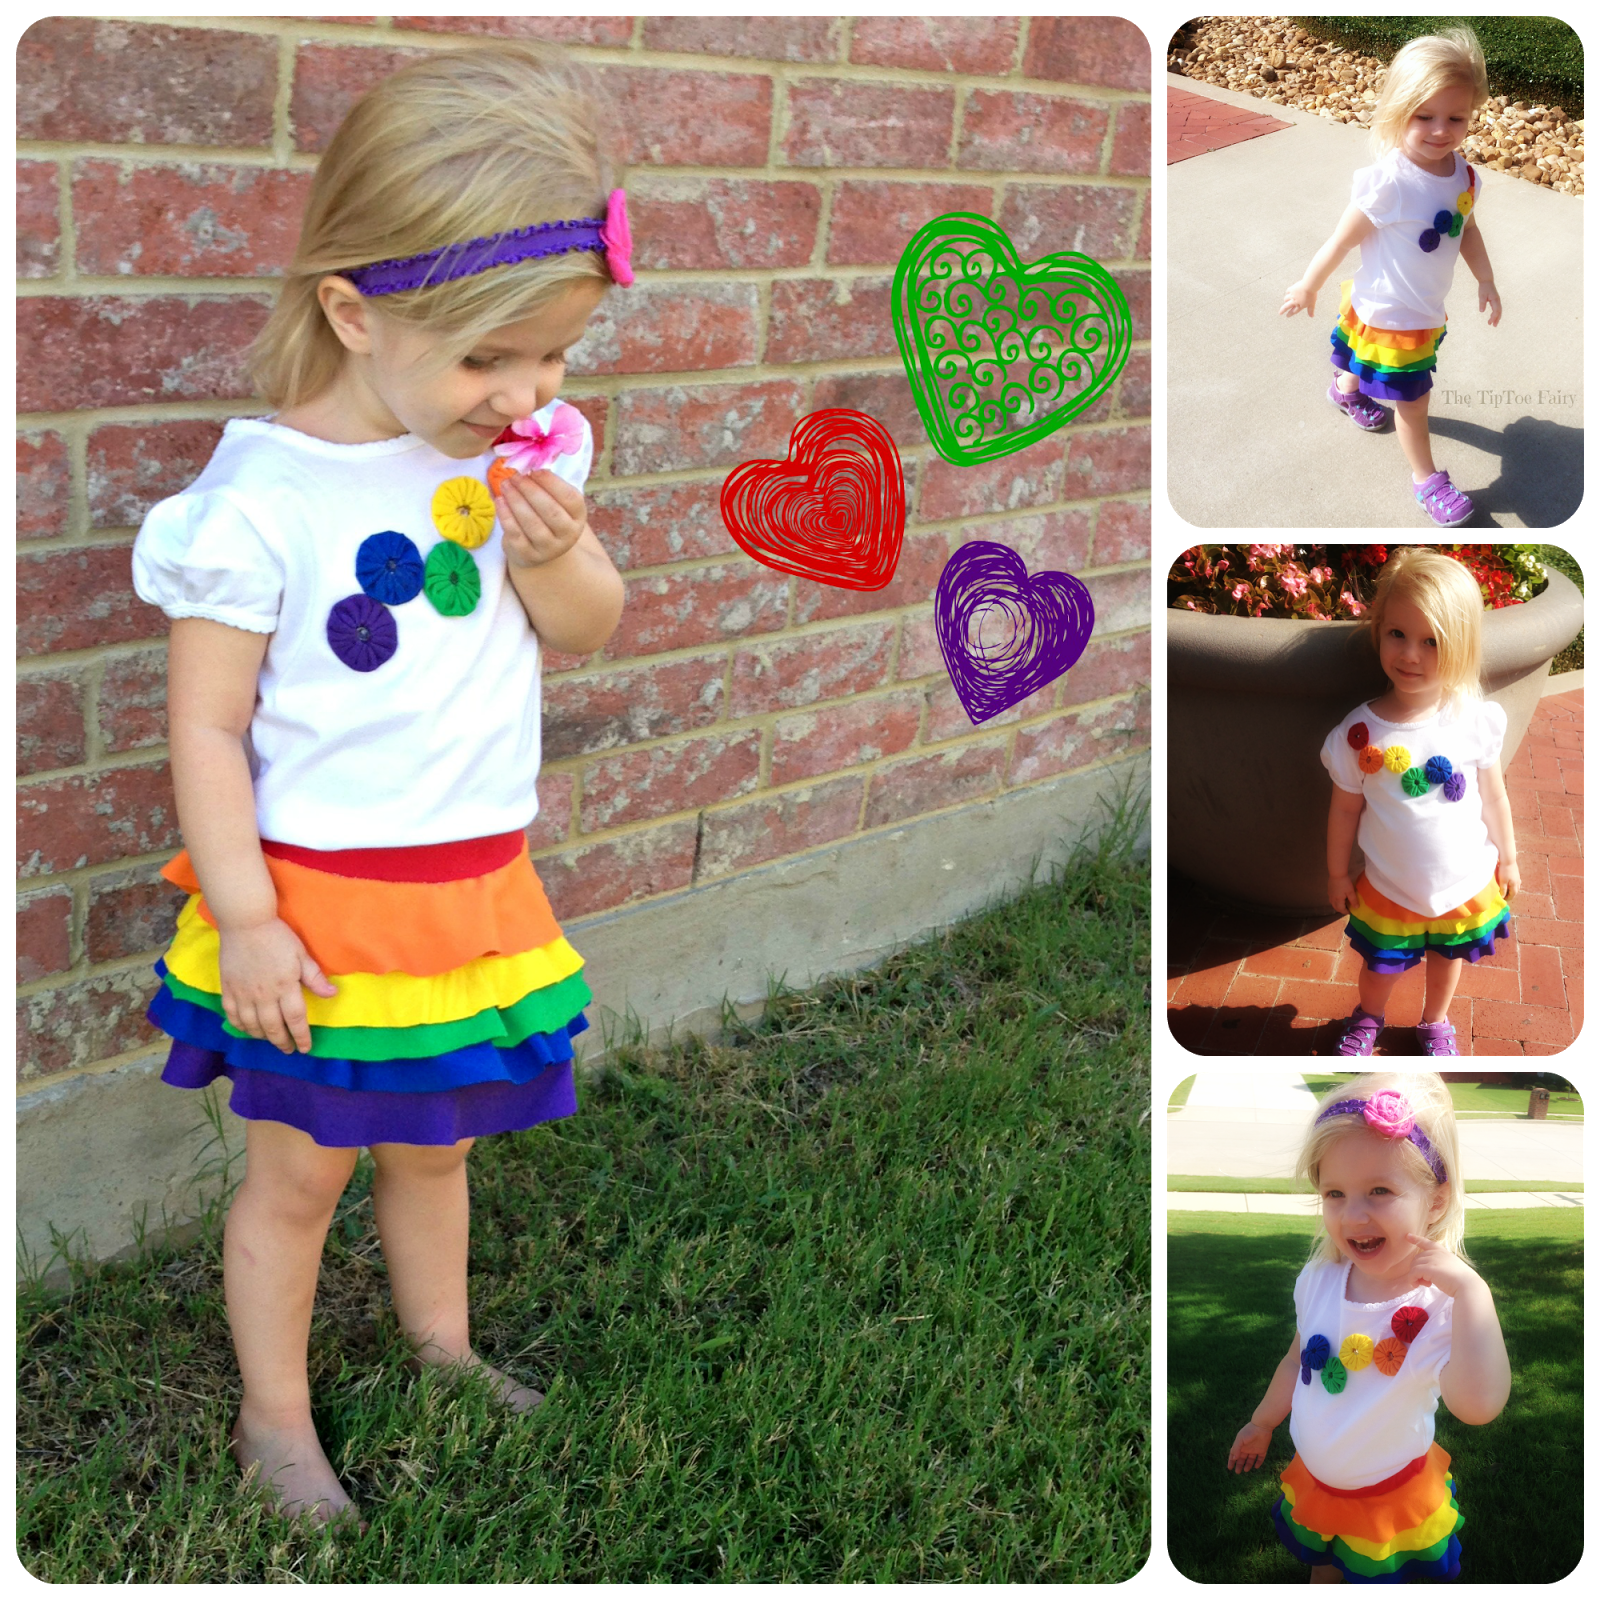
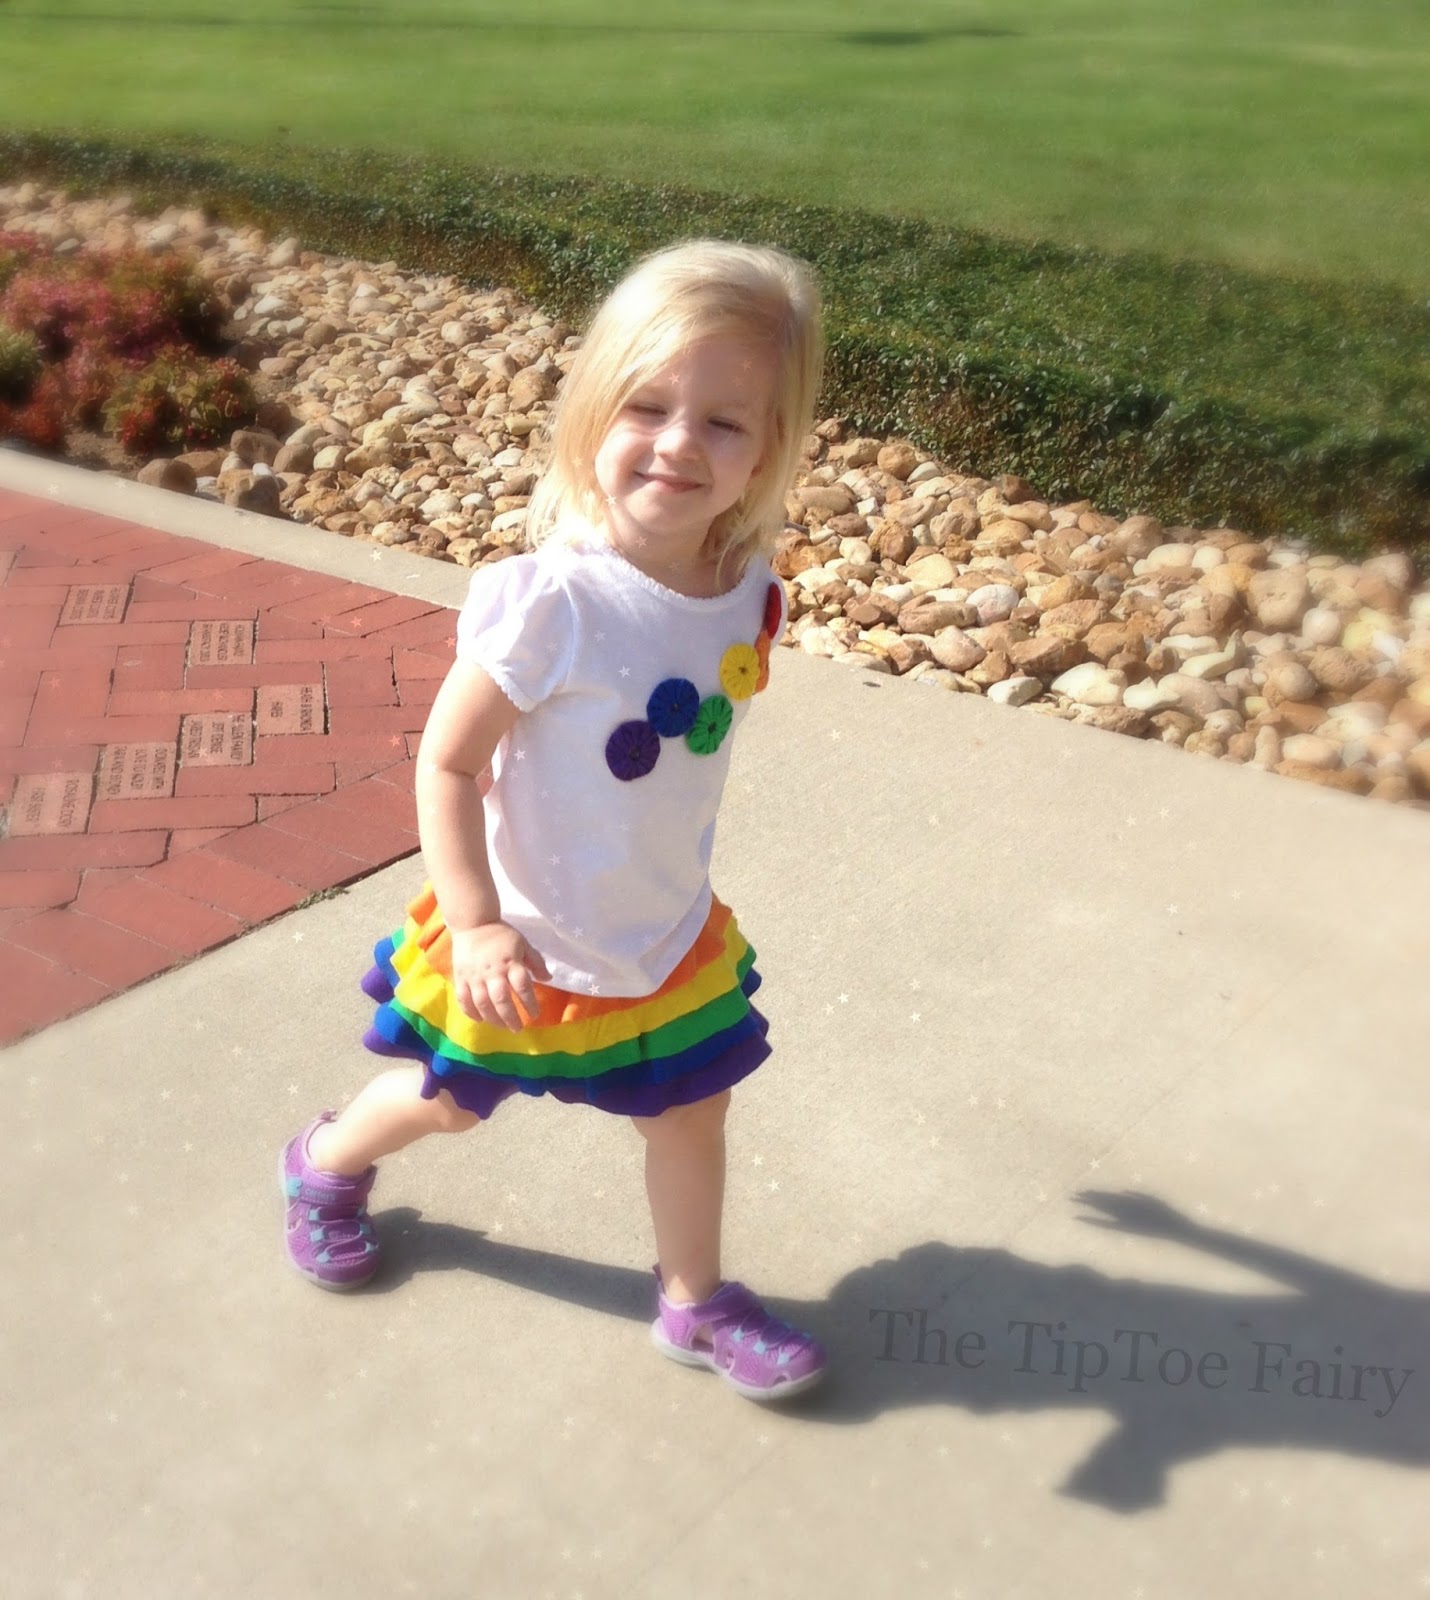
Here is the final part of the Rainbow Tutorial. The Circle Skort! This was such fun to make! I plan to create another version as a little dress very soon. The tutorial will be shown in an example size of 2T/3T. I’ll give the exact measurements for it, but it is really really easy to convert it to your sizes 12 months to 5T.
This little tutorial has driven me a bit mad. I had the entire thing completely written out, hit a wrong button, and it completely disappeared. Since my blog autosaves just about every millisecond, it had auto-saved over it before I could revert back. I was ready to pull my hair out. I keep telling myself the rewrite is much better 😉
This might look intimidating because it involves circumference of a circle and using π, but it’s really not. Plus, you can always excitedly tell a math teacher you now know that you will indeed use C = 2πr in real life. I promise, you just need to use that equation one time, and then you’re set.
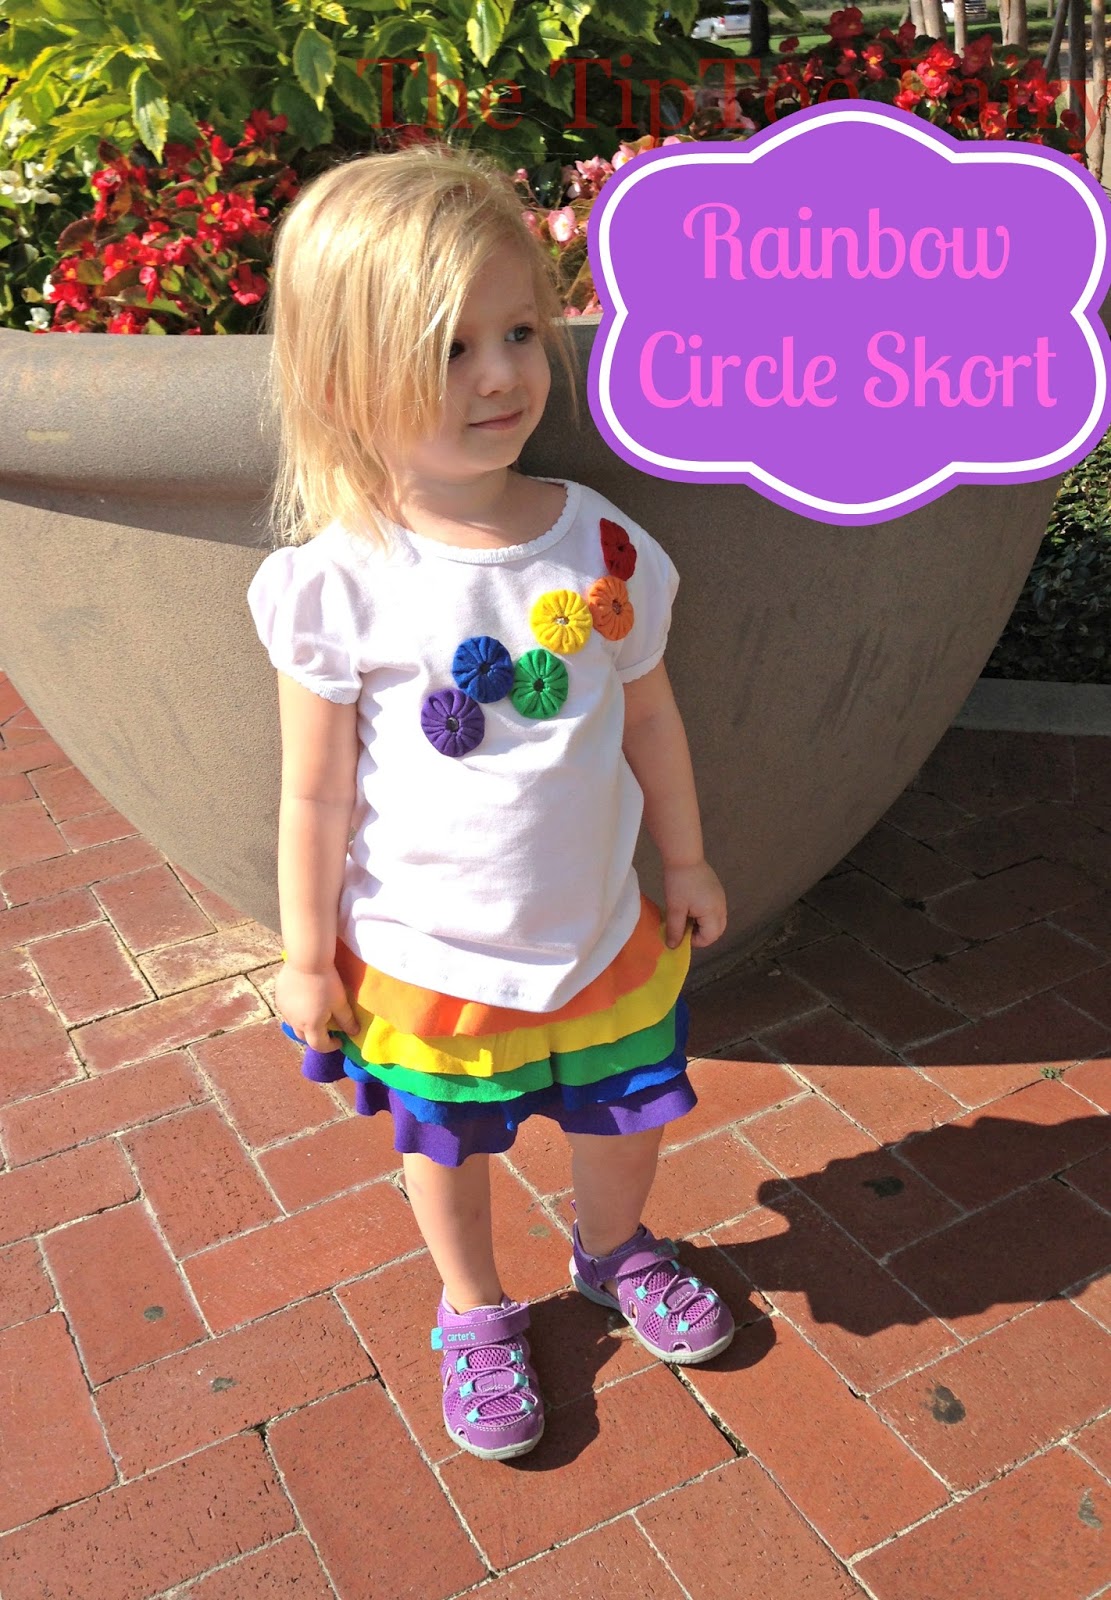
Rainbow Circle Skort Tutorial
Recommended fabrics: knits – jersey, interlock, ribknit
Materials
1 yd of 1 inch or 3/4 inch non roll elastic
1/2 yd of 6 fabrics – pink, orange, yellow, green, blue, violet
1. Fold fabric in half then in half again. You should have a triangle shaped fabric with FOUR layers.

|
Layers
|
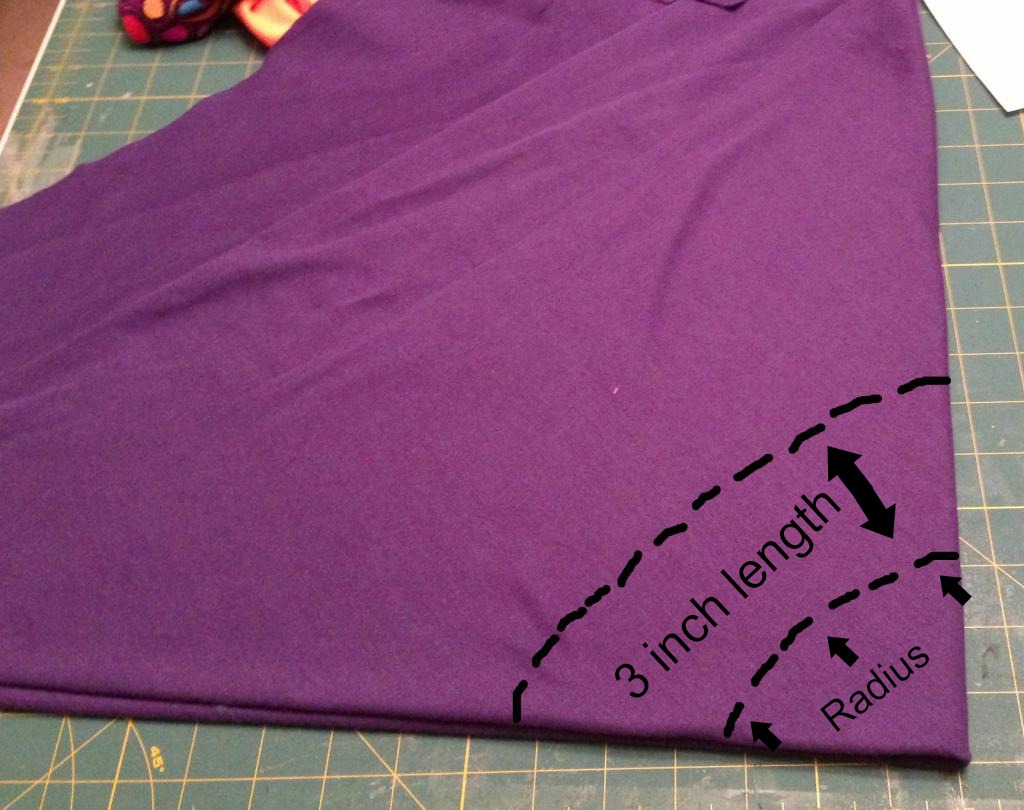
5. For the 2T/3T size, I chose 3 inches as the length for each layer. It was roughly an arbitrary number that would leave about 2.5 inches per finished layer, using a 1/4 inch seam allowance. Here is a chart I created for the lengths of sizes (you will use the strip length layer further down in the instructions):
|
Size
|
Circle Layer Length
Strip Layer Length

6. For each layer, except layer #1, you will cut a strip layer of fabric to go under the above layer. For the 2T/3T, I used a 1.75 inch strip layer. The width of each strip layer will be the same as the circumference of the colored layer ABOVE it.For the 2T/3T size, here are the strip layers I cut:
yellow: 25 x 1.75
green: 28 x 1.75
blue: 31 x 1.75
purple: 34 x 1.75

7. Sew each strip layer together into a circle. Then, with the strip layer RIGHT SIDE to the circle layer above its WRONG SIDE, sew the tops together. Do this four times as the bottom circle layer is not sewn to a strip layer. This sounds very complicated, but once you get started, it’s really not and you’ll whiz right through it.
Once you have sewn them, they will look like this:


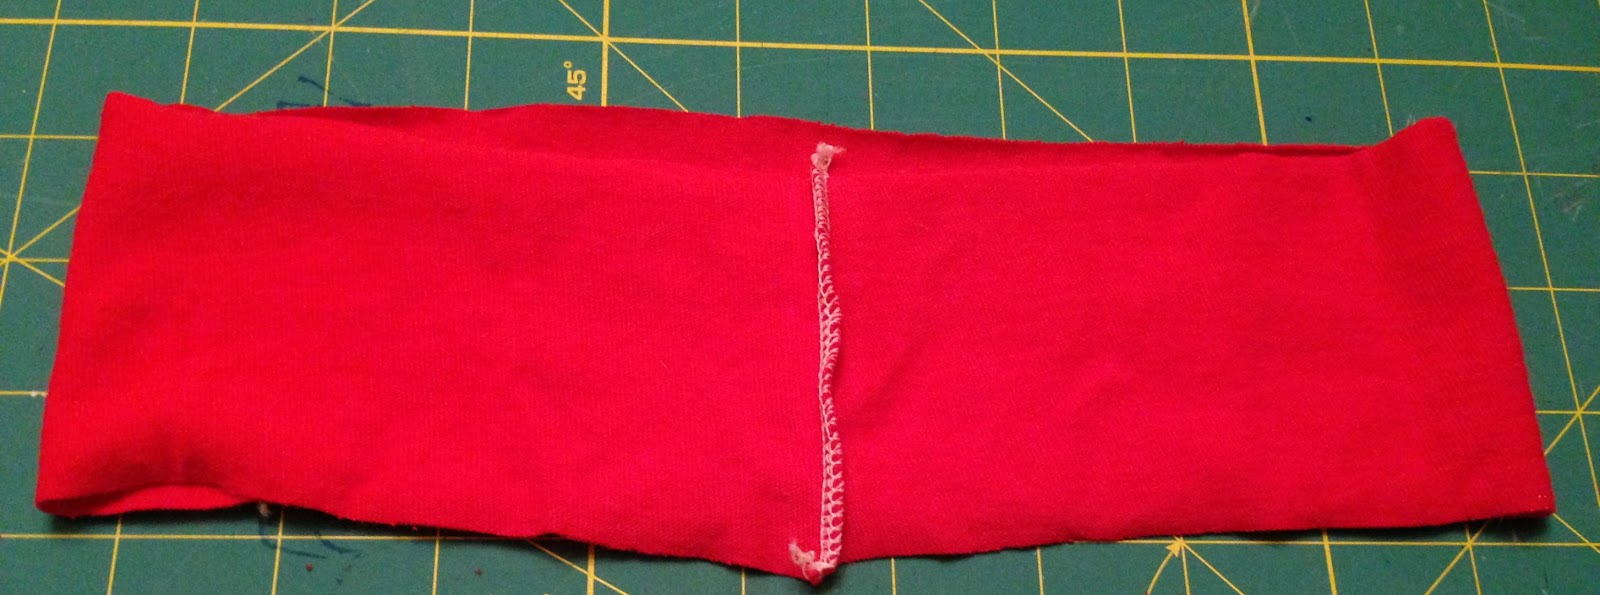
14. Fold over the waistband and pin closed. Then, attach waistband with RIGHT SIDES to RIGHT SIDES of skirt top layer. Once it is sewn, flip the waistband up and flatten the seam down.
15. Top stitch around the RIGHT SIDE of the skirt at the waistband’s flattened seam so it does not end up looking wonky. This can be done just on the very top of the first layer just below the ditch of the seam or you can stitch in the ditch of the seam between layer #1 and the waistband. Make sure to stretch just slightly as you top stitch so the stitch line will not pop when stretched to put on the child.


And you’re done!!
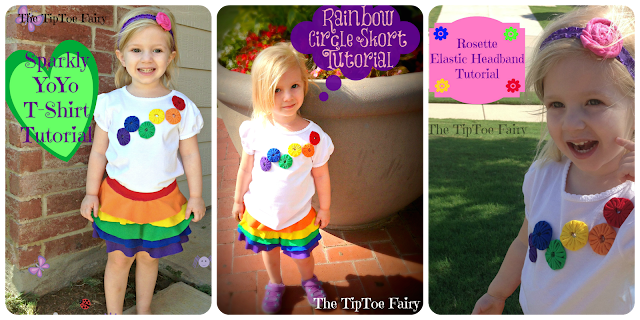
Click the picture below to check out all 3 parts of this series!
15 comments
This is so cute! It reminds me of my free printable rainbow party set: http://printabelle.com/free-rainbow-party-printables-set which is super popular on my site! I love how your skirt and shirt turned out, and it doesn’t look too hard to make!
Adorable! Thank you so much for sharing & linking up at Thank You Honey’s Whatever Wednesday Party!!
WOW that came out great so pretty. I would love for you to share this on our kids linky party http://wemadethat.blogspot.com/2013/08/we-made-that-linky-50.html Hope to see you there!
This is so cute! Thanks for linking it to Make Bake Create!
So cute…makes me wish I had a daughter! Audra at http://www.keepinupwiththejahns.blogspot.com
This is adorable. For some reason now after my daughter’s rainbow birthday, I am obsessed with anything rainbow. I love this skirt, and your kid is adorable!
I would love it if you linked up with our link up party this week!
http://www.sowderingabout.com/2013/08/on-display-monday-13.html
Luv Luv Luv that shirt and skirt. The colors are so vibrant.
I also have a fun kids project posted on my site using soda bottles. Stop by to take a look if you get a chance.
Cute! Love the whole outfit. THanks for sharing this on my blog hop last week!
so super cute love the colors and flair and that little model is adorable as well
come see me at http://shopannies.blogspot.com
Oh my goodness this is so cute! I have to make it for my granddaughter. L just hope I can find as many fun, bright knits as you did. Thanks for the great tutorial.
Anne
amaskellantics.com
Adorable! I love the shirt too!
xoxo
Michelle @ Ya Gotta Have a Hobby
I love it! Who knew we’d ever need that weird math?!
This is so gorgeous! If I had your talent I’d make it straight away for my little girl. Your own little girl is so cute! Popping by from Jenny’s bloghop. Hope you have a lovely weekend 🙂
How adorable! (oh, and the rainbow skort, too 😉 Thanks for sharing at Inspire Us Thursday at Organized 31.
This is so cute! I will feature it today!
Sherry