This post is brought to you by ILTC and Blueprint Social. The opinions are my own.
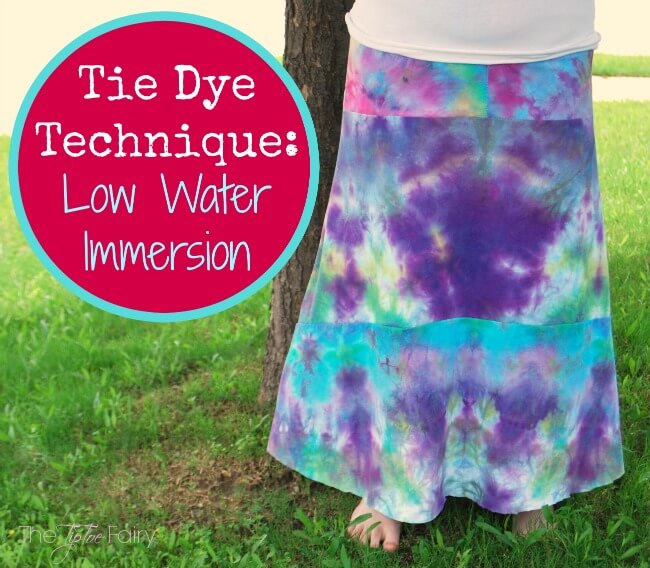
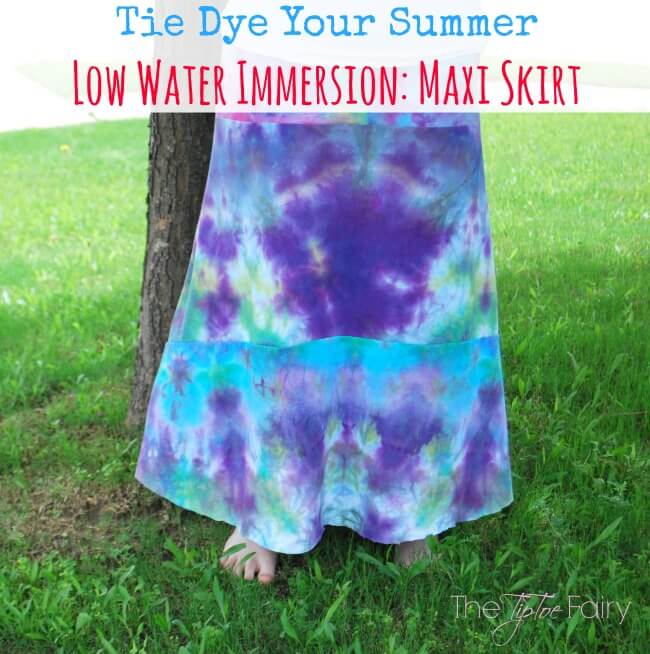
Do you ever play around with Tie Dye? One of my favorite things to do is dye clothes and fabric. You can completely redo a shirt or create new fabric just by dyeing it. It’s such a fun craft because anyone can do it — kids and adults, and it’s really not that messy, even for kids. Today I’m going to show you how to upcycle white t-shirts into a tie-dyed maxi skirt.
Low Water Immersion technique is one of my favorite methods to tie dye It’s super easy, and there’s no rubber bands to worry about. The colors come out just fantastic. Plus, it’s a bit of a surprise because you never know what you’re going to get.
With this technique, you can make the skirt up ahead of time and then dye it or dye the t-shirts and then sew it up. I chose the latter so I could have a patchwork look to the skirt. I love patchy clothing designs. I think it’s the crunchy granola mommy in me.
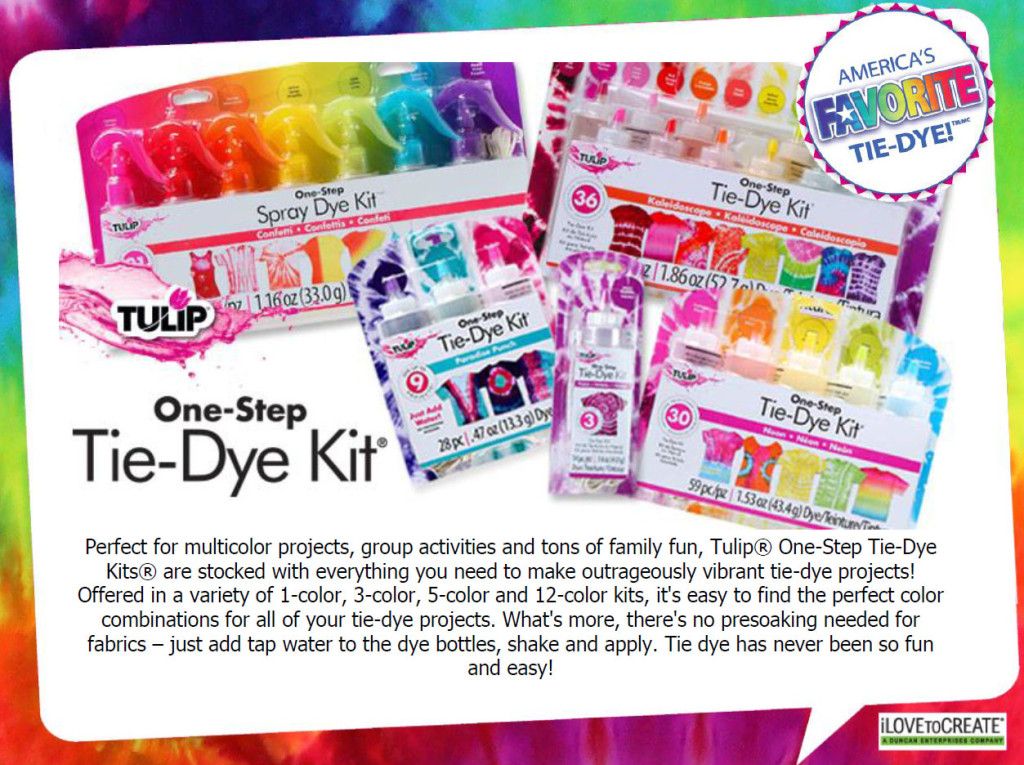
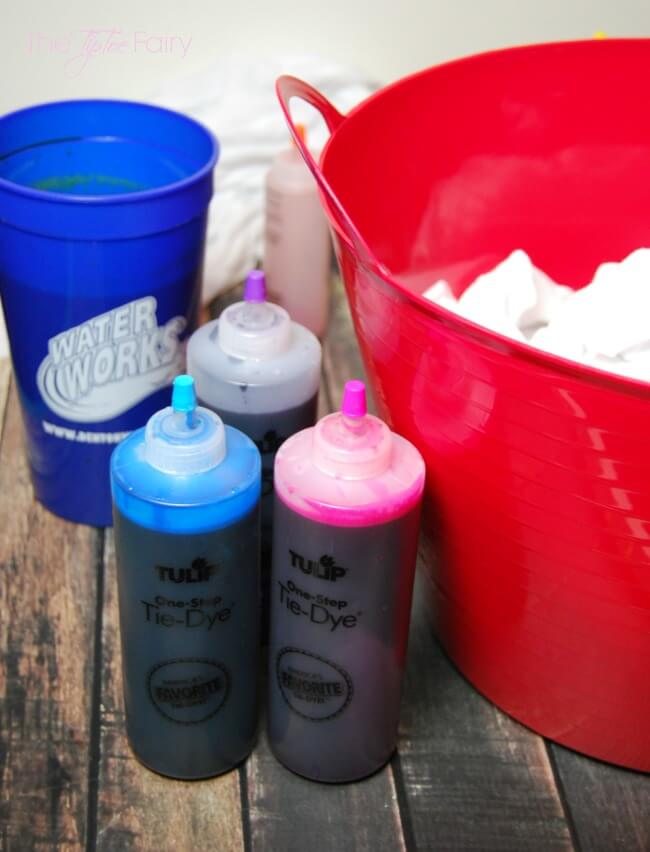
Tulip® One-Step Tie-Dye Kits® are my favorite way to dye because they make it so easy! They come complete with everything you need to make brightly colored tie dyed projects. With all the kits available, it’s so easy to find the perfect color combination for your tie-dye projects.
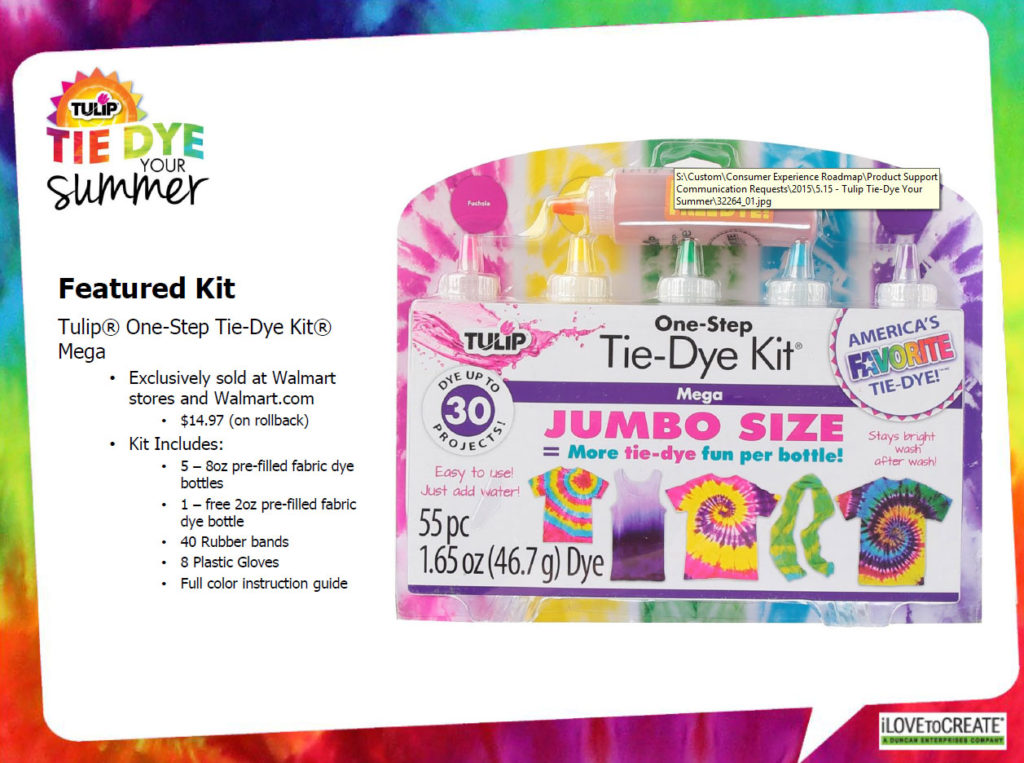
For this project, I used the Mega Jumbo Size One-Step Kit.
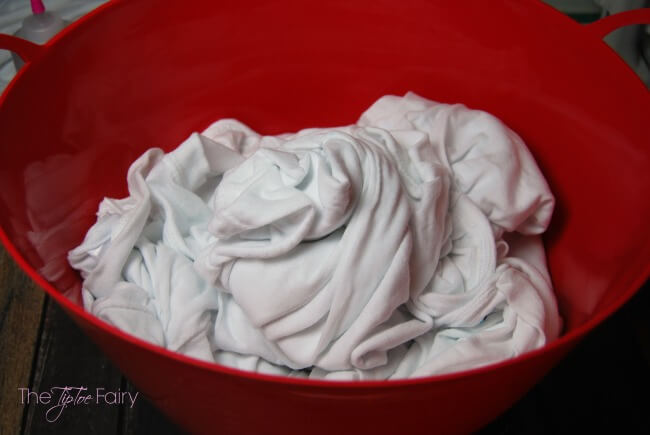
Before dyeing, throw all your t-shirts into the washing machine for a rinse and spin cycle. For low water immersion to work effectively, you need the t-shirts to be wet, but not too wet.
Find a small bucket or a large bowl. Scrunch 4-5 shirts into it and then push them down even tighter. If you’re just doing one t-shirt, you can actually use a large plastic cup. After I dyed all these shirts, I had one leftover that I scrunched into a 32 oz cup for dyeing.
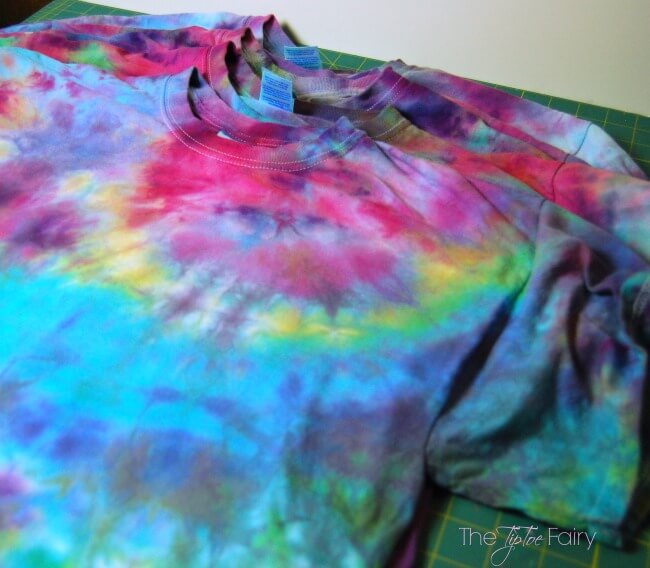
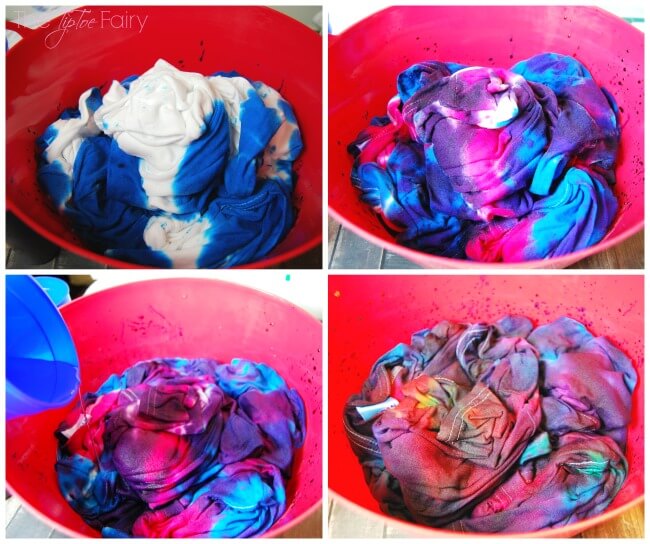
I want to warn you that with low watter immersion technique, it will look like a big ugly color when you’ve applied all the dye. DON’T WORRY!! It will not come out that way. Every single time I get to the end of applying the dyes when I do low water immersion, I always have to remind myself it’s not going to look like it does now.
Here’s what to do:
- To get these colors, I used turquoise, fuschia, purple, and lime green dyes.
- Make up your dyes in the squirt bottles. All you do is add some warm water and shake them up.
- Have a cup ready with about 2-cups of water for about 4-5 shirts.
- Take one dye bottle at a time and squirt about 1/2 the bottle all over the shirts, anywhere you want.
- Then, take each of the rest of the bottles and do the same. TIP: I push the tip of the bottle down into the t-shirts all around the folds of the shirts and the sides of the buckets. You don’t want to miss anything.
- After applying half of each bottle, now go back around again and apply the second half. Make sure to cover any white spots.
- Once you’ve used up all the bottles, then slowly pour the water all over the shirts. Keep pouring until you can see the water come up just a little on the sides of the bucket around the shirts. Within a few minutes, the shirts will soak that water back up.
- Push down the t-shirts into the bucket one last time and then leave them for at least 6 hours up to 24 hours.
- For these shirts, I only let them sit for 6 hours, and they still came out vibrant.
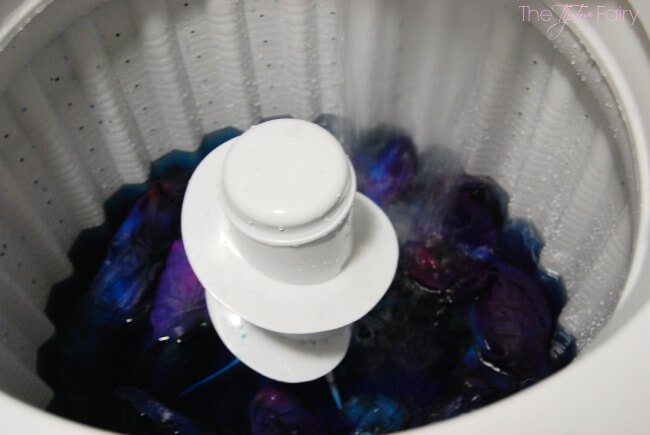
When you’re done dyeing, take your bucket and pour the entire contents into the washing machine. I love this technique but there’s no rubber bands which means no messy dyed fingers! Add about a teaspoon of laundry soap and wash your shirts on cold. Then, dry them and you’re ready to go!
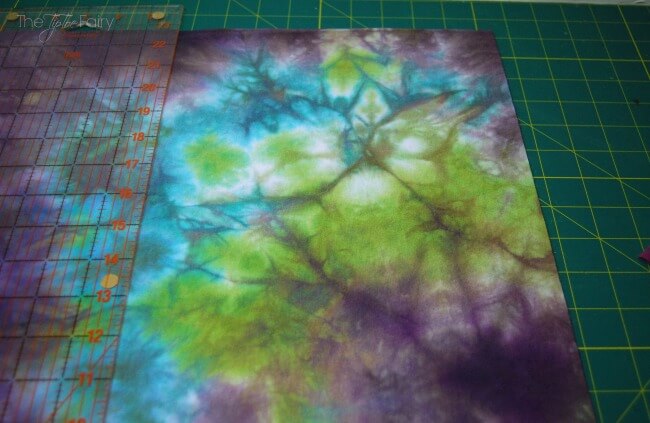
By scrunching them so tight into a small container, you get gorgeous mottling like this. It’s like a crystalline pattern that almost looks like batik. These patterns are what I love about this technique.
Now that the t-shirts are ready, it’s time to make the skirt. For this skirt, I simply used one of my daughter’s maxi skirts as a guide. You can use any A-line style skirt as a guide and just lengthen it to a maxi skirt length.
Supplies:
- 1 yd of 3/4 to 1-in elastic
- 4 dyed t-shirts
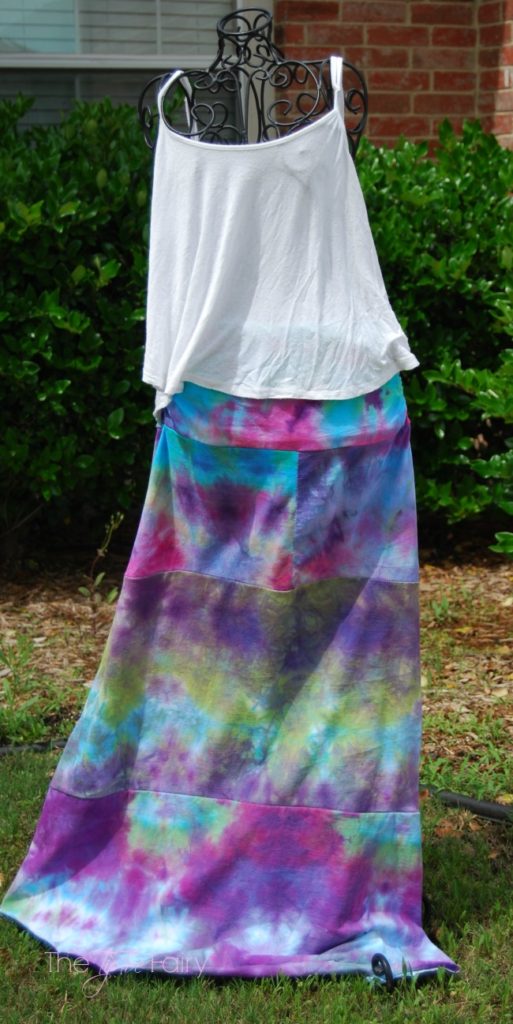
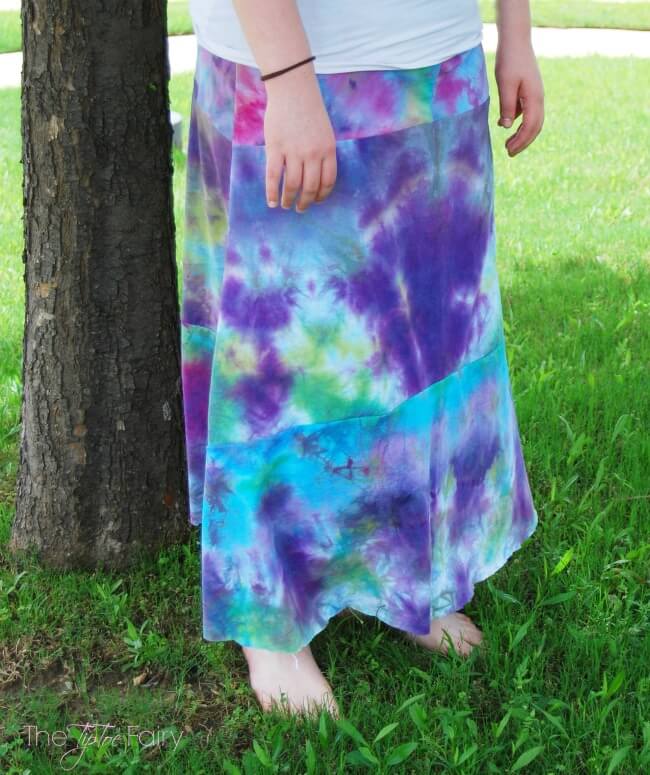
This ended up being a tiered max skirt which took 4 t-shirts to make. I created a patchwork fabric for the front of the skirt and one for the back of the skirt. The first thing I did was figure out the length needed, which was 42 inches (including the waist band). Then I divided by 3 and added 1/2 inch for seam allowance.
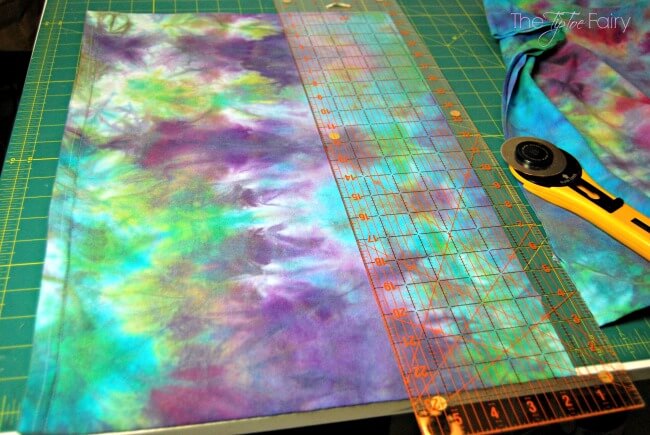
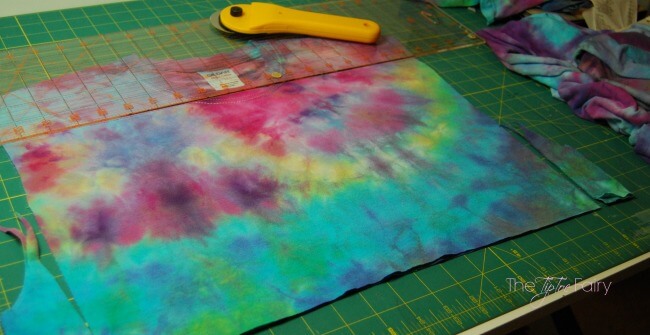
This made the bottom 2 tiers have with a length of 14 inches each. I cut off the bottom 14,5 inches of 4 t-shirts and set aside.
Next, I determined the top 2 tiers, which I knew were going to come from the top of the t-shirts.
The top two tiers were cut to 8 inches in length each and as wide as the t-shirts allowed, which was about 19 inches. I cut these from 3 t-shirts, front and back. This gave me enough allowance to create a hemmed casing for the elastic waistband, and I knew I wanted to create a ruching on sides of the waistband.
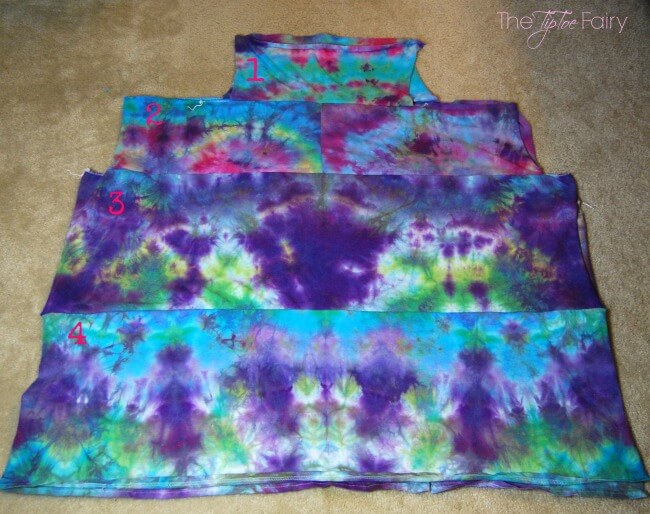
First I sewed the two pieces for Tier #2. Then, I placed Tier #1 so that it was in the middle of Tier #2 and sewed them together. Lastly, I attached Tiers #3 and #4. Do this a second time to create the back of the skirt.
I laid out the two patchwork fabrics together. Then, I laid the maxi skirt on top to use as a guide and cut the skirt out. I allowed for a 1/2 inch seam allowance on each side. I also kept the top of the waistband longer for the elastic casing.
Then, it was time to sew up the side seams of the skirt.
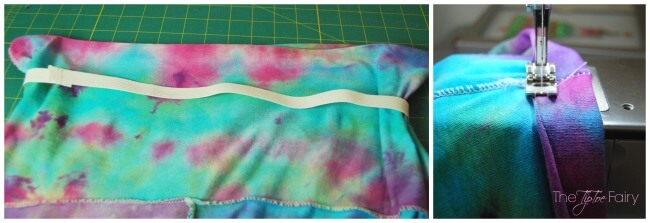
Next, I cut a piece of elastic about 34 inches (the waist of the skirt was 37 inches). I then overlapped the elastic and tacked it down.
Now here is my trick for sewing elastic in a waistband because I don’t like threading it through with a safety pin. After sewing the elastic into a loop, I slide it down over the waist, then I fold over the waistband and sew along it. Every once in awhile, you’ll need to pull the elastic so you can straighten the bunched fabric, but it takes no time at all doing it this way.
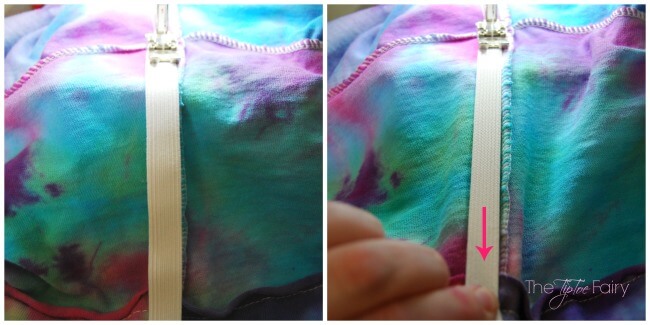
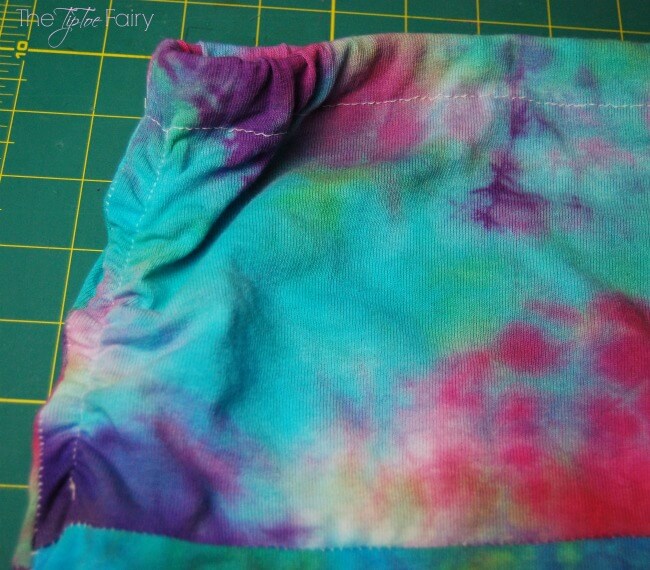
To create a cool ruched waistband, take the leftover elastic (don’t cut a piece) and start right at the side seam and the seam of #Tier #2. Sew a little backstitch, then pull the elastic as much as you can and sew right down the middle of the elastic while you pull. Stop and backstitch just at the seam of the elastic casing and cut off the elastic. Do this at the side seam on both sides of the waistband.
Then you’ll have this cool ruching.
Lastly, I wanted this to be kind of bohemian/hippie, so I did not create a finished hem. I simply cut it nice and smooth with a rotary cutter and left it unsewn, since t-shirt knit does not unravel.
That’s all there is to it!
If you’d like to check out more tie-dyeing ideas, check out ILTC’s social media:
- Facebook: http://facebook.com/lovetocreate
- Twitter: http://twitter.com/ilovetocreate
- Instagram: http://instagram.com/ilovetocreate
- Pinterest: http://pinterest/ilovetocreate.com
- Tumbler: http://tumblr.com/ilovetocreate
- Google +: https://plus.google.com/+Ilovetocreate
- YouTube: https://www.youtube.com/user/DuncanCrafts


18 comments
You’ve created a FANTASTIC TIE-DYED long skirt– love the colorations! So, thanks for the tutorial. FAB clear photos as well as detailed instructions. I recall your earlier Tie Dye Girl’s Bustle Sundress tutorial when you created a unique sundress is such vivid colors for your daughter. Looks like you’ve become an EXPERT on tie-dyeing, BRAVO! Thanks for sharing. Sarah in Minneapolis
Love this idea
I love how your tie died skirt came out. We tried Tulip dyes last summer we did several projects. We loved how vibrant they were. pinning to my summer board. Maybe we’ll make a skirt this year!
What a fun technique! We tie dye every summer, but I’ve never tried it this way before. Adding it to our to-do list for sure!
This is wonderful! I remember doing this when I was a teenager and I’m so glad it is back because it was a blast and I wore my t-shirt forever! I’ll have to see if my family wants to do this as a fun project.
What a fun project!! I love how your skirt turned out!! I haven’t tie-dyed in years, but now I want to 🙂
You are so darn creative! I LOVE LOVE your tie dye! It’s gorgeous.
What fun! Love the batik look, too. The hem should roll a little bit after awhile, which lends its own charm.
That skirt is super FUN!!!! This really is the best way to dye, great Summer activity!
This turned out so good! I love it!
What a clever clever idea. I love the mixing of colors and the resulting design. I have a thing for fractal patterns, so, this skirt is my kind of outfit.
This skirt turned out really great!! This would be such a fun summer project for kids.
This turned out really cute! So cute and summery!
I love tie dye anything! Thanks for sharing and a great DIY project!
It looks easy enough. I love the tiered effect when you constructed the skirt.
What a great idea and project! I got one of those kits in the mail and need to get using it!
What a great tutorial thanks! I remember dying t/shirts days in my younger days and I love this dress!
I think this is a great idea. I want to let all the kids do it at our family reunion this year!