
This post contains affiliate links. This DIY Smart Phone Projector is totally fun for teens to make, and maybe even tweens with adult supervision since you do need an exacto knife and a hot glue gun.
We found it works pretty well if you are in a totally dark room. We tried using it outside, but we have a corner lot with a street lamp in our front yard, and the light was just too bright to get a really good picture. But, if you’re in a very dark room, you can totally pull this off.
Table of Contents
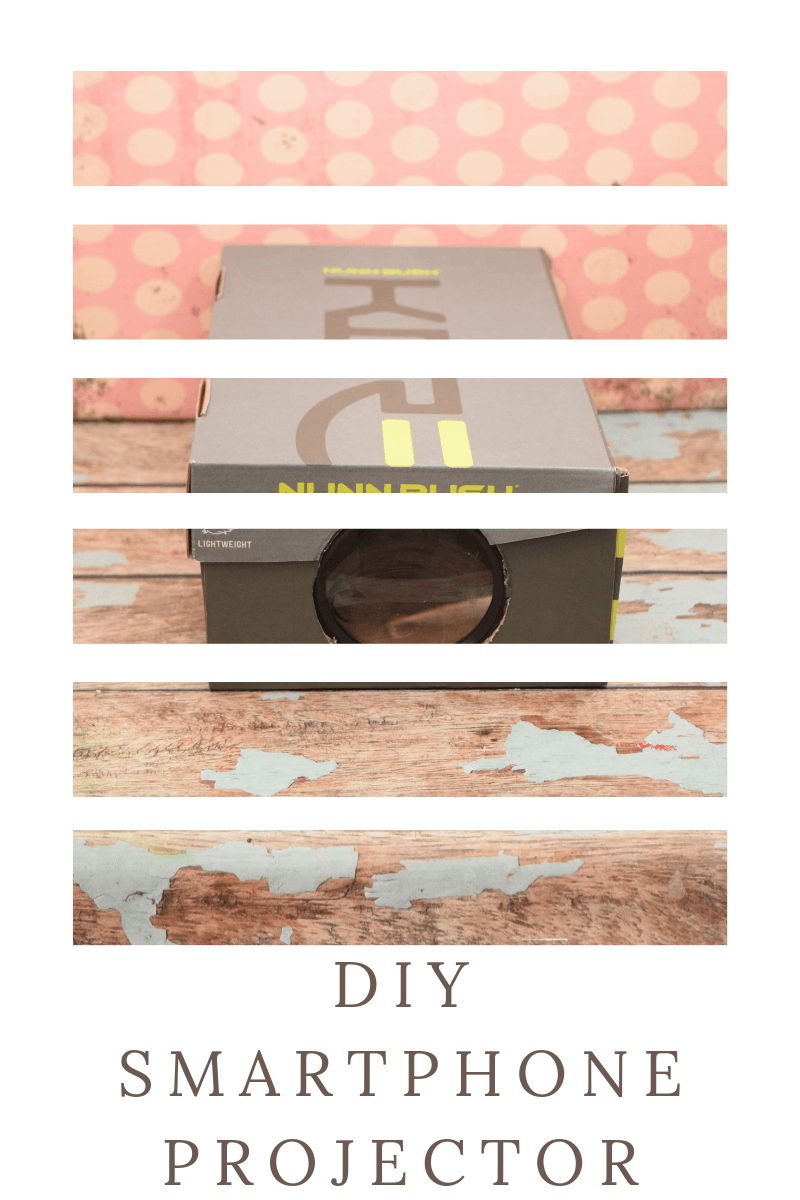
DIY Smartphone Projector
Supplies:
- Magnifying glass
- Hack saw
- shoe box
- Exacto knife
- Hot glue gun & glue
- Foam board
- two magnetic purse closures
Directions:
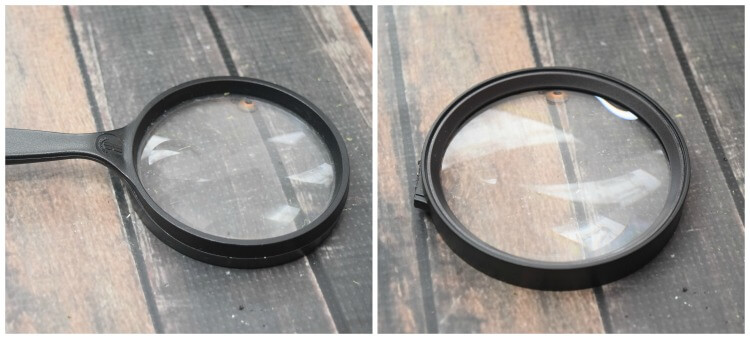 I recommend finding a large round magnifying glass. The largest I could find was about 3 1/2 inches or so. Then, you’re going to take a hack saw and saw off the handle as close to the rounded part as you can. This should only be done by a grown up!
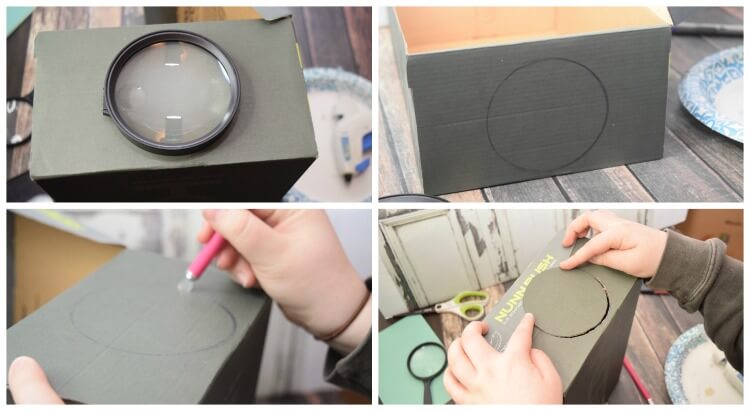
Then, use the magnifying glass to draw a circle around the end of the shoe box. Then, cut it out with the exacto knife.
Now if your box has a lid that comes down past where you cut the hole out, Use the cut out from the shoe box to measure how much of the lid you need to cut off.
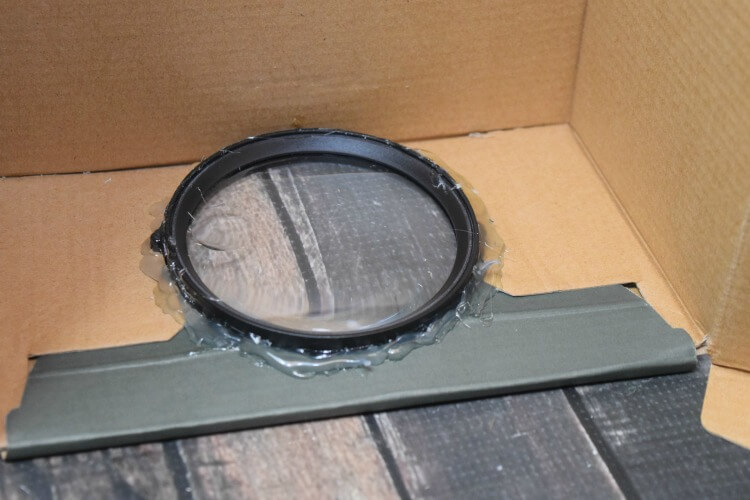
Next, liberally apply hot glue around the magnifying glass and place it into the circle. Hold it there for a few seconds while it hardens.
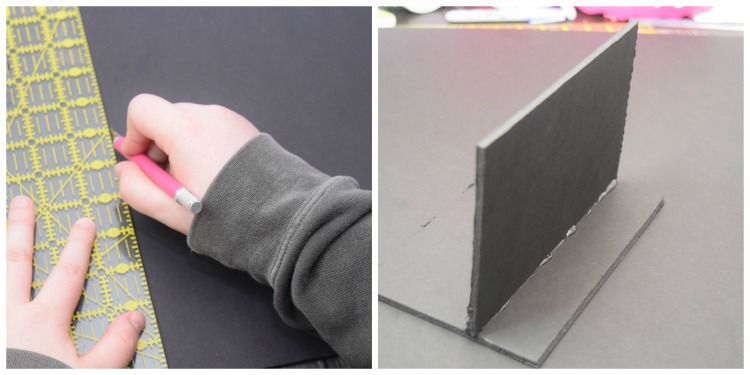
Next, measure the width and height of the inside of the shoe box and use those measurements to make a small shelf to hold your smartphone with the black foam board. Cut one piece to be the base and one piece to be the shelf and hot glue them together. This shelf allows you to move your phone forward and backward in the shoe box in order to focus the screen.
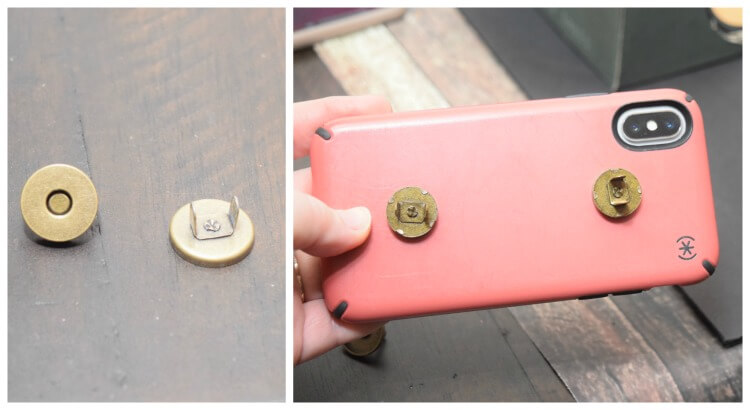
Some people I’ve seen use double-sided tape, but I wanted something that didn’t actually leave a residue. I used the magnetic side of two purse magnetic closures. My phone case has built in metal plates to use with a magnetic car mount, so I just needed the magnet side of the purse magnetic closure stuck to my phone case (I added 2). My husband’s phone doesn’t have built in metal plates, but he has the little metal circles that come with the magnetic car mounts on the inside of his phone case, and the purse magnets worked just fine with those, too.
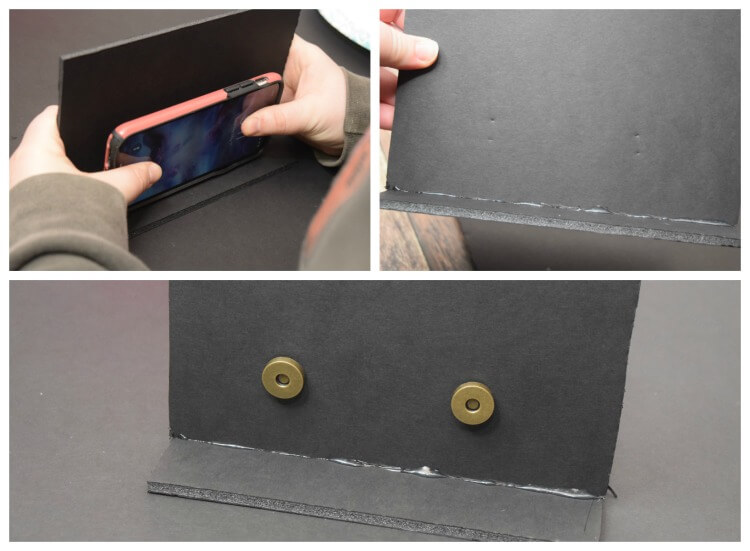
Attach the purse magnet on the phone case where the metal plate is and allow the prongs to stick out. You can push those little prongs onto the piece of black foam board and the magnetic purse closure will indent exactly where you need to place them on the foam board. Attach to the foam board in those exact spots.
Using the DIY Smartphone Projector

Now you’re ready to try it out. Turn your phone on a video or movie, and then set the lock screen. You will need to put the movie upside down so that it reflects correctly on the wall.
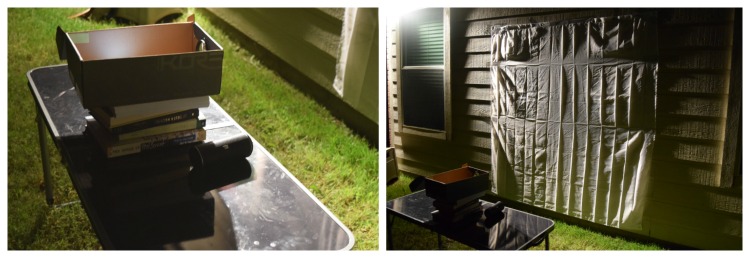
Put the phone in the shoe box, find a white or light colored flat background in a very dark room or if it’s pitch black outside with no lights. Then, move the phone either backward or forward on the foam board shelf to help focus the image.
Now check out how we used this DIY Smartphone Projector in a fun blog post all about recreating one of my favorite childhood memories.