
My eldest daughter is a freshman in high school and in a Child Development class. During the fall she has Color Guard class, but in the Spring, the only elective available was Child Development. She has learned about everything from pregnancy to toddlers, and surprisingly, it’s been quite interesting to her.

She’s had to wear an “empathy belly” at school for an entire day. (She’s the one on the right.) Then, she had to spend the weekend with electronic babies. She got the luck of the draw with twins! Let’s just say it was a nightmare — for me and her. She’s had several other child projects like decorating a nursery, creating clothing for toddlers, and even creating centers for play time at a daycare.

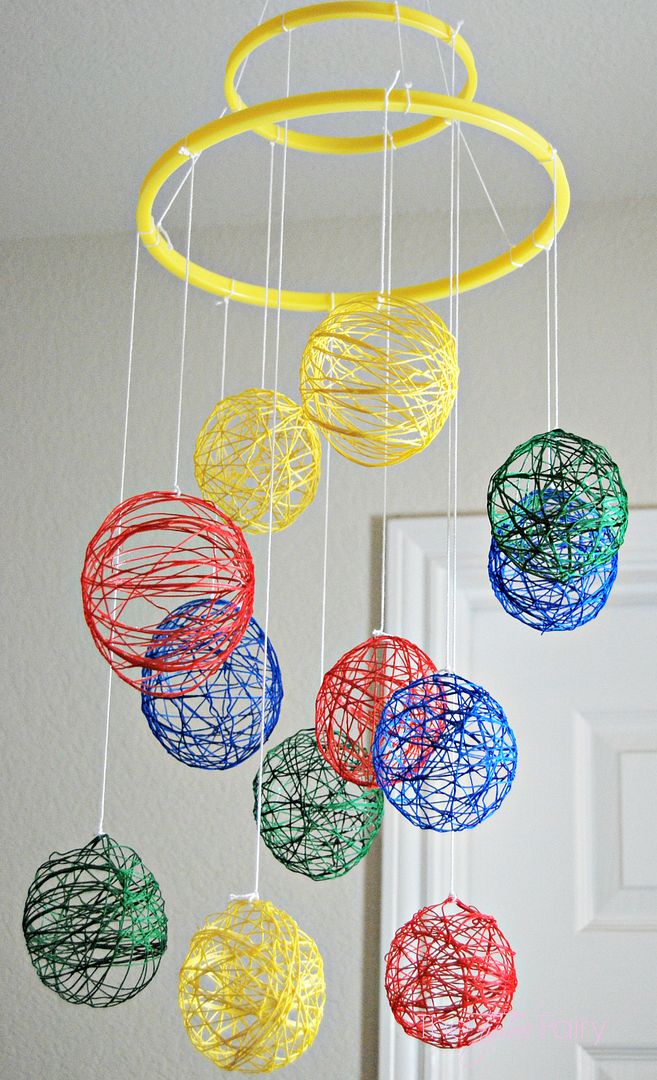
One of her assignments was to make a mobile for a nursery. This was the fun part for me! It was close to Easter, and I saw those string easter eggs with candy inside all over Pinterest. I thought turning those into more of a ball like shape would make a pretty cool baby mobile.

It was late at night and the craft stores were closed, so we headed to Walmart to see if we could buy all the supplies there. She wanted primary colors, so we searched through the yarn, but there weren’t any cotton yarns with the right colors.
We had already decided to use embroidery hoops for the top of the mobile, so while picking the colors she wanted in a large hoop and a small hoop, we noticed the tiny skeins of embroidery floss. And, there were TONS of colors, so she was able to settle on the primary colors (and green) that she wanted.

This came out so good! After she took it to school, where it stayed up on the ceiling for quite awhile, she decided to hang it in her room.
It was really a blast to make, and I love the “modern art” look of it. I might just make another one to put up in the corner of the living room in some more contemporary colors.
Here’s what we did:
Table of Contents
Embroidery Floss Mobile Tutorial
Supplies:
- 1 large bottle of liquid starch
- 12 skeins of embroidery floss
- 12 water balloon-size balloons
- 1 roll of white string (like kite string)
- 1 large embroidery hoop
- 1 small embroidery hoop
Directions:
1. Blow up the balloons.
2. Lay the work surface with lots of newspapers because while it’s fun, it’s also messy!
3. Pour the liquid starch in a shallow bowl or tray.
4. One skein will wrap around a balloon quite well. Unwind a skein of embroidery floss and dip it into the liquid starch. Then, begin wrapping it all ways around the balloon. (Be very careful with unwinding or you will tear your hair out with untangling. I had to untangle my daughter’s skeins quite often.)

5. Set the balloons to dry. Turn them every 30 minutes for the first hour or two so they don’t stick to the paper.
6. Allow the balloons to dry overnight, for at least 24 hours. You want them good and stiff before popping the balloons.

7. When the thread feels stiff, then pop the balloons and peel them out of the thread carefully. I used a fork.

8. Now that you have a pile of thread balls, cut various lengths of the white kite string. We just randomly cut lengths between 8 inches and 18 inches long.
9. Attach a kite string to all 12 thread balls.

10. Take the inside closed hoop of each embroidery thread and discard the rest.
11. Cut 3 pieces of kite string each 12 inches long. To the small hoop, attach all 3 long strings to the top, each 1/3 way around the hoop. Then, knot them together at the very top, so they can hang on a hook.
11. Next, cut 4 pieces of kite string about 6 inches long. Attach these strings to the large hoop at 1/4th intervals around the hoop. Then, attach them to the smaller hoop at 1/4 inch intervals.
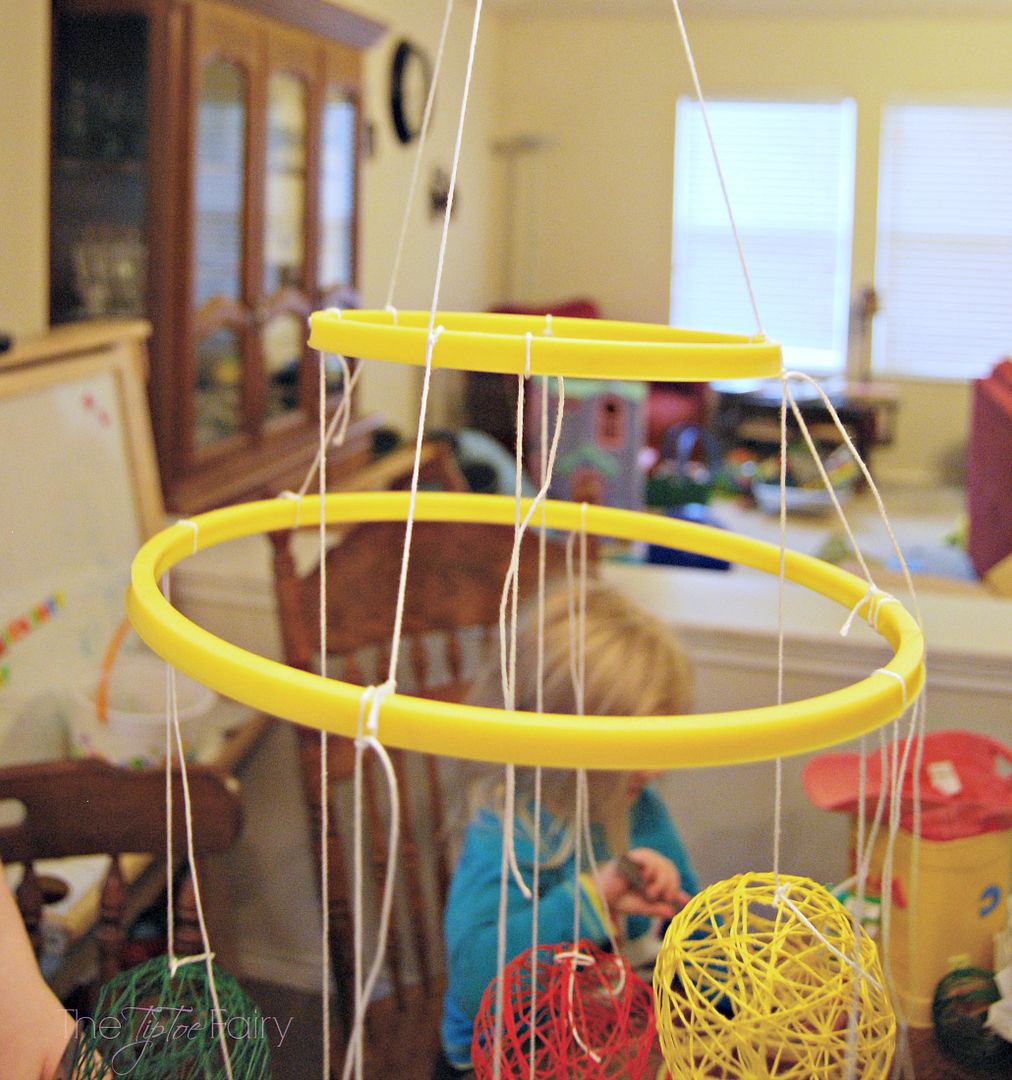
12. Check to make sure the 2 hoops together will hang straight down. If not, move around the strings until they do.
13. Next, begin attaching the thread balls of string. Attach 4 random-sized strings of the thread balls to the smaller hoop from the inside, so they will hang in the middle.
14. Then, attached the last 8 strings of the thread balls all around the larger hoop.
15. Snip any long threads from the knots.
That’s it! Now you’re done! Go hang your new mobile and enjoy!
11 comments
So super cute! What a lucky pretend baby! 😉
What a super fun, neat project!
Very creative mobile!
What a clever way to make a mobile! I would have never thought of that lol!
I love it! So unique!
Stopping in from The Creative Exchange Hop! These are so cute. The kids would love to do them with me. 🙂
This is so creative. I never would have thought to create this!
This is genius. It turned out so gorgeous!
Wow great idea! I would love it if you joined and contribute your awesome posts at my link party at City of Creative Dreams , starts on Fridays 😀 Hope to see you there at City of Creative Dreams Link Party.
super cute! Love this idea and it turned out so well. The colors really show well and I think it wouldn’t have worked as well with cotton yarn.
Such a Cute Idea!!! I Love the colors you chose! Thanks for linking up to The Creative Exchange!